|
|
|

|
|
| Search | Car Forums | Gallery | Articles | Helper | AF 350Z | IgorSushko.com | Corporate |
|
| Latest | 0 Rplys |
|
|||||||
| Completed Projects / Gallery Post all completed works in this sub-forum. |
 |
 Show Printable Version | Show Printable Version |  Email this Page | Email this Page |  Subscribe to this Thread
|
|
|
Thread Tools |
 01-22-2007, 10:00 PM
|
#1 | |
|
AF Enthusiast

Join Date: Aug 2006
Location: Portland, Oregon
Posts: 633
Thanks: 2
Thanked 7 Times in 1 Post
|
Tamiya Porsche 959: An end to the long struggle
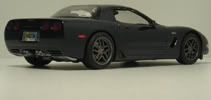
I got this kit, my first Tamiya, in 2004. I thought it would be a good model, since I'd heard Tamiya was good. I was wrong. It was one of the worst models I had ever built; it soured me against Tamiya and the Porsche 959, though I fortunately bought another Tamiya kit and discovered that they really are good; this one is just a fluke. In addition, the mistakes I made during building, while helping me to learn, did not contribute to the model. I painted it the wrong color: it's gray, not white or silver, so that's kind of weird. But I know that all the details I added are accurate, and there are plenty. I'll mention them following the pictures.
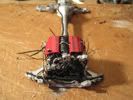
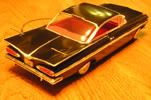
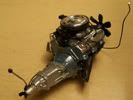
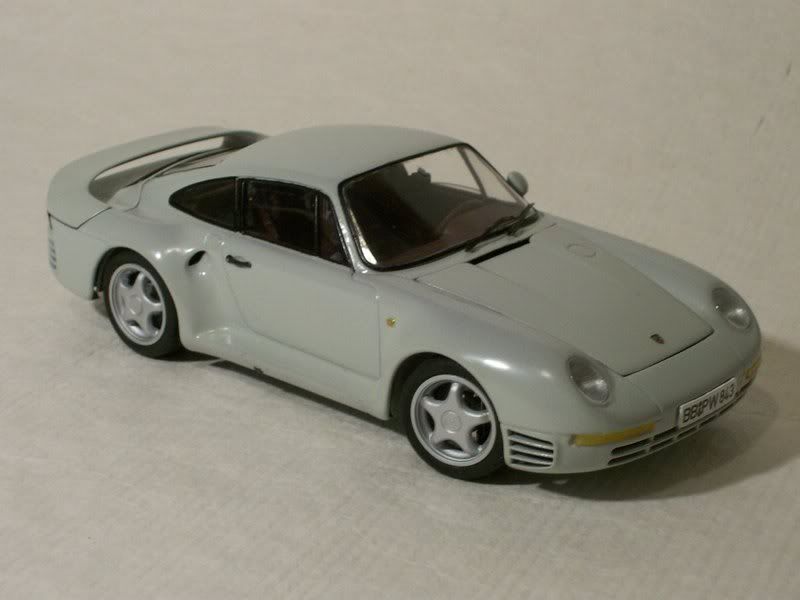 The wipers are Acu.Stion photoetch. 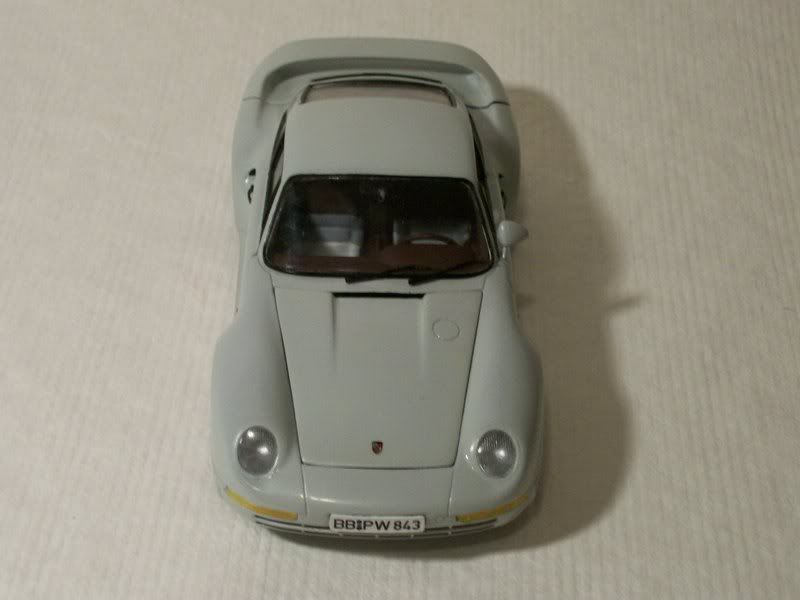 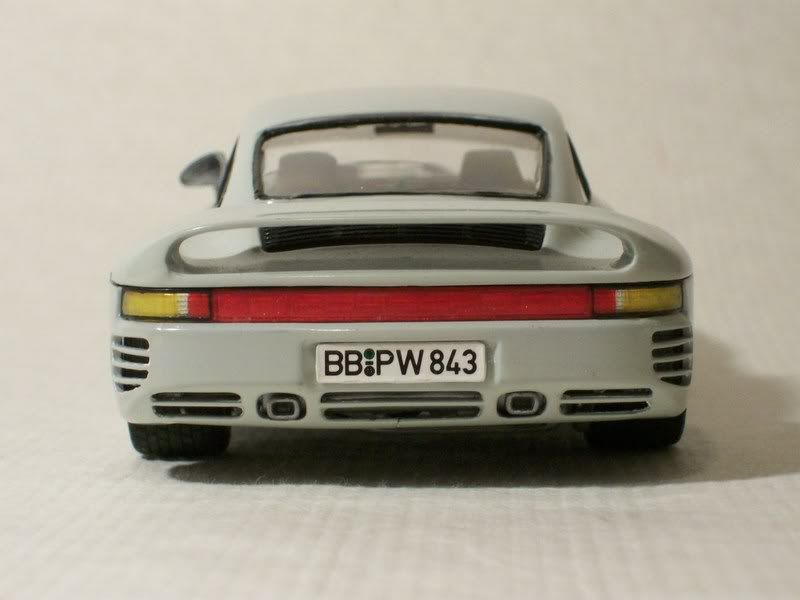 In this shot, you can see the photoetched brake discs that I got. They just covered the kit parts, but were nicely cross-drilled. Also added were the jack point covers (sheet plastic). 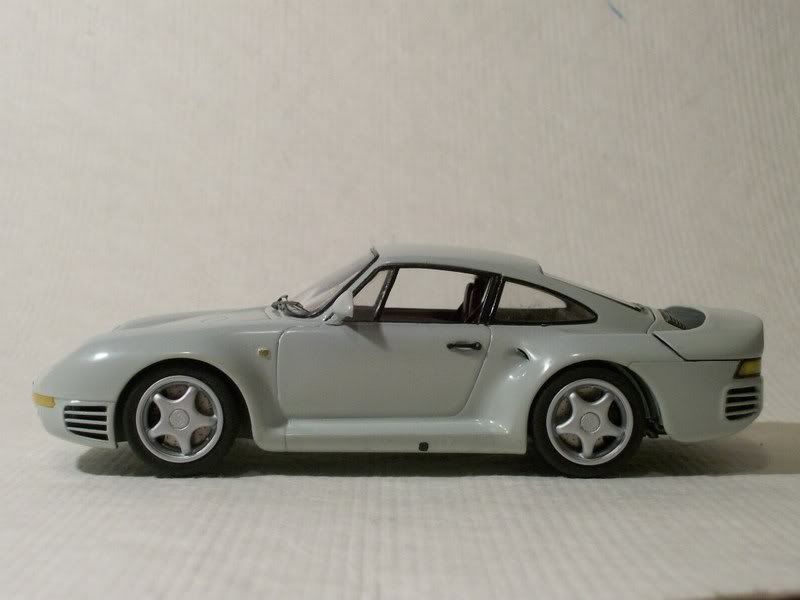 Most of my modifications were here (I even hinged the rear lid): 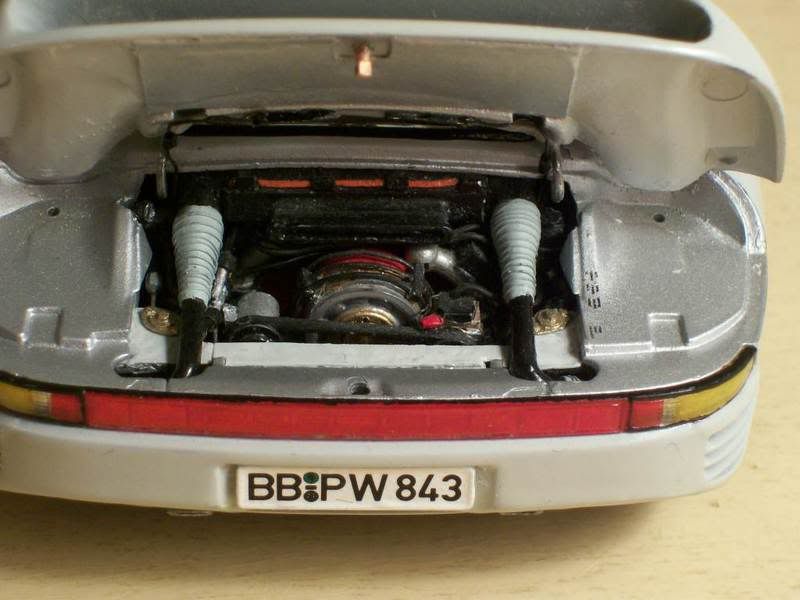 The decals on the right side were custom printed. I hollowed out the air intake and shortened the tube, added wire to make the air tubes look flexible, added the straps, clips, and gasket to the air cleaner, and of course added all plumbing and wiring (spark plug wires are prominent here). I also added the oil filler tube, power steering fluid tank, a large panel on top of the power steering pump, and the fuel rails/injectors. This F-6 has 12 injectors! Oh, and I built those engine main bolts. I think they look pretty good. And, though you can't see it here, I added the two intercoolers and all the ducting that Tamiya left out. They are nestled just behind the rear wheels. I also added a radiator up front (for the water-cooled heads). Here are the fans I added: they are made from soda can aluminum. I cut the holes in the housings with a ordinary paper hole punch, then used the punched-out pieces for the fans themselves. Today, I would use sheet plastic, but back when I made these, I had none, and used what I could find. (Yes, I have been building this since '04). 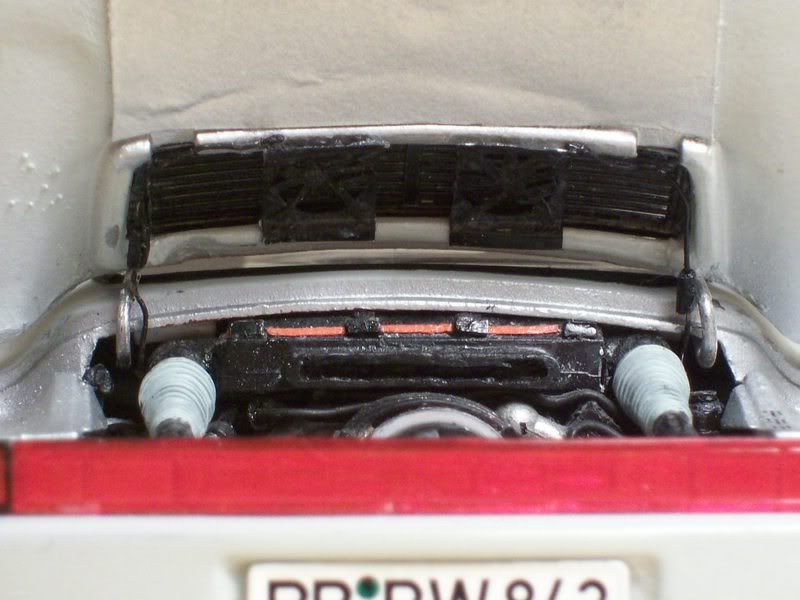 The other big modification was the front lid. I hinged the rear, like I said, but I had to cut open, and then hinge, the front. And, I fabricated all that you see here: floor, bulkhead,"shelf", fuel filler, mesh, latch panel, side sills, and of course hinges. 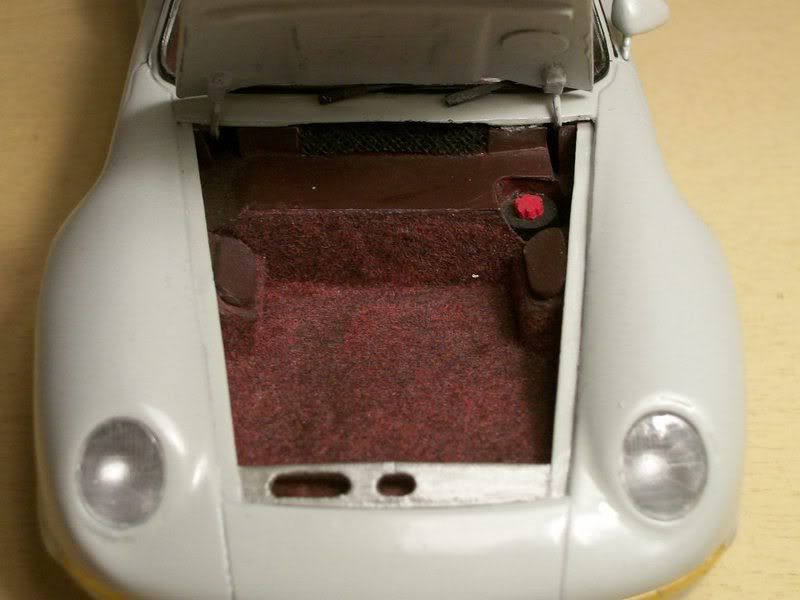 You can also see that I accidentally puttied in the headlight buckets. These are supposed to have a panel line. Just another of my mistakes. But even though this model is not the greatest, the paint is shiny, the stance is good, the brakes look awesome, and the engine is realistically detailed. I'll chalk it up to experience. But I don't want to build it again  ! (It was not easy, even though Tamiya calls it an "easy builder." I call it a difficult build with no detail. It was easy for Tamiya, not me). ! (It was not easy, even though Tamiya calls it an "easy builder." I call it a difficult build with no detail. It was easy for Tamiya, not me). Hope you enjoy my semi-cool 959! I didn't! (But at least it's done!!) Alex
__________________
|
|

|

|
|
01-22-2007, 10:20 PM
|
#2 | |
|
AF Regular
Join Date: Dec 2004
Location: Bremen
Posts: 370
Thanks: 6
Thanked 0 Times in 0 Posts

|
Re: Tamiya Porsche 959: An end to the long struggle
Hi, I think it looks great
 I really would like to know how you open the front bonnet when it is closed? I want to do the same thing with my Carerra GT but I have no idea how to open it since there is no point where you can press and it opens or something like that |
|
|
|
|
|
01-23-2007, 10:05 AM
|
#3 | ||
|
AF Enthusiast
Thread starter
Join Date: Aug 2006
Location: Portland, Oregon
Posts: 633
Thanks: 2
Thanked 7 Times in 1 Post
|
Re: Tamiya Porsche 959: An end to the long struggle
Quote:
__________________
|
||
|
|
|
|
01-23-2007, 10:35 AM
|
#4 | ||
|
AF Regular
Join Date: Dec 2004
Location: Bremen
Posts: 370
Thanks: 6
Thanked 0 Times in 0 Posts
|
Re: Tamiya Porsche 959: An end to the long struggle
Quote:
I am afraid if I do it the way you told me I might come up with spots of color come loose from the lid. Would be no good... |
||
|
|
|
|
|
POST REPLY TO THIS THREAD |
 |
|
|

