|
|
| Search | Car Forums | Gallery | Articles | Helper | Air Dried Fresh Beef Dog Food | IgorSushko.com | Corporate |
|
|||||||
| WIP - Motorsports Post topics for any "Work In Process" motorsports vehicles in this sub-forum. |
 |
 Show Printable Version | Show Printable Version |  Subscribe to this Thread
|
|
|
Thread Tools |
|
#1
 11-08-2002, 08:50 AM
|
||||
|
||||
|
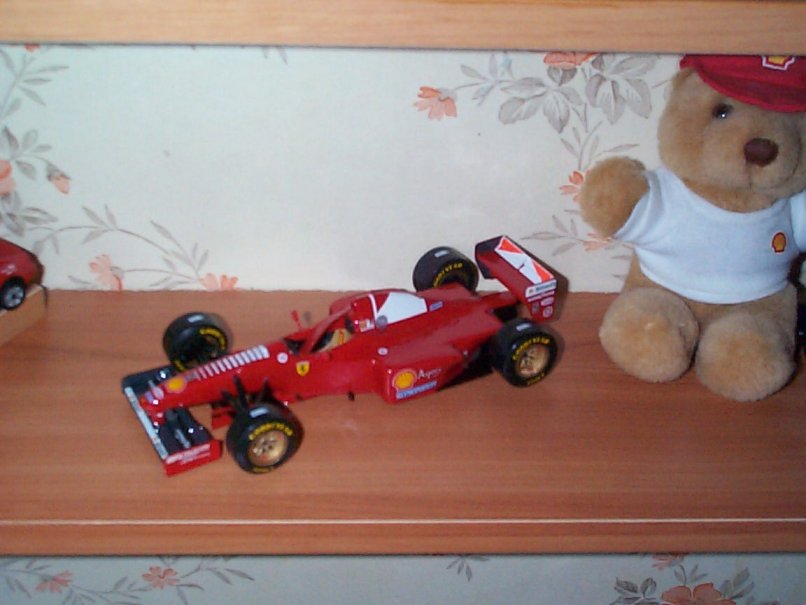
By the time you read these lines I already have started the first of my new two projects.
It is the Ferrari F310B and I will make the Eddie Irvine version from the 1997 Formula 1 season. I will use some detailed decals I order from Studio 27, I guess. Ive already started from the basics, cutting, washing and sanding all body parts that later will be premiered and painted. 

|
|
#2
11-08-2002, 12:07 PM
|
||||
|
||||
|
Thank you :right:
 Why Irvine version?  Is it to be different from the most? Oh well, I sort of like Irv as well. Good luck and make sure you tell us about every step! Is it to be different from the most? Oh well, I sort of like Irv as well. Good luck and make sure you tell us about every step!Alex
__________________
 Would love to resume my duties as AF's own official thread bastardizer!!!   1:29:53.435 || 207.316 || 310.596
|
|
#3
11-08-2002, 08:28 PM
|
||||
|
||||
|
Quote:
make sure you wash the tires real good before decaling/dry transfering. I've never had the problem before or since, but my 310's tire transfers would NOT stick!...ended up using Future to hold them in place and then using Testor's Dullcote to fix everything as best I could. Anyways, anxiously awaiting you build! Bill :bandit:
__________________
Bill "Why yes, that IS my bare, carbon fiber Enzo in Scale Motorsport's "How to Carbon Fiber Decaling video!"
|
|
#4
11-09-2002, 02:51 AM
|
||||
|
||||
|
If its built half as good as your others we are still in for a treat

__________________
Current Build.....1/12 Scale Camaro......Almost finished!!!    View All My Models Here.
|
|
#5
11-09-2002, 06:57 AM
|
||||
|
||||
|
Thanks for the tip bvia
Maybe due to the complexity of F310B shape de cockpit was not moulded in one single piece (like most of the F1 models) but in 6 small pieces that must be glued together This will create various gaps between the pieces that even after all the primer and paint job may continue to be visible if not correctly treated.  I have decided not to follow the correct order of the instructions in order to correct this problem in a way I think is the better. I took extremely care to assure that the parts are glued in the perfect position and will fit perfectly with the back part and engine cover. After all pieces were glued I cover the gaps with putty and sand them till the entire surface was uniform.  The front session is now ready to be washed with blue and white soap and to receive two coats of white primer and three coats of paint.
|
|
#6
11-11-2002, 08:34 AM
|
|||
|
|||
|
I've done the F310B some time ago for a friend, and I also didn't follow the instructions as far as the nose section is concerned, so you're on the right way there
 For the tyre decals, you can also use Micro Set to make them stick better. For the tyre decals, you can also use Micro Set to make them stick better. Eagerly following your progress!
|
|
#7
11-11-2002, 08:52 AM
|
||||
|
||||
|
Ah feck you anyway, im in the middle of building the Revell 310 and was going to do the Irvine version to be different (and the fact he is Irish). Im having the same problem trying to decide what order to build the Monocoque, i know the seam lines will be far to obvious if I dont put them together first. Will have to sit down and have a proper look at it tonight.
Anyway best of luck cant wait to see it Dublinguy (PS incase anyone is wondering what happened to the F50 I was building and asking loads of questions about, its still sitting in Brake Fluid and it just started to piss me off so I will return to it)
|
|
#8
11-11-2002, 04:12 PM
|
||||
|
||||
|
I dont know how the similarities of the Revell model to the Tamiya one, but I sure advise you to build the monocoque in one piece since definitively is the right option to get a clean final model.
As Ive already said you must have especial care in gluing the side air entrances to the radiators, since they will have to fit correctly with the back part and engine cover. Paint with semi-gloss black (I prefer 85 from Humbrol) the inside of the monocoque and the piece that will support the front suspension. Then glue everything and protect the inside of the monocoque with some newspaper before you paint it. All the parts like the seat and the instrument panel can be placed after you build the entire monocoque. Here is the status of my now:  I also opted to glue the front wing supports, as you can see. After the fist coat of primer I was not totally satisfied whit the junctions so I have applied some more putty and will sand it again tomorrow before one smaller coat of primer. Hope that after that I can start applying the colour coats. Ive also spent some time correcting these irritating circles (from the modeling process) that appear in every back and side wings.  Again a little of putty and some sanding to make it as good as possible.
|
|
#9
11-12-2002, 04:59 AM
|
||||
|
||||
|
Those "irritating circles" are called "ejector pin marks". They are created whenever the liquid plastic flows into the faces of the ejector pins and their cylinders. The ejector pins are used to eject the still warm styrene from the molds and are flush with the moldface during the injecting phase. THey then push out of their holes to eject the part.
I know, probably more than you (or anyone) wanted to know, but there ya go...;-)> Bill :bandit: p.s. I used the exact same building sequence with my 310's front monocoque, so you're on the right track!
__________________
Bill "Why yes, that IS my bare, carbon fiber Enzo in Scale Motorsport's "How to Carbon Fiber Decaling video!"
|
|
#10
11-12-2002, 06:38 AM
|
||||
|
||||
|
Yeah not sure myself what the differences are between Revell and Tamiya kits but I would take a good guess that you arent having the fitment probs that I am having.
As for the monocoque, its in two parts, the upper and lower, from the instructions its telling me to fit the steering wheel and seat before the upper half is fitted but the problem there is there wont be a clean line on the paint. But I cant see how I can fit the seat into the cockpit without putting them in first. As for the rear engine cover Im kinda lucky there as the cover is part of the upper monocoque. My progress is the Engine is complete, the upper monocoque is ready for priming (and Im scared im going to make a right royal cock-up of that) but the lower part still needs some puttying and sanding. Dublin
|
|
#11
11-12-2002, 06:48 AM
|
||||
|
||||
|
When I was making my revell 310b, the front section was probably the biggest pita in my modelling experience to date! When filling the seam and sanding the putty, it was close to impossible not to break the suspension (which I duly did) as it is supposed to be attached before joining the two nose sections. Here is my humble attempt (not that it's my first model!)
__________________
Would love to resume my duties as AF's own official thread bastardizer!!! 1:29:53.435 || 207.316 || 310.596
|
|
#12
11-12-2002, 07:52 AM
|
||||
|
||||
|
Hey Ales,
Good job on it, would luv to be able to see a little closer to the seam lines. Do you agree with me though the the upper and lower portion of the monocoque need to be painted first before being placed together? Dublin
|
|
#13
11-12-2002, 08:58 AM
|
||||
|
||||
|
Quote:
__________________
Would love to resume my duties as AF's own official thread bastardizer!!! 1:29:53.435 || 207.316 || 310.596
|
|
#14
11-12-2002, 09:17 AM
|
||||
|
||||
|
Actuallly thats a great idea for teh suspension, never crossed my mind to do it that way.....As for the seat, yes i think the floor would have to be cut and thats not something i would attempt at the moment.
Dublin
|
|
#15
11-15-2002, 03:06 PM
|
||||
|
||||
|
Been working on the monocoque for about one week.
Here is the current status. Two coats of Bright Red applied two more to go.Probably tomorrow Ill give them both. Most important, all the work in correcting the gaps between the pieces was a success since as you can see theres no visible indication that this are 9 separated pieces instead of one single piece. New updates to come.  
|
| ||||||||||||||||||||||||||||||||||||||
|
POST REPLY TO THIS THREAD |
 |
|
|


