Alright, some more progress. Note that although I organized this post in a logical fashion, I don't actually work that way--I just do whatever I can at the moment, while other parts dry. But I put these pictures in order.
First, the chassis:
I painted the frame rails and gas tank in semi-gloss black.
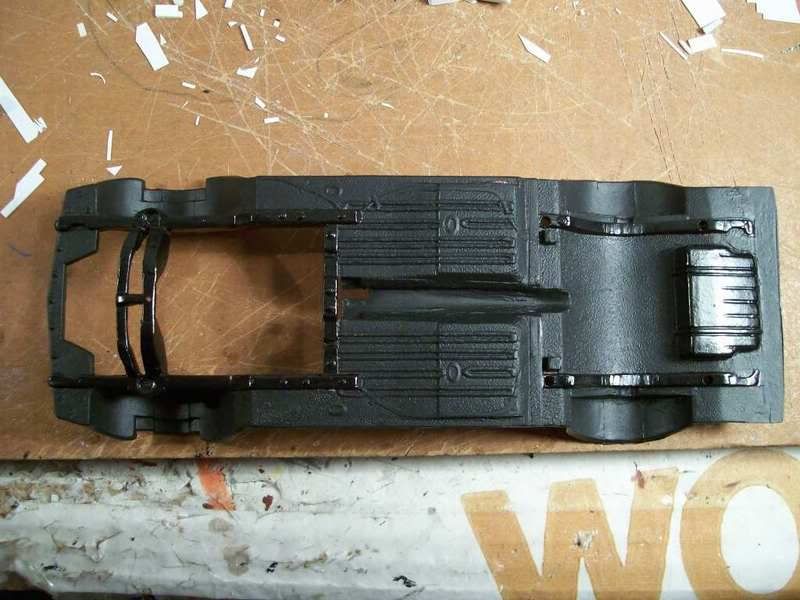
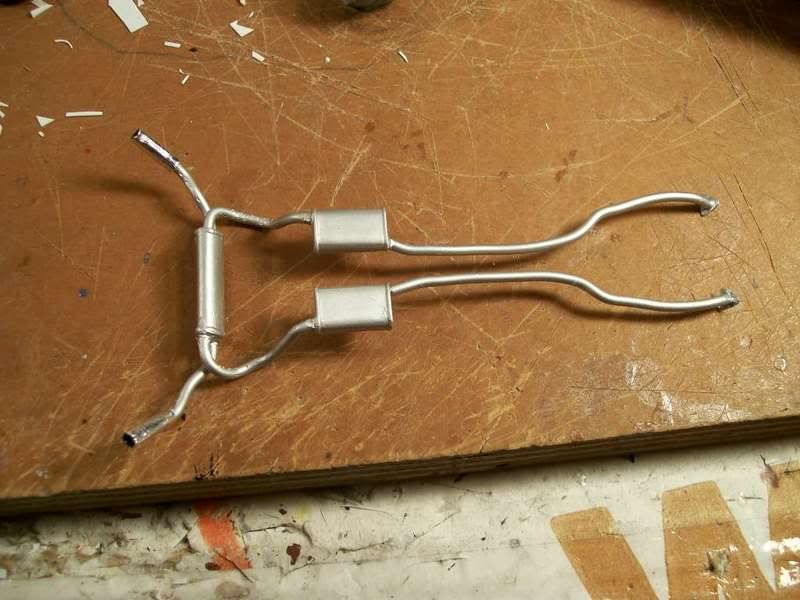
I chromed the exhaust tips with Bare-Metal Foil and painted them flat black inside.
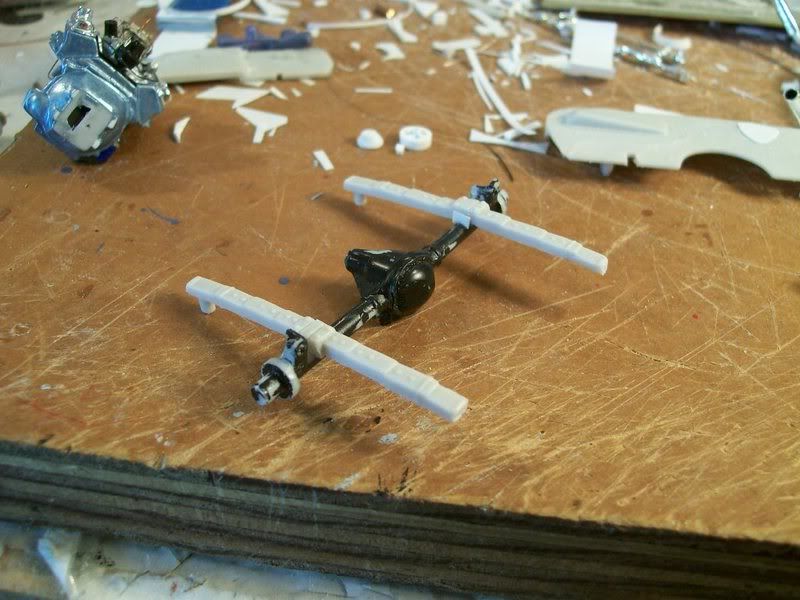
I glued the kit leaf springs (separated long ago from the lame axle/exhaust combo that came with the model) to the axle I scrounged from the spares box.
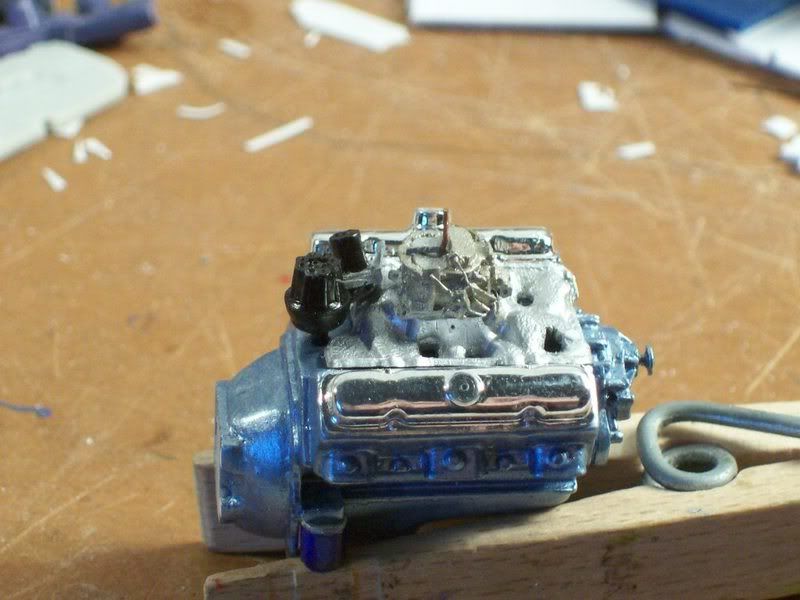
Next, the engine:
I built an oil filter from sprue. This is another benefit of having an auto mechanic father: I just looked up in the parts catalog what aftermarket filter would be used on the '69 Firebird 400, and found that it would be the ACDelco PF24. So, I went to the parts shelf and measured a PF24, getting the exact dimensions. It makes for great accuracy!

Next, I built a coil and bracket, visible to the right of the distributor. This was actually a rather complex part, as the coil mounts at an odd angle and there is an extra bracket for the throttle return spring and linkage.
Here are the vacuum hoses, stemming from the coolant-activated vacuum switch (it's like a thermostat). The silver canister at the lower right is a vacuum amplifier, according to my Dad. (I used a Chilton diagram for all this).
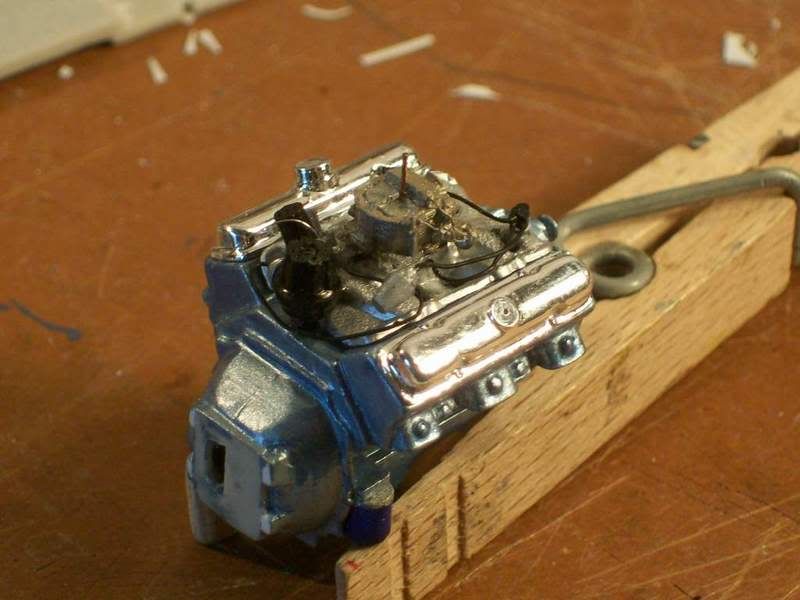
Here is the fuel line and filter. You can also see the other side of the coolant vacuum switch.
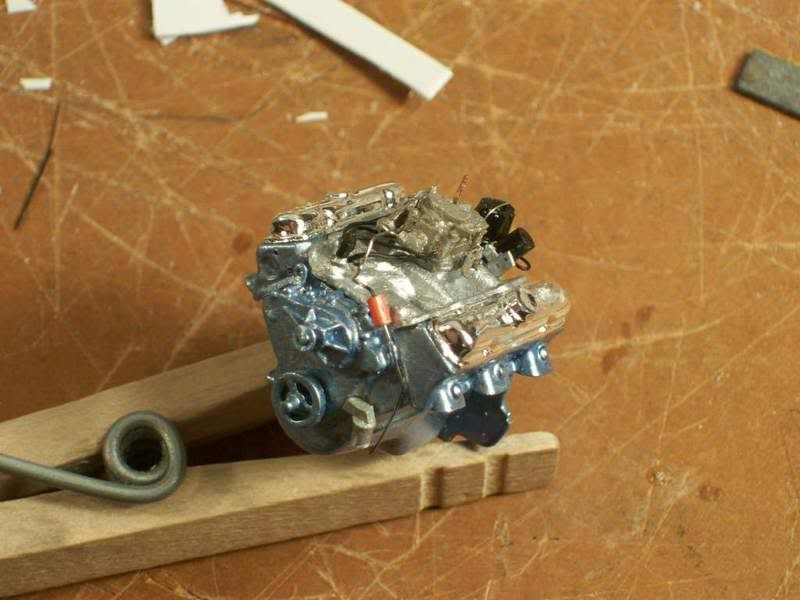
Now for the transmission. I painted the shifter case and glued it on.

Linkage in place, as per the Chilton repair manual (4-speed Muncie transmission).
The tranny's done!
And, finally, the engine bay area. After examining the kit radiator assembly, I decided it would be too hard to repair. The radiator itself was too small, and the core support was fragile. So, I just built a new support out of .04" styrene and found a radiator from the spares box. As I recall, it once belonged to the Monogram 1996 Corvette Gran Sport. It fit the Firebird perfectly!
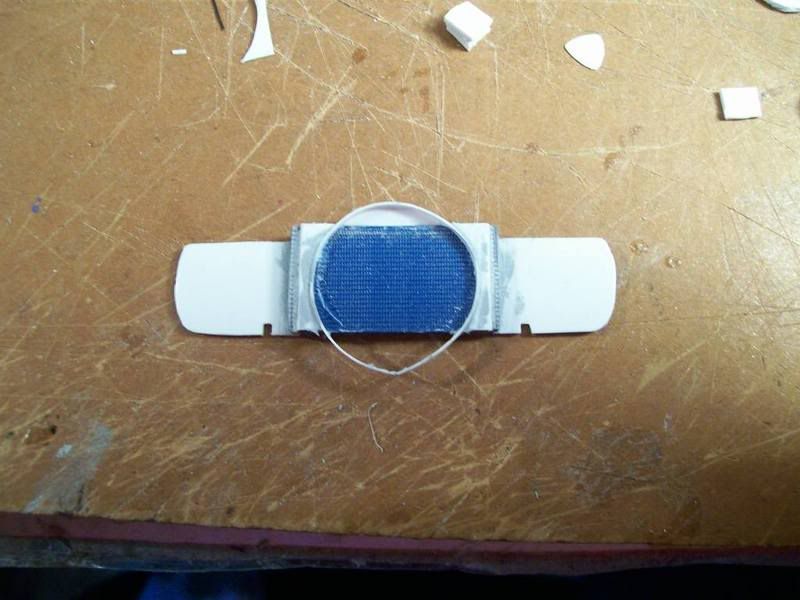
Here it is, puttied in place. I puttied over the texture on the edges to simulate the smooth metal end caps of a radiator.
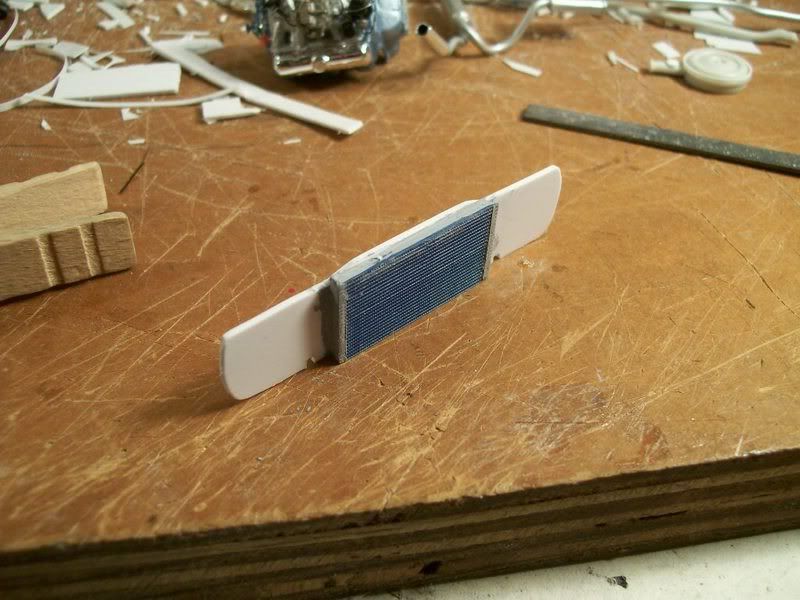
Here's the fan shroud. It seems awfully large to me, but I'm sure that they were full circles, and based on the width of the ones in my reference pictures, it must stick that far down as well. Still needs a radiator cap, and then I'll paint it.
The firewall will get painted too, before I go any farther. Here is the base plate for the wiper motor. After I paint, I'll be able to install the various firewall components and wiring.

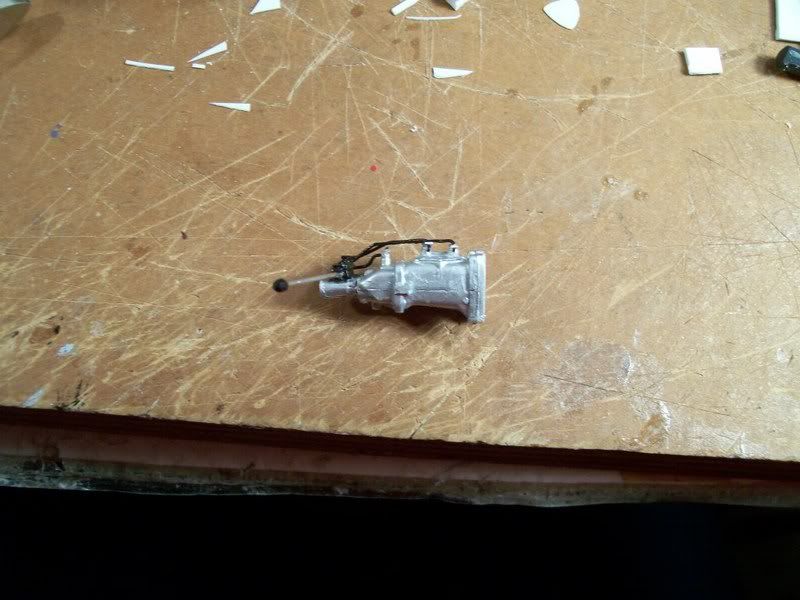
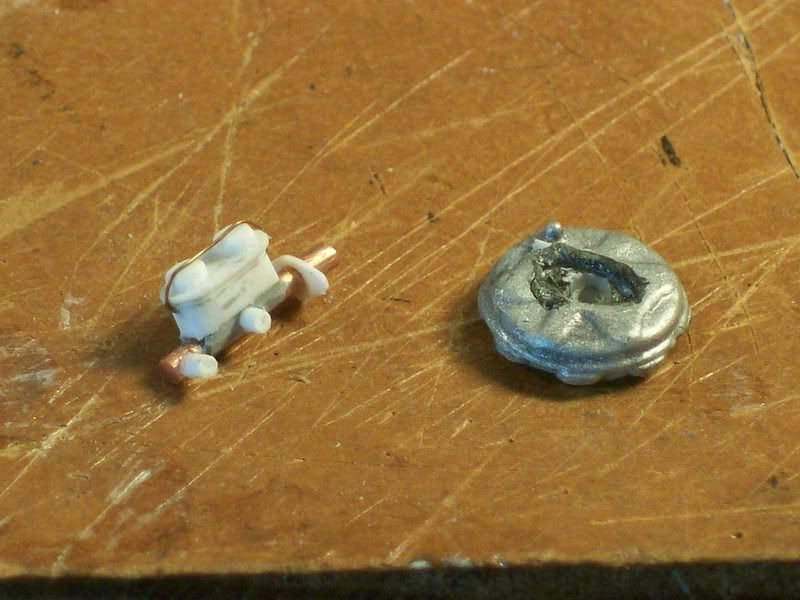
At left is the master cylinder that I scratchbuilt from styrene, wire, and putty. I based the measurements on a real one that I dug out of the junk pile at my Dad's shop (another benefit!) I think it turned out pretty good. At right is a spare parts box brake booster. I plan to build the factory option front disc brakes, and figured that adding vacuum assist to them would have been a logical choice for this powerful car.
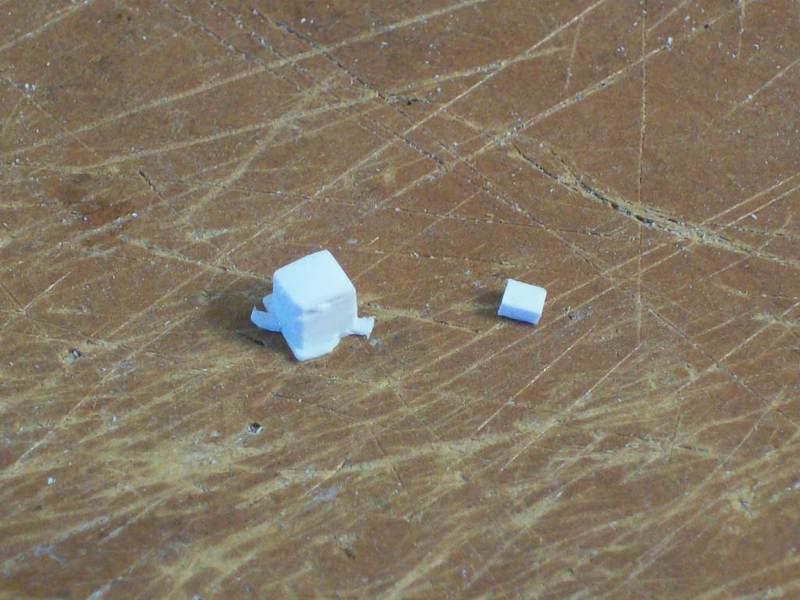
Finally, I built a couple electrical parts. At left is the voltage regulator on its oddly-shaped mouting plate. At right is the tiny horn relay.
Spring break has already allowed me to accomplish this much, so I'm sure I'll be able to get a lot more work done.
But first, ANOTHER QUESTION that will allow me to do some more work on the chassis. Where on the fuel tank does the fuel line come out? Is it on the front or the side? (the fuel line runs along the driver's side of the chassis).
Hope you can answer so I can plumb the chassis and start the suspension assemblies.
Thanks for looking and for your kind comments. I hope to finish this model within the month (but no guarantees!)
Alex