|
|
|

|
|
| Search | Car Forums | Gallery | Articles | Helper | AF 350Z | IgorSushko.com | Corporate |
|
| Latest | 0 Rplys |
|
|||||||
| WIP - Street Post topics for any "Works In Progress" street vehicles projects in this sub-forum. |
 |
 Show Printable Version | Show Printable Version |  Email this Page | Email this Page |  Subscribe to this Thread
|
|
|
Thread Tools |
 08-08-2011, 02:23 PM
|
#1 | |
|
AF Regular

Join Date: May 2007
Location: Ljubljana
Posts: 128
Thanks: 1
Thanked 3 Times in 3 Posts
|
Ferrari Superamerica
Hello again from the workshop of a Hamster!
 I lost my faith in the Challenger project, so I began my journey with this "quick" build of Revell's Superamerica. The reason I have put so much attention to this project is simply because I have a Fujimi's 575 in my Hamster stack. I lost my faith in the Challenger project, so I began my journey with this "quick" build of Revell's Superamerica. The reason I have put so much attention to this project is simply because I have a Fujimi's 575 in my Hamster stack. I'll let the pics do the talking: original:  http://www.ferrari-chat.nu/forum/vie...?f=124&p=12207 Revell before: 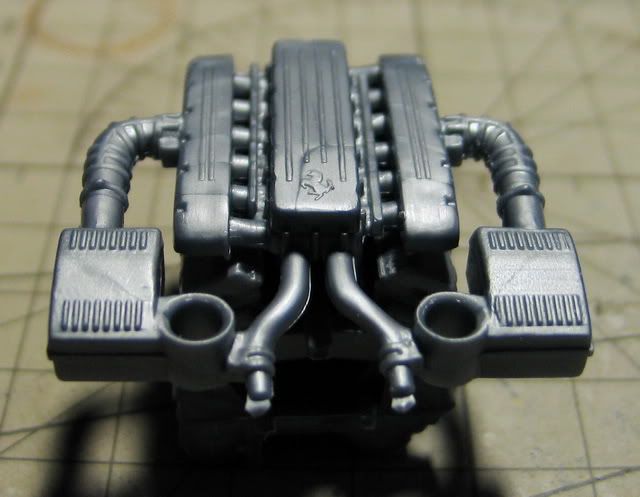 Revell in the middle of progress: 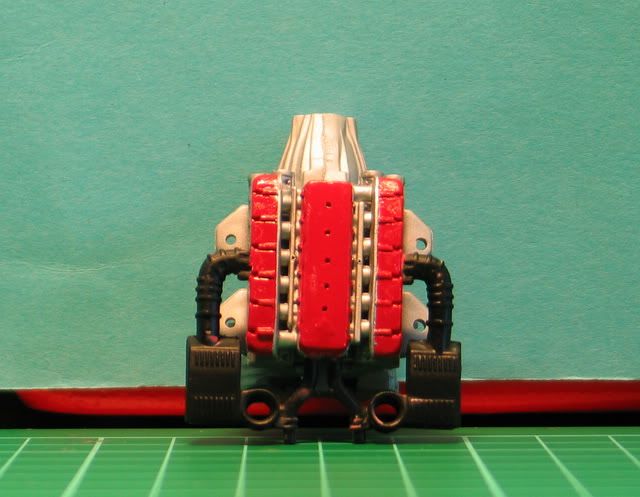 There had to be some areas to be thinned: 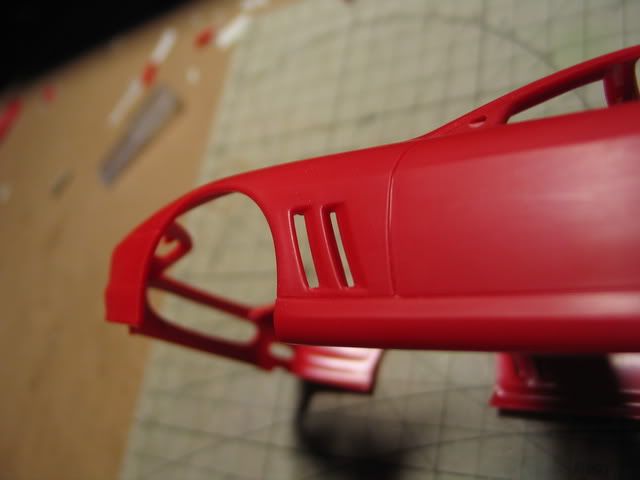  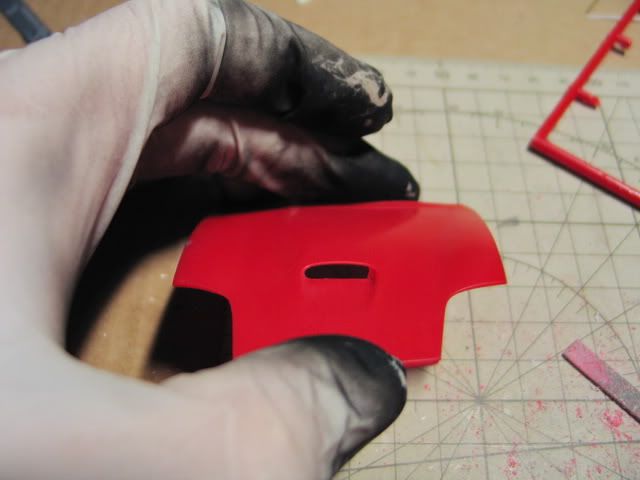 Revell didn't put a badge relief on the back so that was a "must do":  http://www.distrocars.com/2005-ferra...rica-rear-side With outlining of the PE badge on 0,3mm styrene I managed to produce a fairly nice Horse emblem for the back: 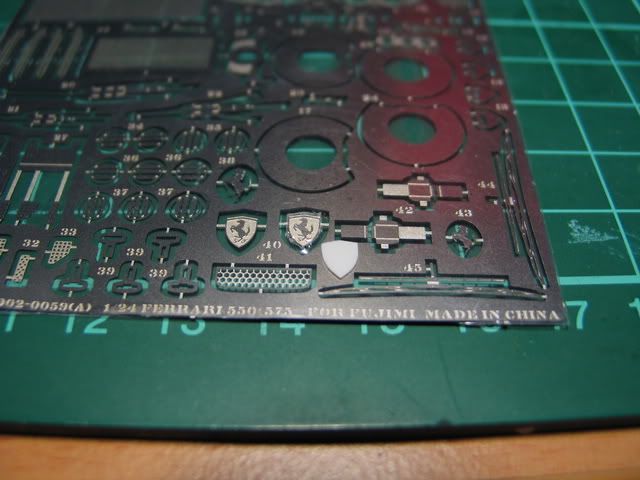 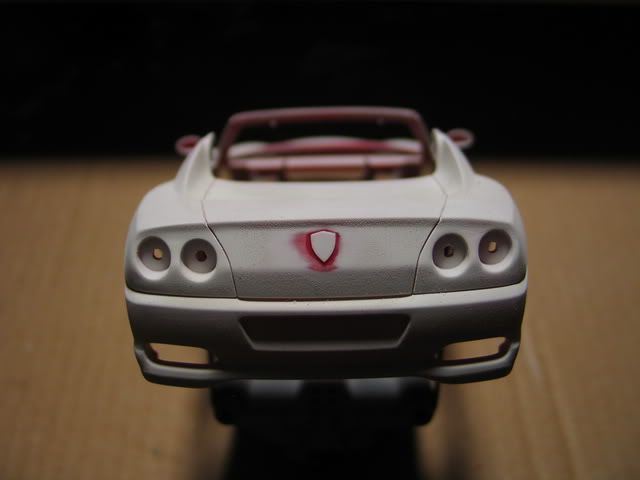 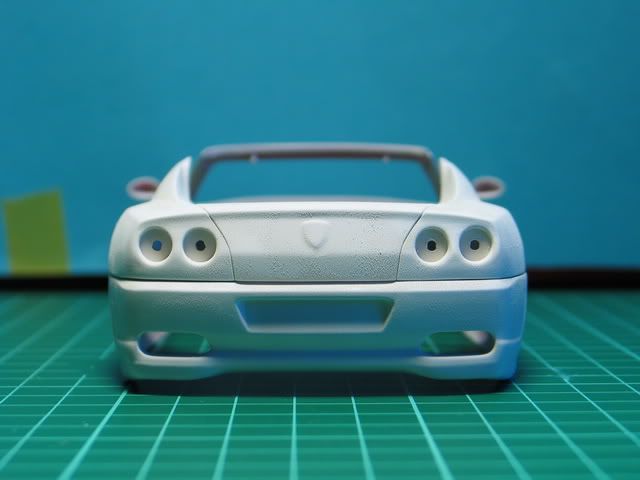 http://rides.webshots.com/album/5770...SNWOZ?start=36 Interior got a few details too:  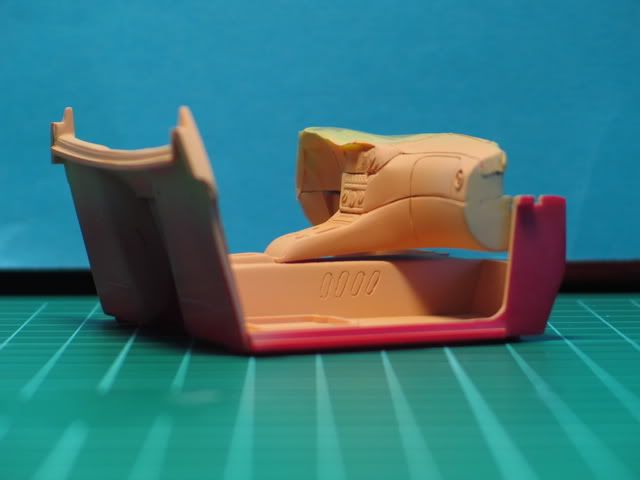 Because of the resemblities between Supeamerica and 575 Maranello I decided to make a modification of the front seats. There is only one in progress at the moment but I'll make a resin copy of it so that I will save some time for the following projects. 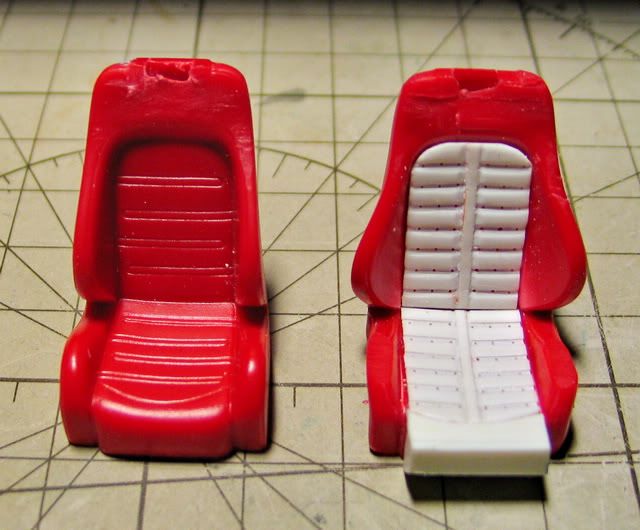 Mocking up of chassy and engine... 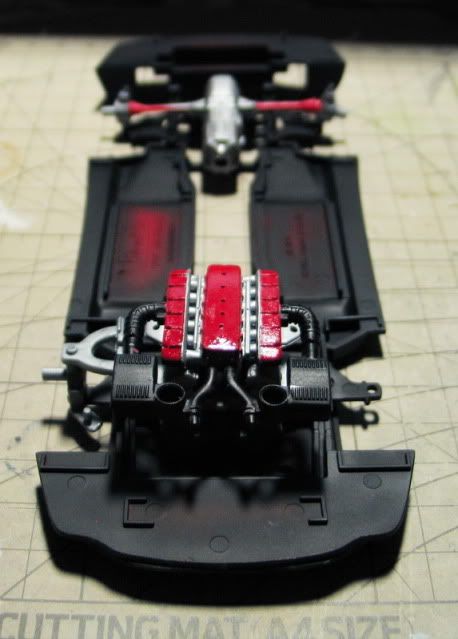 Wheels on modified axis (Fujimi type): 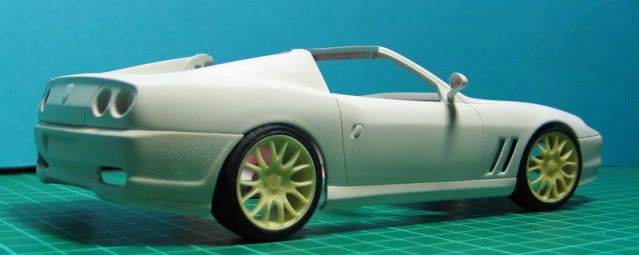  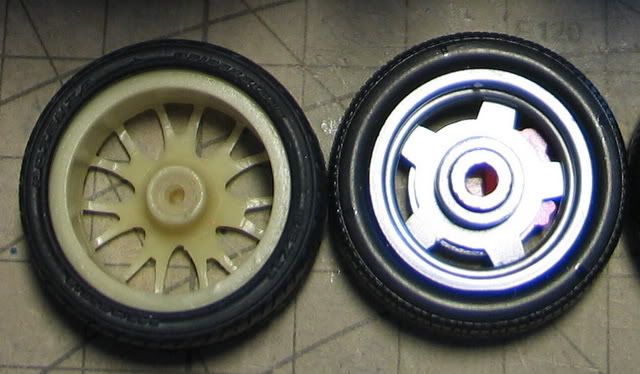  Another mock-up: 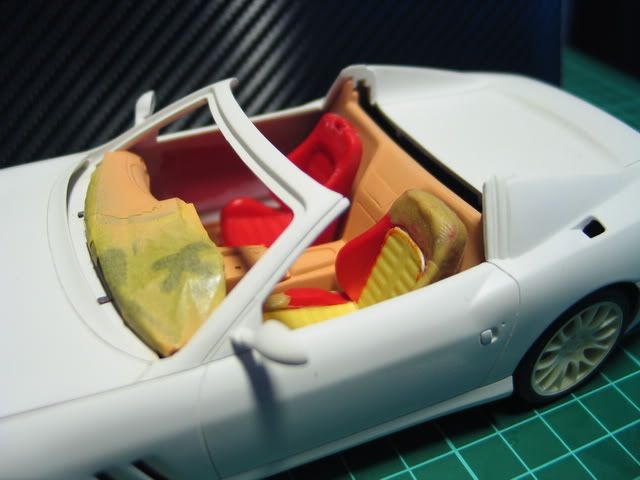 Seat still needs some attention before molding (the main area is covered with masking tape to prevent damage while sanding down the putty):  I managed to lay a layer of Tamiya's yellow (20ml pot): 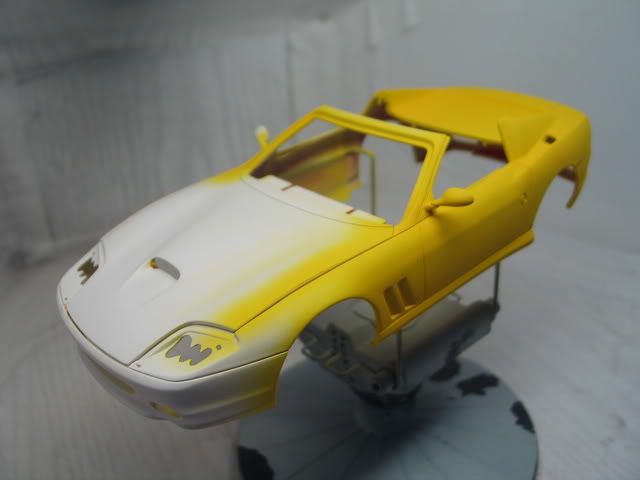 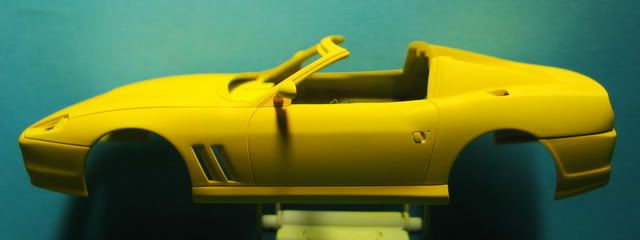 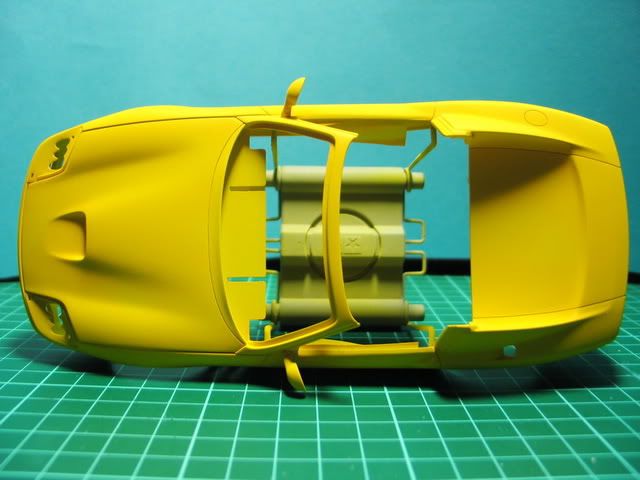  I hope you enyojed scrolling down and hope to show you something new soon.
__________________

|
|

|

|
|
08-09-2011, 02:01 AM
|
#2 | |
|
AF Enthusiast

Join Date: May 2007
Location: Budapest
Posts: 1,264
Thanks: 0
Thanked 14 Times in 14 Posts
|
Re: Ferrari Superamerica
Good job so far, nice choice on the rims!
__________________

|
|
|
|
|
|
08-09-2011, 02:35 AM
|
#3 | |
|
AF Enthusiast
Join Date: Apr 2010
Location: Noord-Holland
Posts: 649
Thanks: 30
Thanked 56 Times in 40 Posts
|
Re: Ferrari Superamerica
I hadnt even noticed the rear horse emblem was like that, If i buy the kit again i think ill have to do this aswell it makes a huge diffrence, Are you ging to do the polished aluminium tank lid aswel?
O and bye the way you should take a look at the gap between the dash and the rest of the interior, Mine had a pritty big one,, But good luck and ill be watching this one berry closely!
__________________
Check out my Youtube Channel for Video's of my builds and some tips and tricks http://www.youtube.com/user/xrcflash https://www.facebook.com/thescalemodelingchannel My online webshop www.thescalemodeler.com |
|
|
|
|
|
08-14-2011, 06:13 PM
|
#4 | |
|
AF Regular
Thread starter
Join Date: May 2007
Location: Ljubljana
Posts: 128
Thanks: 1
Thanked 3 Times in 3 Posts
|
Re: Ferrari Superamerica
Thanks for your tip Tompidom! I really hadn't noticed the gap while I was dryfitting interior to the body. I did notice something isn't right where it's supposed to be but I thought that I overlooked a part in the kit that could put it right.
So I took a closer look at the whole kit and also noticed that there isn't any panel lining on the front and the rear. A few strokes here and there with a PE modelling saw sorted it out. There is a Tamiya's botteled primer applied with a brush to fix the minor scratches. I also made panels for the "headlight cleaners": 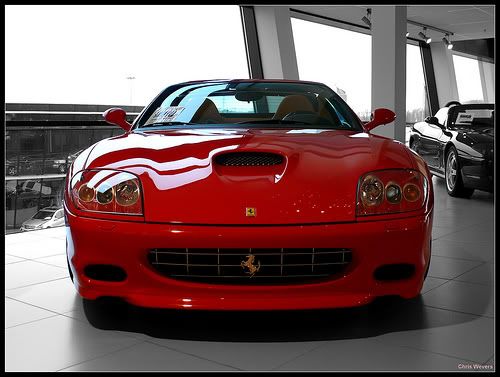 URL source 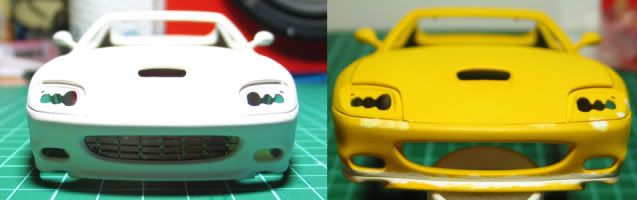 And here is how I solved the dashboard gap. It took a few minutes to file it a bit so that the console sat on it's place. The reference: 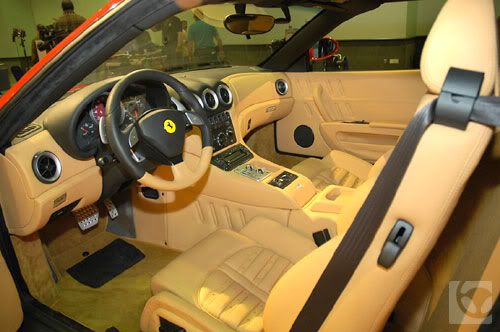 URL source 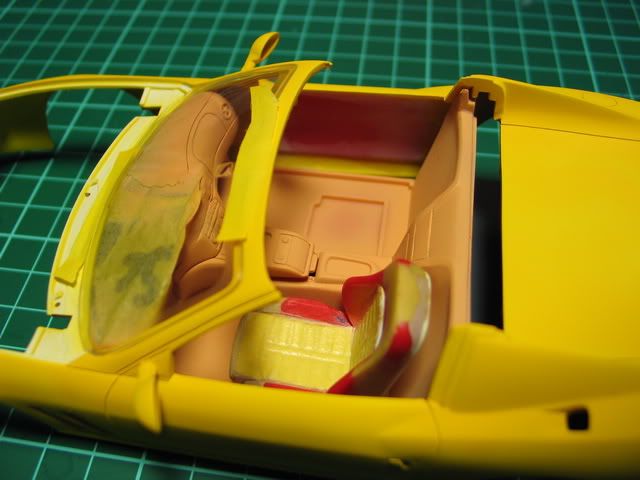 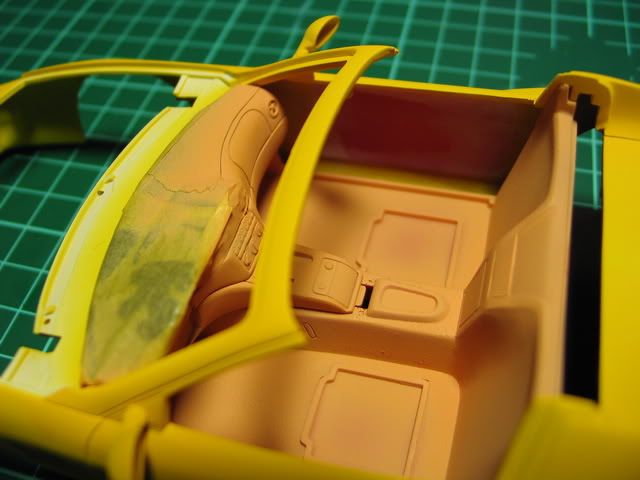  Because I want to have an EU version of SA, I also had to make the turning indicators. A clear sprue inside of dremel and a scalpel plus PE saw helped me out on this one. I'm thinking of doing the same thing with an orange sprue I had left from Lexus IS350.  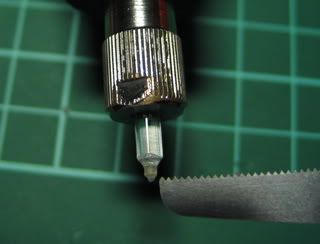 These small things are inside of a 10 by 10mm square and they don't look very accurate but it's good enough for me although I might work on some new pieces: 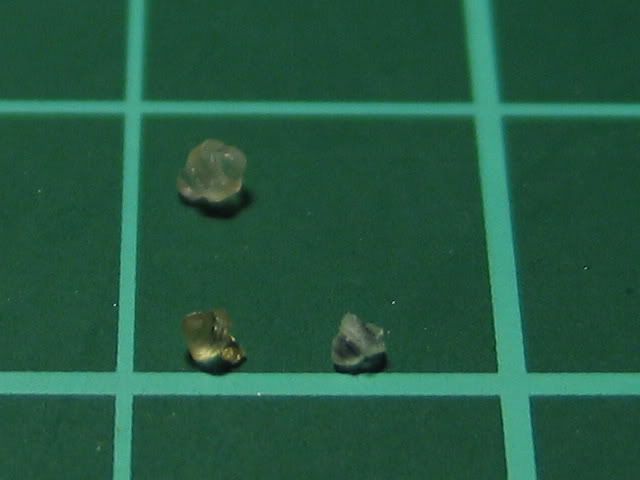 Thanks for watching!
__________________
|
|
|
|
|
|
08-15-2011, 03:20 PM
|
#5 | |
|
AF Regular

Join Date: Jan 2007
Location: Denver, Colorado
Posts: 381
Thanks: 1
Thanked 3 Times in 3 Posts
|
Re: Ferrari Superamerica
Nice work, I admire your attention to small details that so many seem to miss.
__________________
|
|
|
|
|
|
08-30-2011, 12:19 AM
|
#6 | |
|
AF Regular
Thread starter
Join Date: May 2007
Location: Ljubljana
Posts: 128
Thanks: 1
Thanked 3 Times in 3 Posts
|
Re: Ferrari Superamerica
Thanks Joe, but it's kind of a curse, this attention to details. I just can't build OOB's anymore so every model takes a few months of work. Well everything has a price to pay, I guess.
Since I wasn't pleased with the clear directional lights, I milled new ones out of clear orange sprue I had left from Fujimi's Lexus. To give the glossy look back to the milled clear parts I simply "painted" them with Tamiya's Thin Cement. Any clear lacquer should do the job too, I guess. I used Thin Cement for one reason only - it slightly melts the plastic surface even though you apply a thin layer. You can get glossy effect with lacquers too but you have to apply a lot of lacquer and you can end up with a ball instead of a cone shaped directional light. Let me show you what I mean: 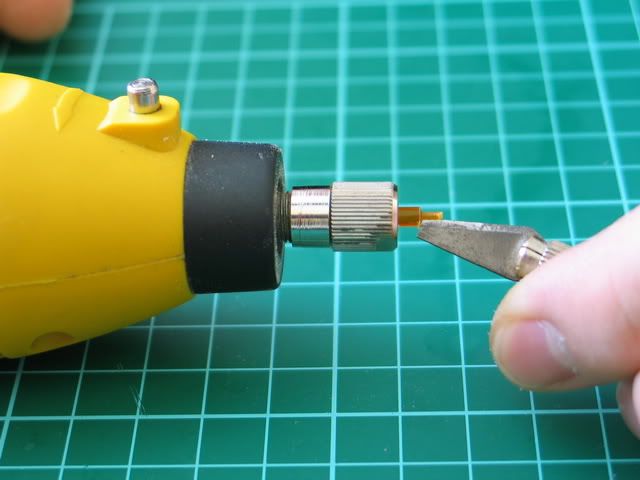  You can see the milled out parts in the middle which are without glossy surface, and the Thin Cement treated ones at the bottom: 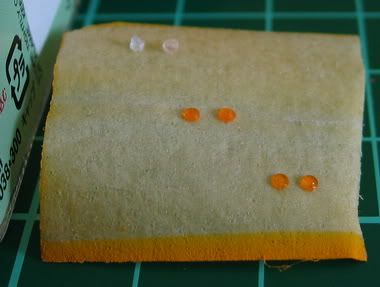 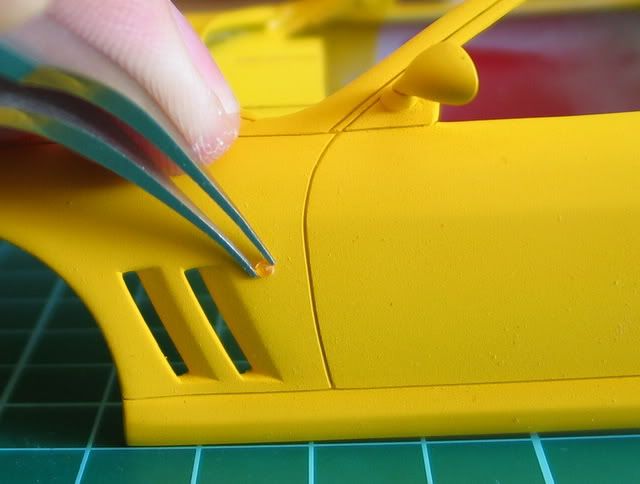  I also made the roof locks panels: 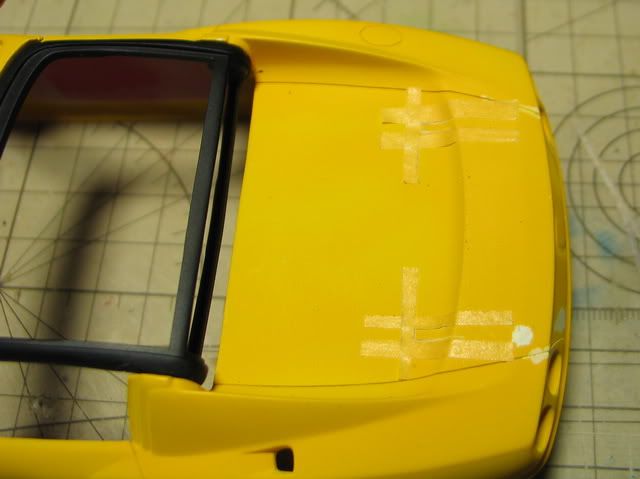 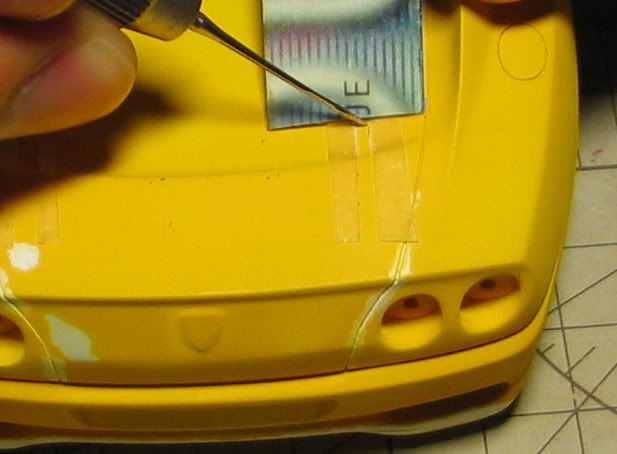 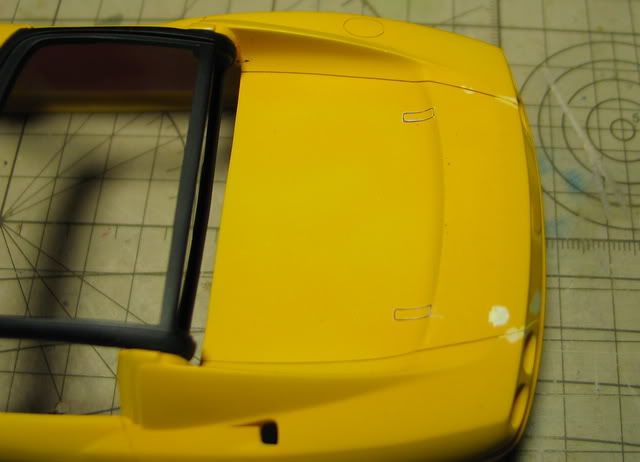 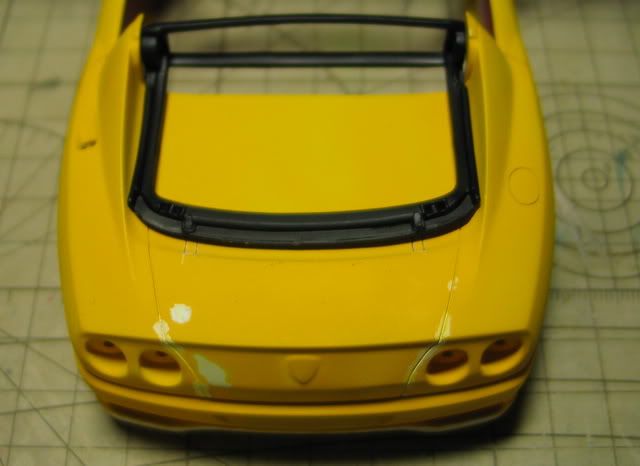 A few more scratches to fill and it'll be ready for the last layer of paint. I'll keep you posted!
__________________
|
|
|
|
|
| ||||||||||||||||||||||||||||||||||||||
|
POST REPLY TO THIS THREAD |
 |
|
|


