|
|
| Search | Car Forums | Gallery | Articles | Helper | Air Dried Fresh Beef Dog Food | IgorSushko.com | Corporate |
|
|||||||
| WIP - Motorsports Post topics for any "Work In Process" motorsports vehicles in this sub-forum. |
 |
 Show Printable Version | Show Printable Version |  Subscribe to this Thread
|
|
|
Thread Tools |
|
#1
 11-15-2008, 07:00 PM
|
||||
|
||||
|
1/20 Ferrari 126C2 - San Marino to Monza version WIP.
Well this is an unexpected WIP!
I decided to dig out a Fujimi 126C San Marino kit and do a quick build OOB just working on building a clean build. 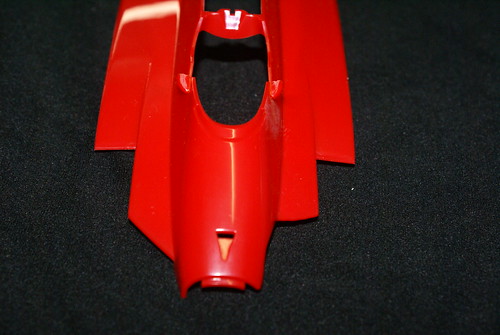 Cleaning the parts and getting everything primed when I notice the body was a miss - mold on the left front! After checking into what it would take to get a new body sent, I decided it wasnt worth the cost (I may as well have purchased a new kit for the cost of shipping!) and I would try to modify the kit as it ran in the 1982 Italian GP by Mario Andretti. He was the pole sitter and finished 3rd in the race. The biggest change is that the sides didnt have the extension to the front suspension and there as a slope down as the sidepods went from front to back. 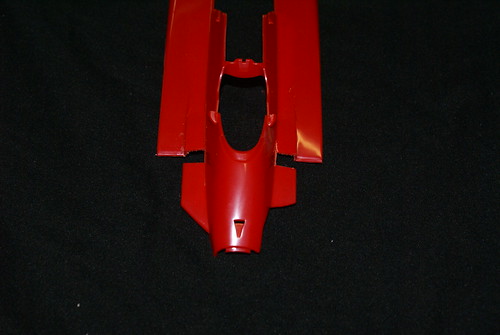 Also the suspension covers on the front were very small compared to the kits San Marino version. 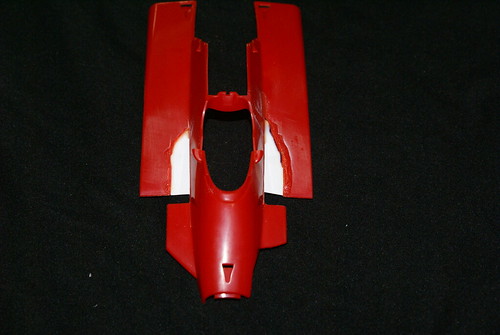 I started by cutting the sidepods and sanding down the existing pieces to a shape I could putty and fill in with plastic sheet. The area in front of the left suspension was part of the missmold and also had to be filled in. You can see in the pictures I had already glued the mirrors on and had to cover them with tape to ensure I didnt damage them with all the sanding and cutting. 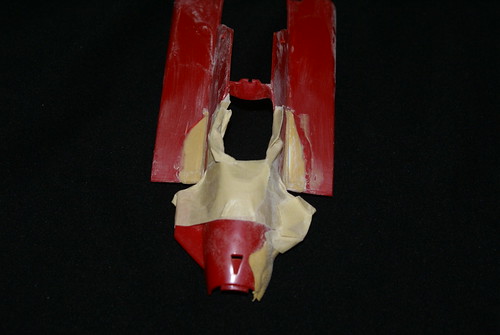 I used Tamiya 2 part epoxy putty, thinned with some finishers thinner and worked it onto the sidepods after sheet styrene was glued in place with CA glue. After the putty was in place a coat of CA was brushed over the putty to fill in some of the smaller holed that existed. 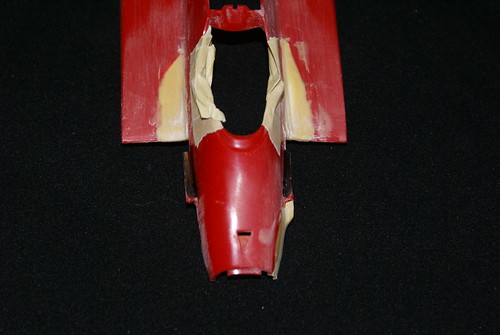 After about an hours the putty was filed down and shaped with a dremel. I forgot how hard this stuff gets after it dries! The nose section was shaped and worked to mirror the other side and fill in the missing section. 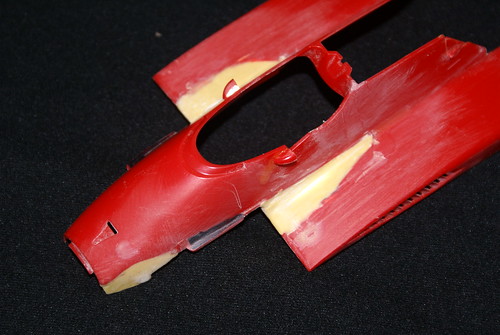 After the basic shape was complete CA glue was again brushed on to fill in any small holes and to help harden the remaining epoxy putty. The body was primed with automotive paint and block sanded several times. The bodywork around the suspension arms were shaped with files and putty and sanded smooth. A quick tip when working with the putty and CA glue. If you put the parts with the putty and glue in a food dehydrator for about 10 minutes then move it to the freezer for 10 and back to the hot dehydrator, the speeds up the process and you dont have to wait for hours to work with your part again. This probably cut out 24 hours in this build already! While the body was being worked on the engine and all other parts were primed, painted and assembled. Reference pictures were used out of the latest F1Modeling Magazine, a great issue for anyone building one of these kits! The brake ducts were given a fiberglass look using this method. The ducts were brushed with brown and yellow pastels (chalk) after a coat of gloss white paint. 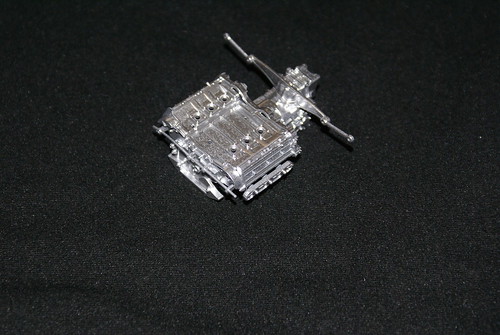 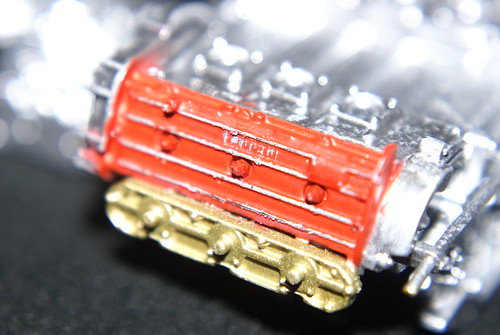 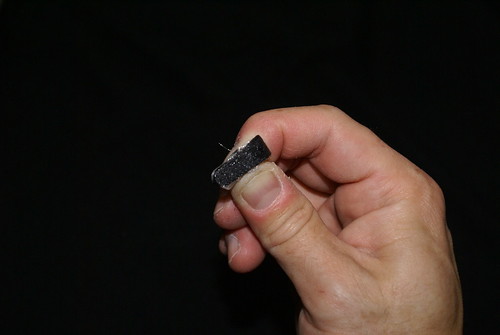 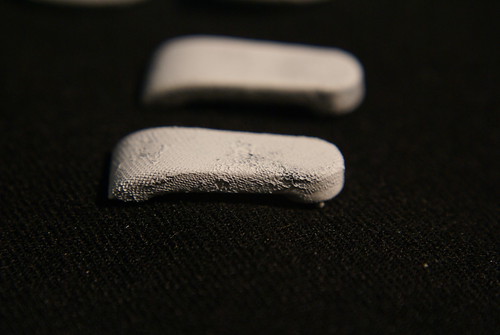 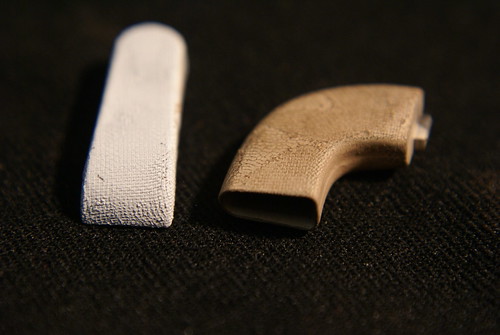 The body was primed with Tamiya white surface primer before receiving several mist coats and 2 heavy coats of Tamiya Pink. Ive never used this method before but have read that the Ferrari Red looks much brighter using this method. 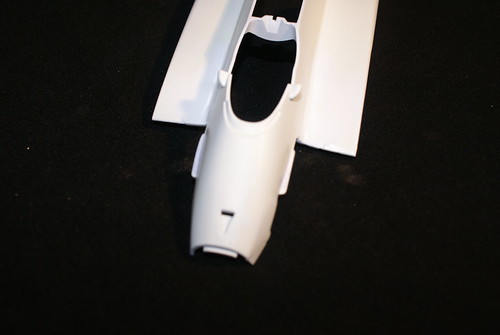 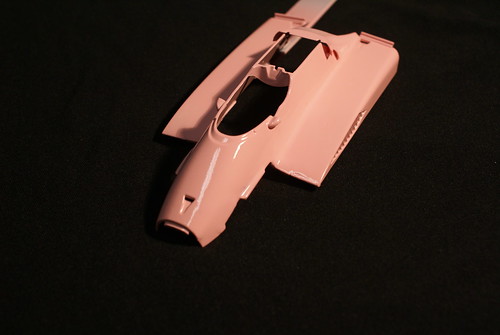 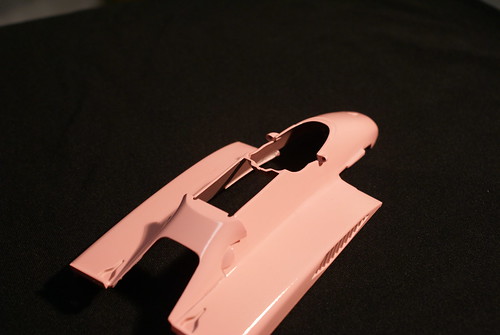 Thanks for looking! Chris 
|
|
#2
11-16-2008, 03:49 AM
|
|||
|
|||
|
Re: 1/20 Ferrari 126C2 - San Marino to Monza version WIP.
Excellent start! Your mods look spot on and very clean. :thumsup:
I'm eager to see the end result of the paint job.  How did you make those brake cooler intakes look so realistic? PS: Fujimi should send you a new body shell for free in this case. Did you try to contact the vendor and tell them that the part was like that when it arrived? I'll take a look right now to see if the one in my kit is looking as it should.
|
|
#3
11-16-2008, 12:33 PM
|
||||
|
||||
|
Re: 1/20 Ferrari 126C2 - San Marino to Monza version WIP.
jano - I used the method of brushing on liquid glue over a mesh like cloth. While it is still tacky you remove the cloth and the patter is melted onto the piece. I just painted gloss white and used the chalk to color it.
Here is an update on the kit. I missed the fact that this car ran a different suspension and have reworked the kits to as close as possible without a complete rebuild with new parts. New bodywork was added to make a more correct shape around the suspension.  The gauges were cut off the kit version and new rings were made out of solder. krystal clear was applied over the kit decals and a switch on the left hand side was made from solder as well. 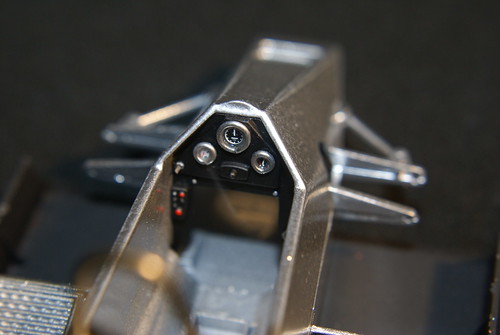 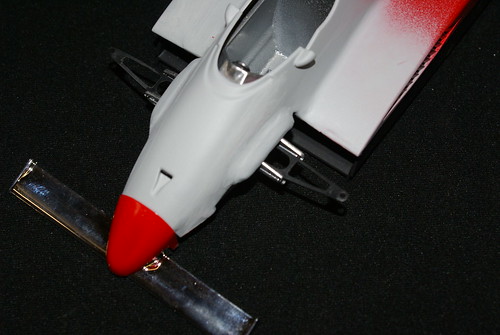 More to come. Chris
|
|
#4
11-17-2008, 06:33 PM
|
||||
|
||||
|
Re: 1/20 Ferrari 126C2 - San Marino to Monza version WIP.
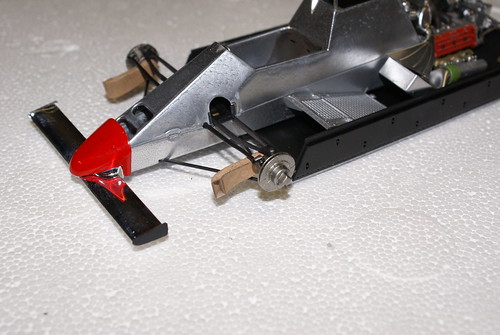
Not very good pictures but it shows some of the work that has been done.
I should be able to get some primer on later tonight after i putty and clean up the area. The parts i cast didnt turn out so i'm going to just go with the modified kit suspension. Chris 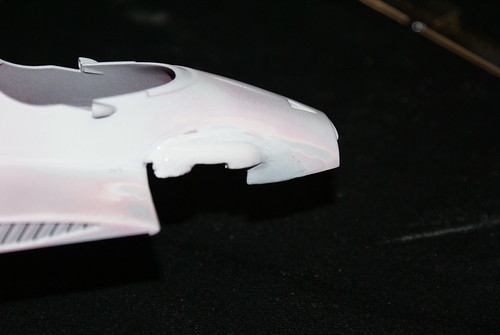 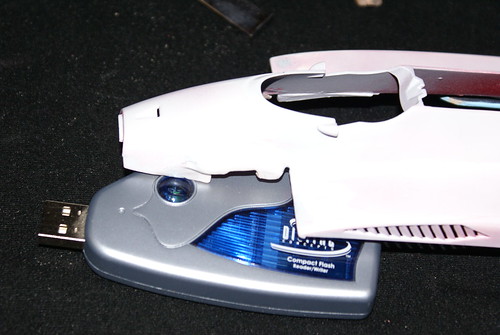
|
|
#5
11-20-2008, 09:47 PM
|
||||
|
||||
|
Re: 1/20 Ferrari 126C2 - San Marino to Monza version WIP.
I went with the option to just modify the kit suspension for this build and it looks pretty good so far.
 Here is the updated body after I used a dremel to shape the cover over the suspension. 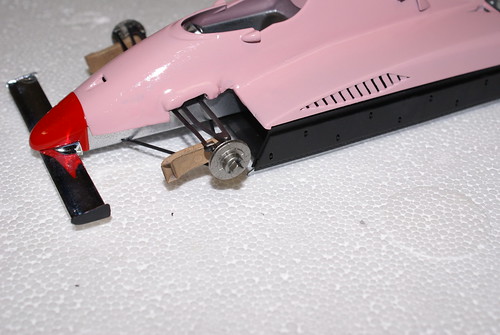  And an image of the completed engine. The body will be glued on so this is all you will get so see when complete. A larger images so you can see the spring! 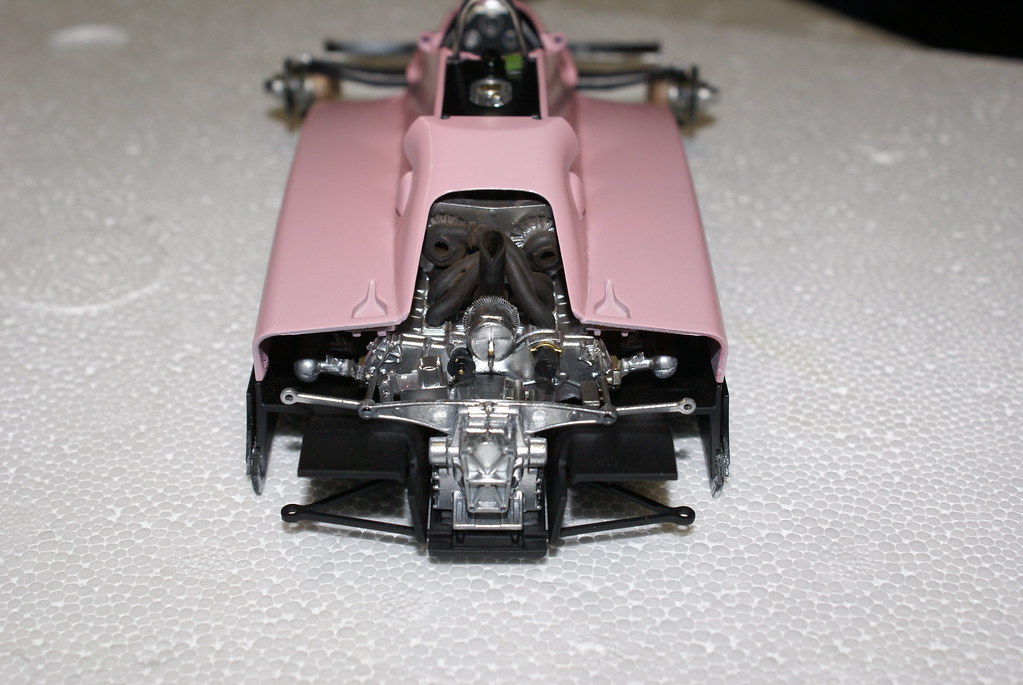 Tomorrow the body will get a clear coat before the red to give a very smooth surface. Feedback welcome! Chris
|
|
#6
11-21-2008, 08:04 AM
|
|||
|
|||
|
Re: 1/20 Ferrari 126C2 - San Marino to Monza version WIP.
You are doing a nice job!
I would say that you should try to improve the finish of suspension cover a bit using a file or some sandpaper. Otherwise it looks great, I especially like how the engine looks. 
|
|
#7
11-21-2008, 05:31 PM
|
||||
|
||||
|
Be carefully. If you use red paint the primer must be 100 % correct and smooth. Looks to me you have a problem around the front suspension. I am afraid based on bad experience this will be very visible when you have finished the red paintjob. Now you are warned.

__________________
Best regards Allan Nielsen Denmark
|
|
#8
11-22-2008, 06:34 AM
|
||||
|
||||
|
Re: 1/20 Ferrari 126C2 - San Marino to Monza version WIP.
Great building of a great car!! I like a lot the texture of the air cooling of the brakes. Keep posting more updates.
__________________
Quim WIP: Tamiya 1/12 McLaren MP4/6 Ayrton Senna Completed: Tamiya 1/12 Mclaren MP4/6 Ayrton Senna
|
|
|
POST REPLY TO THIS THREAD |
 |
|
|


