|
|
| Search | Car Forums | Gallery | Articles | Helper | Air Dried Fresh Beef Dog Food | IgorSushko.com | Corporate |
|
|||||||
| WIP - Street Post topics for any "Works In Progress" street vehicles projects in this sub-forum. |
 |
 Show Printable Version | Show Printable Version |  Subscribe to this Thread
|
|
|
Thread Tools |
|
#1
 07-26-2008, 10:52 PM
|
||||
|
||||
|
Ferrari 250TR by Hasegawa
The new Hasegawa 250TR
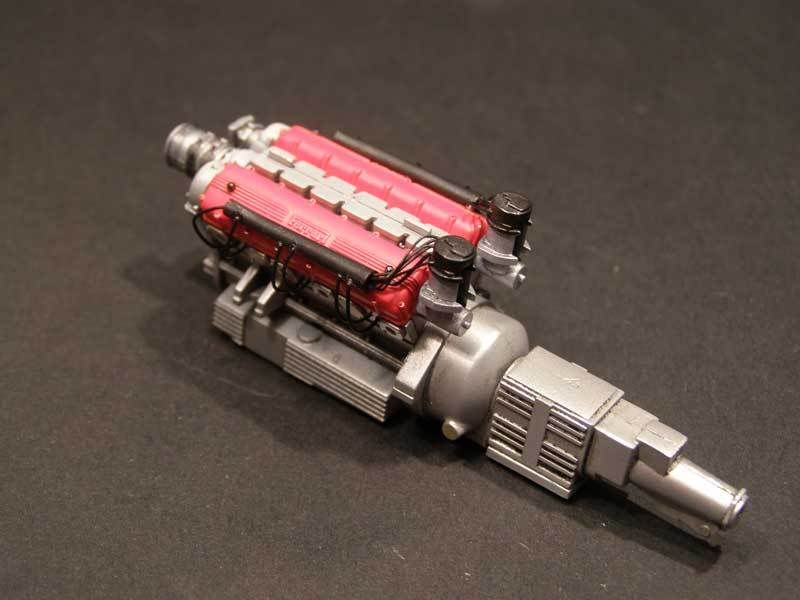
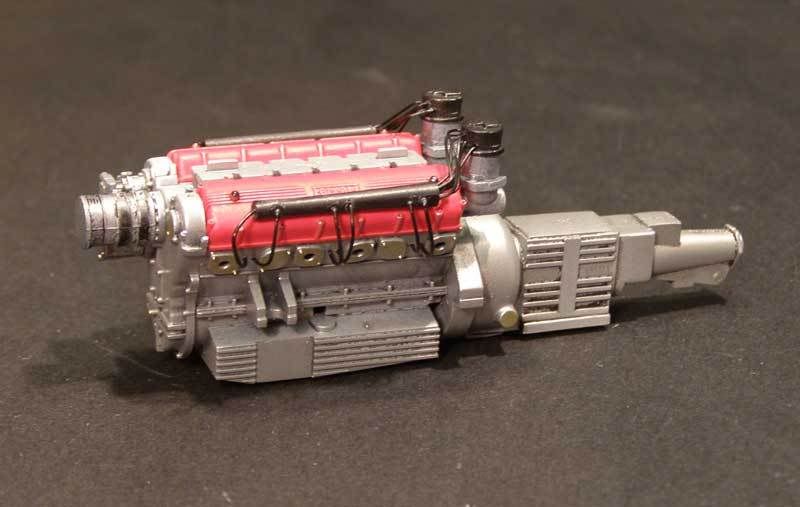
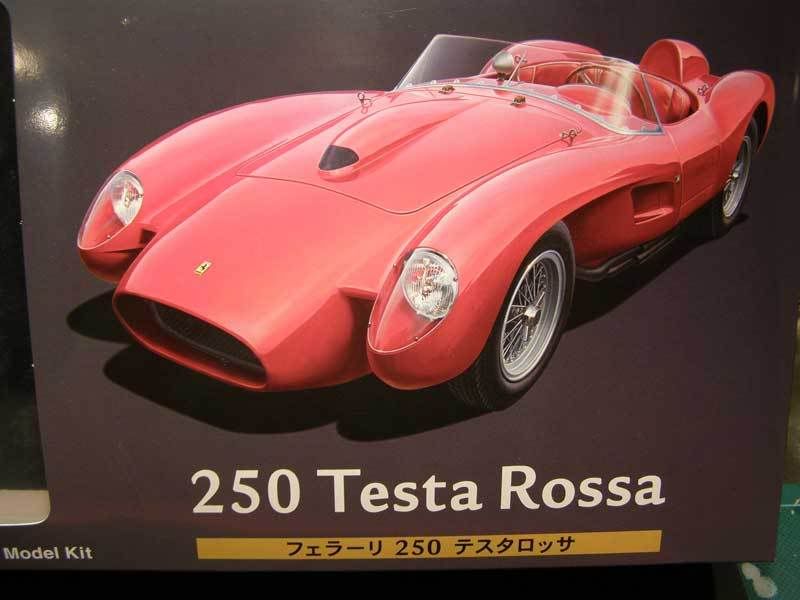 I am building this kit strictly OOB although the original Hassegawa photo etch wire wheels will be allowed since they do come in a box with the company logo on it  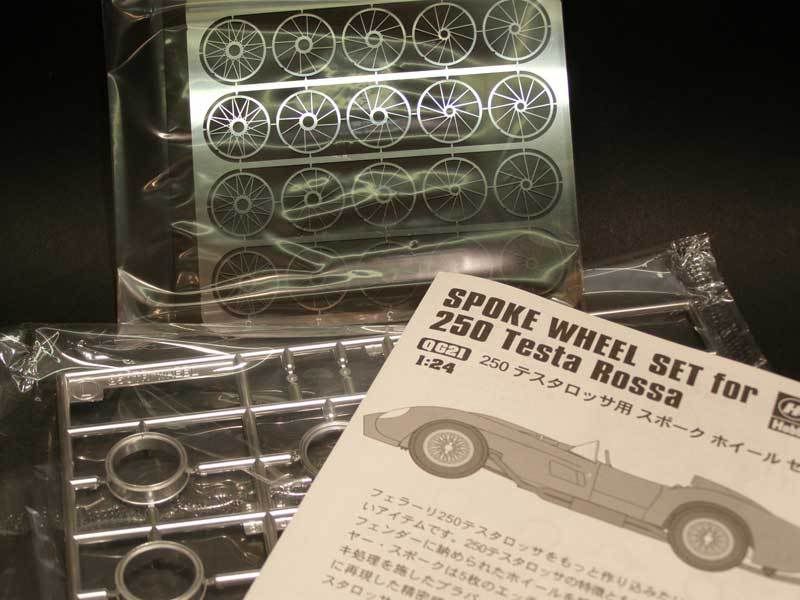 The first thing I did was, in retrospect, a mistake . At the time I hadn't made my decision for an OOB build and I removed the molded in mesh on the hood vent. Now I am stuck with it but I am sure there is an original 250TR out there somewhere with an open vent just like this  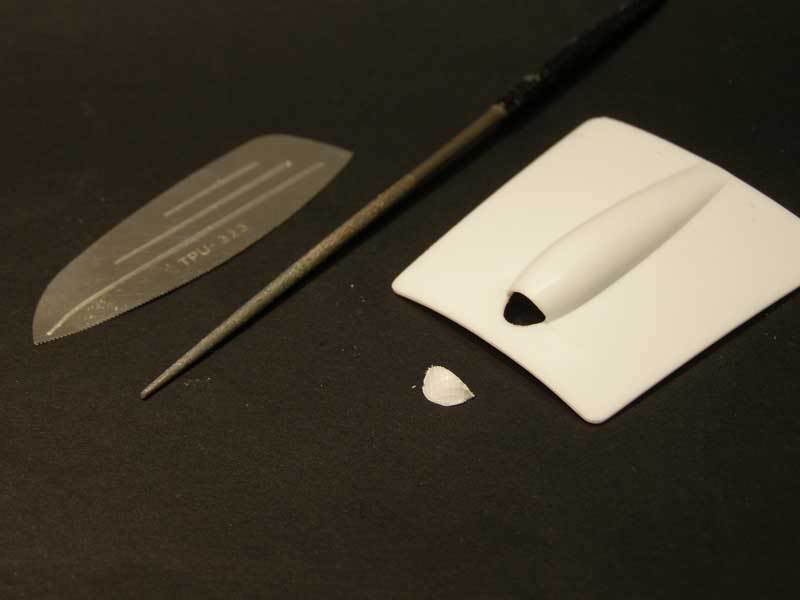 Next thing I did was to tackle some of the body parts that need to be joined together. Hasegawa are really generous with this kit and they allow for a variety of versions with different scoop and hinge configurations. However, one of the non-negotiable intakes is this one but they have still molded it as two pieces. This solution leaves an awful join line that needs to be puttied away (I don't know why they did it this way because I am pretty sure that modern injection molding technology would have permitted this to be made as one piece) 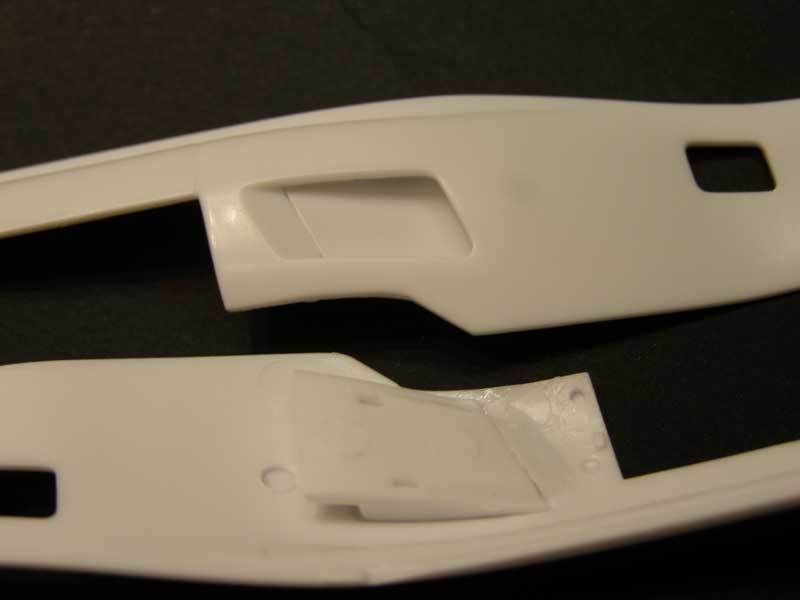 Another left-curve they throw at you is the join line between upper body part and the inside panel of the pontoon fender. This again leaves quite a substantial join line which could in fact be confused for a panel line. I have noticed that some modelers have in fact left this join line but my photo research shows that this is never present on the original cars. It turned out to be a bit of a bear to fill. After several rounds of putty, sanding and primer, I was still getting a ghost line. On top of that, the putty tends to fill panel lines that should stay so they need to be carefully re-scribed. The photo below is from during that process and you can see that the line is still there. I finally got that sucker filled though...I hope.  The only part of the molding that I would criticize so far is the panel line around the gas filler tank. On my kit the line was so soft and shallow I was seriously worried that after paint it would barely be visible. For this reason I filled it in and re-scribed a new one. 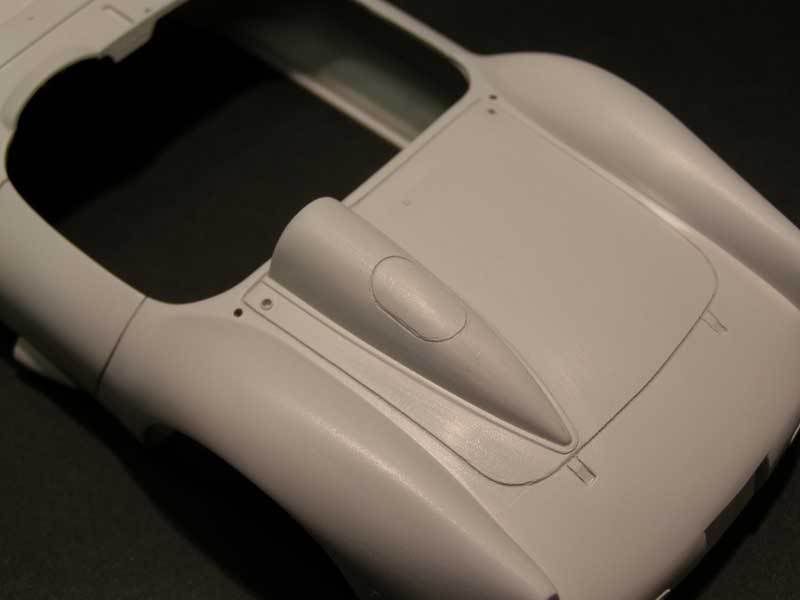 Finally I added the airs scoops below the doors and re-primed. I think this part is finished now and just needs some minor tidying up. 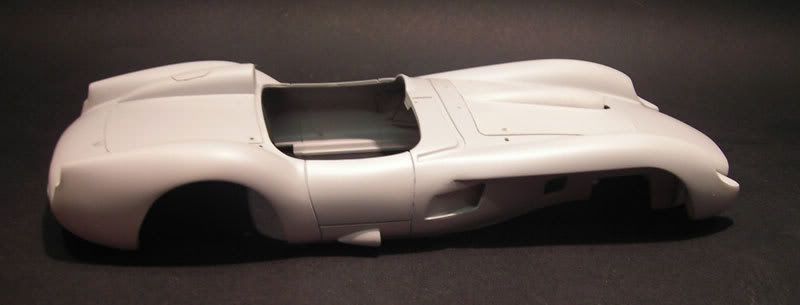 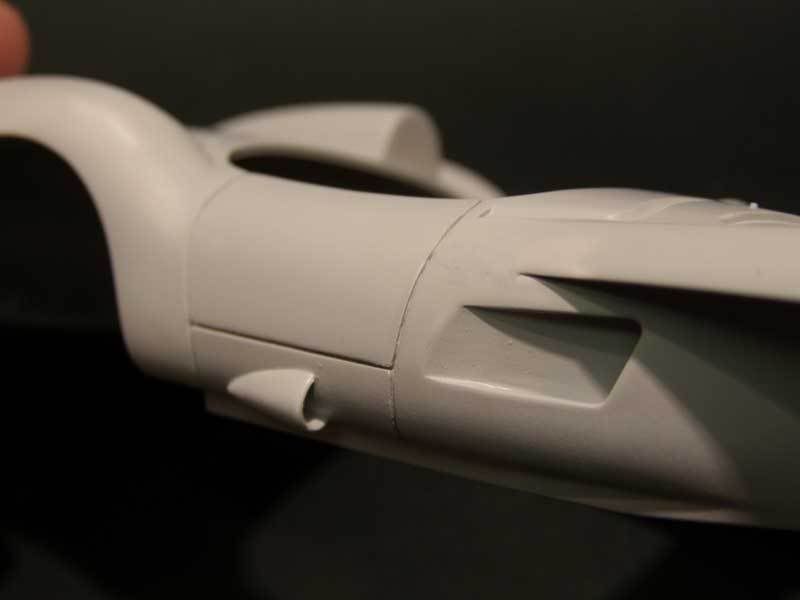 Because I am like a child, I couldn't wait to assemble the Hasegawa P/E wheel set for this kit... so I assembled it Beautiful wheels and well worth the money (although TBH I don't think that the original kit wheels look too bad either) 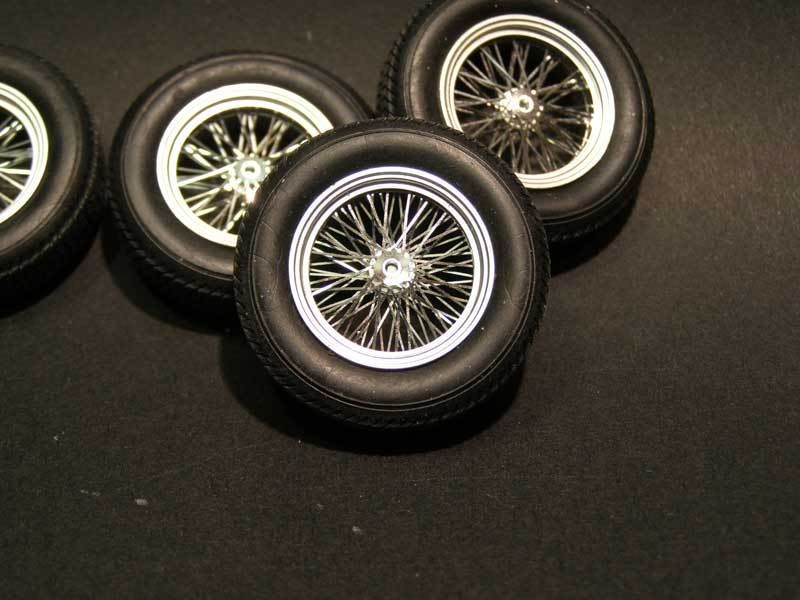 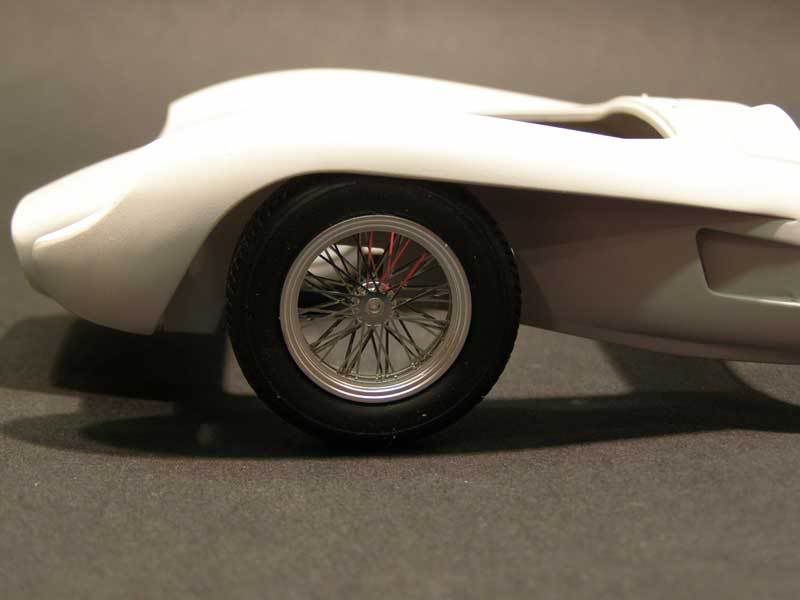 Finally I have started painting and dry-brushing the chassis and suspension parts to prepare for a ride height/track test fit.  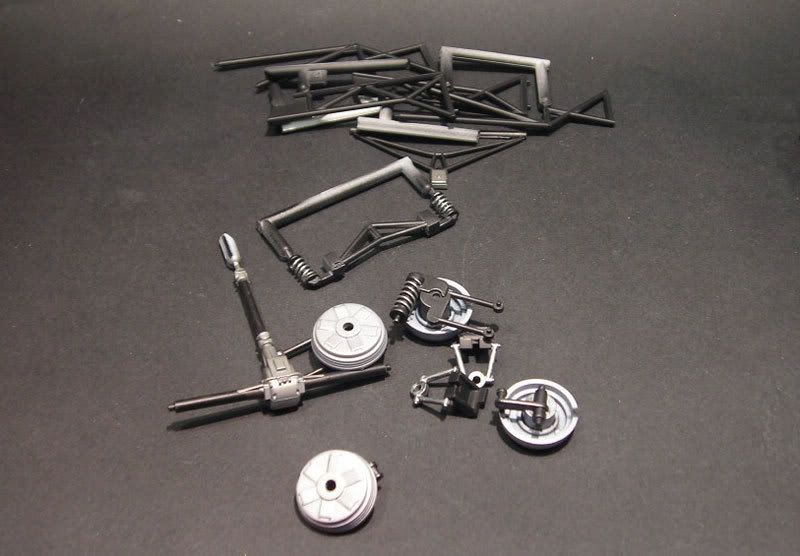 I pre-shaded the seats before painting with Vallejo Fire Red over white primer. I am very happy with the subtle effect (although TBH I think I gave the seats one too many coats of paint and slightly killed the effect) In the spirit of "nothing that wasn't in the box" I stretched some of the white sprue and added piping to the seats 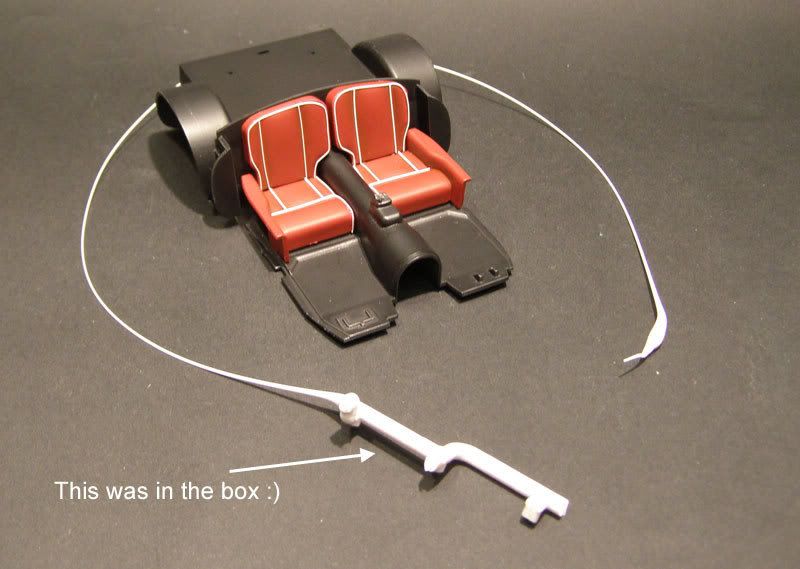 Looks pretty good... 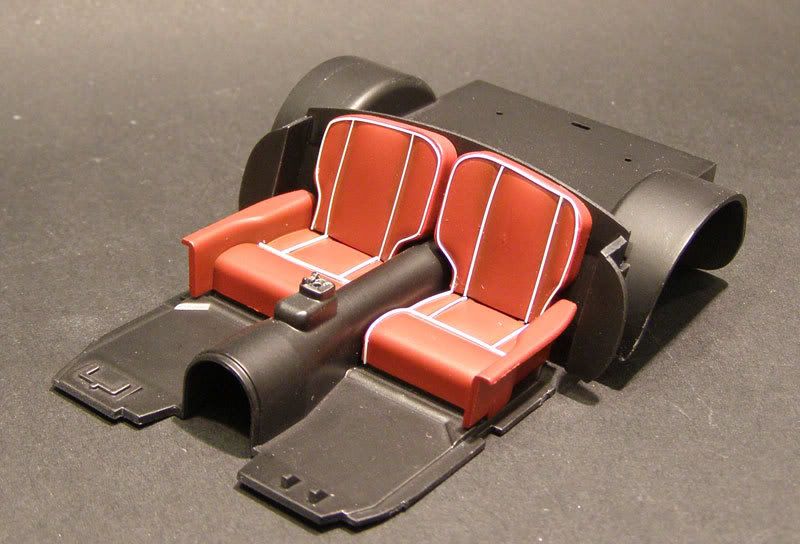 ...but a couple of glitches. 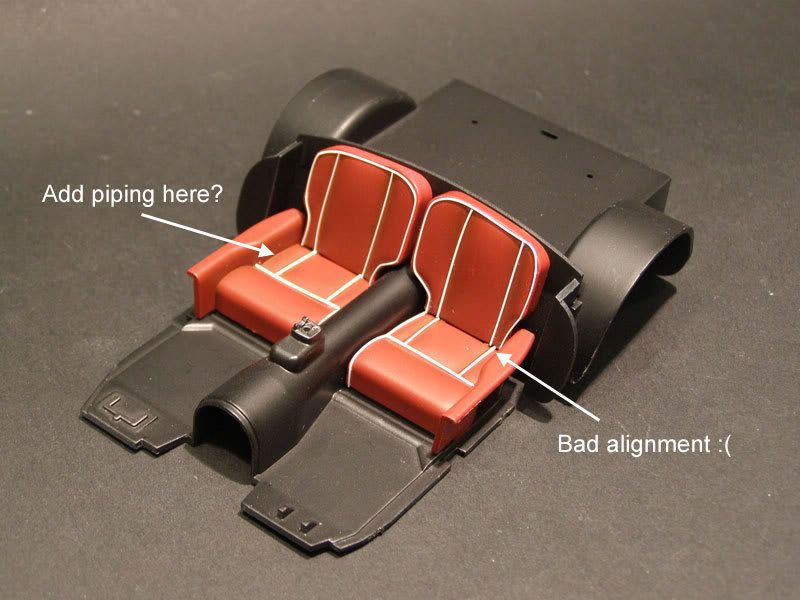 The seats will now get a coat of Vallejo Satin clear to finish them off I also stretched up a whole bunch of black sprue for plug wire  I made the plug wire tidys by making some thicker, tapered stretched sprue and then hollowing out the ends with progressively larger drill bits in the pin vice. 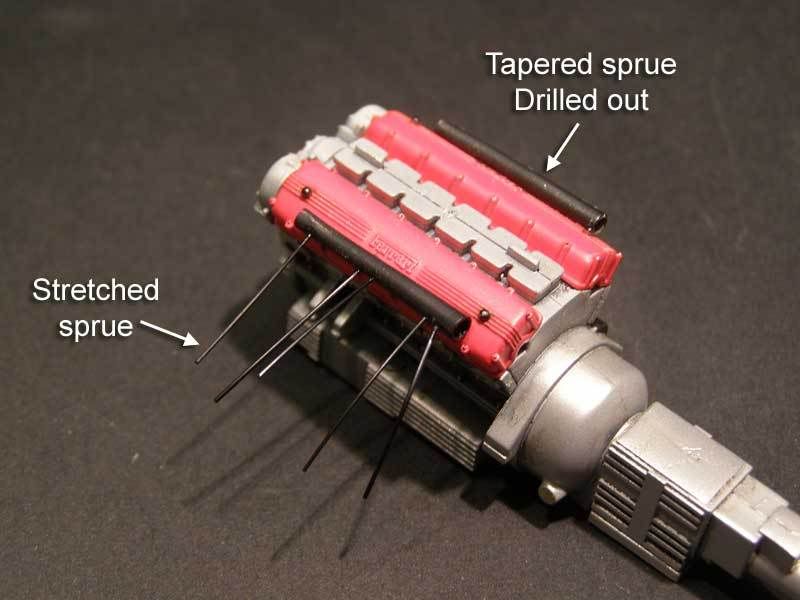 Next thing will be to wire the distributors. 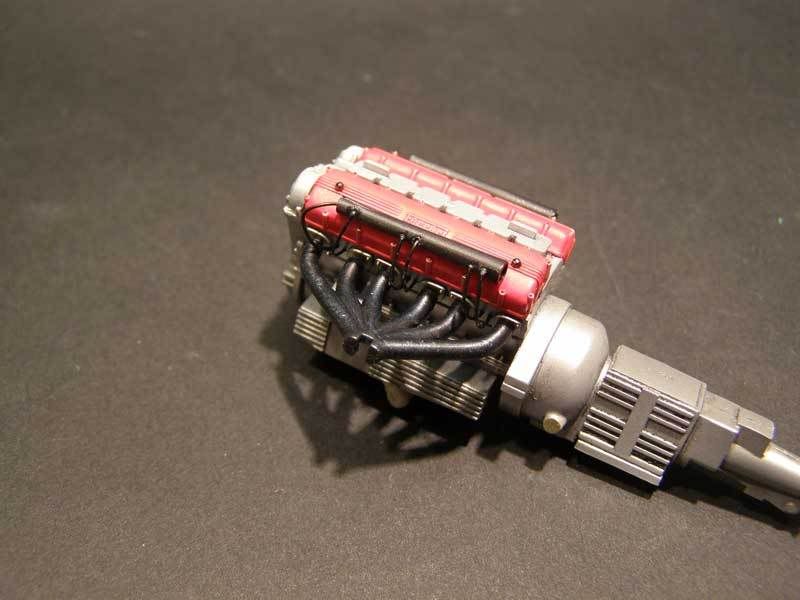 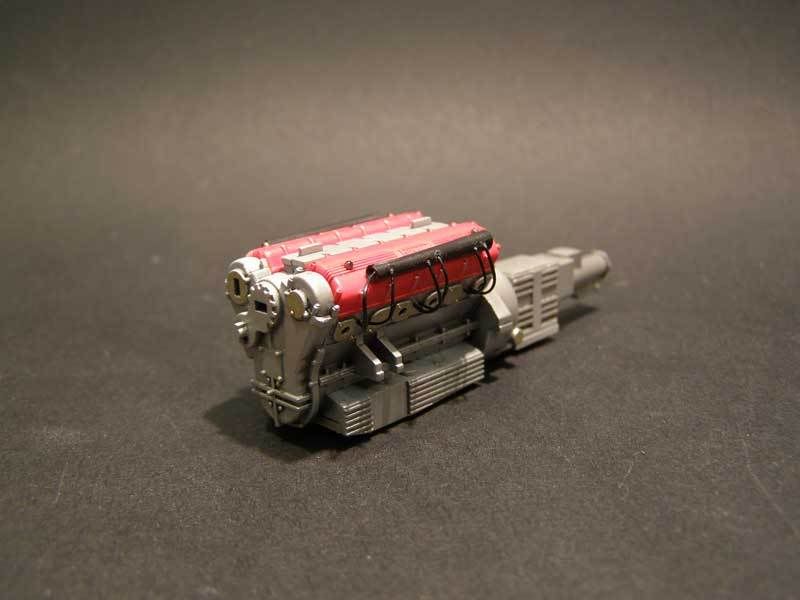 This is how she is starting to look 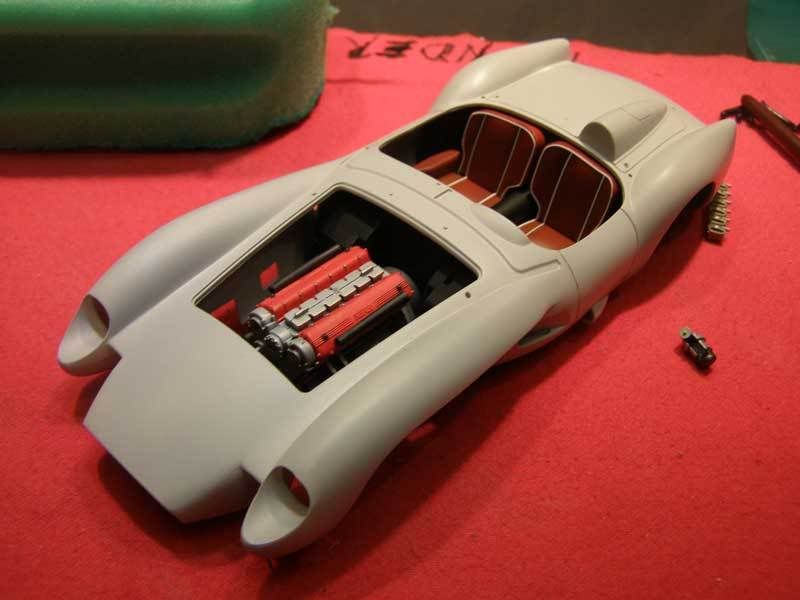 Thanks for looking.
__________________
Guideline for happy modeling: Practice on scrap. Always try something new. Less is more. "I have a plan so cunning, you could put a tail on it and call it a weasel" - Edmund Blackadder 
|
|
#2
07-26-2008, 11:08 PM
|
||||
|
||||
|
Re: Ferrari 250TR by Hasegawa
Always a joy to watch you build. Lovely work on a lovely car.
But I think you're stretching the definition of "out of the box". Checked your PMs lately...?
__________________
PHOTOBUCKET SUCKS
|
|
#3
07-26-2008, 11:40 PM
|
||||
|
||||
|
Re: Ferrari 250TR by Hasegawa
Awesome start, Klutzie. Why impose the strict OOB limitation on yourself though?
__________________
 Would love to resume my duties as AF's own official thread bastardizer!!!  1:29:53.435 || 207.316 || 310.596
|
|
#4
07-27-2008, 01:25 AM
|
||||
|
||||
|
Re: Ferrari 250TR by Hasegawa
I'm assuming that the pun was intended, Andy?
 Quote:
I can hardly ever log on, I am not getting update notifications and to top it all, not only am I not getting email notifications about PMs but on the home page it's not even showing me that I have unread messages?!?!?  Thanks for the heads up Thanks for the heads up  Now, which moderator should I bitch about this to.....?  Alex, depends on how you define OOB?  My definition is "nothing that the manufacturer didn't include in the box". Now just wait and see LOL More seriously, I don't want to spend any more money on this kit and I just want to see what I can do without after market parts. Just a different way of having fun with my models and I'll enjoy it just as much I think
__________________
Guideline for happy modeling: Practice on scrap. Always try something new. Less is more. "I have a plan so cunning, you could put a tail on it and call it a weasel" - Edmund Blackadder
|
|
#5
07-27-2008, 01:33 AM
|
||||
|
||||
|
Re: Ferrari 250TR by Hasegawa
Distributors have been sprued wired
__________________
Guideline for happy modeling: Practice on scrap. Always try something new. Less is more. "I have a plan so cunning, you could put a tail on it and call it a weasel" - Edmund Blackadder
|
|
#6
07-27-2008, 04:04 AM
|
||||
|
||||
|
Re: Ferrari 250TR by Hasegawa
Hey Klutz, obviously we are on the same project as we speak.
Your seats look great. I subject that you just painted them (if so, what did you use?). Any thoughts on the paint - will it be a red one? I was very disappointed on the paint guide. You chose right to paint the exhaust parts on the engine the same color as the actual exhaust is painted. I did them in silver and need to figure out a way to match the color differences later. I´m looking forward on your progress and I admire your "sprue"-skills including the wiring technique. I should pick these up someday. How are your overall thoughts on this kit? Robert
__________________
Recently finished Projects:
Porsche 911 Carrera RS 3.0 Current Projects: Ferrari 250 GTO LM 1962 (chassis #3387)  
|
|
#7
07-27-2008, 04:57 AM
|
||||
|
||||
|
Re: Ferrari 250TR by Hasegawa
Robert, I have nothing but praise for the kit so far (apart from that infamous joint line
)The seats were primed in white primer, I pre-shaded the creases with Vallejo Air Black and then painted with Vallejo Air Fire Red (IIRC). They will be getting a final cover of Vallejo Air Satin clear. The white piping on the seats is stretched sprue fixed with dots of thin CA. Hope that answers your question?
__________________
Guideline for happy modeling: Practice on scrap. Always try something new. Less is more. "I have a plan so cunning, you could put a tail on it and call it a weasel" - Edmund Blackadder
|
|
#9
07-27-2008, 09:06 PM
|
||||
|
||||
|
Re: Ferrari 250TR by Hasegawa
Holy moly what a beautiful car. I see you're up to your usual tricks again. Those seats are excellent, I'll never figure out how you put that sprue on so cleanly. Engine is fantastic, but usual for the gems the Klutz shack pumps out. Great start and already a great wip.
__________________
  
|
|
#10
07-27-2008, 10:52 PM
|
||||
|
||||
|
Re: Ferrari 250TR by Hasegawa
Klutz_100;
What method did you use to get such even stretching with the spruce? Thanks, Stephen
__________________

|
|
#11
07-27-2008, 11:34 PM
|
||||
|
||||
|
Re: Ferrari 250TR by Hasegawa
Quote:
TBH I am a terrible sprue stretcher - the technique has always eluded me however this time I got lucky (maybe Hasegawa plastic is more stretcher friendly?) I just heated it over a tea warmer candle and pulled. On the occasions I managed to get a nice long 100cm piece of stretch, the thickness issue had kind of taken care of itself LOL One thing I did notice was that it was best NOT to pull immediately after from removing form the heat source but to wait one short second and then begin a moderate and constant pull Not surprisingly there is some minor variation in thickness between the ends and the middle of the stretch but we are talking 0.1mm over 50cms (I checked it with calipers) so in fact it is for all practical purposes unnoticeable. HTH
__________________
Guideline for happy modeling: Practice on scrap. Always try something new. Less is more. "I have a plan so cunning, you could put a tail on it and call it a weasel" - Edmund Blackadder
|
|
#12
07-28-2008, 12:32 AM
|
||||
|
||||
|
Re: Ferrari 250TR by Hasegawa
Here is an excellent way to do it, borrowed from a great modeller here on the forum, who explains it well;
Quote:

__________________
|
|
#13
07-28-2008, 12:42 AM
|
||||
|
||||
|
Re: Ferrari 250TR by Hasegawa
Hi Steve,
nice job so far. Seats look great with the white sprue, for engine-wiring I prefer wire
__________________
Micha       
|
|
#14
07-28-2008, 04:01 AM
|
||||
|
||||
|
Re: Ferrari 250TR by Hasegawa
Thanks for the tips. Sound much more sound than my butane lighter technique
 . I'll give the tea light candle some practice. . I'll give the tea light candle some practice.
__________________
|
|
#15
07-28-2008, 11:53 AM
|
||||
|
||||
|
Re: Ferrari 250TR by Hasegawa
Quote:
__________________
Guideline for happy modeling: Practice on scrap. Always try something new. Less is more. "I have a plan so cunning, you could put a tail on it and call it a weasel" - Edmund Blackadder
|
|
|
POST REPLY TO THIS THREAD |
 |
|
|


