|
|
| Search | Car Forums | Gallery | Articles | Helper | Air Dried Fresh Beef Dog Food | IgorSushko.com | Corporate |
|
#1
 04-26-2008, 04:37 PM
|
||||
|
||||
|
1.0L Head removal guide
The little Metro I bought had a cylinder misfire and after diagnosing the problem, I found no compression in one of the 3 cylinders. This means the head needs pulled to see the problem. First thing is to take pictures of all the vacuum lines and hoses so when you get to putting it together, you have a reference point.
The most common issue with these 3 Cylinder engines for a dead cylinder in burnt exhaust valves from either timing or clogged EGR ports. This guide can be used for all 3 Cylinder Suzuki engines. Get the car in a suitable work area. 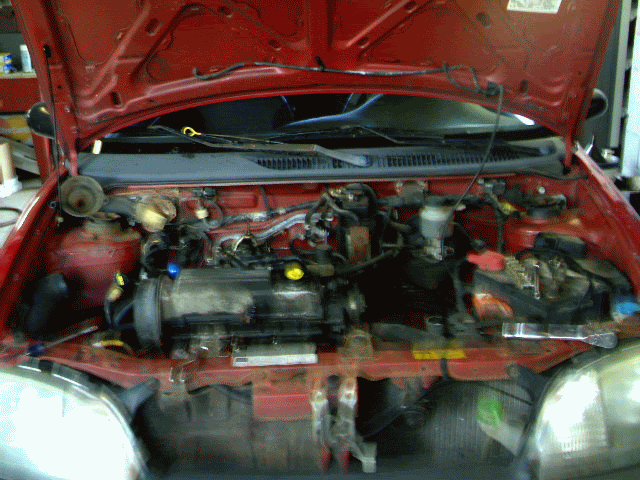 Set engine so Cyl #1 is at top dead center (TDC). Disconnect battery. Drain the oil and coolant. (17mm drain plug) Remove upper rad hose from engine side. (squeeze clamp) Remove throttle cable and all attached vacuum lines. (12MM locknut & squeeze clamps) Mark plugs and wires and remove wires, cap and rotor. (8MM bolts) Mark distributor and remove. (T40 or 12MM) Remove the air cleaner housing and tube. (10MM bolt and nut) Loosen the alternator bolts (one on top and 2 below) and remove belt. (12MM bolts) 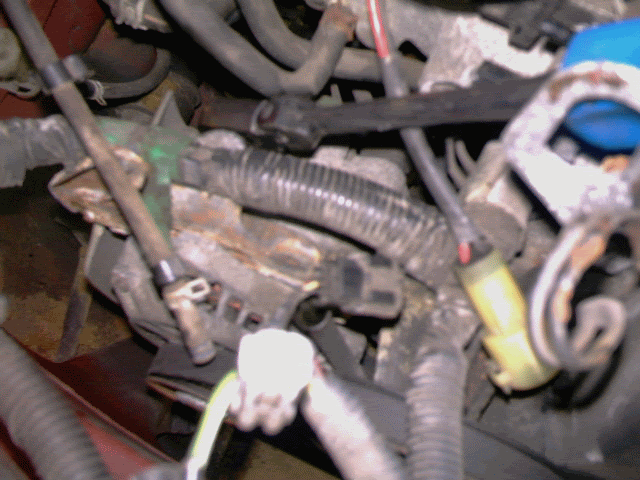 Remove the water pump pulley. (10MM bolts) Remove the crank pulley. (5 8mm bolts - don't remove center bolt) 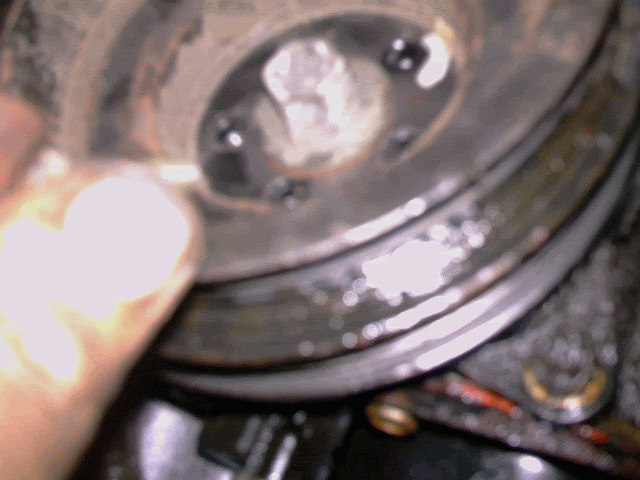 Remove timing belt cover. (8 10MM bolts and loom holders) Check and correct timing marks and note rotation. Loosen tensioner and remove belt and mark belt rotation if re-using it. (12MM bolt) 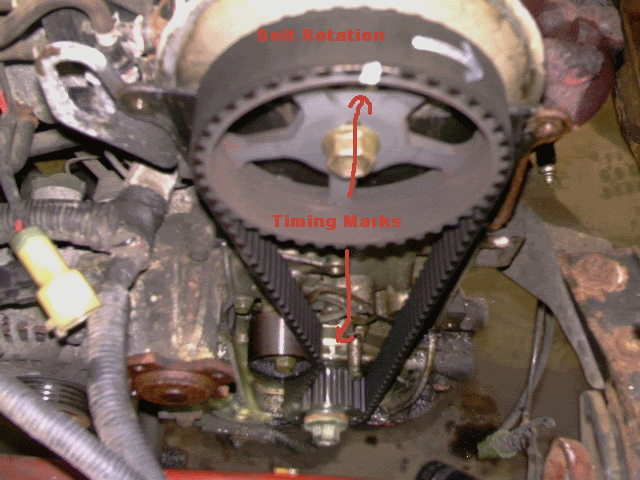 Inspect water pump and replace if questionable (wanna do this again?) Remove exhaust manifold bolts and use heat if tight & pull away from head. (10MM bolts and nuts) 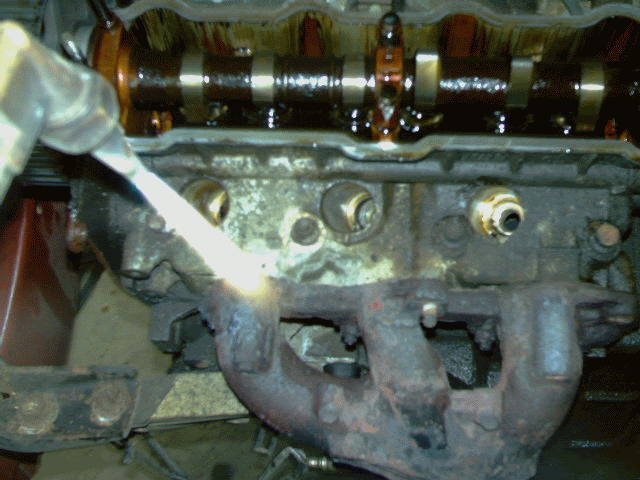 Remove the 4 valve cover nuts and strike the seals off. (10 MM) 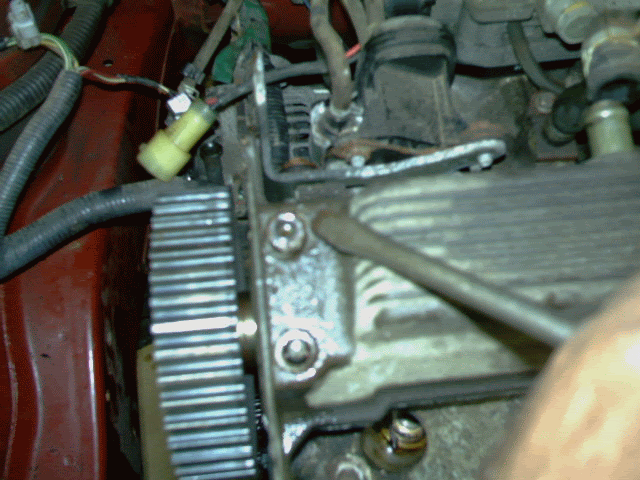 Remove the head bolts with a breaker bar from outside in. (8 10MM 12 point bolts) Get a buddy to lift up head & intake assy and remove vacuum lines, grounds, fuel lines, etc) Look on cylinder head for the small oil check valve and don't loose it! Place head in a clean work area with lots of room to work. 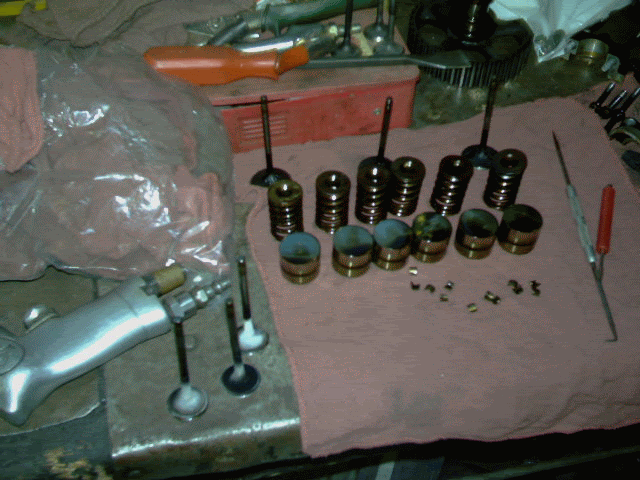 Put rags in cylinder holes and clean mating surface on head, pistons & exhaust manifold. 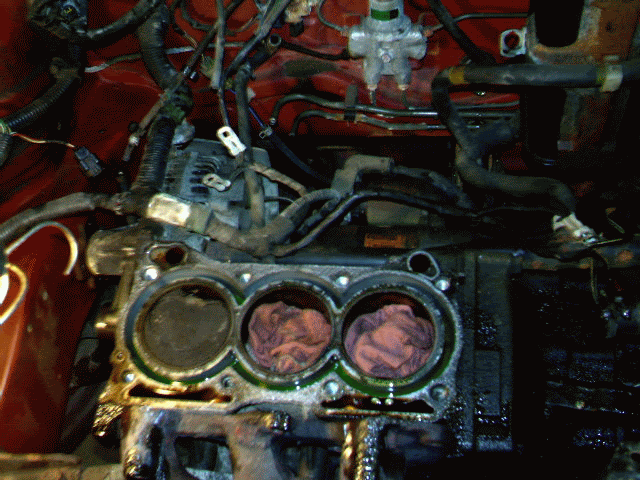 Clean head surface and clean out the EGR port. Remove EGR valve and clean all ports. Remove the camshaft bolts and cam and remove the gear and replace seal. (6 10MM bolts/studs - 17MM cam bolt) Remove the lifters put in order. Use a valve spring compressor with adapter and remove the valves (keep parts ordered and use your buddy) 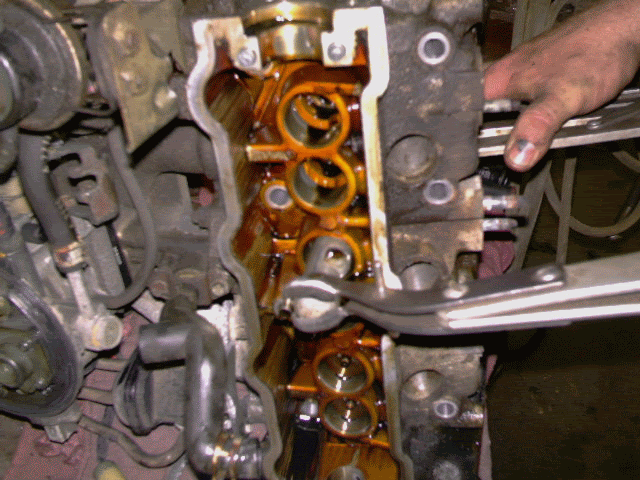 Clean surfaces and lap in all the valves (intake & exhaust) with lapping compound and re-install. 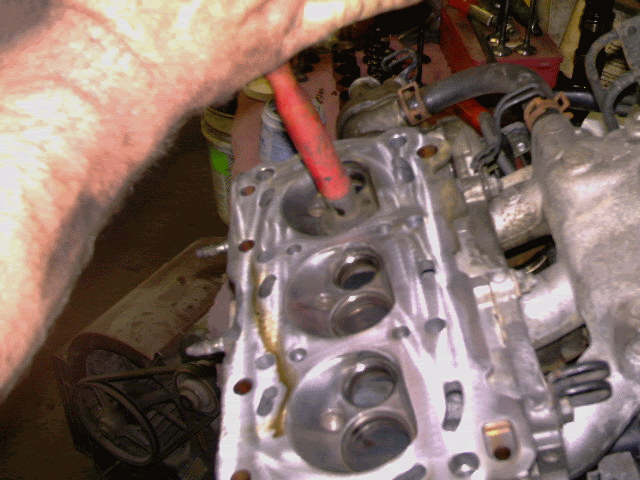 Re-install lifters and camshaft. (use torque specs from a manual) Double check all of your work and gasket mating surfaces. 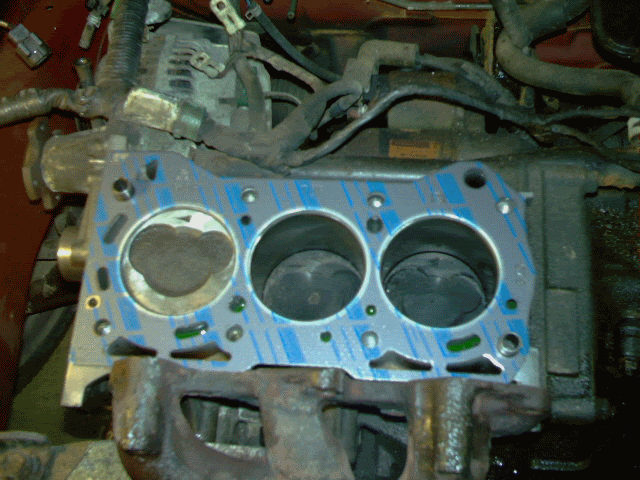 Remove intake from head and replace gasket. (optional) Get your buddy to help you re-install the head and double check all connections! Torque all 8 head bolts to specs and order with info from manual. Install a new timing belt (or used one like a dummy) and check timing marks. Re-assemble the same way you took it apart and please double check vacuum lines since there is a lot of them. Clear all DTC if you forgot to disconnect battery. Fill oil and coolant and fire it up! Now you may have to set the timing, so reference your manual! Let the car get to operating temperature and check for leaks and burp the coolant. Test drive and watch the coolant temp since an air pocket may occur. Now that you are a certified Suzuki mechanic, get a job! I hope you enjoyed my guide!
__________________
 
|
|
#2
04-27-2008, 07:55 AM
|
|||
|
|||
|
Re: 1.0L Head removal guide
For those capable of doing this job---------> Good write up Mullet!
|
|
#5
04-27-2008, 11:38 AM
|
||||
|
||||
|
Re: 1.0L Head removal guide
Quote:
 At least the water pump pulley is sloted all the way around so a screwdriver could hold it tight while removing the bolts. All in all, this was not a bad job at all and I started on it a 5:00PM after work and worked on it till midnight. I had a freind stay over for help and 2 heads are better than one when doing a job like this. I found the easy way to get all the vacuum, fuel, coolant lines, and grounds from behind and under the intake was to remove the head bolts and have the friend slowly lift up on the head and hold it as I got back there to remove all that hidden crap. Installed same exact way 
__________________
|
|
#6
04-27-2008, 02:57 PM
|
|||
|
|||
|
Re: 1.0L Head removal guide
Nice writeup Johnny, good documentation.
That head gasket you have does NOT look like the ones I get from felpro. The ones I get have the full circle drain on the right like yours, and a mere pinhole for the left drain... which, in combination with leaving the oil restrictor out, made one of my geos a highway crop duster  -MechanicMatt
__________________
1996 Caprice 9c1 - Daily Driven Project Car 1993 Geo Metro - Accident 1991 Caprice 9c1 - Destroyed
|
|
#7
04-27-2008, 03:15 PM
|
||||
|
||||
|
Re: 1.0L Head removal guide
I was asking some questions about this job over at TeamSwift and I was told about "cutting" the head gasket, but the Felpro gasket I got was aleady good to go!
__________________
|
|
#8
06-29-2008, 12:53 AM
|
|||
|
|||
|
Re: 1.0L Head removal guide
Hi;
Mechanic Matt had mentioned his Geo crop duster; I recently did a rebuild on a 91 1.0 and it seems to be fogging for mosquitos now- not constantly but when idling or when you rev it up. I thought when I put the head gasket on the block the holes looked pretty bloody small compared to the drain ports, but I didn't think you could cut it. I used a Felpro Sealed Power gasket set. Is this a common occurrance and why does Felpro make this port too small? I am assuming this resticts oil return to the pan and kind of overwhelms the valve seals causing the fogging. Can you cut these gaskets without wrecking them? Thanks! Wetback 
|
|
#9
06-29-2008, 03:37 AM
|
||||
|
||||
|
Re: 1.0L Head removal guide
Wetback, did you put the little brass check valve back in? This problem usually only happens after driving it hard on the highway for a while.
__________________
Woodie 98 Metro and 06 Aerio SX Don't waste your vote on one or the other of the Republicrats, vote for Gary Johnson and really do something for a change http://www.garyjohnson2012.com
|
|
#10
06-29-2008, 08:19 AM
|
|||
|
|||
|
Re: 1.0L Head removal guide
I remember reading about and checking for the check valve - which sits in the lower left hand corner of the block. I never took it out (it didn't seem to want to come out) and I'm pretty sure it was still there when I put the head back on...
However, now I'm wondering (uno, hindsight is 20/20) because I also do have some lifter rattling on a cold startup - appartently this valve is supposed to stop that.
|
|
#11
06-30-2008, 08:37 PM
|
||||
|
||||
|
Re: 1.0L Head removal guide
I don't understand how the Felpro gasket kit I got from a local vendor would have the proper holes for the oil returns, but some of you have to cut your Felpro gaskets? Maybe they updated the kit?
I remember reading about "cutting the hole" on other forums, but I checked mine over and over and the holes were the right size on mine.
__________________
|
|
#12
07-09-2008, 09:45 PM
|
|||
|
|||
|
Re: 1.0L Head removal guide
Does anyone have a picture of the brass valve that is in the head? I took mine apart to do a valve job and couldn't find it. I was also wondering how you get the valve stem seals out and how to replace them. Thanks

|
|
#13
07-09-2008, 09:52 PM
|
|||
|
|||
|
Re: 1.0L Head removal guide
Does anyone have a picture of the brass valve that is in the head? I took mine apart to do a valve job and couldn't find it. I was also wondering how you get the valve stem seals out and how to replace them. Thanks
|
|
#14
07-10-2008, 05:59 AM
|
||||
|
||||
|
Re: 1.0L Head removal guide
Quote:
I got the stem seals out with a high quality pair of duckbill pliers and tapped the new ones in with a socket.
__________________
|
|
 |
POST REPLY TO THIS THREAD |
 |
|
|


