|
|
| Search | Car Forums | Gallery | Articles | Helper | Air Dried Fresh Beef Dog Food | IgorSushko.com | Corporate |
|
|||||||
| WIP - Motorbikes Post topics for any "Works In Progress" motobikes projects in this sub-forum. |
 |
 Show Printable Version | Show Printable Version |  Subscribe to this Thread
|
|
|
Thread Tools |
|
#1
 01-28-2007, 05:35 AM
|
|||
|
|||
|
Rossi YamahaYZR M1 test bike 2005 (Modified)
i am building this bike for a contest (hiroboys site Biker Build-Off )
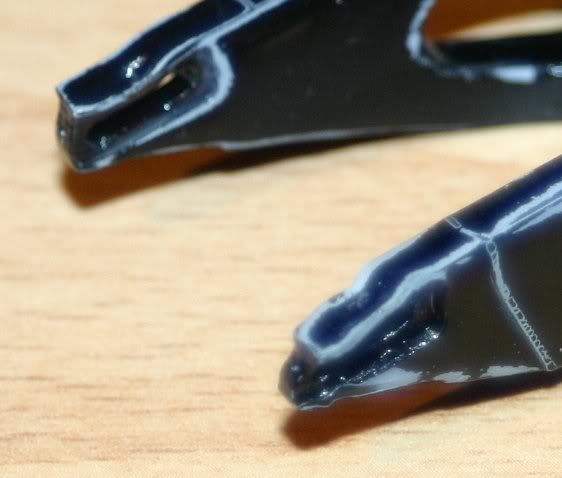
The bike will be built naked,without the body panels.I will start with the Basic kit from Tamiya the Yamaha YZR-M1 05,using Upgrade parts from Top Studio,PE parts from Crazy modeler and the front forks (Upgrade set) from Tamiya.As for the decals i will be using the Crazy modelers Carbon set und the No.46 decal that will be on the rear has to be yellow so i have to steal that from the Nastro Azzuro Honda NSR 500. Just some of tthe parts i will be using. 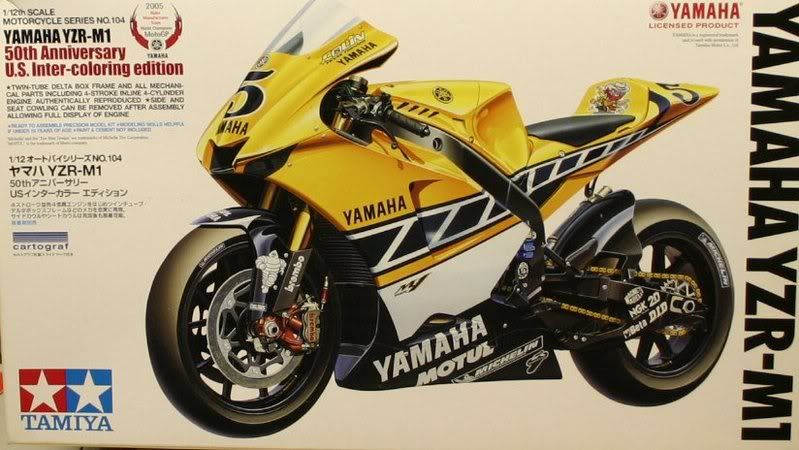 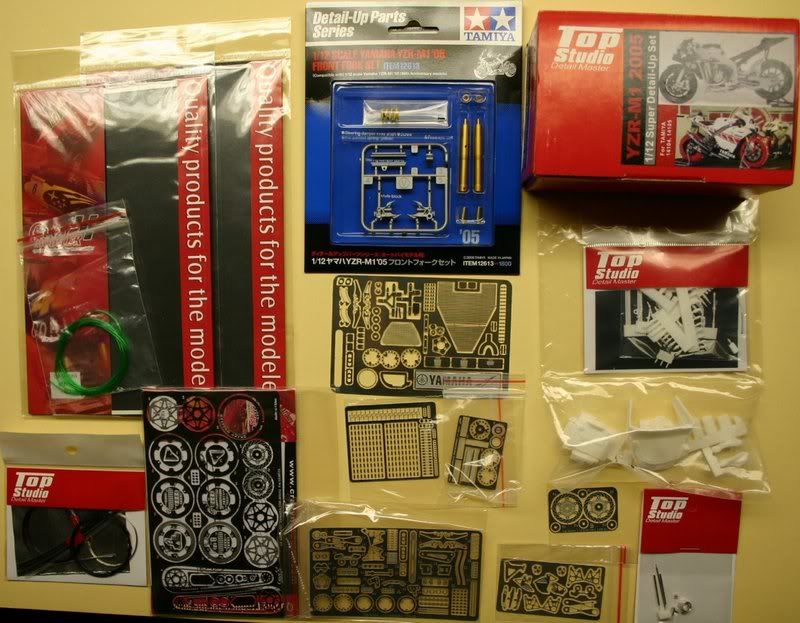 TOP STUDIO DETAIL SET First of all this upgrade set is not cheap,check hiroboys site costs about 48.00 Euros + shipping fee.There are about 140 parts (PE incl.)the PE parts are are to 97 % identical with the Crazy modeler ones,the biggest difference is the back brake disc as you can see in the pic below,top one is from CM,bottom one from Top Studio,the running direction of the holes in the disc should run in the other direction (Crazy modelers PE part)the brake disc from Top Studio look correct.The connectors look good same as the rest,need a bit of cleaning up and some paint,should look good.You also get a double sided instruction sheet in b/w and a sheet in colour with the painted parts on the bike.I would rate this set 8,7 out of 10 although it has its price.If i sum it up alltogether the bike with all the Upgrade parts has cost me up to now 130.00 Euros and i havent started yet. Ralph 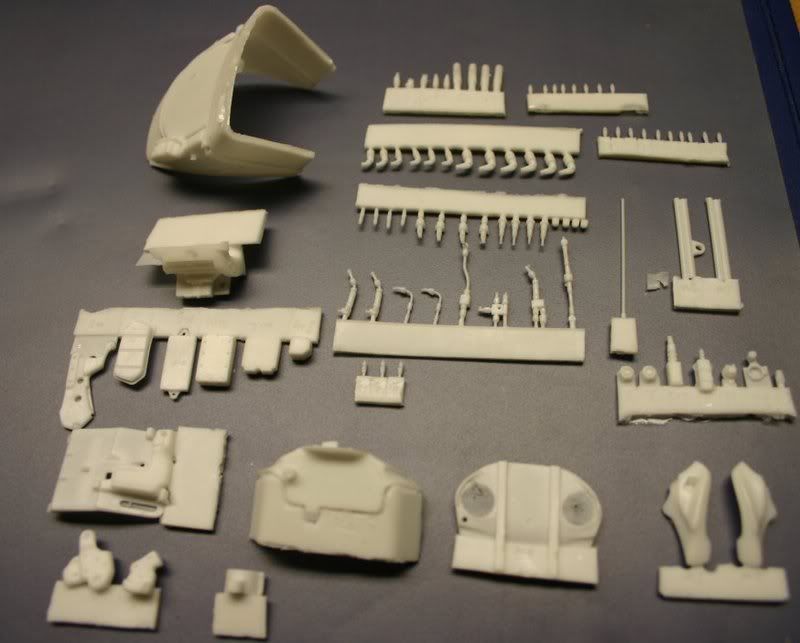 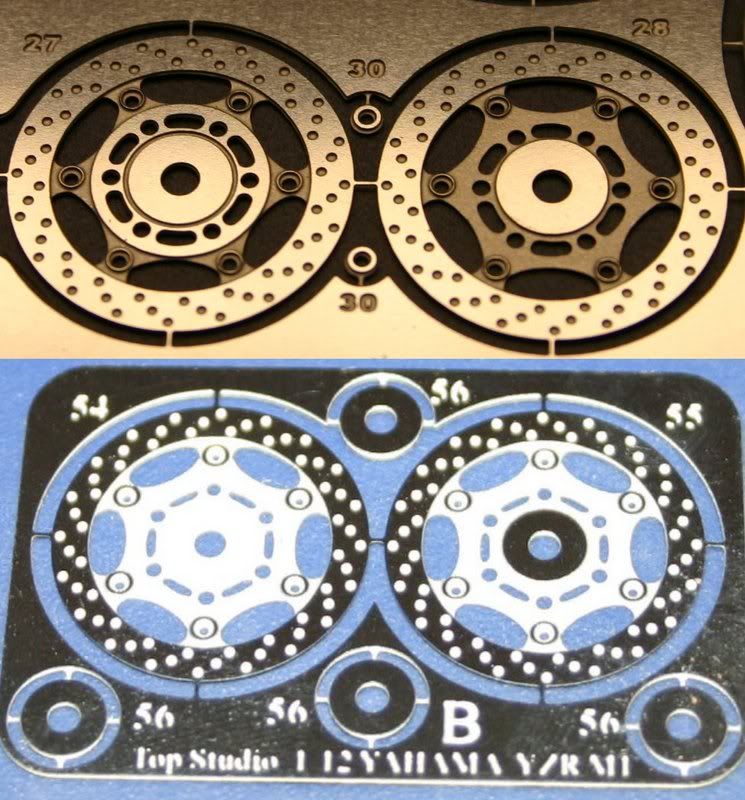 Starting on the swingarm as you can see i glued the 2 halfs together,i covered the inside of the swingarm and the hole for the rear shock with evergreen plastic.First i made a template out of paper that was before i glued the 2 halfs together then transfered it to a piece of evergreen plastic that was then cut out and glued in place.In the areas where i will be using PE parts plastic was removed and the holes had been drilled out.Still have to do some filling and sanding,but will leave it unpainted at this moment. Before the swing arm was glued together i first made a template out of paper because at this stage it is easier to handle,layed the paper on the piece of evergreen plastic drew around and cut out.  To get a better idea what i did so far just compare the swing arm that has been modified with the one at the bottom of the pic that is untouched. 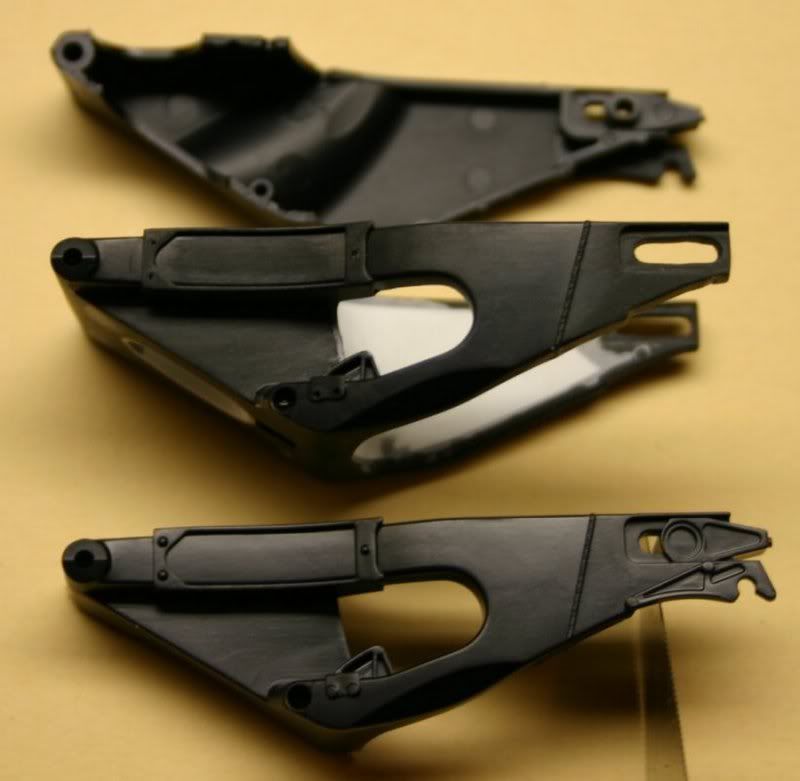 Still have to do some filling and sanding. 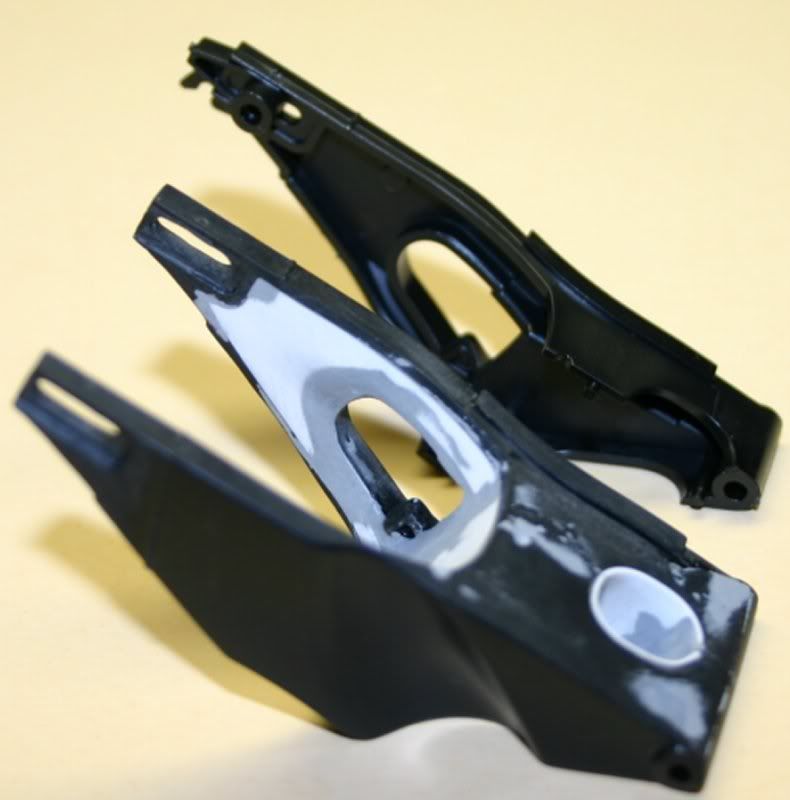  Holes drilled for the screws that will be placed when the PE parts go on. 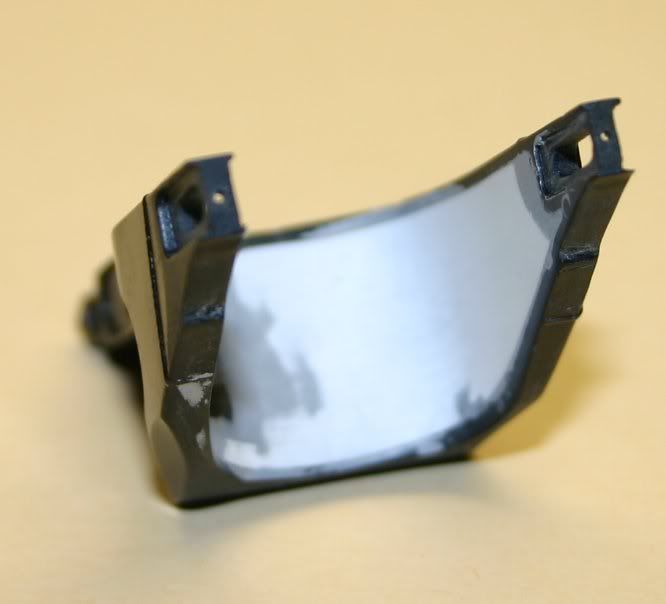 2 coats of Halfords grey primer layed down today on the swing arm,found 2 small spots that have to be filled with putty. 

|
|
#2
01-28-2007, 07:56 AM
|
||||
|
||||
|
Re: Rossi YamahaYZR M1 test bike 2005 (Modified)
YOu're going to great a real wonderful work!!! good luck!
|
|
#3
01-28-2007, 12:10 PM
|
|||
|
|||
|
Re: Rossi YamahaYZR M1 test bike 2005 (Modified)
This is what happens when you get to close to a 3000 W heat gun,before i noticed it was to late,this means back to the drawing board.
 a bit of work done on the frame. 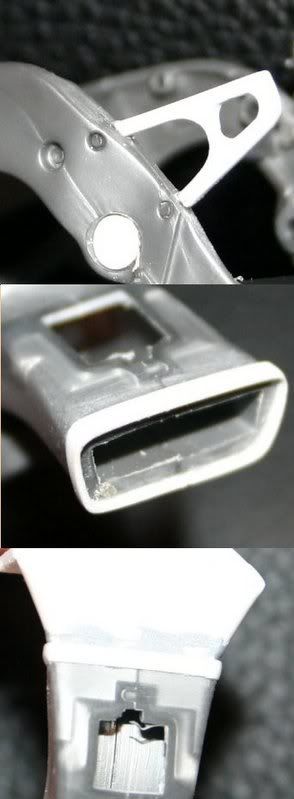
|
|
#4
01-28-2007, 03:23 PM
|
||||
|
||||
|
Re: Rossi YamahaYZR M1 test bike 2005 (Modified)
Nice work so far.. Im build the same bike as you.. Just without all the add-ons =D
__________________
Current projects: +Yamaha YZR-M1 +Revell Enzo +Revell RSX +Aoshima AE86 +Revell Civic Si
|
|
#5
01-29-2007, 09:40 AM
|
|||
|
|||
|
Re: Rossi YamahaYZR M1 test bike 2005 (Modified)
Great start. Will be interesting to follow the build with all those enhancements.
/Joel
__________________
Visit my FB page www.facebook.com/one12th
|
|
#8
02-03-2007, 03:50 AM
|
|||
|
|||
|
Re: Rossi YamahaYZR M1 test bike 2005 (Modified)
Hi there,
I also have this bike and I am ready to begin. Do you have any reference about the wiring of the bike. Because the instruction of the Top studio detail kit is very poor.
|
|
#9
02-03-2007, 06:05 AM
|
|||
|
|||
|
Re: Rossi YamahaYZR M1 test bike 2005 (Modified)
Quote:
The only reference pics i have are from trhe Moto GP Racers Archive 2005.
|
|
#11
02-15-2007, 05:43 PM
|
|||
|
|||
|
Re: Rossi YamahaYZR M1 test bike 2005 (Modified)
Quote:
Jordan
|
|
|
POST REPLY TO THIS THREAD |
 |
|
|


