|
|
| Search | Car Forums | Gallery | Articles | Helper | Air Dried Fresh Beef Dog Food | IgorSushko.com | Corporate |
|
|||||||
| WIP - Street Post topics for any "Works In Progress" street vehicles projects in this sub-forum. |
 |
 Show Printable Version | Show Printable Version |  Subscribe to this Thread
|
|
|
Thread Tools |
|
#1
 11-08-2016, 03:07 AM
|
|||
|
|||
|
Tamiya LaFerrari 1/24
I started this at the beginning of this year, and I really wanted to wrap this up by the end of the year. Hopefully with a WIP thread, it will give me more motivation to complete it. It will be out of the box build with Tamiya's carbon decals. It is red exterior with black side mirrors and gunmetal wheels. Thanks for checking it out. Here are some photos.
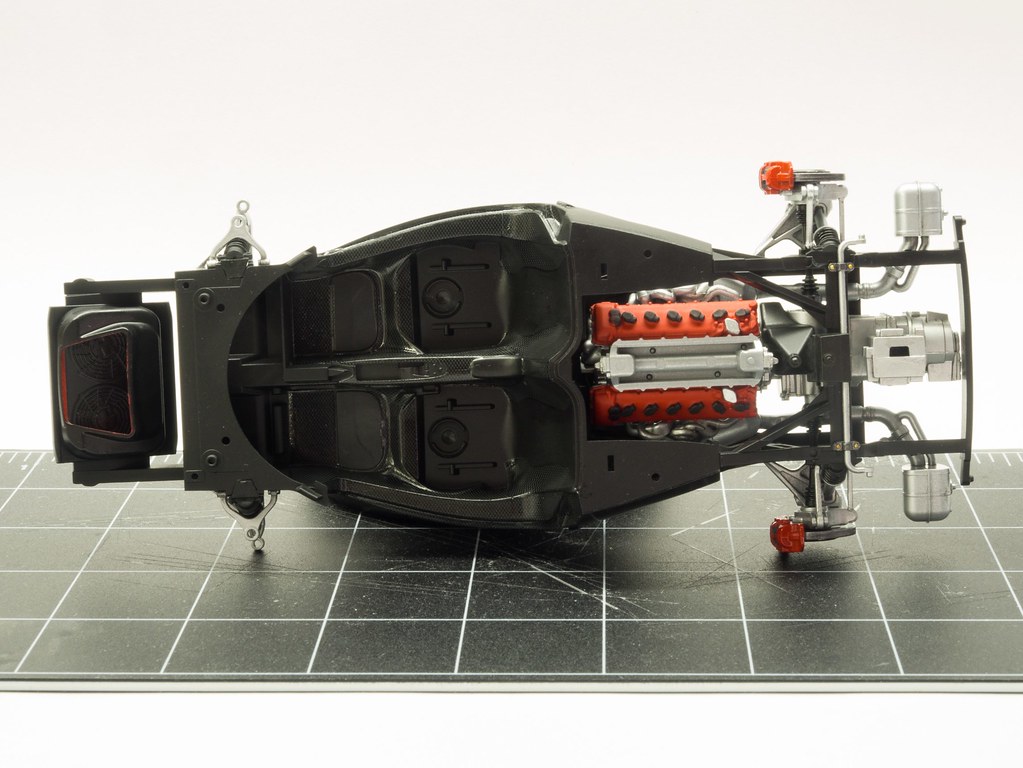
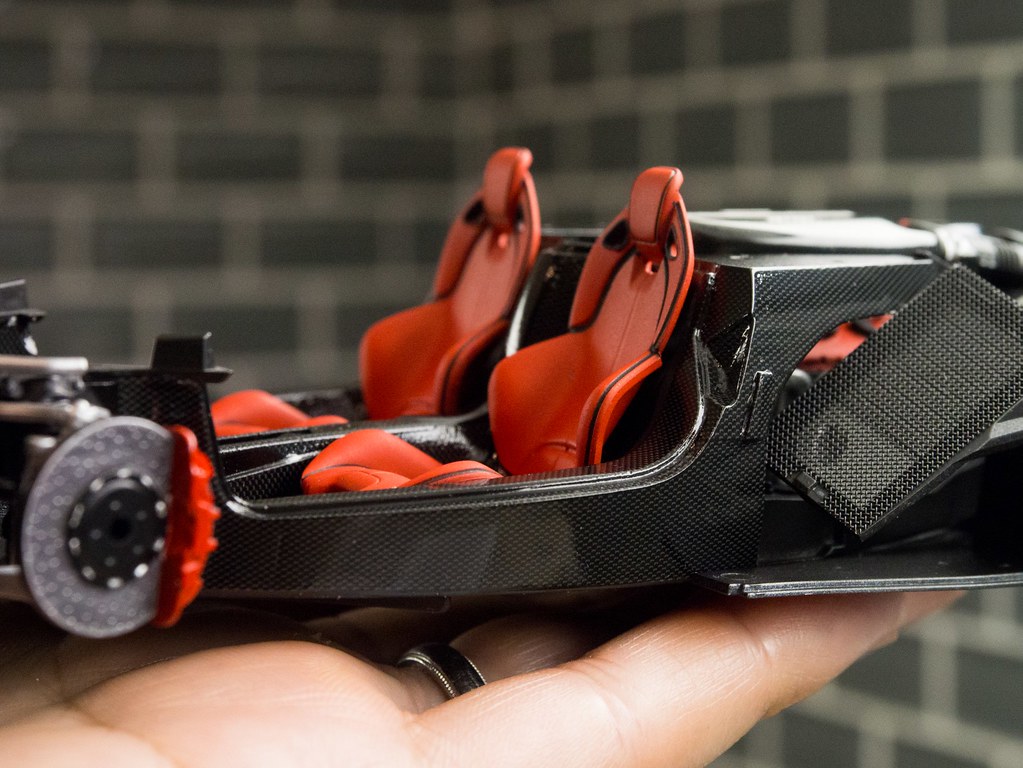
Initial test fit. 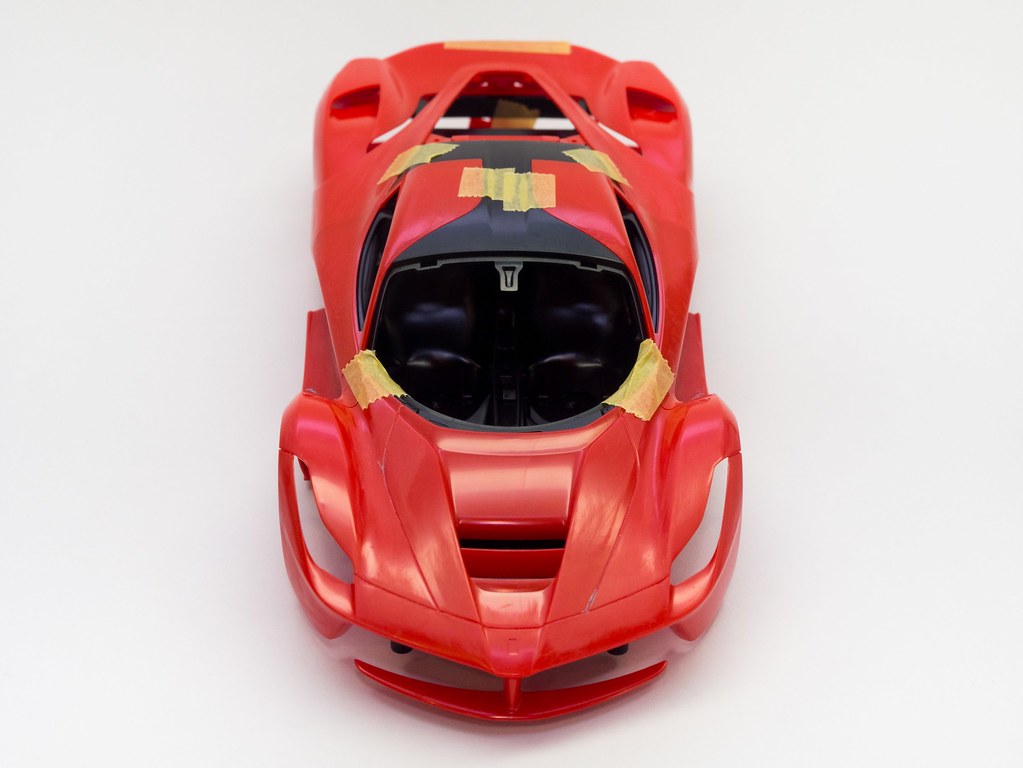 Filling gaps on door, it was a bit difficult. 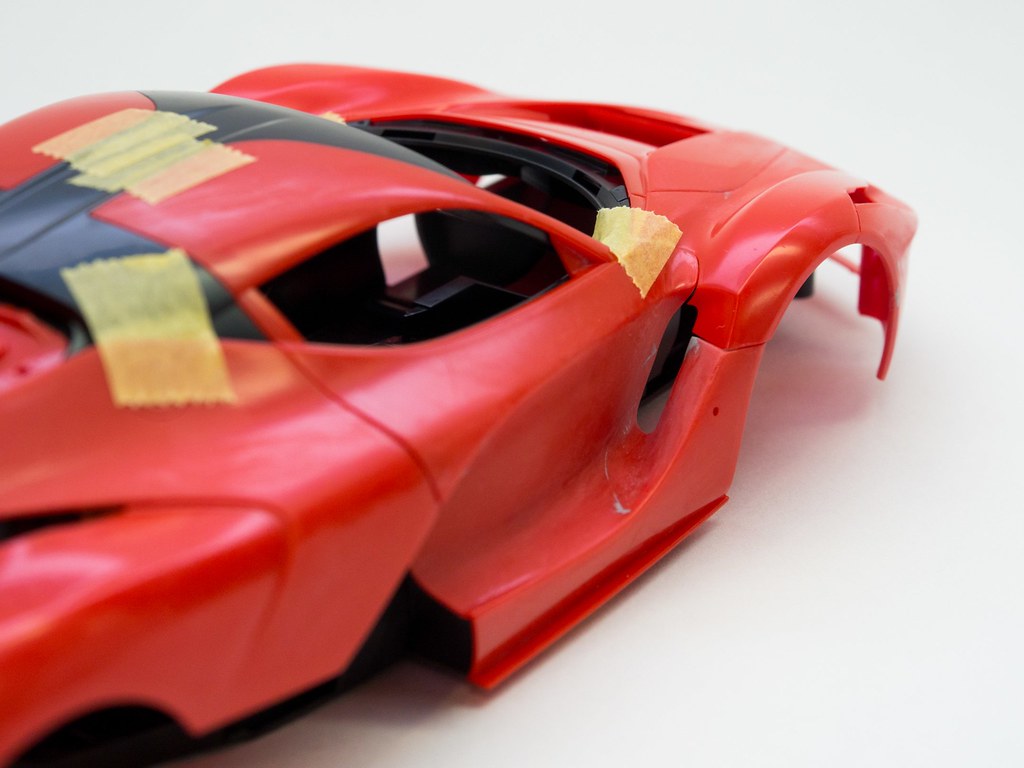 Primed with Tamiya's fine gray primer.  Primed door. 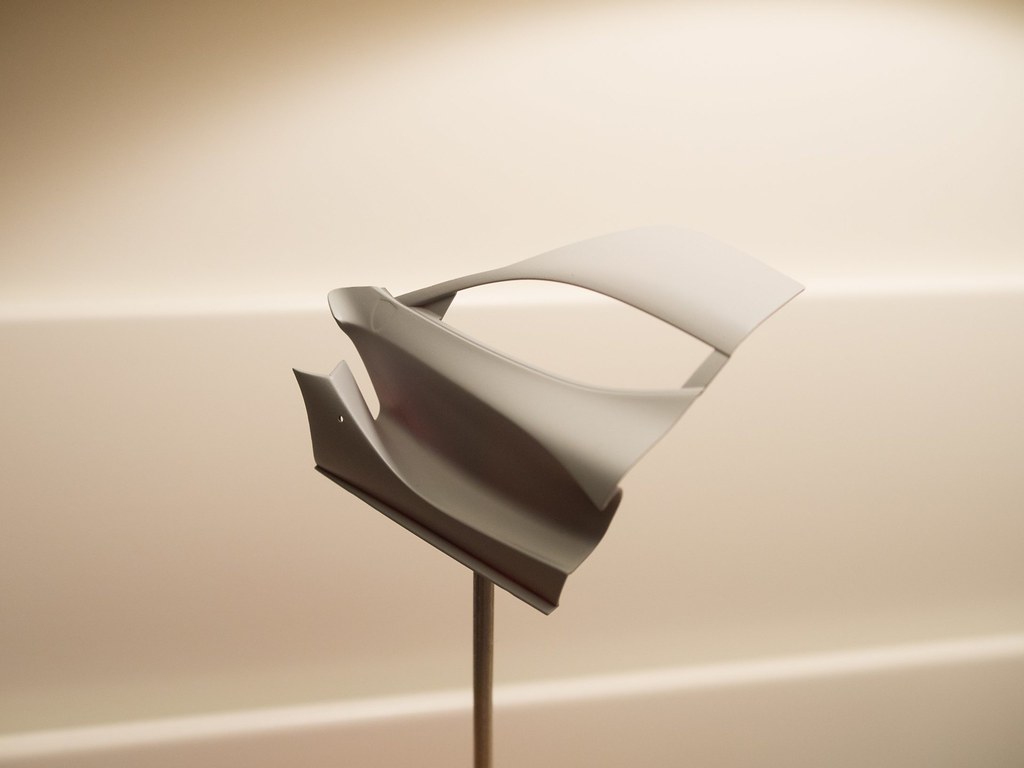 Base color on. I made a mistake on the rear hatch, there are 2 more pieces that supposed to be glued on and gap filled, oh well... 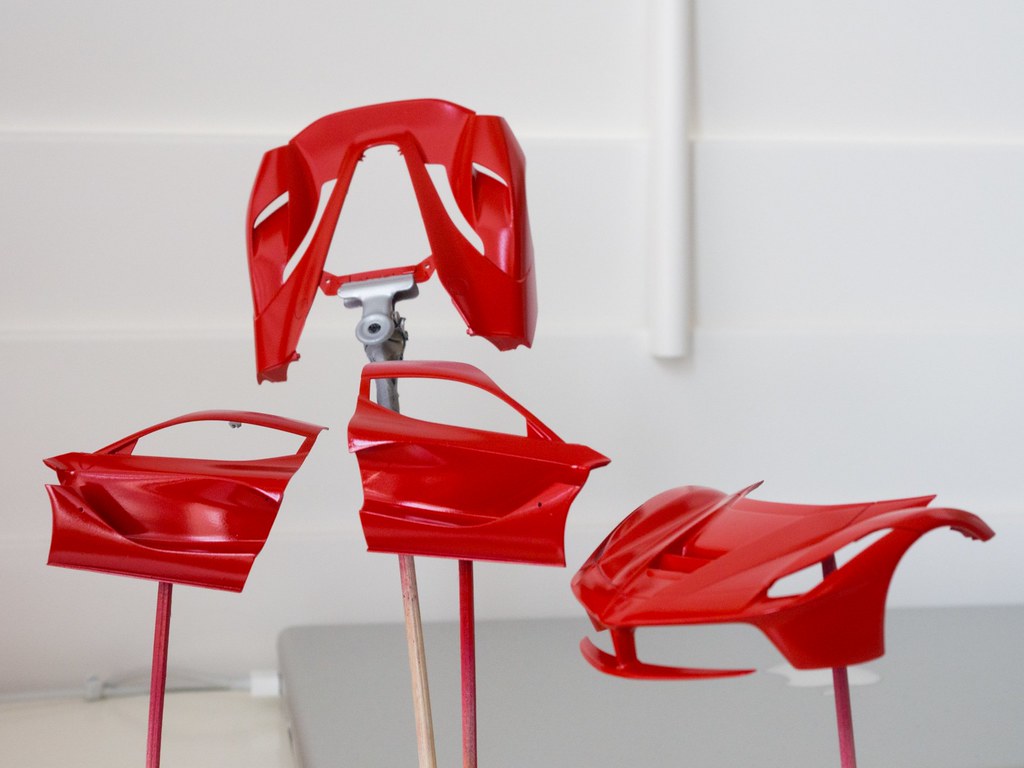 Wheels done. Mistake here is I didn't strip the original chrome paint on the wheels, even after primer, the paint could easy chipped. 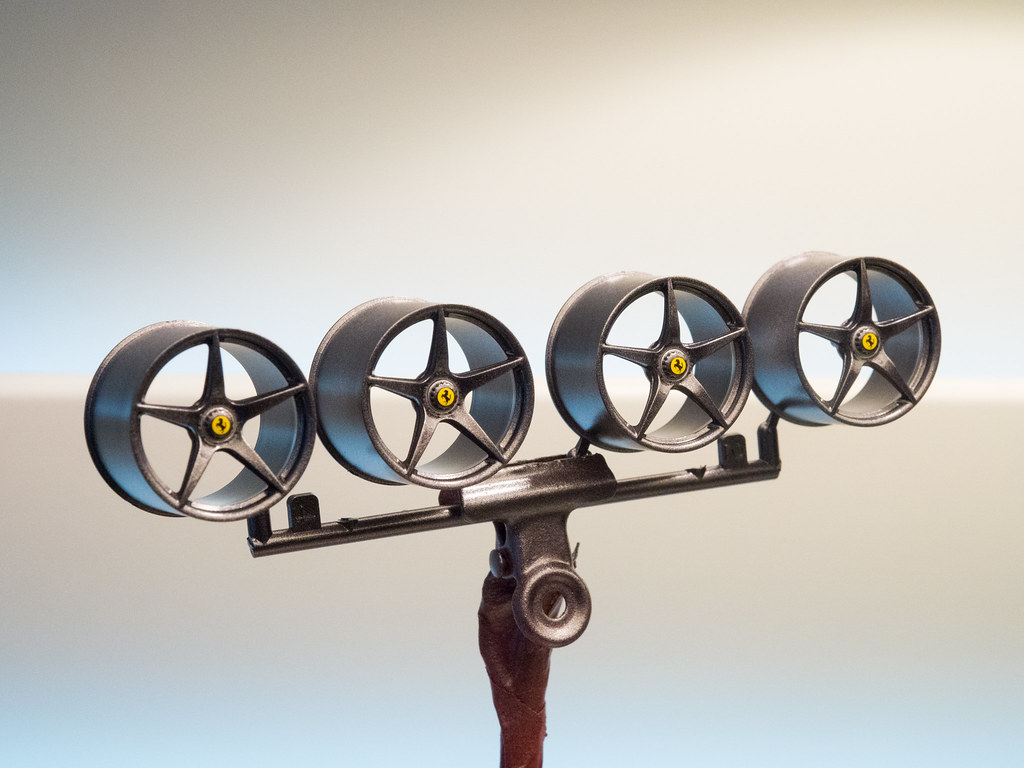 Seats done. It was sprayed with same red Tamiya spray paint as the exterior, and then flat cleared with Testors spray can lacquer. I will try adding seat belts later.  Test fitting doors with chassis. 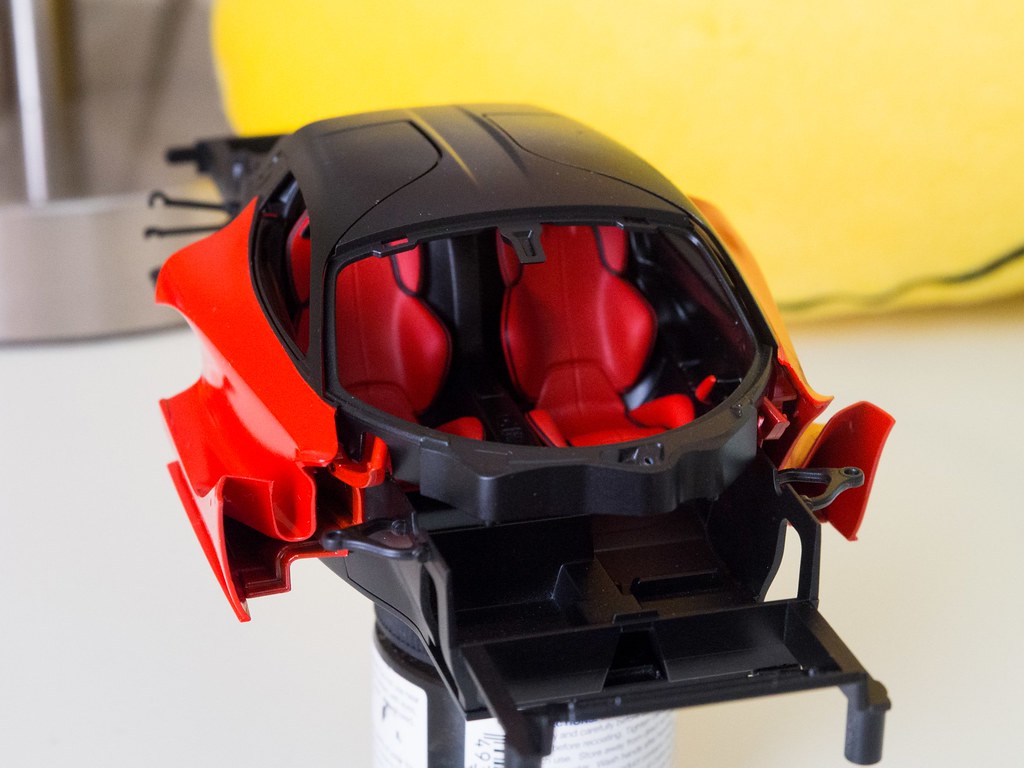 Door interior, no carbon decals since no one can really see it. 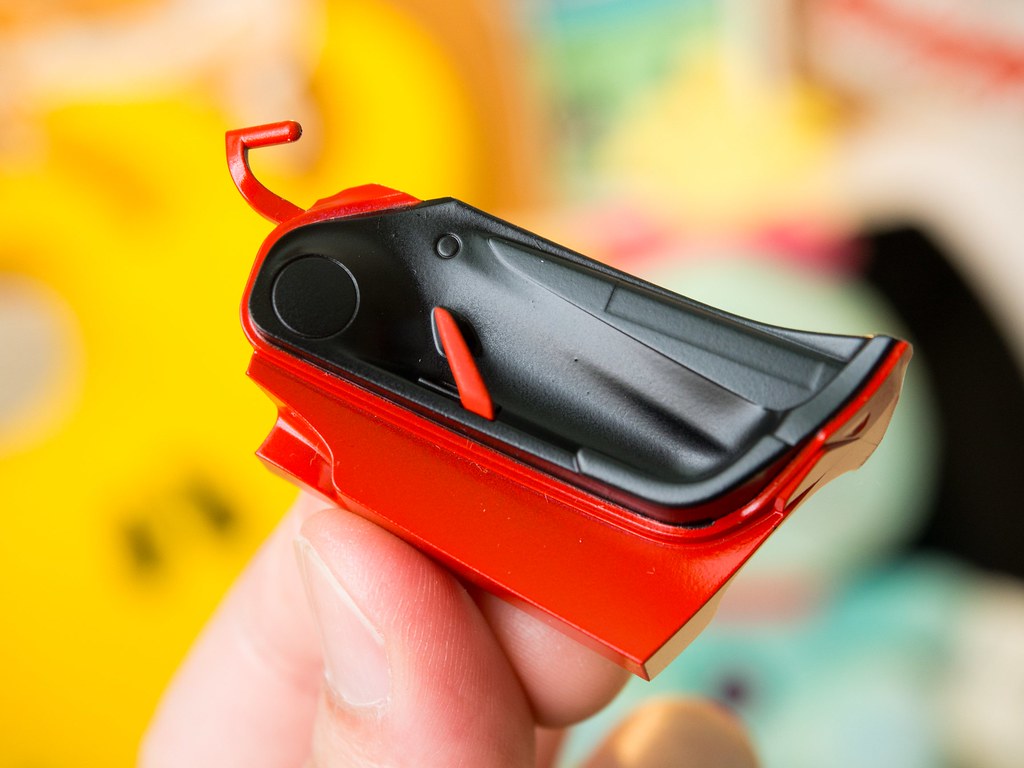 Exterior parts decals applied and cleared. 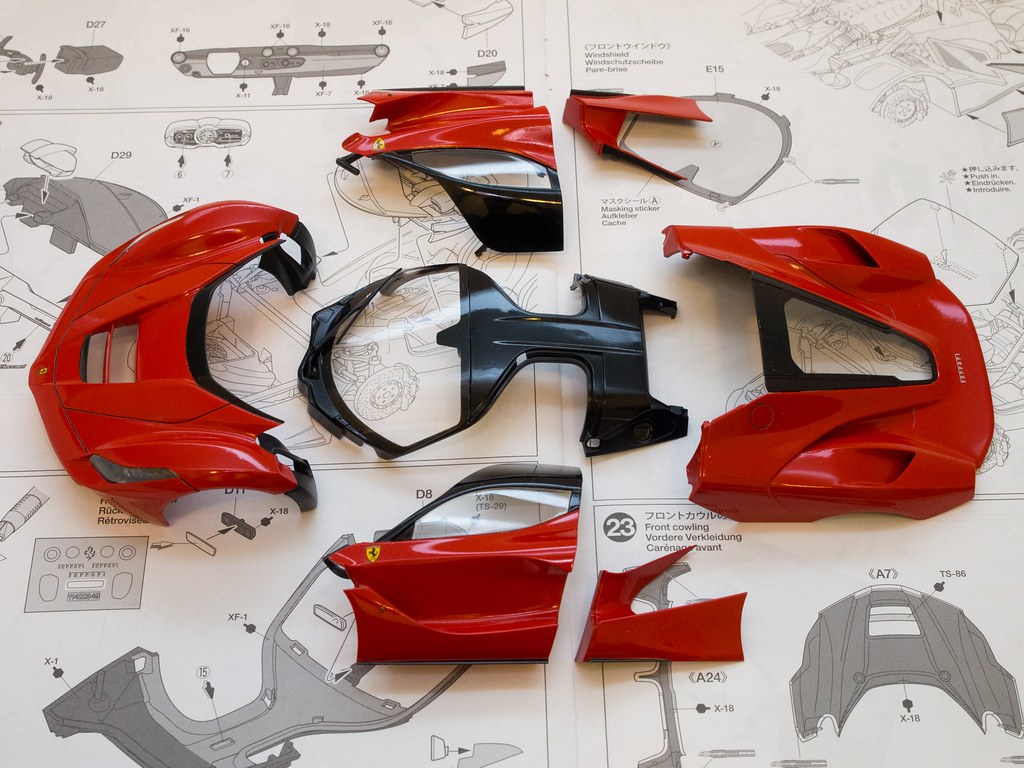 Doors completed.  Rear hatch completed. 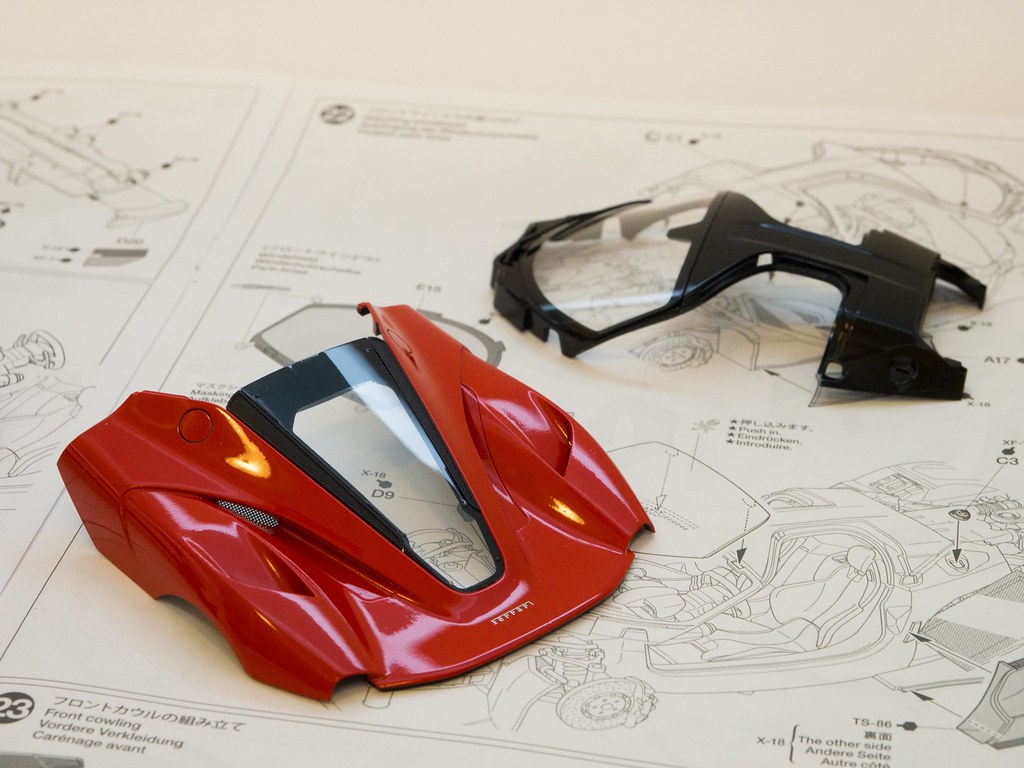 Test fitting after exterior parts almost completed. 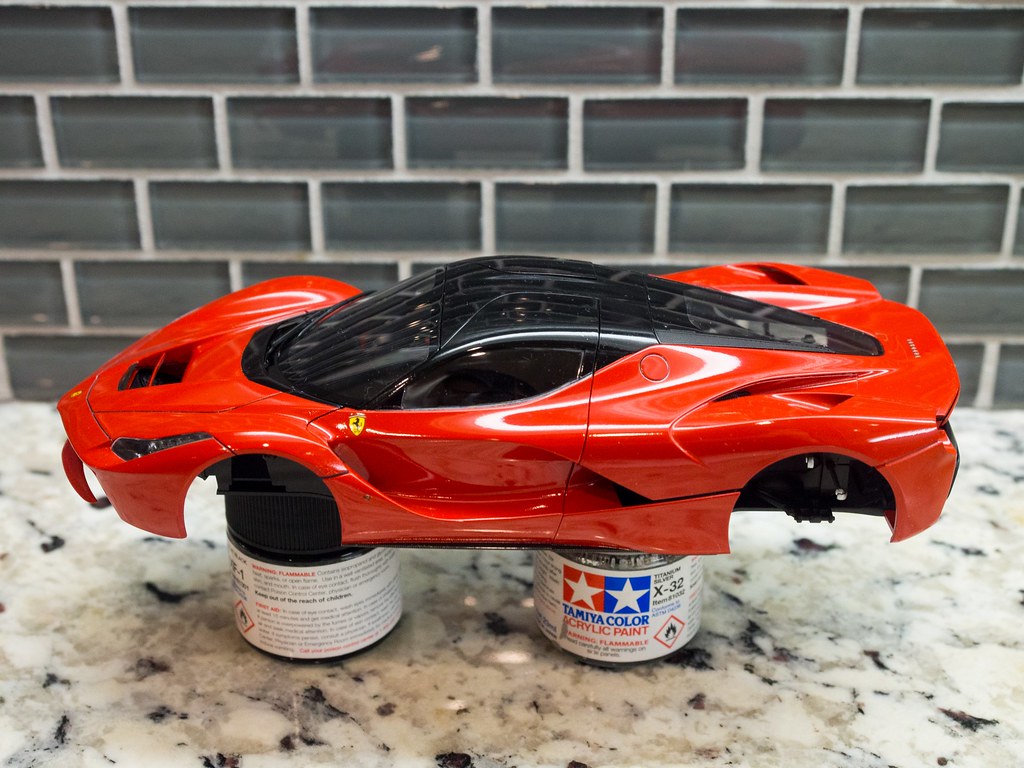 Rear is not done. 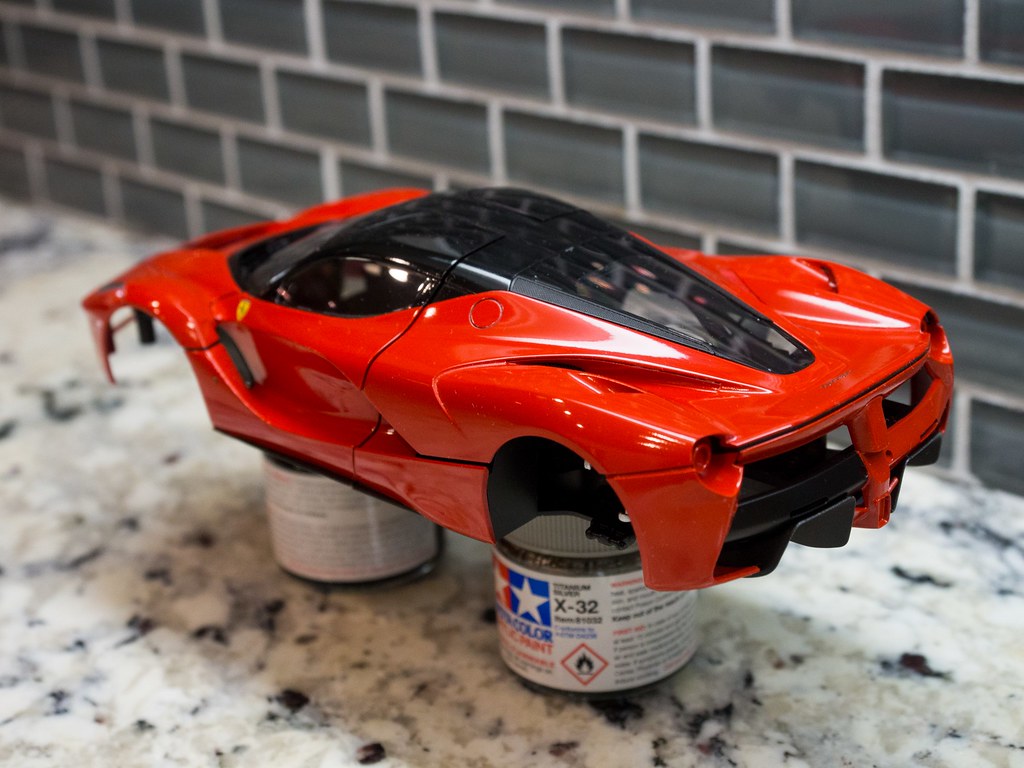 Tamiya carbon decals for LaFerrari. 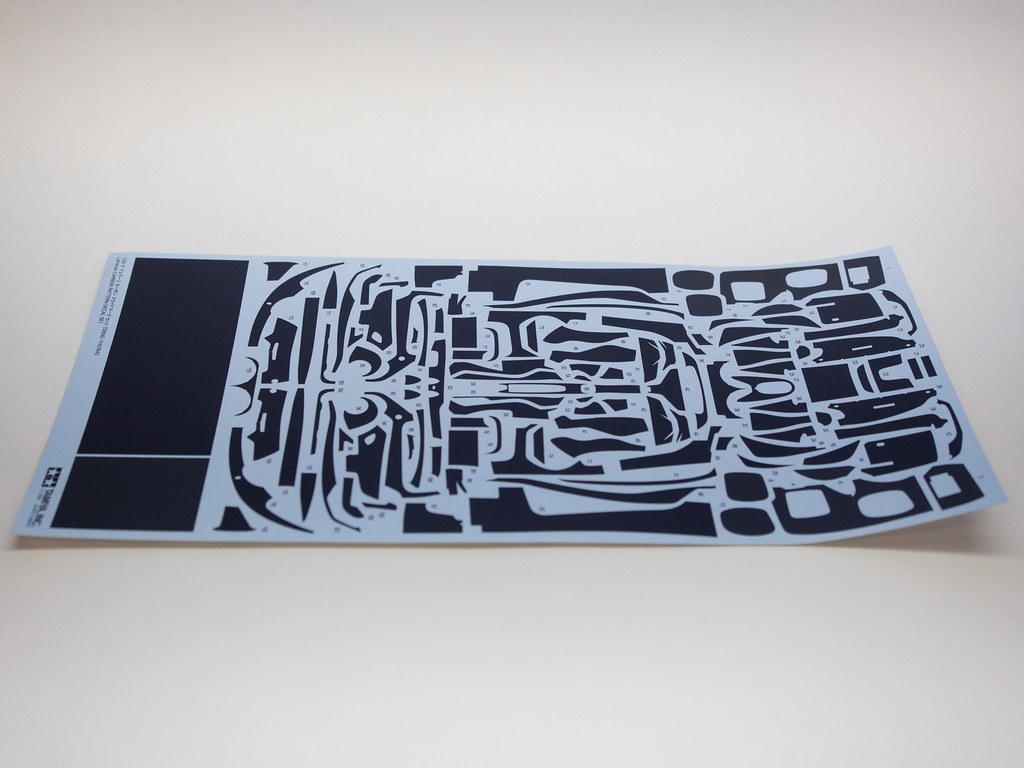 Started working on interior parts.  Engine almost complete. 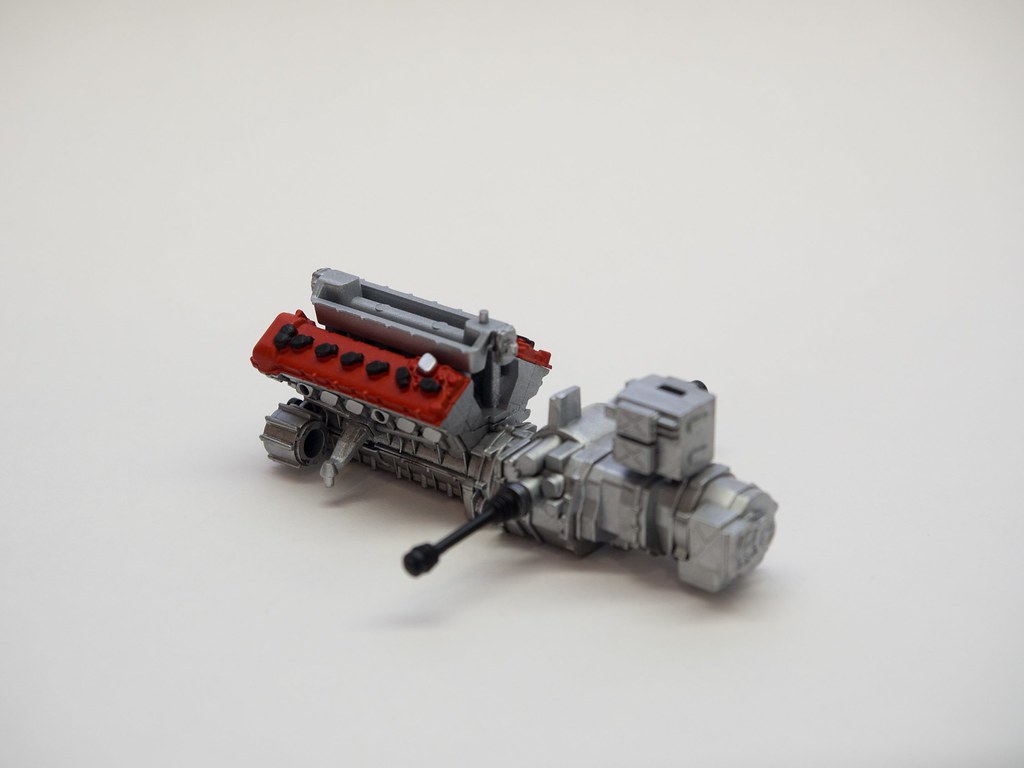 Test fitting engine on chassis.  Front with carbon lip and mesh grill installed. Messed up here where I glued the carbon lip on the body, too much glue. 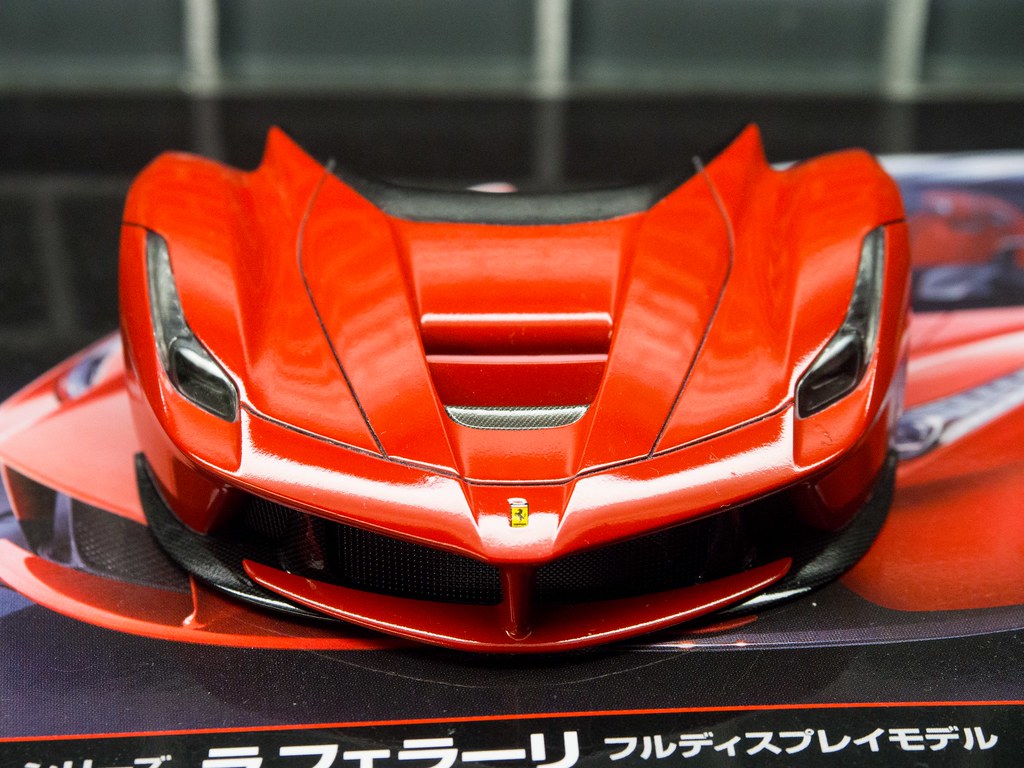 Another view of the front. 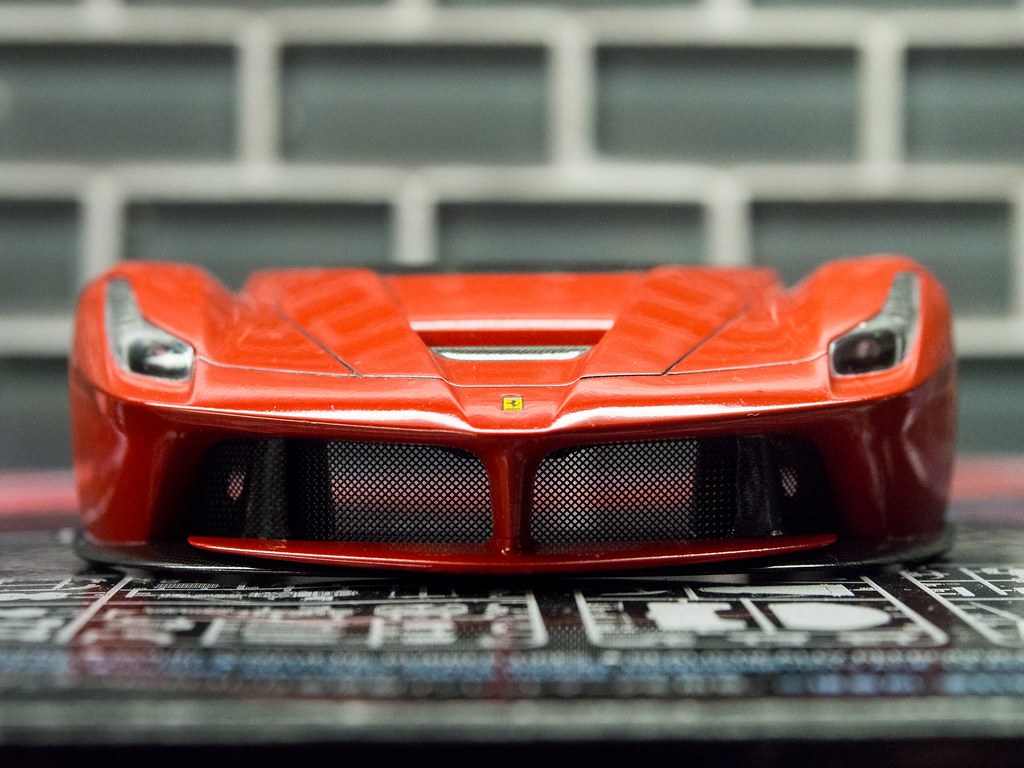 Engine part test fit but not glued.  Different carbon decal patterns on the fender. 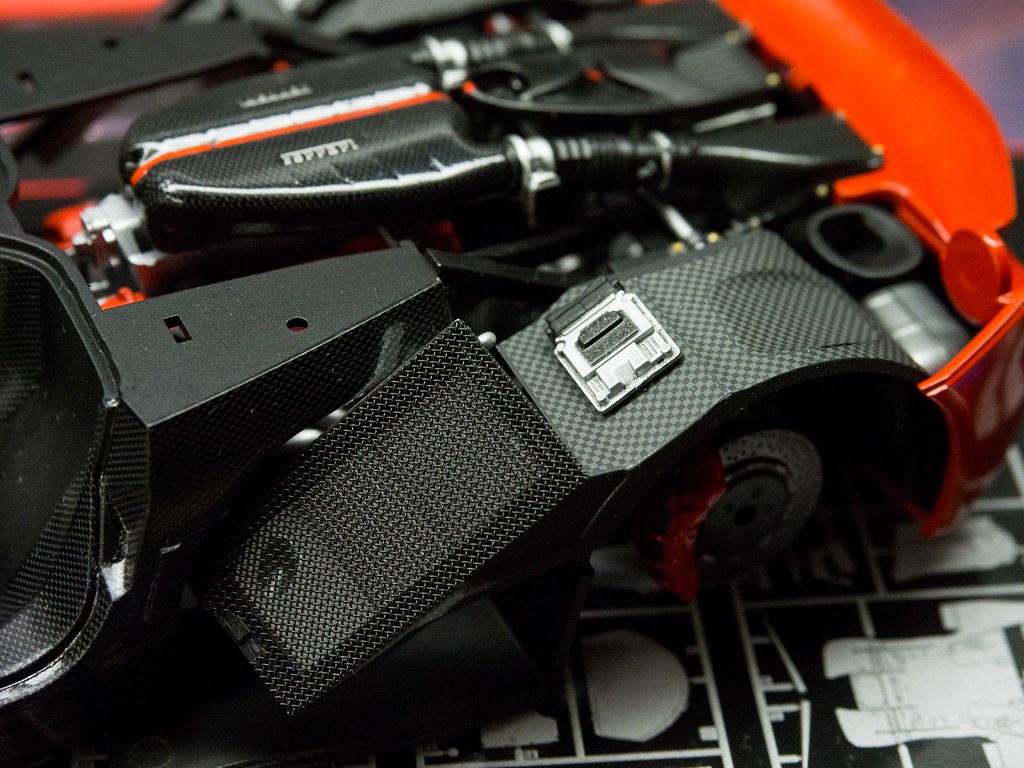 Carbon decals half applied in interior. Need to clear after decals... lots of work   This part divides the engine bay and interior is done with carbon decals and cleared. 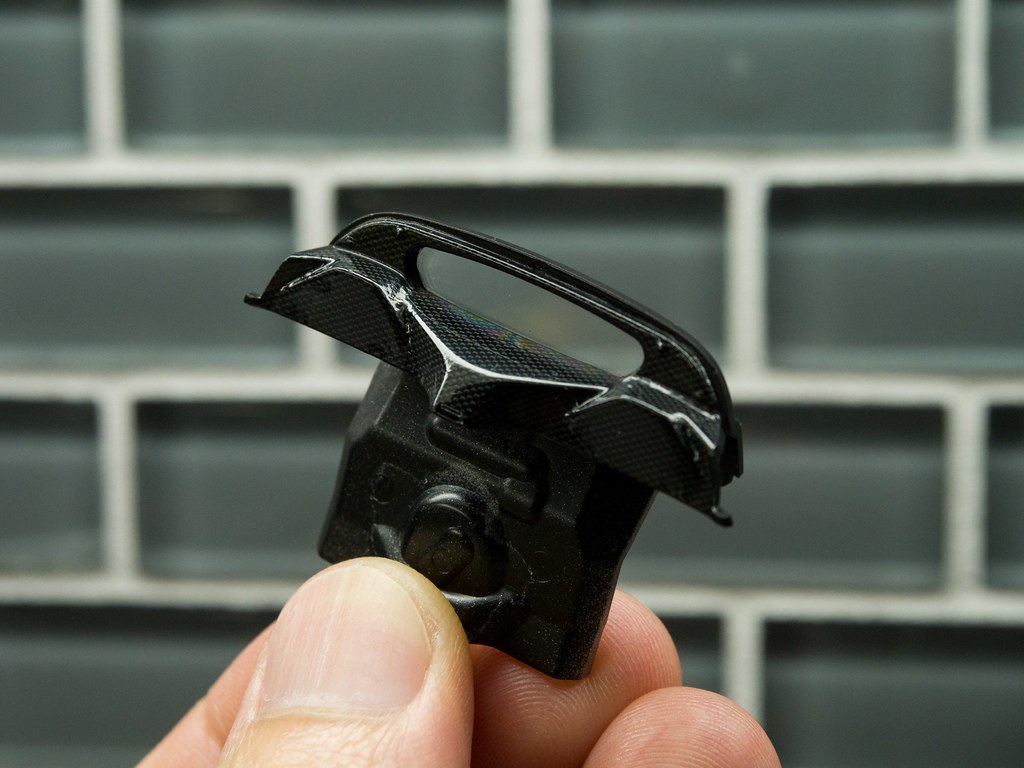 Still need to finish applying carbon decals and clear the carbon tub and dash pieces. The rear needs to apply carbon decals and clear as well. Still more work to be done, hopefully it will be completed soon. 
|
| The Following User Says Thank You to E46nm52 For This Useful Post: | ||
Moparbuilder (11-08-2016)
| ||
|
#3
11-11-2016, 02:06 AM
|
|||
|
|||
|
Re: Tamiya LaFerrari 1/24
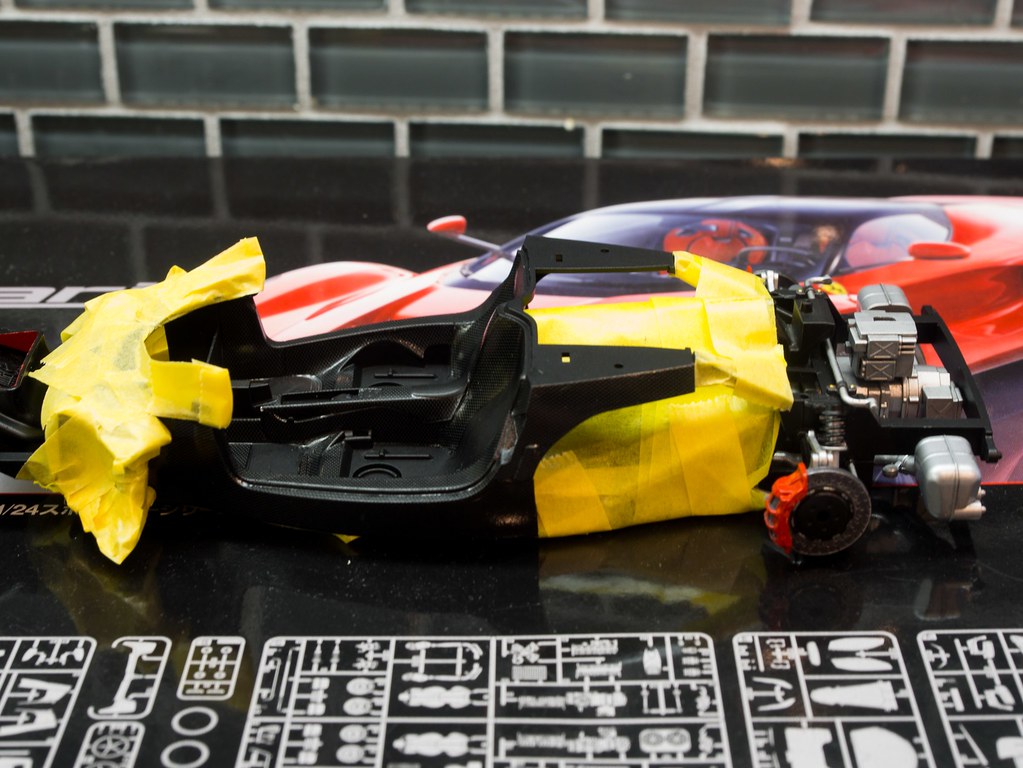
Small update. Done with carbon fiber decal on the carbon tub. I should have cut out the parts so that I can glue the 2 pieces that make the carbon tub first before adding on the engine. Oh well, masked and ready for clear.
|
|
#6
11-12-2016, 11:01 PM
|
|||
|
|||
|
Re: Tamiya LaFerrari 1/24
Update. Carbon tub cleared and polished, happy how it turned out. Still need to work on the details in the tub, and also thinking of trying to use flocking for the 2 floor mats in front of the seats.
 Used kitchen aluminum foil and kids' school glue to simulate heat shield under the engine. The size could be a bit bigger. 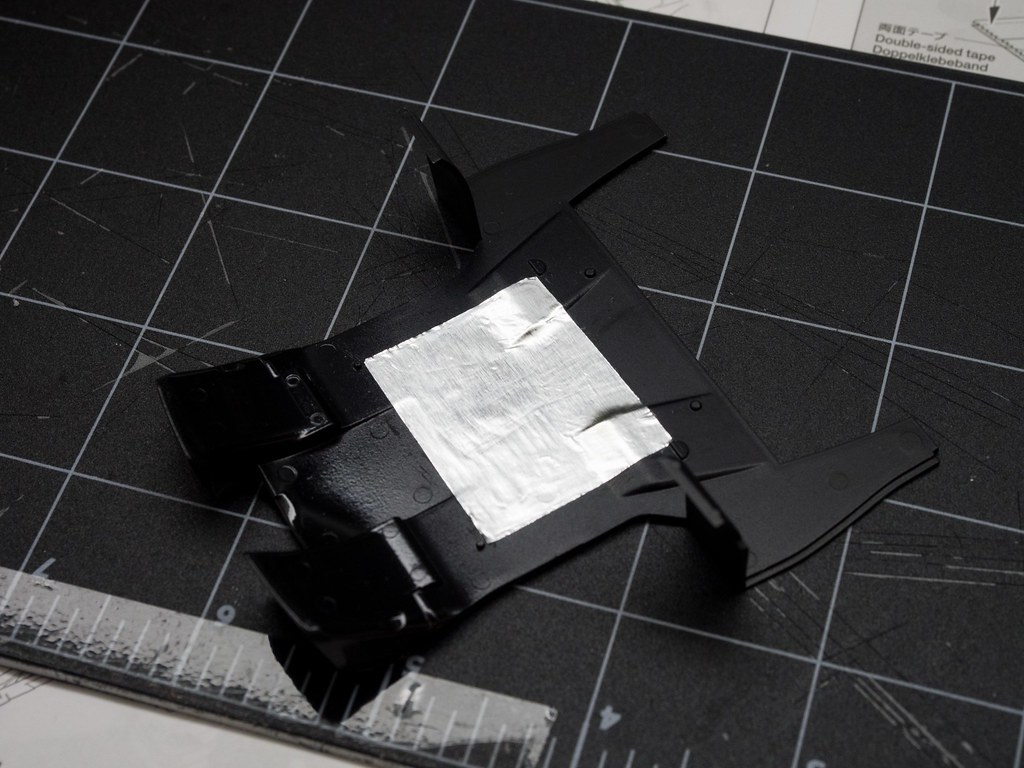 This is how it looks like, can't really see it, but just feels better that I know it's there, have never done it, just wanted to try. 
Last edited by E46nm52; 11-13-2016 at 12:23 AM.
|
|
#7
11-12-2016, 11:07 PM
|
|||
|
|||
|
Re: Tamiya LaFerrari 1/24
Quote:
|
| The Following 2 Users Say Thank You to E46nm52 For This Useful Post: | ||
pawlie (11-17-2016)
| ||
|
#8
11-13-2016, 04:38 AM
|
||||
|
||||
|
Re: Tamiya LaFerrari 1/24
Very nice!!
modellmaker.
__________________
 Twitter, Instagram: #modellmaker
|
|
#10
11-17-2016, 03:33 PM
|
|||
|
|||
|
Re: Tamiya LaFerrari 1/24
Quick update. Completed the dash, still need to work on the paddle shifters and steering wheel.
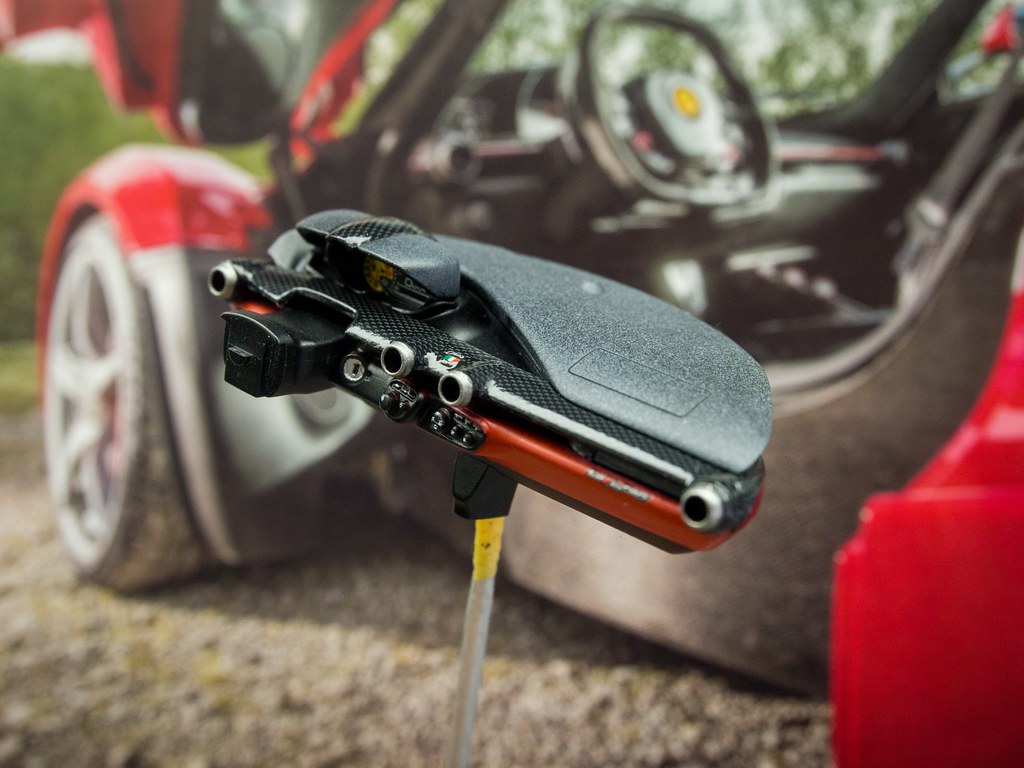 Managed to break the "LaFerrari" decal into 2 pieces, that's the best I can fix it. Getting old, can't see too well. 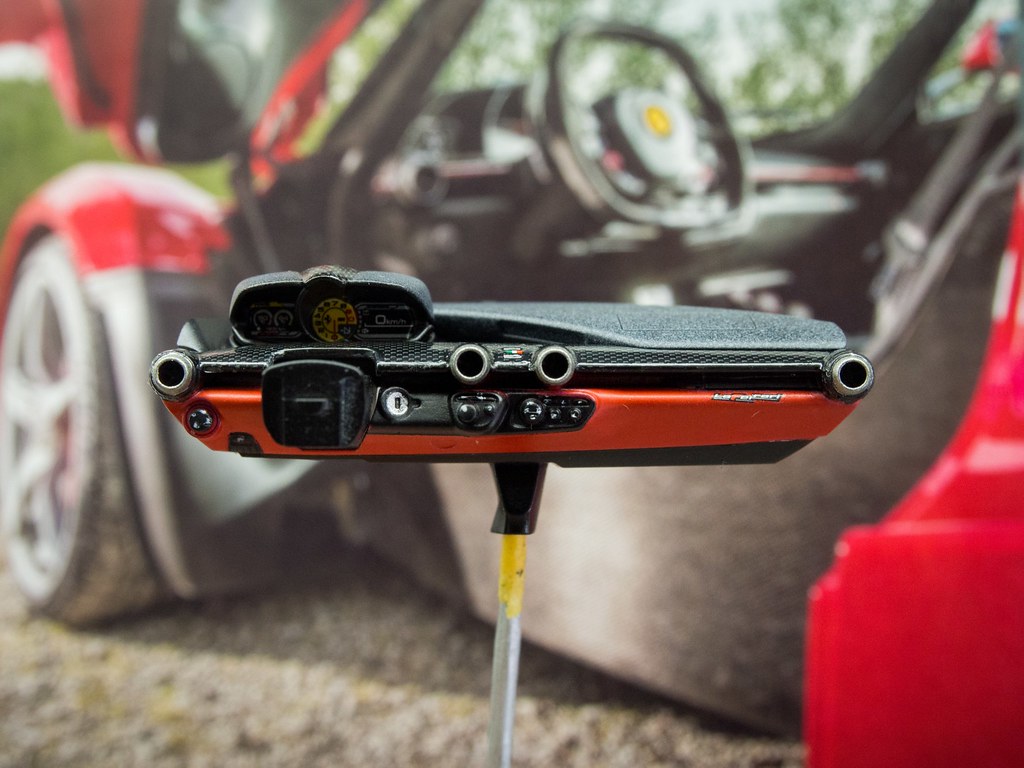 This is the best solution I can think of to simulate alcantara on the top part of the dash and the instrument cluster. I sprayed flat black first then a light mist of flat grey, it looked ok but doesn't look like alcantara. Any suggestions will be appreciated. 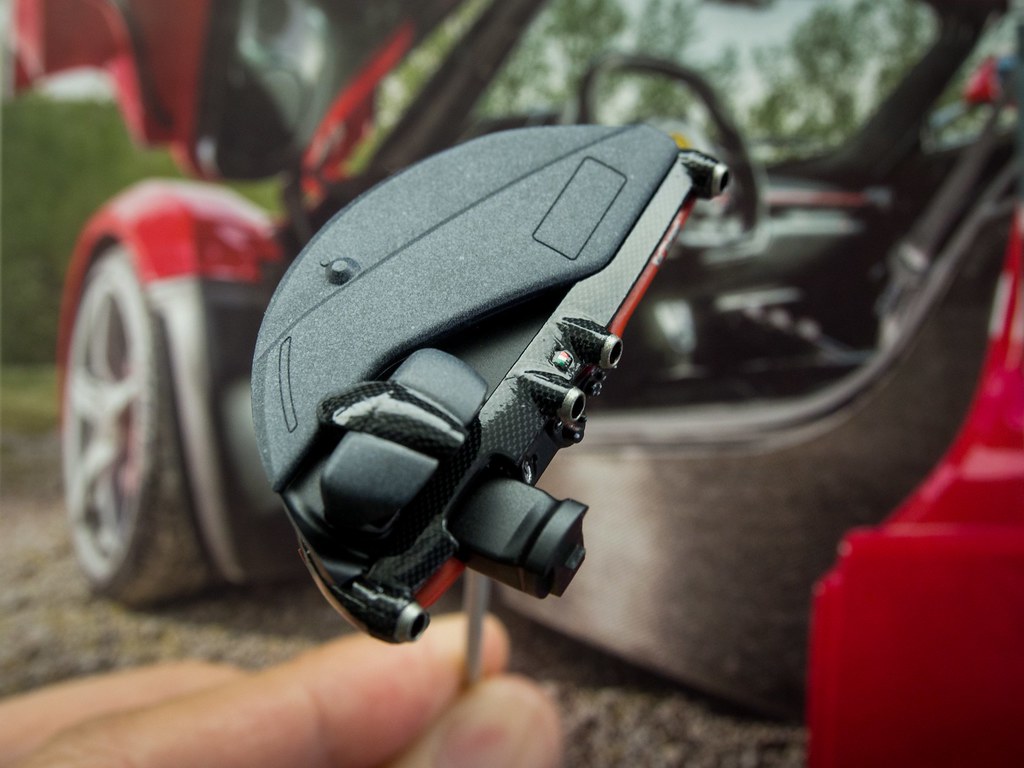 The carbon fiber decals were cleared by hand brushing Tamiya clear from a bottle, and I did polished the horizontal trim. 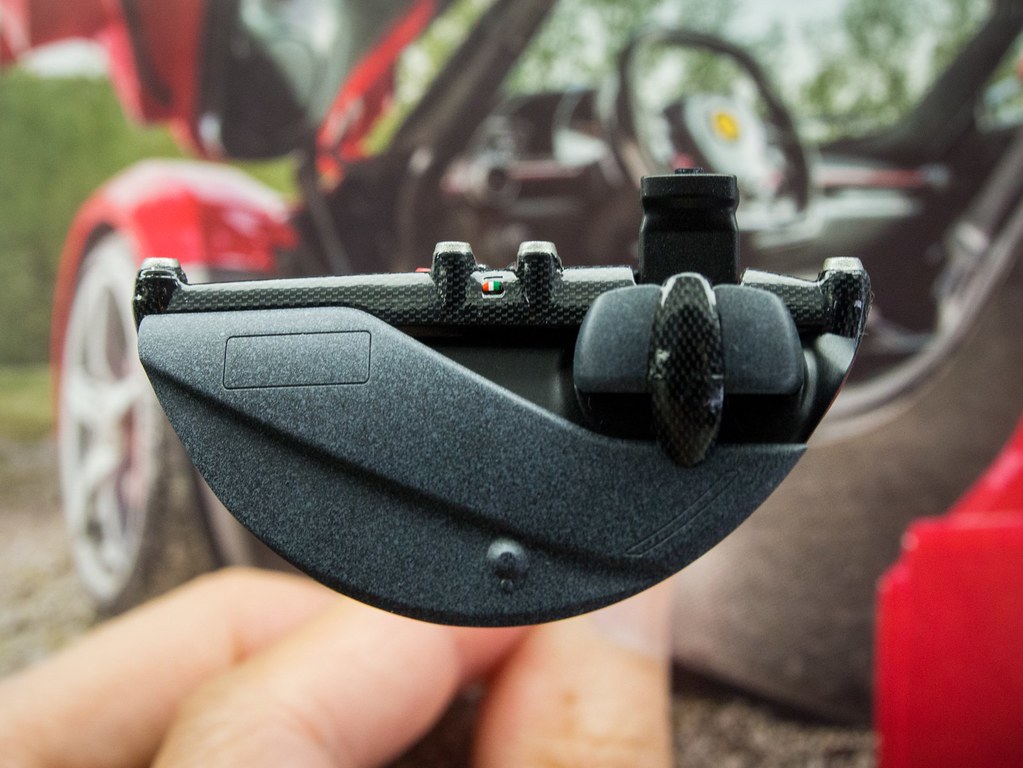
|
|
#11
11-20-2016, 08:54 PM
|
|||
|
|||
|
Re: Tamiya LaFerrari 1/24
Small update. Completed the steering wheel. I pretty much messed up the paddle shifters as I was putting on the carbon decals. There were no templates from the Tamiya carbon decals for the shifters, so I had to cut out my own. I was having hard time making the decal to stay on the small shifters, so I tried using a hair dryer, but I melted the plastic on the left side because it was too close to the dryer
I finally abandoned the carbon fiber decals on the shifters, made the left and the right side some what balanced (had to trim the right side shorter), and simply sprayed with black and gray paint then cleared.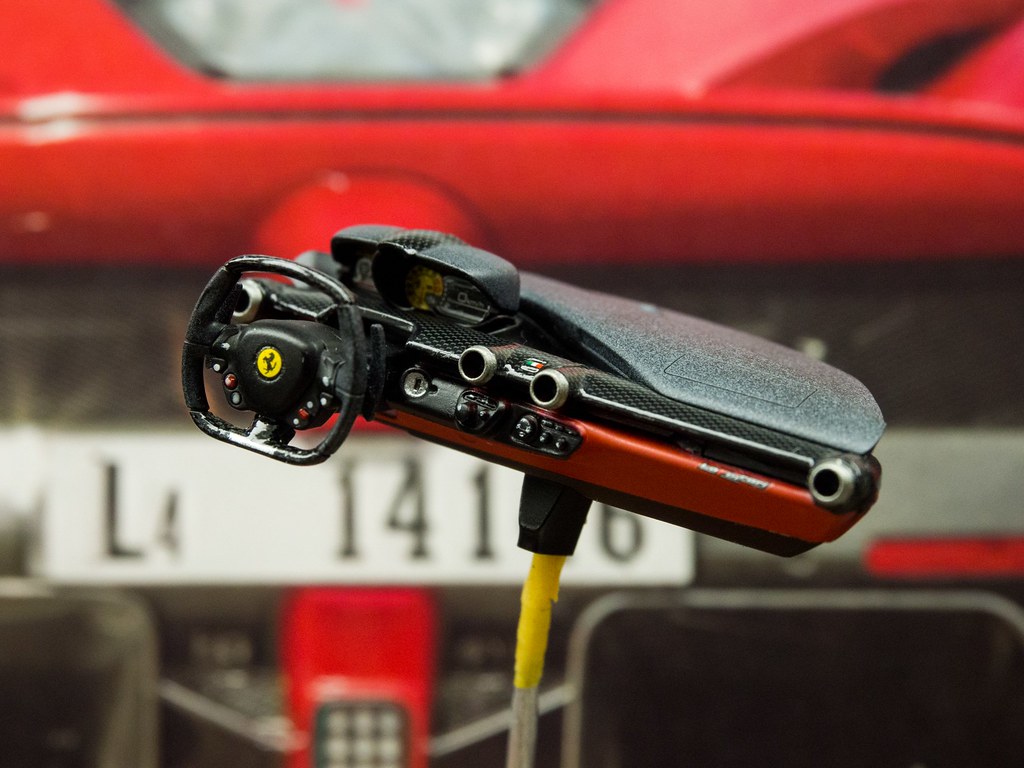 By the way, can someone suggest a brand for the seat belt with photoetch parts? It will be good if you have some sample photos how it looks like. I tried something from crazymodeler but wanted better seat belt material. Thanks.
|
|
#12
11-23-2016, 05:54 AM
|
||||
|
||||
|
Re: Tamiya LaFerrari 1/24
Great progress!
About Alcantara, have you ever used Microballs? You paint a part black, spray another layer of black paint, dip it into the Microballs while the paint is still soaking wet, let it dry, and spray another thin layer of black. Gives a very fine and good texture. Works just as well with other colors of course. Maybe I can find and post an example picture.
__________________

|
| The Following User Says Thank You to Kjenjak For This Useful Post: | ||
E46nm52 (11-23-2016)
| ||
|
#13
11-23-2016, 01:24 PM
|
|||
|
|||
|
Re: Tamiya LaFerrari 1/24
Quote:
|
|
#14
11-23-2016, 04:18 PM
|
|||
|
|||
|
Re: Tamiya LaFerrari 1/24
This is really incredible
|
|
#15
11-24-2016, 08:18 AM
|
||||
|
||||
|
Re: Tamiya LaFerrari 1/24
Terrific work! I sense an airbrush in your future, but you are doing great without one.
Quote:
The best way I have found to simulate it is to paint the surface in a suitable flat color. Then take a light grey or white pastel chalk and grind a bit on some fine sandpaper. Pick up some of the pigment dust with an old paint brush, and brush it onto the painted surface. Give special attention to outside curves and corners, as Alacantara shows these highlights very well. A nice thing about pastel chalk dust is that you can adjust it until you are happy with it- and brush it off if you are not. You might think that white would be too much contrast (or at least I originally thought so)- but I have found that white dust works very well, regardless of the color of the Alacantara that I'm trying to simulate (red, blue, dark grey, whatever). It doesn't take much, and if you are unhappy with the results brush it off and try again. Most important, look at pics as you go- don't try to do it by memory or imagination.
__________________
PHOTOBUCKET SUCKS
|
| The Following User Says Thank You to MPWR For This Useful Post: | ||
willimo (01-07-2017)
| ||
|
|
POST REPLY TO THIS THREAD |
 |
|
|


