|
| Search | Car Forums | Gallery | Articles | Helper | Air Dried Fresh Beef Dog Food | IgorSushko.com | Corporate |
|
|||||||
| WIP - Motorsports Post topics for any "Work In Process" motorsports vehicles in this sub-forum. |
 |
 Show Printable Version | Show Printable Version |  Subscribe to this Thread
|
|
|
Thread Tools |
|
#1
 05-07-2013, 05:11 PM
|
||||
|
||||
|
1/12th GT500 road racer
I had started this as a pro stock car. That is still in the works however it has been on hold for some time. Wanting to get back to work and try and get some of these big scale builds finished (well, projects in general), I decided to do something a little different. Wanting to do something that would go together pretty quick but still be customized. I will be picking up another kit and using the stock chassis tub (the tub for this one is being modified to fit an old Revell '65 fast back) and build a road race car from there. So mostly stock undercarriage and a custom roll cage. The truck will remain closed, maybe some details added to the lower side in the way of a sump and some fittings. Rolling stock will come courtesy of HPI (on-road R/C cars). That is also where the motivation for this idea came from:
 The wheels were originally bought because they resembled Corvette ZR-1 wheels and I thought my never ending search for a solution for wheels for my 1/12th Camaro might be over....I was wrong. So I mocked them up with the mustang body and here we are.
__________________
My name is Russell, feel free to use it. I'd rather be hated for Who I Am than be loved for Who I Am Not 
|
|
#2
05-07-2013, 05:18 PM
|
||||
|
||||
|
Re: 1/12th GT500 road racer
Strange, when did they start shrinking the pictures?! Anyway, on with the story. I am a member of a local Mustang forum here in Dallas and after debating on the color, I decided to go with Grabber Blue. It has always been a down fall of mine to paint the body first and then get on with the rest of the build. I think it helps keep me motivated to see the finished product! I started with some white plastic primer that was a TERRIBLE idea. After finding and cleaning up the molding issues from the factory, I followed with duplicolor filler primer (I swear I have used this EXACT combo before....maybe not). The gray primer caused the white plastic primer to start crazing. I spent a little time trying to clean it up and re-spray it, but that didn't work. So, I decided it was time to strip it. Ever tried to strip a 1/12th scale body with chemicals? Not so easy! I used DOT3/4 brake fluid, after 24 hours of soaking, and 3 hours of cleaning, It was time to prime and paint.
 This was after the first two coats of paint. I layed the first coat down and realized I was spraying too thick. I was originally mixing 1:1 Automotive lacquer cut with lacquer thinner. Let the paint cure and went at it with 800 grit to fix my issues. On the next 3 coats I thinned 3:2 thinner to paint @ 40 psi, MUCH better:  And a teaser shot to keep me motivated:  The engine and supercharger are sitting in black base coat lacquer for alclad aluminum. I have the urge to convert it to a Kenne Bell supercharger...time will tell.. Until next time.
__________________
My name is Russell, feel free to use it. I'd rather be hated for Who I Am than be loved for Who I Am Not
|
|
#3
05-07-2013, 06:20 PM
|
||||
|
||||
|
Re: 1/12th GT500 road racer
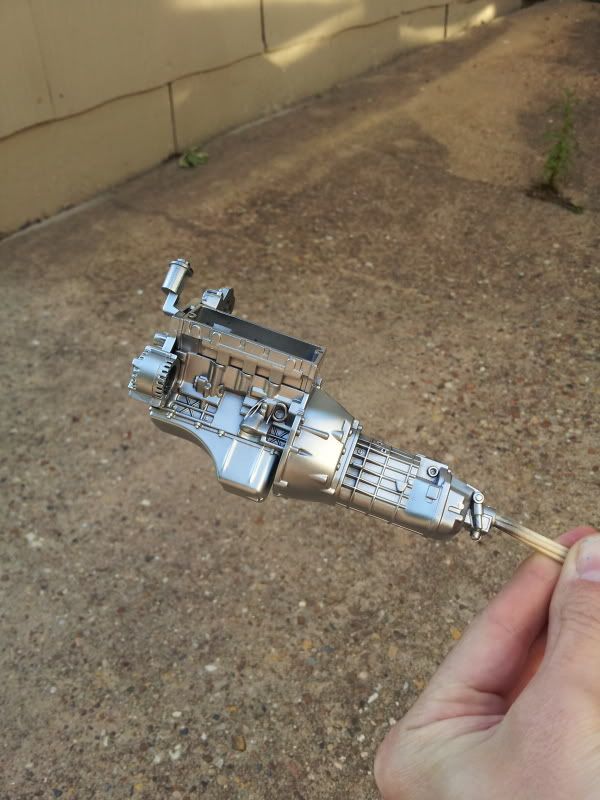
The last one for today. This is my first time working with Alclad. I previously used Testor's metalizers. I am now sold on Alclad!
__________________
My name is Russell, feel free to use it. I'd rather be hated for Who I Am than be loved for Who I Am Not
|
|
#5
05-07-2013, 10:20 PM
|
||||
|
||||
|
Re: 1/12th GT500 road racer
Thanks! Spent about an hour working the paint to get it smooth. Still a couple of "rough" spots though. A couple more coats of blue and then I can clear it. There will be some carbon fiber accents, mirrors, spoiler, hood insert, and front and rear loer bumpers (black on the real car.)
__________________
My name is Russell, feel free to use it. I'd rather be hated for Who I Am than be loved for Who I Am Not
|
|
#6
05-08-2013, 11:08 AM
|
||||
|
||||
|
Re: 1/12th GT500 road racer
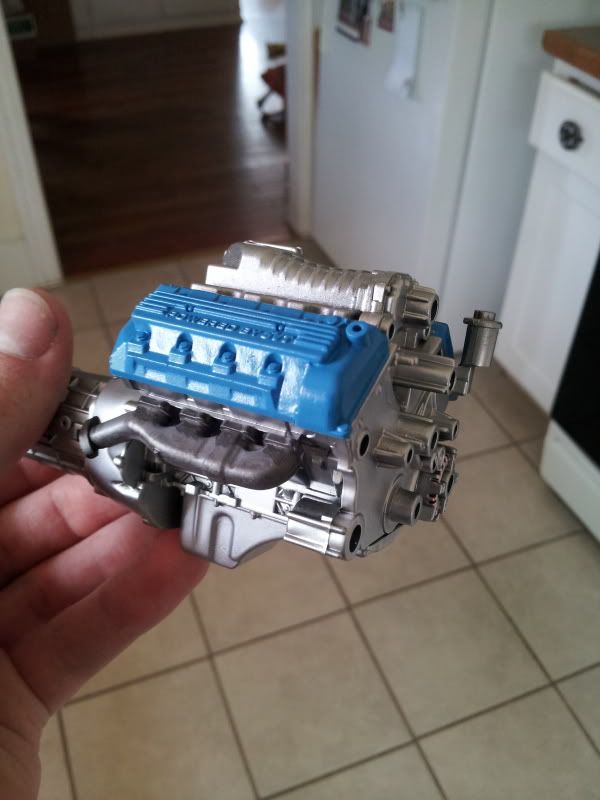
A little more work this morning, got another coat of paint on the body, and a few engine details done. I need to fix my digital camera so I can get some better pictures.
__________________
My name is Russell, feel free to use it. I'd rather be hated for Who I Am than be loved for Who I Am Not
|
|
#7
05-08-2013, 02:52 PM
|
||||
|
||||
|
Re: 1/12th GT500 road racer
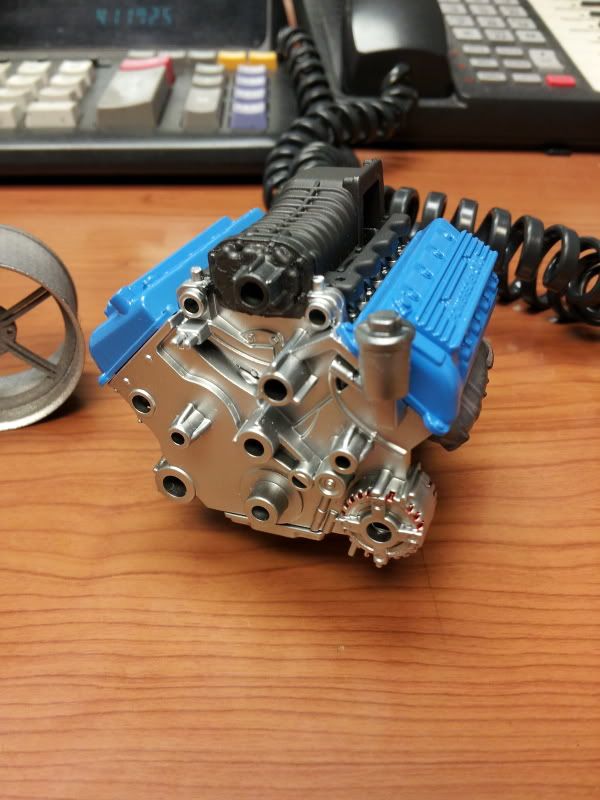
I decided to keep the kit supercharger. It is just resting in place for now while I decide how detailed I want to get (fuel lines, rails, fittings, etc). The color is Testor's model master line of metalizers "exhaust" I like the color and the finish.
 Some of you might recognize these, the wheels for my Camaro that I modelled in solid works. I didn't spend much time cleaning them up, I just wanted an idea of how real it would look. I am wondering if I have the sleeve printed in a better quality plastic and use the alclad aluminum paint followed with a urethane clear if they will look convincing enough for me. The centers were painted magnesium since my gunmetal was dried up. 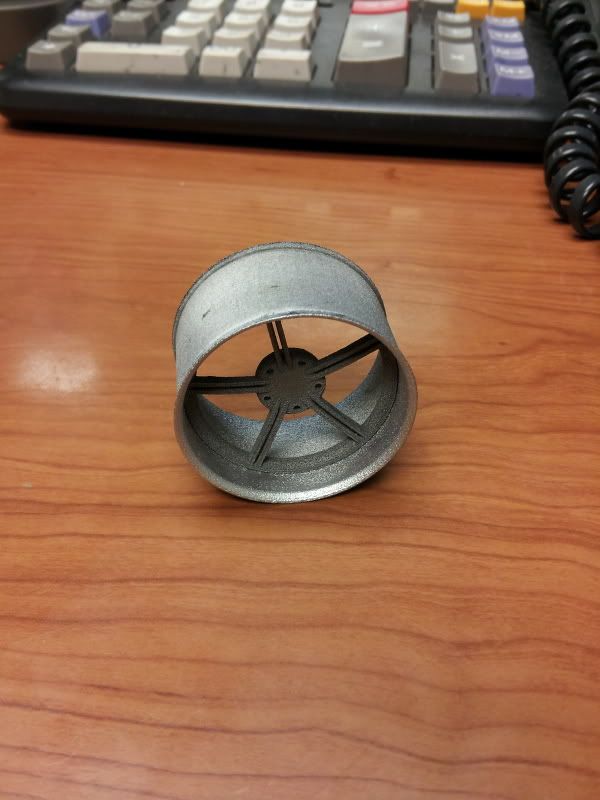
__________________
My name is Russell, feel free to use it. I'd rather be hated for Who I Am than be loved for Who I Am Not
|
|
#8
05-09-2013, 10:08 PM
|
||||
|
||||
|
Re: 1/12th GT500 road racer
No pictures tonight. This will be the most work I have put into a paint job. I found a polishing set at Hobby Lobby the other day (3000-12000 grit sanding pads) and decided to see what happens with this. Before I would paint, level it out with 1000 - 1500 -2000 grit paper and clear. I never got good at polishing the clear, relying on the self levelling property of the urethane clear and hoping I didn't get any trash in it. Most of the time there was still orange peel in the paint because I was afraid of burning through the edges and having to repaint. I started the same way on this one, using 1000 & 1500 grit paper. Aftr burning through the paint I decided to see how the progression of the polishing kit worked. So far, this should be my best paint job. 95% of the orange peel is gone. I will have to touch up the paint in a couple of places. Then I will hit it with the 4000 grit pad and clear it.
__________________
My name is Russell, feel free to use it. I'd rather be hated for Who I Am than be loved for Who I Am Not
|
|
#9
05-13-2013, 10:44 PM
|
||||
|
||||
|
Re: 1/12th GT500 road racer
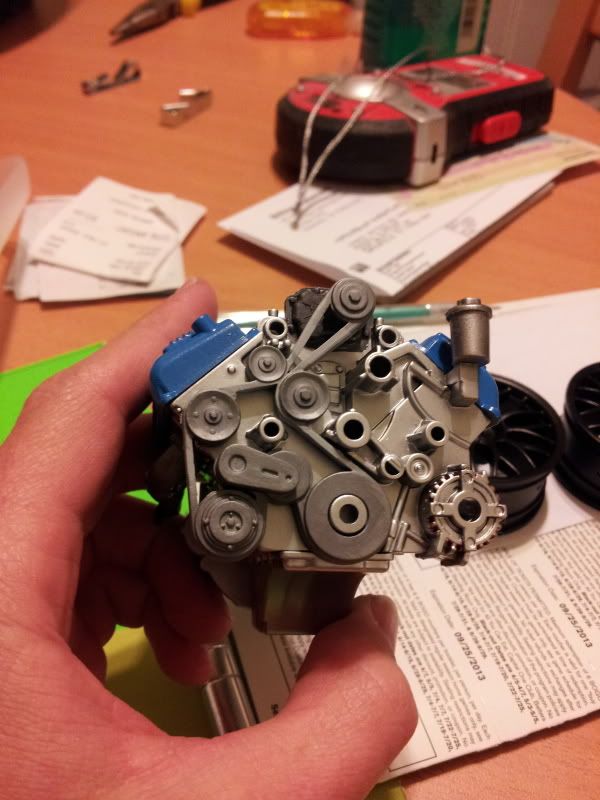
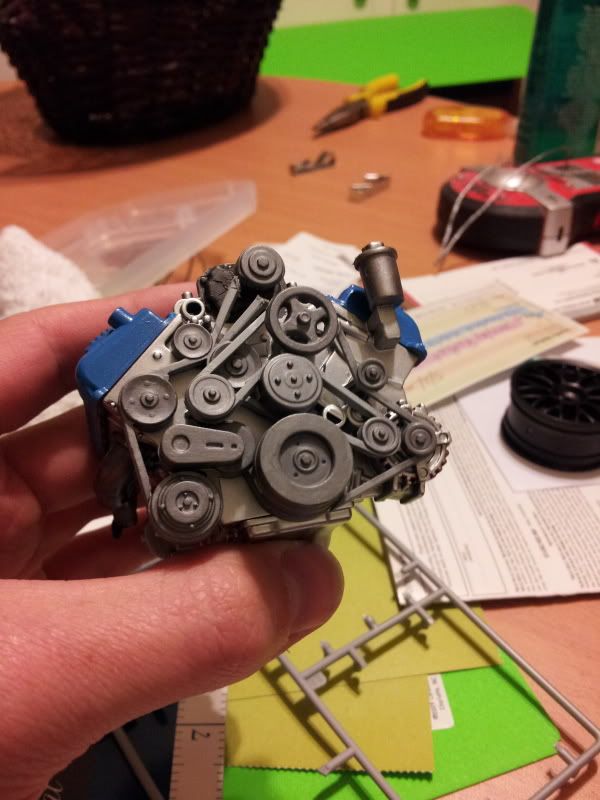
Did a little work tonight. I started the process of painting and separating the pullies. On these kits the pullies and belts are molded as one unit. This leaves a very thick belt, which looks out of place. I plan to separate all of the pullies and replace the belt with a thin strip of masking tape colored flat black. These pictures are my reference for pully location and belt routing. The pullies are painted testors metallizer "magnesium". Progress will be slow as I transition to a new job, and having to replace 95% of my paints because they have dried up.
__________________
My name is Russell, feel free to use it. I'd rather be hated for Who I Am than be loved for Who I Am Not
|
|
#10
05-14-2013, 08:21 AM
|
||||
|
||||
|
Re: 1/12th GT500 road racer
Nice work!
|
|
#11
05-14-2013, 06:01 PM
|
||||
|
||||
|
Re: 1/12th GT500 road racer
I spent a couple of hours working on the accessory drive set-up. As you saw in the previous post the belt is large and unrealistic from a scale perspective. So each pulle was separated, cleaned up, and attached. This may seem pretty straight forward, however, it is not. Since the pully systems are cast in two pieces (back belt and front belt) Revell felt the need to cut some corners and some of the pullies are free floating, meaning there aren't any true attachment points on the front cover
Here are all of the rear pullies attached 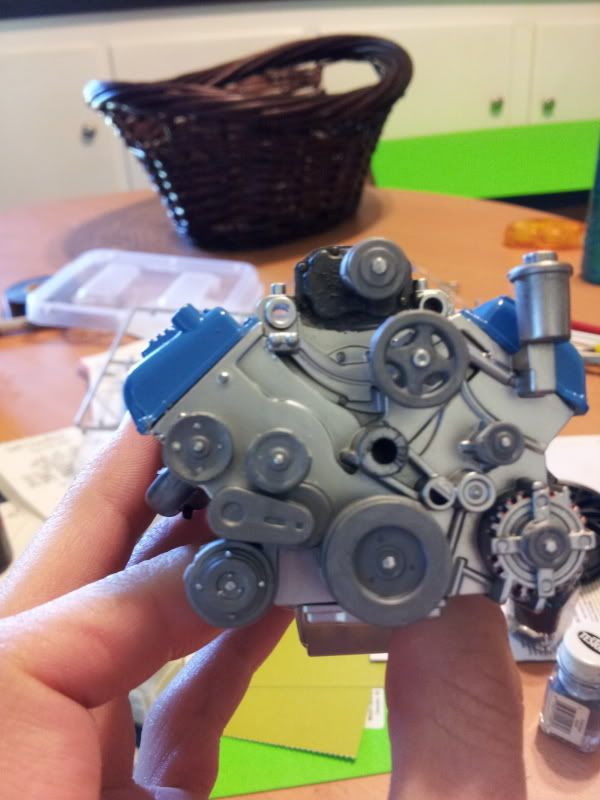 There were 3 pullies that I had to create mounts for. This was done with round styrene stock glued to the back of the pullies and holes drilled through the front cover so the stock could be attached and the depth adjusted 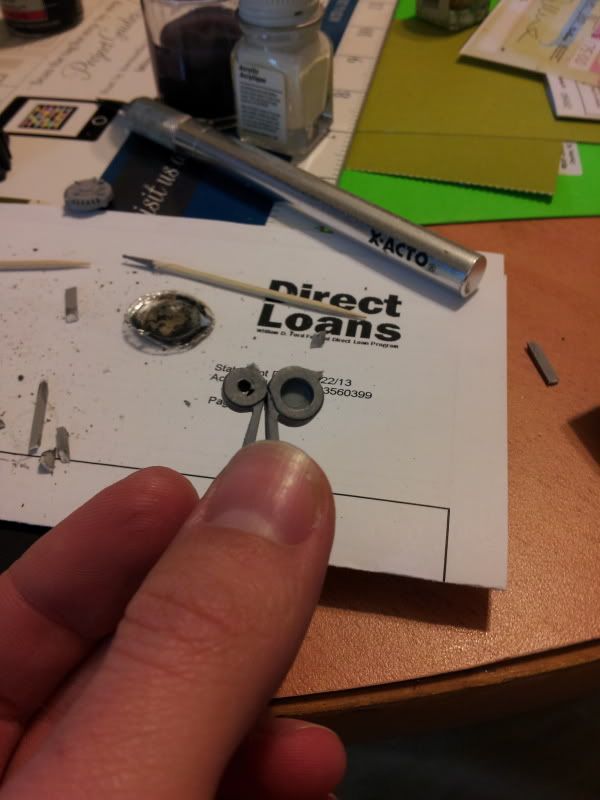 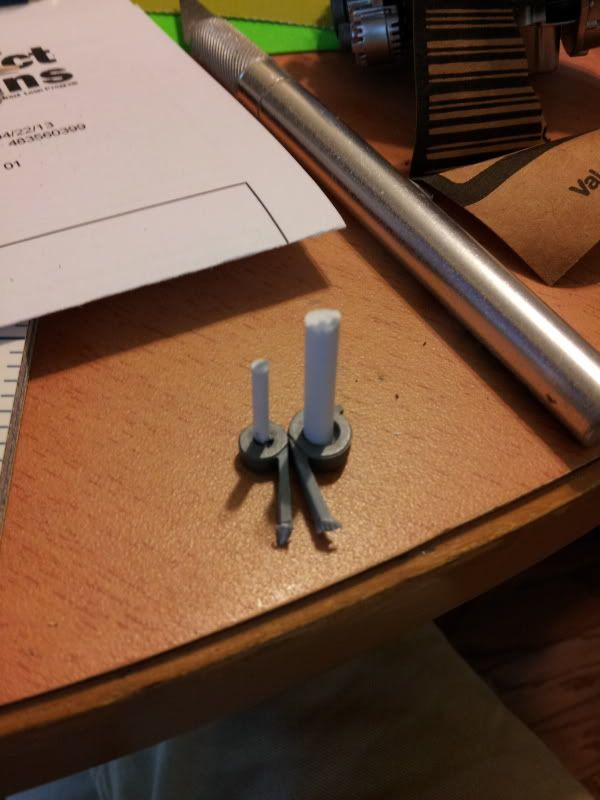 Once the rear pullies were attached a new belt was ran and then the front pullies were attached and the front belt ran. The belt is a piece of masking tape cut 2 mm wide and painted flat black 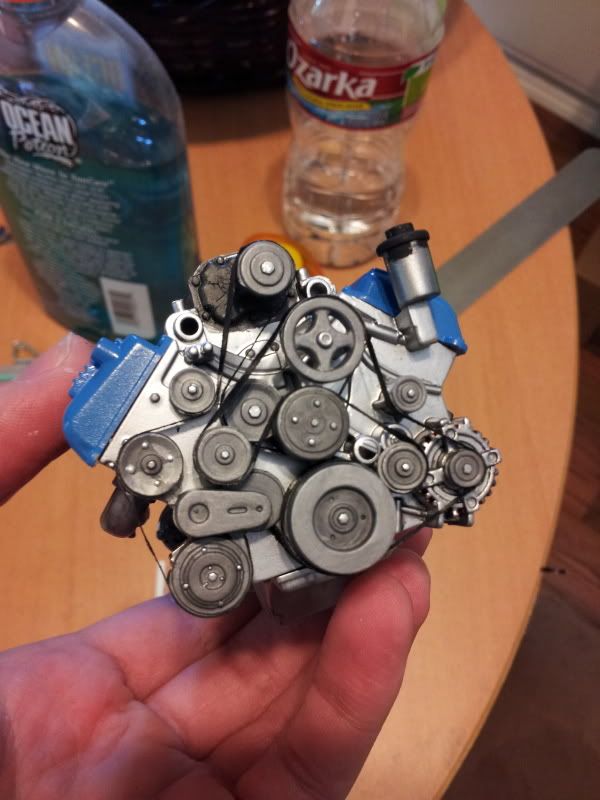 After that was done some detailing was done to the engine, bolt heads painted, a black wash was applied to pick out details in the block and pullies and also to knock down the shine of the aluminum paint. 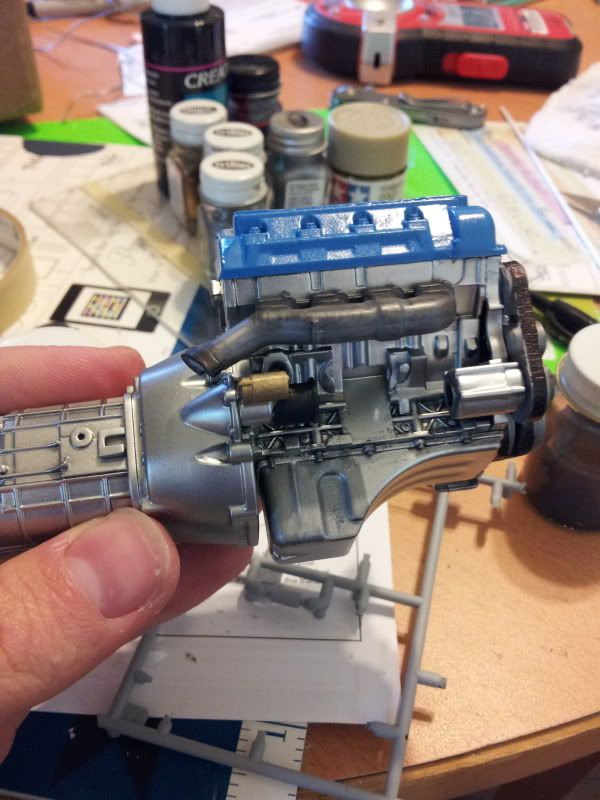 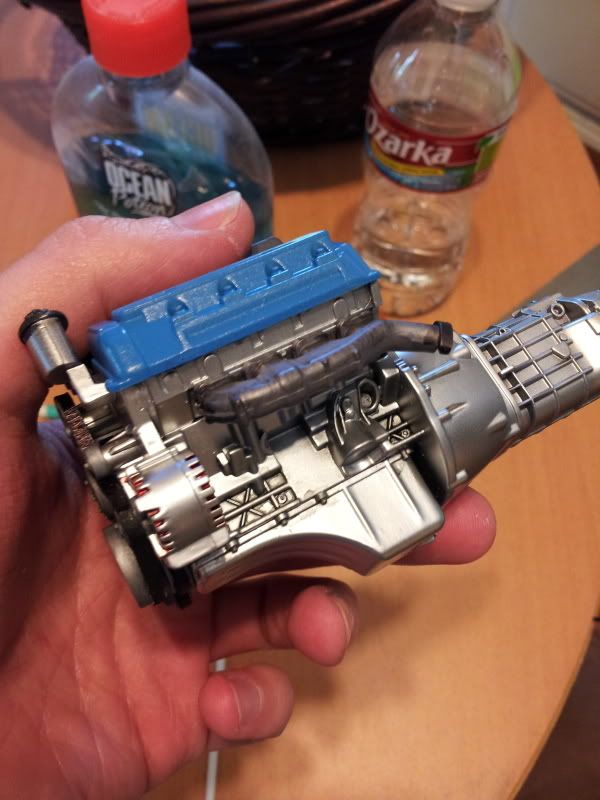 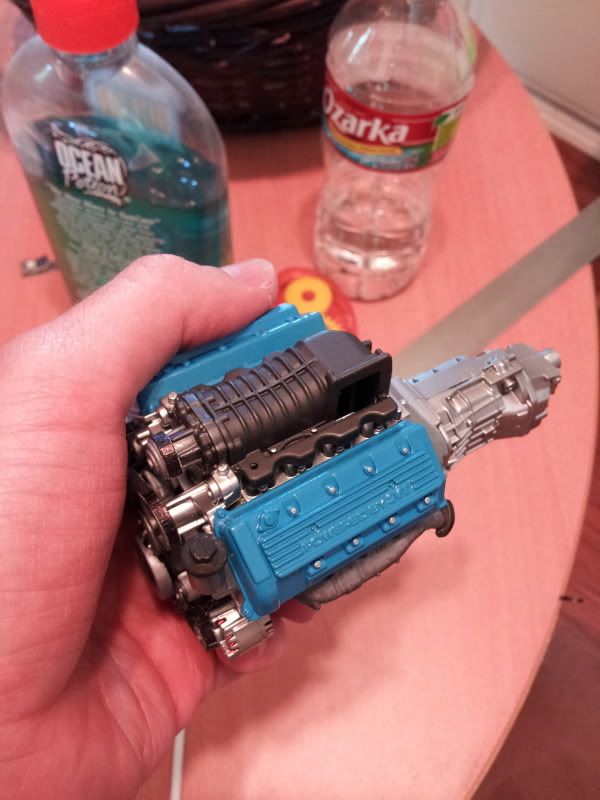
__________________
My name is Russell, feel free to use it. I'd rather be hated for Who I Am than be loved for Who I Am Not
|
|
|
POST REPLY TO THIS THREAD |
 |
|
|