|
|
| Search | Car Forums | Gallery | Articles | Helper | Air Dried Fresh Beef Dog Food | IgorSushko.com | Corporate |
|
|||||||
| WIP - Street Post topics for any "Works In Progress" street vehicles projects in this sub-forum. |
 |
 Show Printable Version | Show Printable Version |  Subscribe to this Thread
|
|
|
Thread Tools |
|
#1
 08-15-2012, 04:39 AM
|
||||
|
||||
|
The 3 Diablos
Hi Guys and gals, this is my first WIP post here, it's for a local group build titled "Horse VS Bull GB"
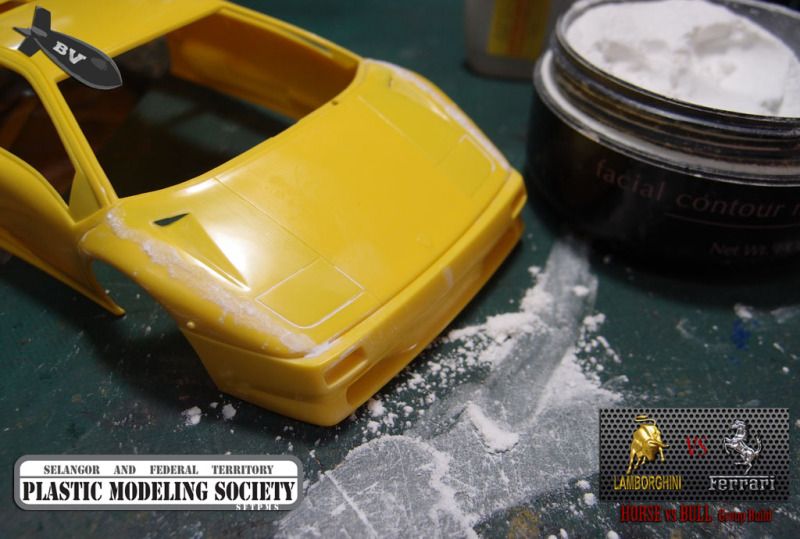 talcum powder + superglue were used to filled up the gaps in the froot hood. 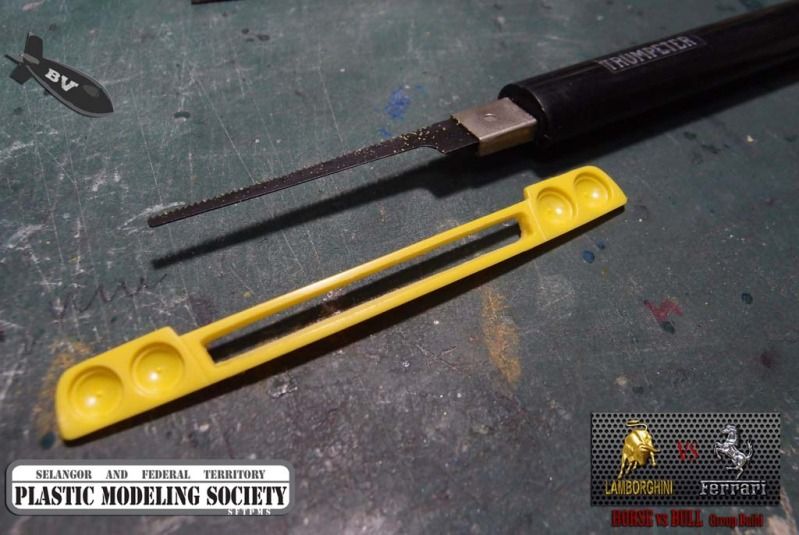 plastic "mesh" were cut out to be replace by wire mesh 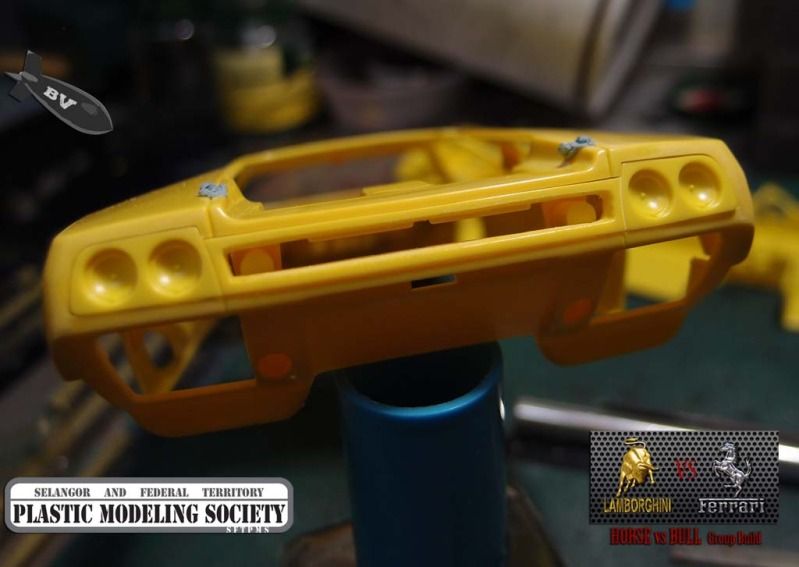 the original fitting for the kit that not suppose to be visible behind the mesh 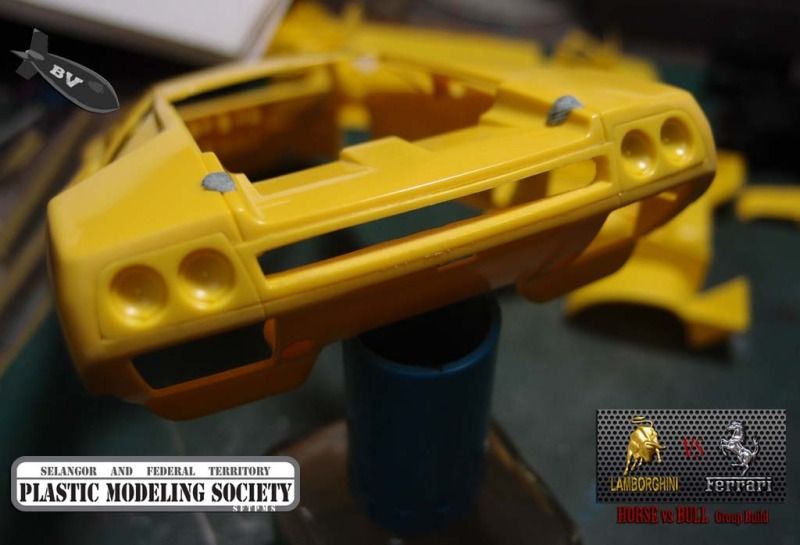 cut away 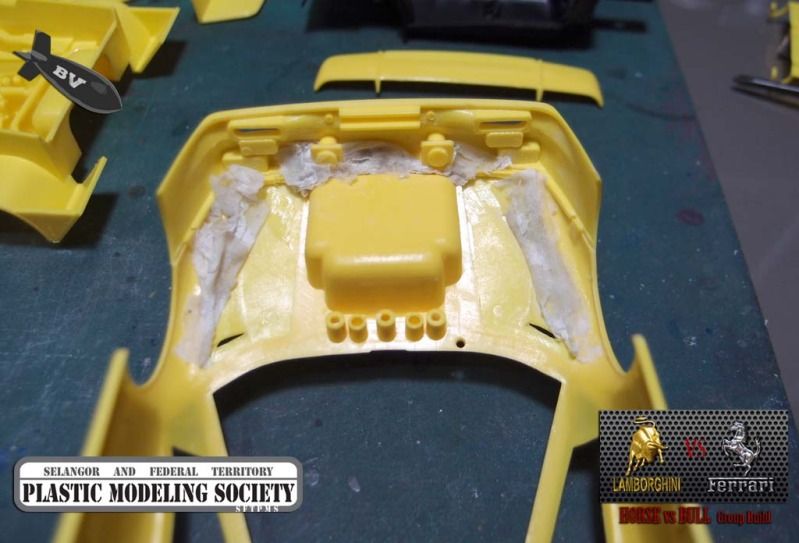 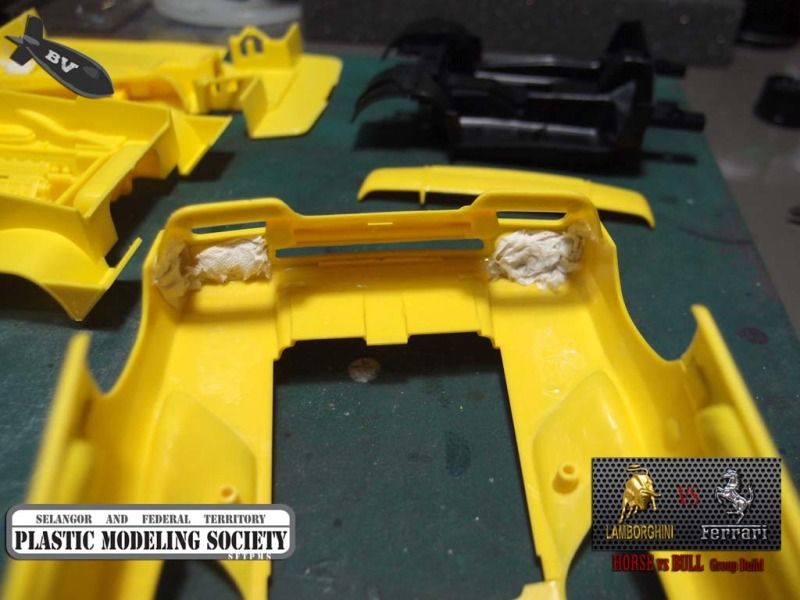 I strengthen the joints by using superglue and tissue paper 
|
|
#2
08-15-2012, 04:45 AM
|
||||
|
||||
|
Re: The 3 Diablos
This kit molded 90% of parts that should be black in light color... white and yellow. be prepare to use a lot of paints
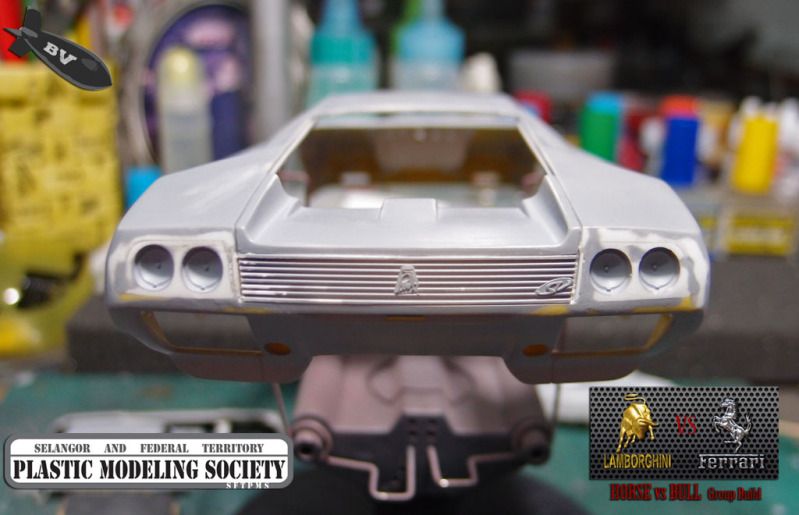
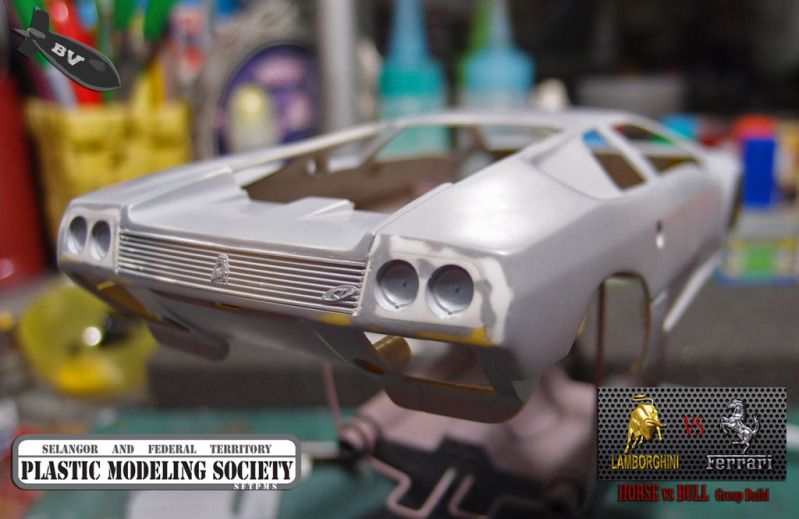
 hard to reach areas - 1 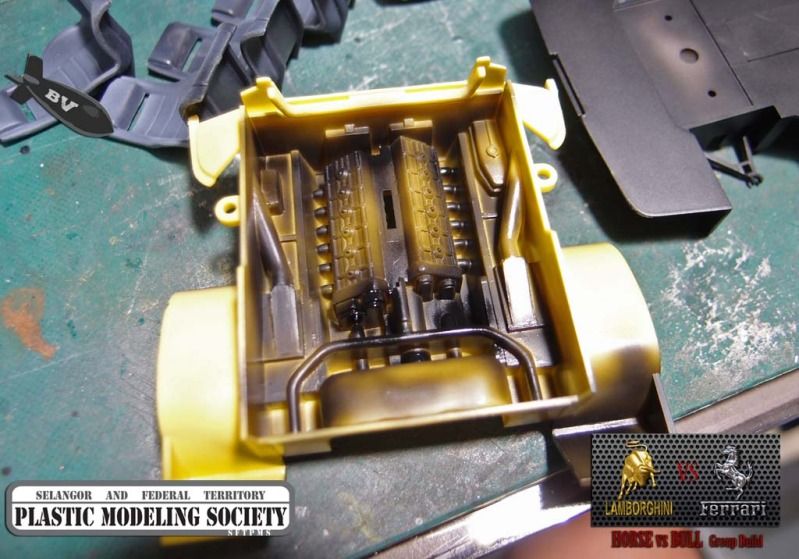 hard to reach areas - 2 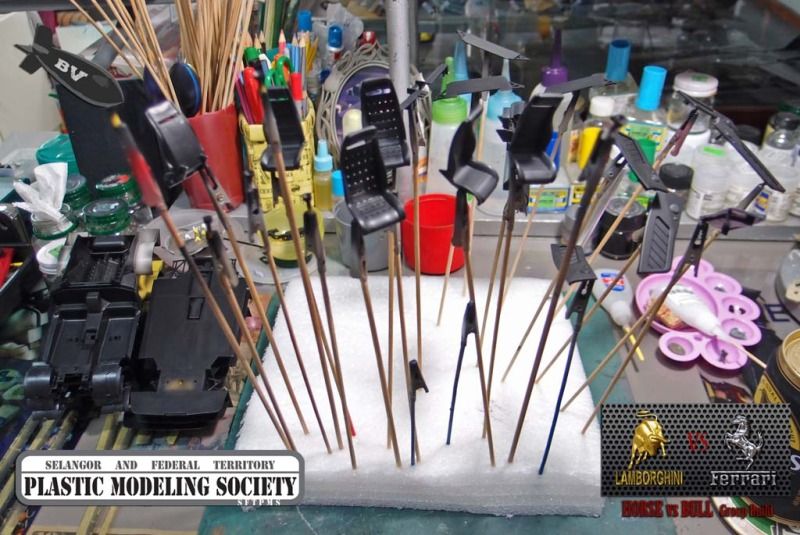 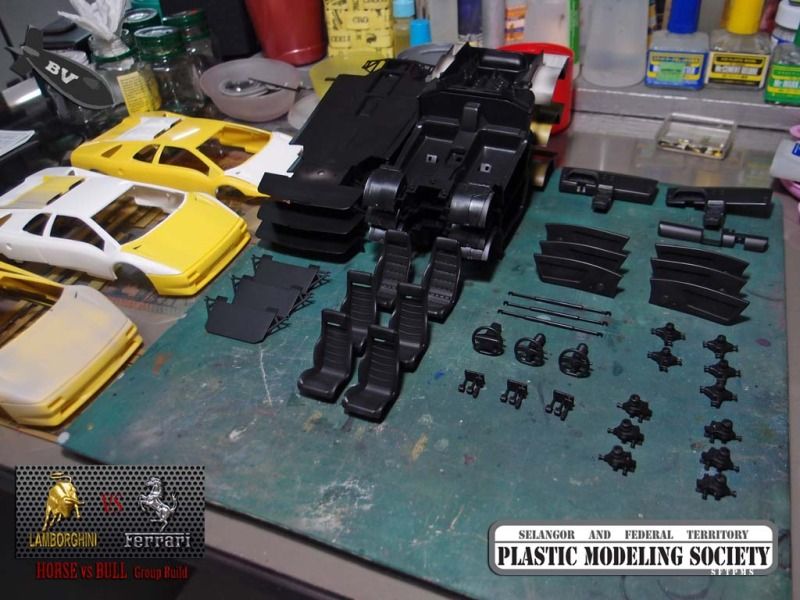 Finally done, took me 4 hours just to paint these.... 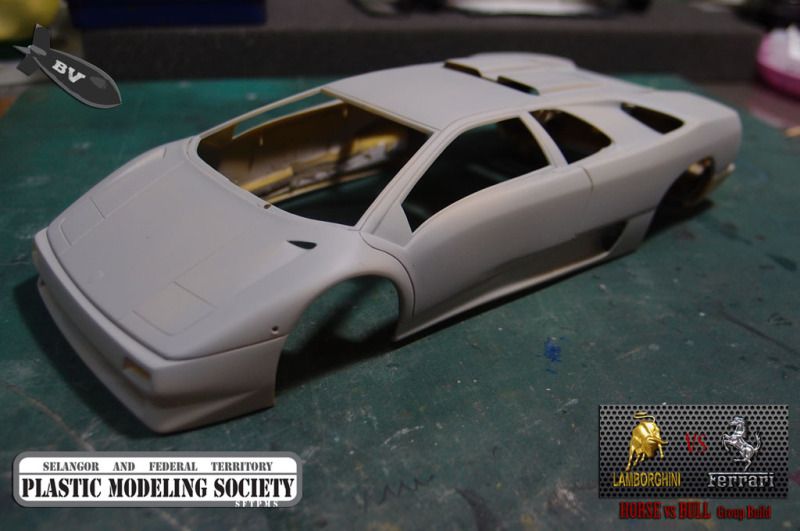 Body of SV96 were primed to check for errors 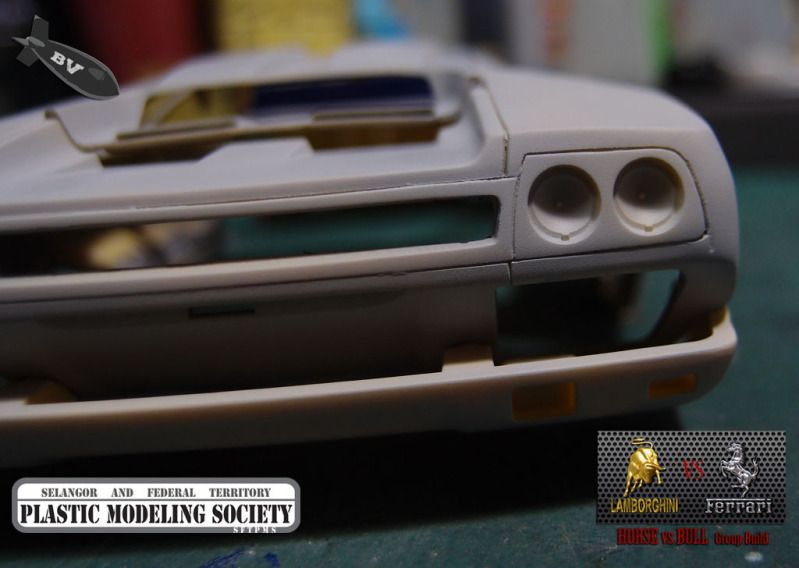 panel lines not align properly 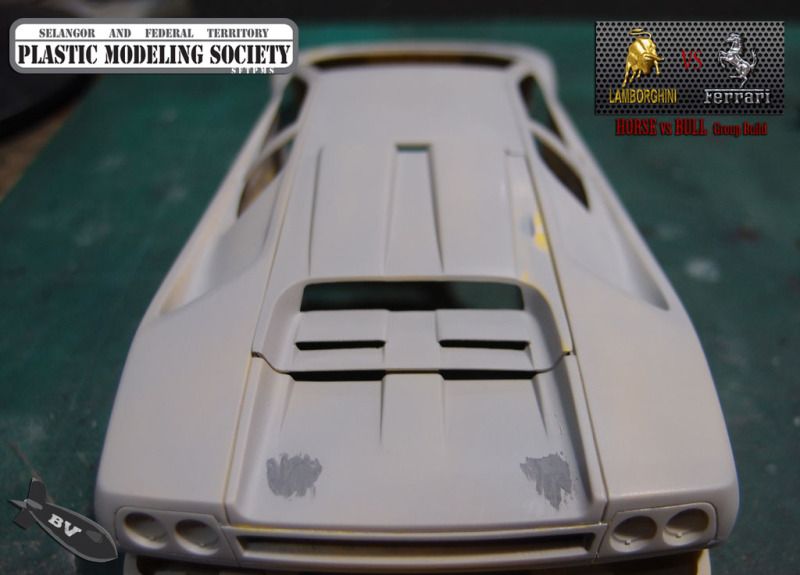 sink marks filled 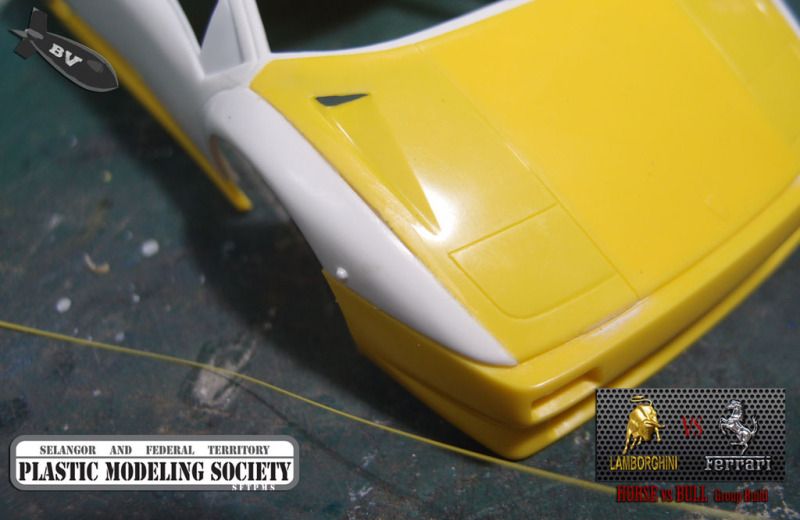 another way of filling gaps is by using stretched sprue and extra thin cement. I like this method a lot coz it will end up very nice and never shrink like putty. 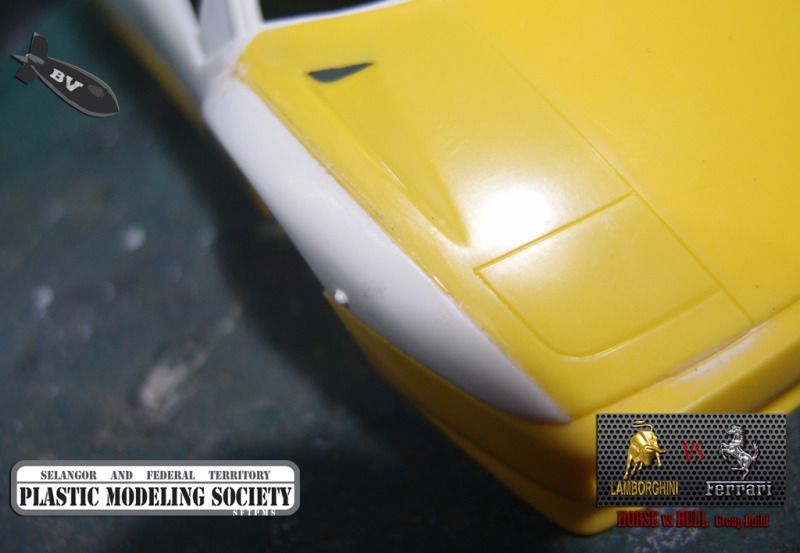 the fine sprue has "melted" in to the seam line
|
|
#3
08-15-2012, 04:50 AM
|
||||
|
||||
|
Re: The 3 Diablos
 Side mirror oso have injection pin marks, Fujimi oh fujimi 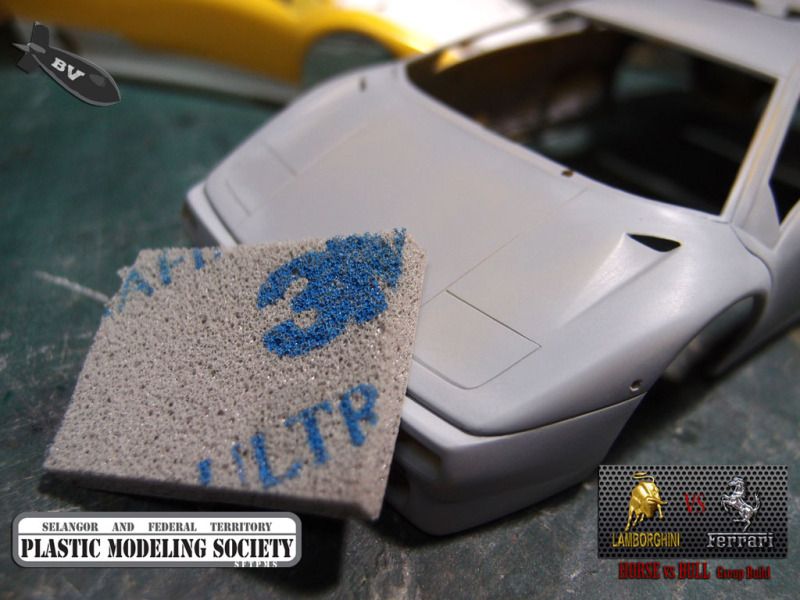 sanded with 3M ultra fine sanding sponge before the first layer of color to reduce "orange peel", I highly recommend this to fellow car modeler, by using this I can reach the complicated areas of a car easily. 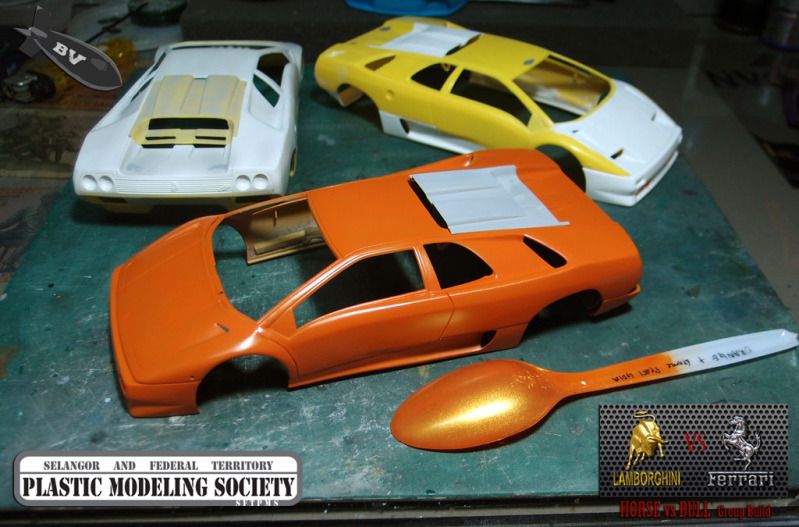 Base coat of orange done. next will be the pearl coat. 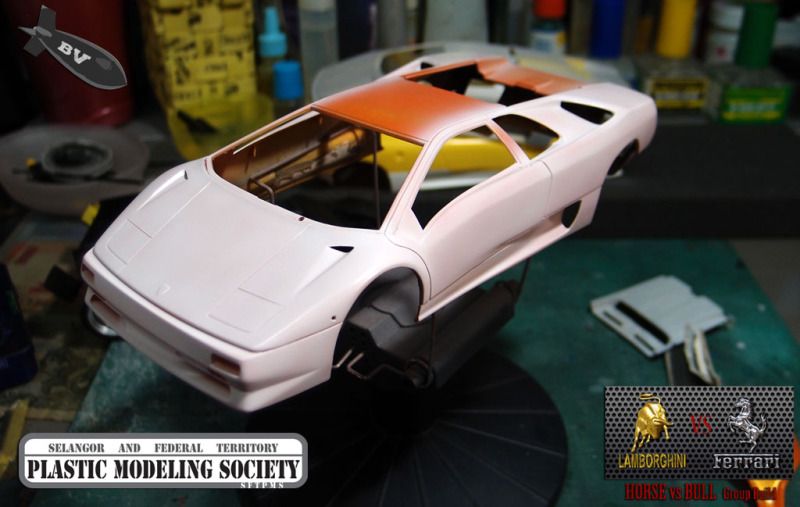 I'm still not satisfied with the color, it looks "dead". After been "poisoned" by guys in ICW, I decided to give Gaia orange a try. The body were sprayed with white again... 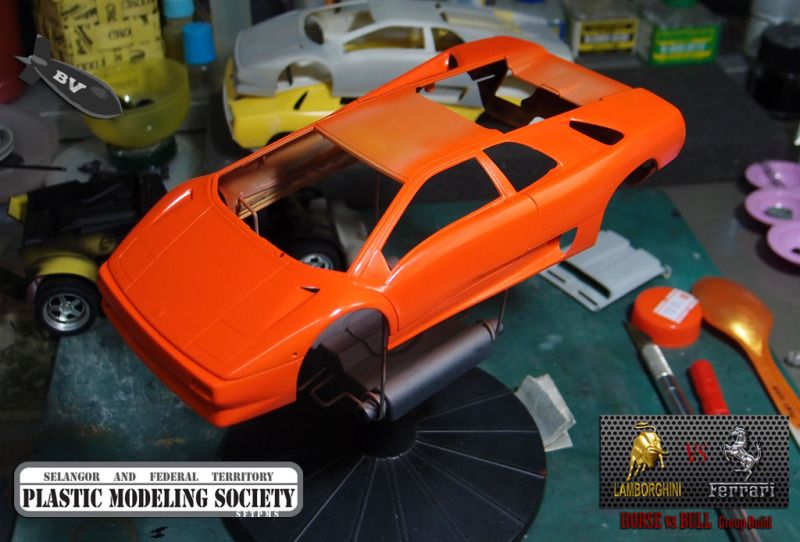 sprayed with Gaia orange, this time it looks striking.. note the color difference between spoon and roof that was sprayed using Gunze orange  dust!!!!!!!!!!!!!!!!!!!!!!!!!!!!!!!!!!! 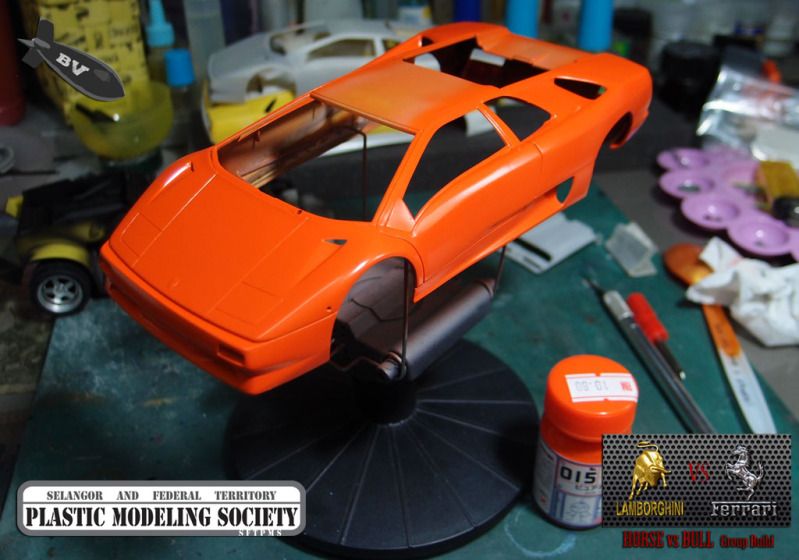 the color is just so nice that I would like to maintain it instead of "pearl" it, I added Gunze pearl gold to the Gaia orange and sprayed a final coat. thanks for viewing.
|
|
#4
08-15-2012, 04:54 AM
|
||||
|
||||
|
Re: The 3 Diablos
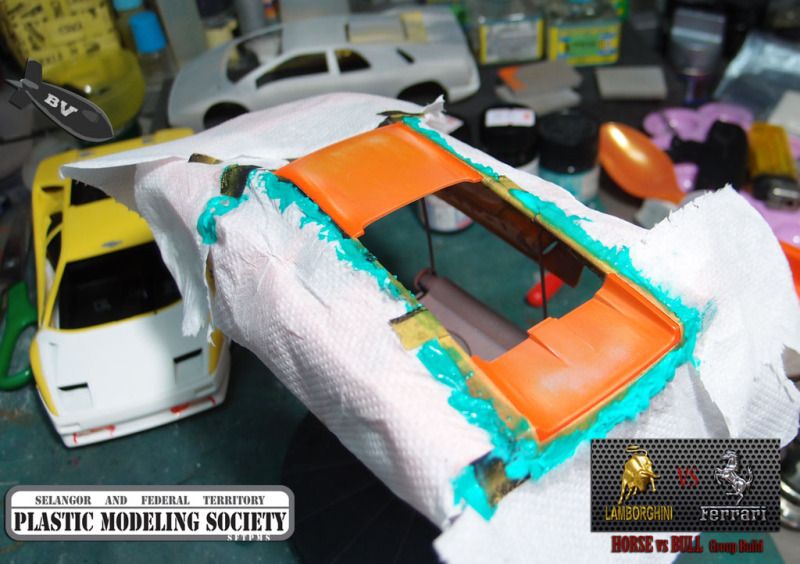 masked and prepare for the black paint 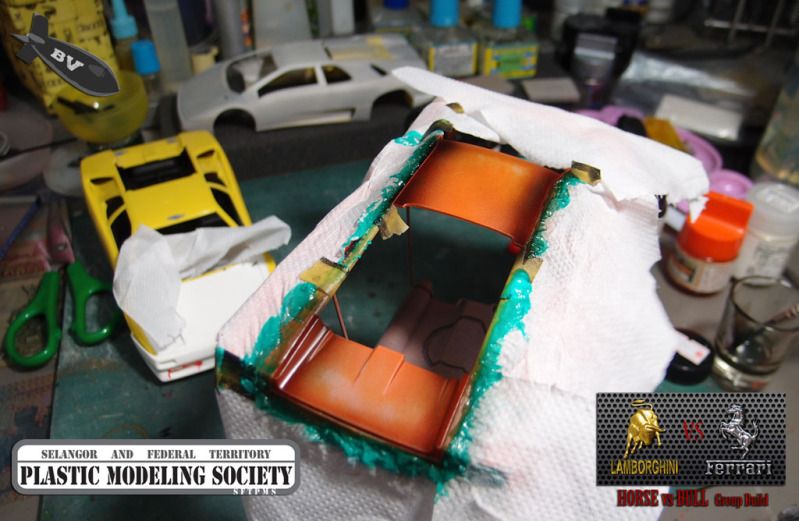 To prevent "bleeding", I sprayed mist coat on the edges of masked area before the wet coat 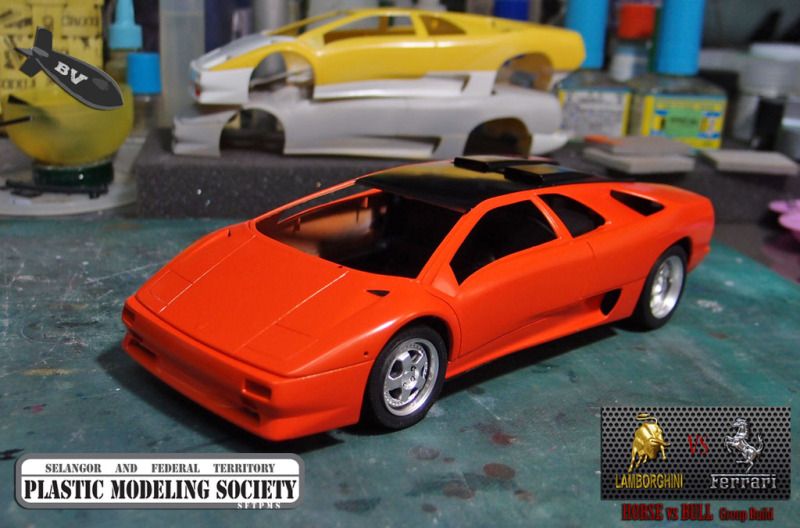 done black areas yesterday night, I always do the panel lines after the first layer of clear coat so that it can maintain sharp and fine. This time... Hand painted with Valejo 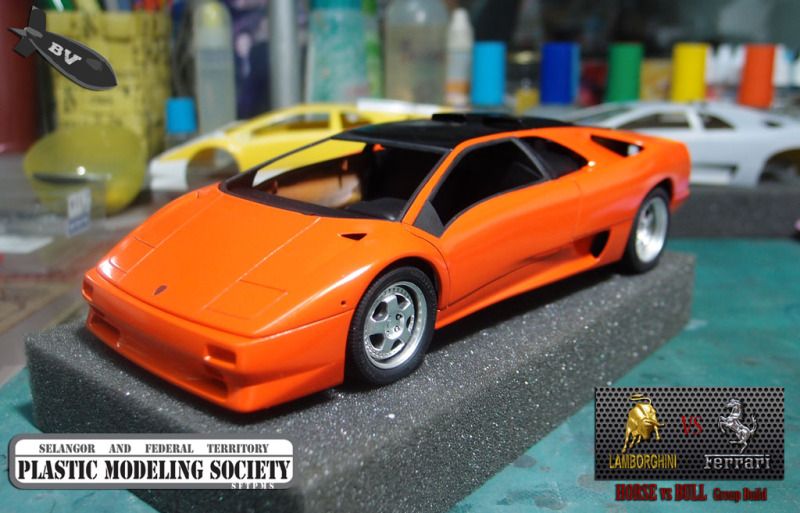 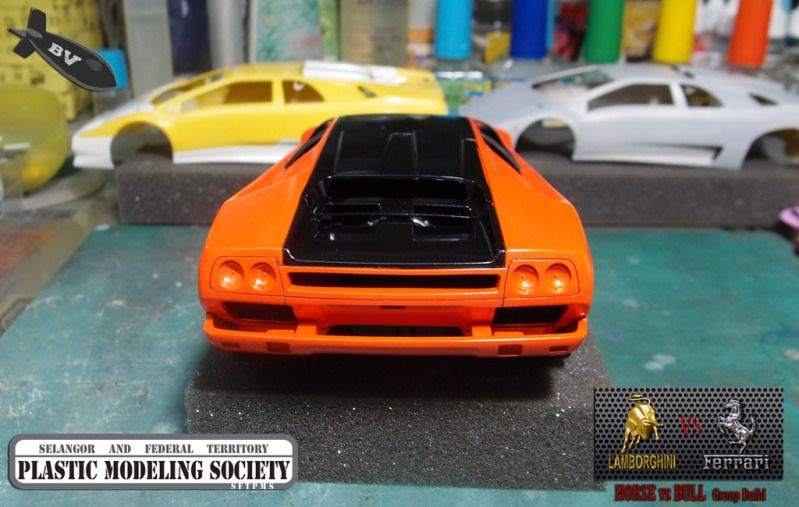 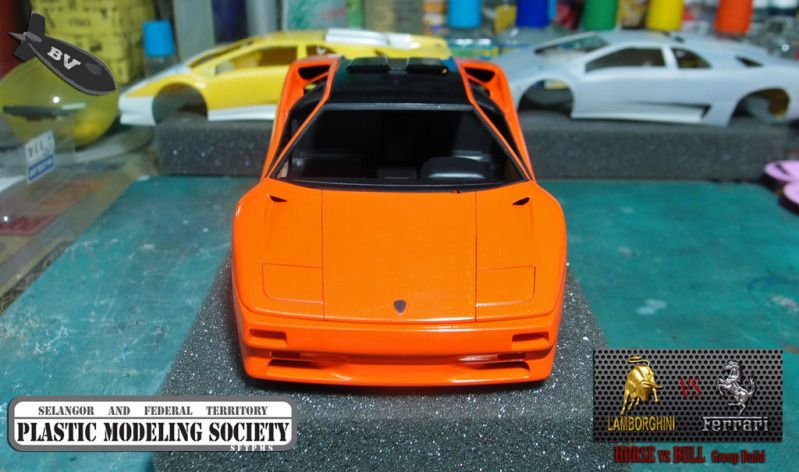 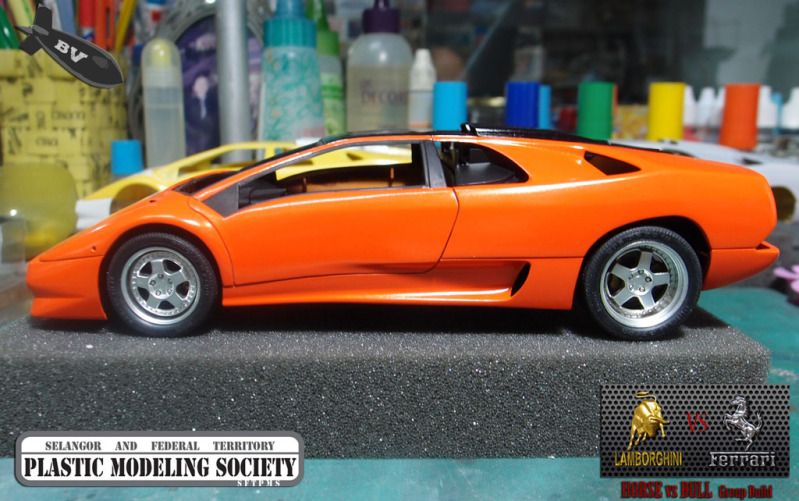 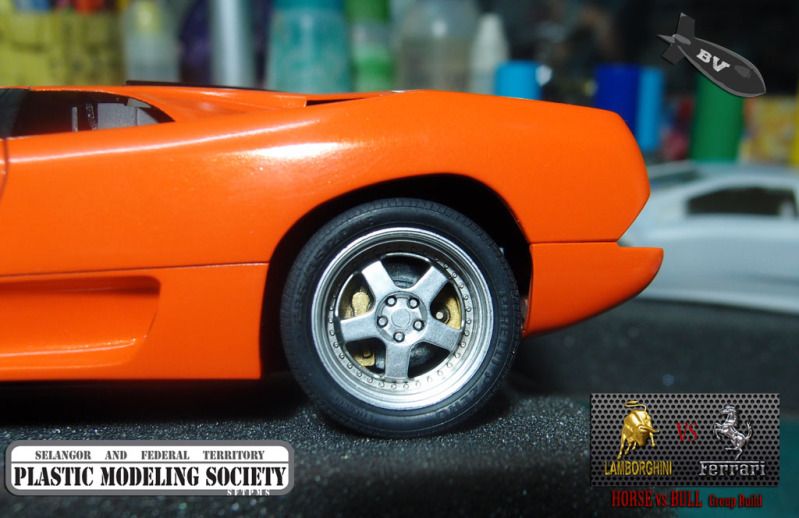 did the brakes as well, but hard to see after the rims are on.
|
|
#5
08-15-2012, 04:58 AM
|
||||
|
||||
|
Re: The 3 Diablos
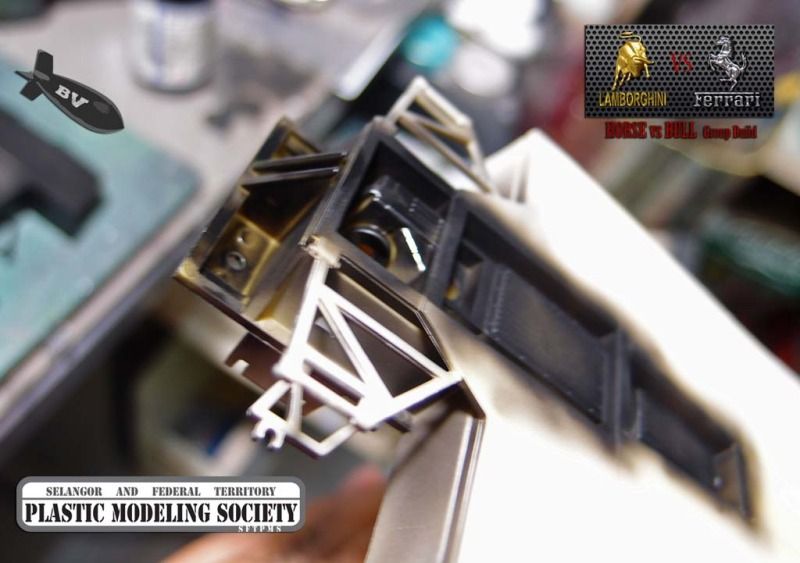
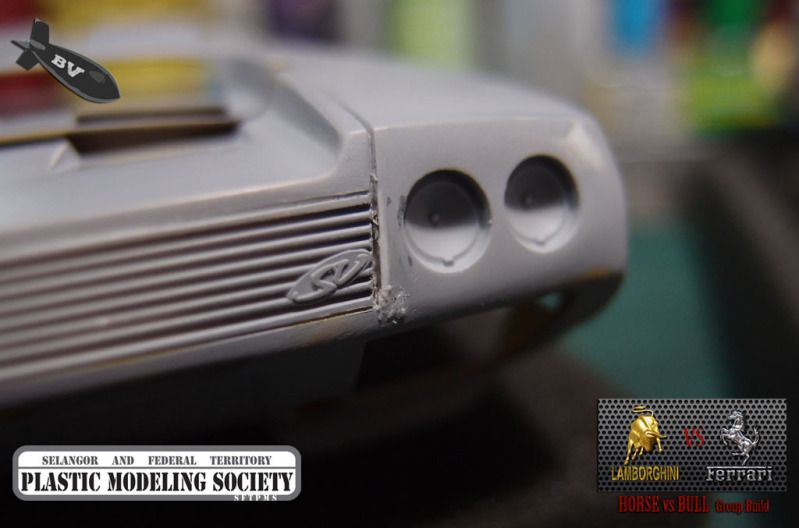
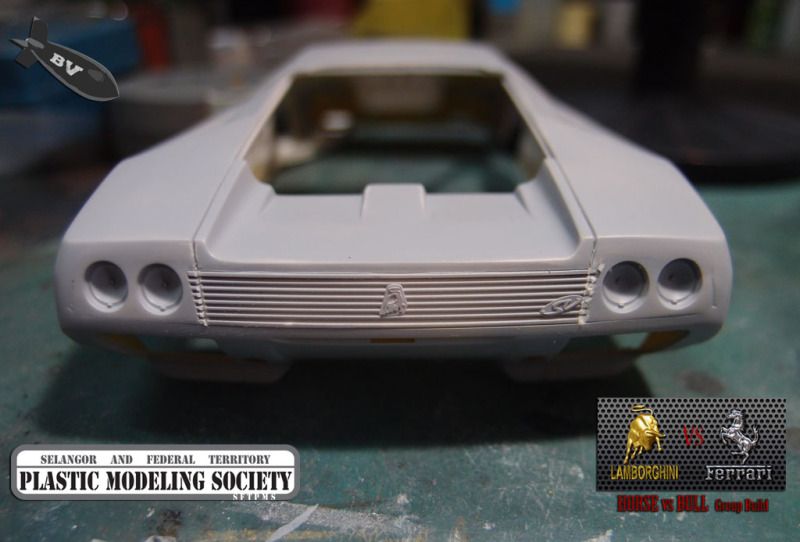 For the MY98, i planned to build this without the rear lamp cover, and the rear grille will flush with the rear engine cover. The rear grille were cut following the rear engine cover. 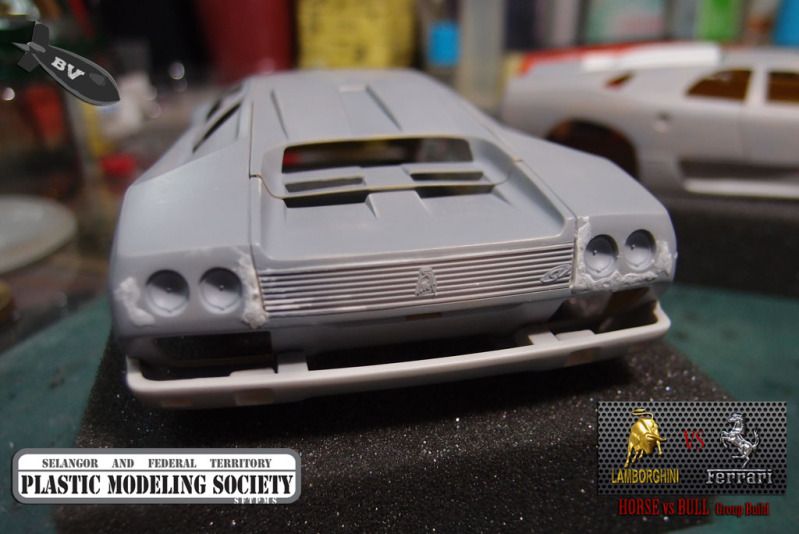 a small piece of plaplate were use to stick on the edges to get a straight line. all gaps were filled with super glue + talcum powder 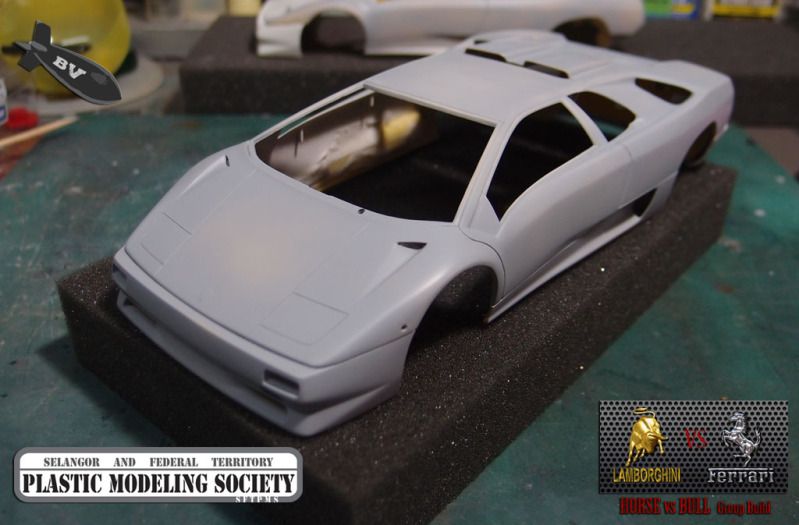 The rest of the body were primed to perfection, no more flaws this time. 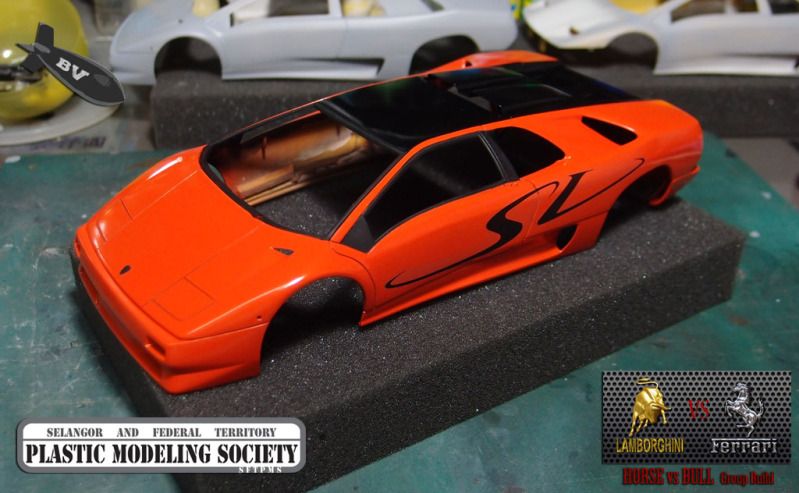 "Super Veloce" decals applied, this make lots of difference to the overall outlook. 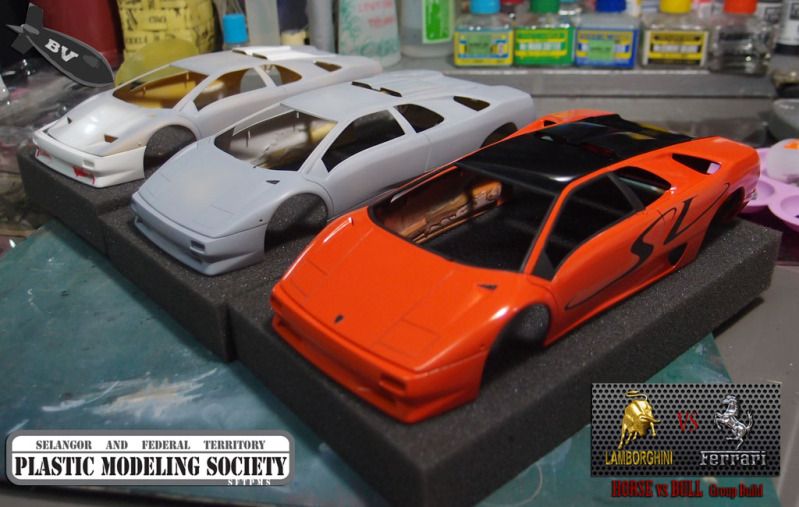  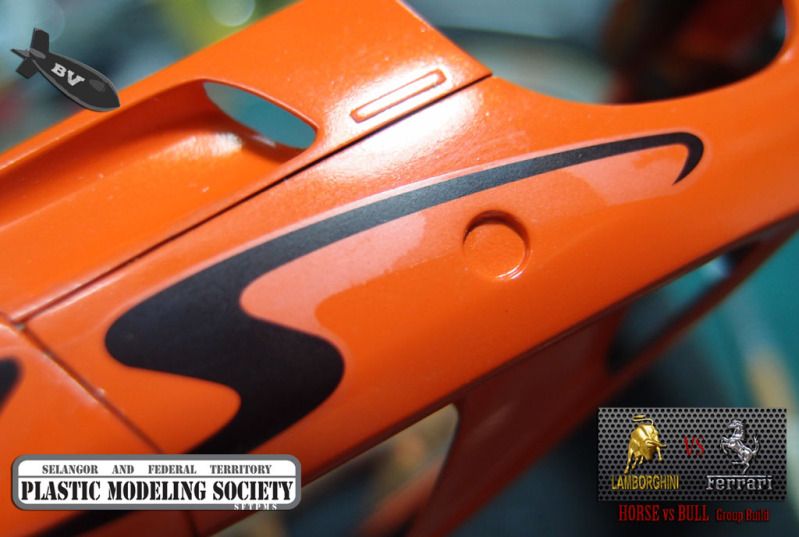 Decals after dried. Notice the whitish areas, these are places that still have air trapped inside, if proceed to spray clear coat there's a very high chances that "silvering will appear" 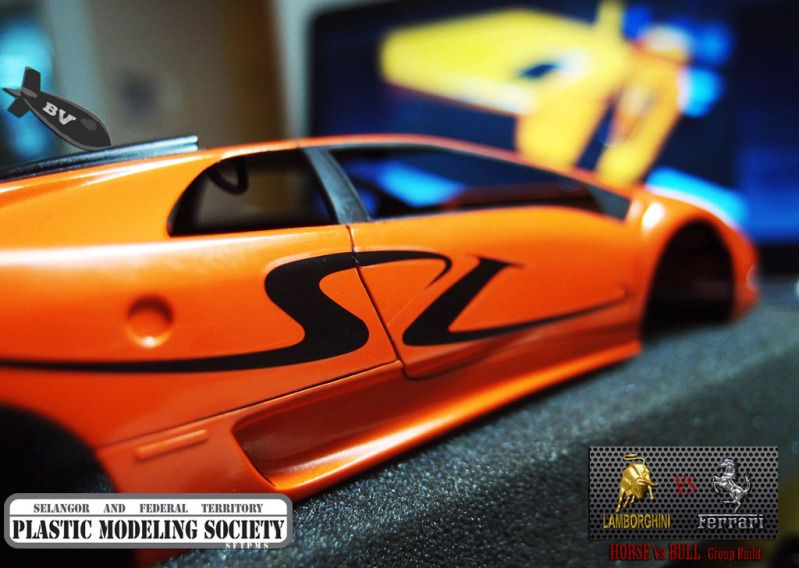 transparent film at empty areas were cut, add bit of Mark setter and Mark softer to makes the decals set firm to the body 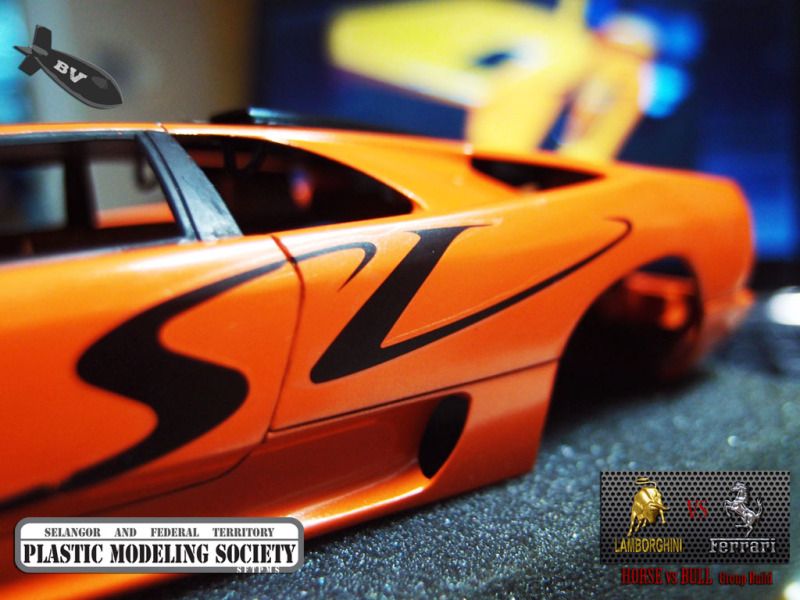 Fujimi decals are bit soft and some areas were damage during the process. need to paint it back later.
|
|
#6
08-15-2012, 05:03 AM
|
||||
|
||||
|
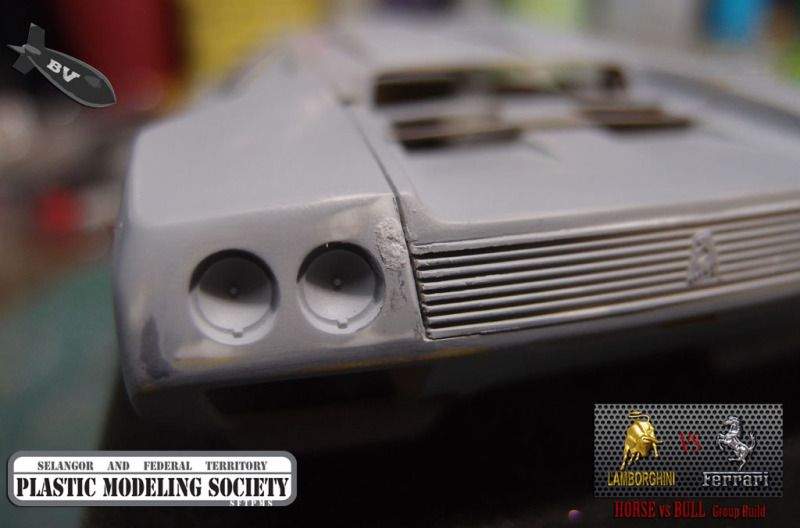
Re: The 3 Diablos
Diablo MY98
  rear lights area sanded smooth and prepare for priming 99 Verde Ithaca Diablo: 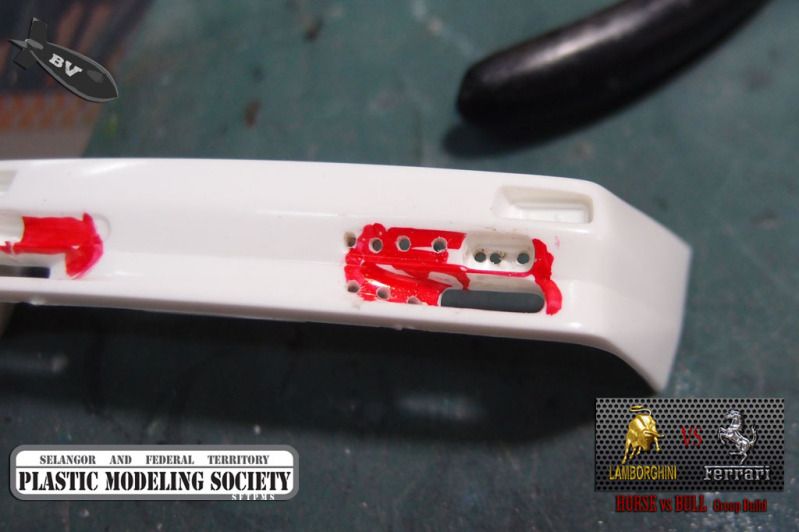 drilling the front bumper 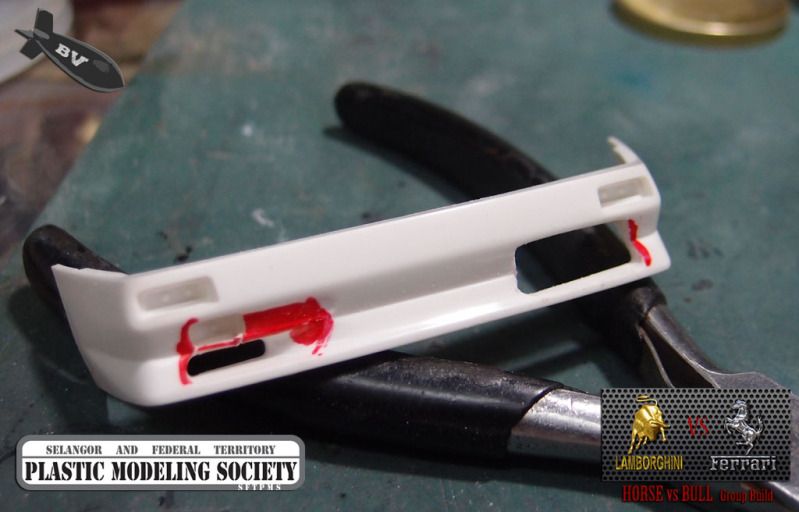 Cut Away. 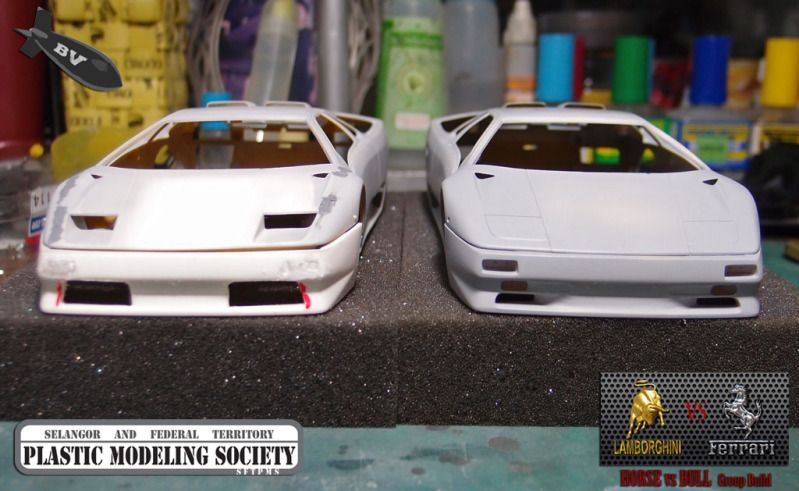 99 Diablo: both air intake were cut and the font signal lights were filled 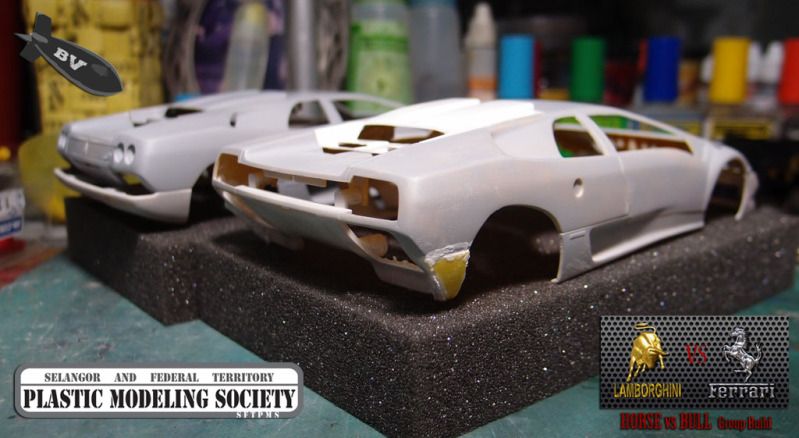 99 Diablo: small chunk of the original bumper were cut and use back, trying to do a rear with a diffuser. 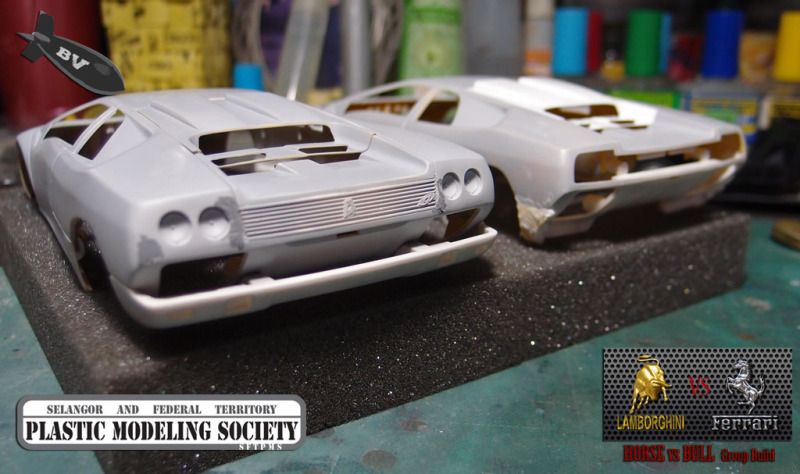 98 Diablo: still some areas needed to putty.
|
|
#7
08-15-2012, 07:35 AM
|
||||
|
||||
|
Re: The 3 Diablos
Incredible job, you'll have a nice collection of Diablos when it gets done.
__________________
https://www.instagram.com/denilsonvm_modelcars/
|
|
#9
08-16-2012, 08:33 PM
|
||||
|
||||
|
Re: The 3 Diablos
Thanks denilsonvm & da_ashman, will finish this the best I can, I've did a production line of 4 F-18 Hornets, trying on cars now.
MY99 Verde Ithaca Diablo 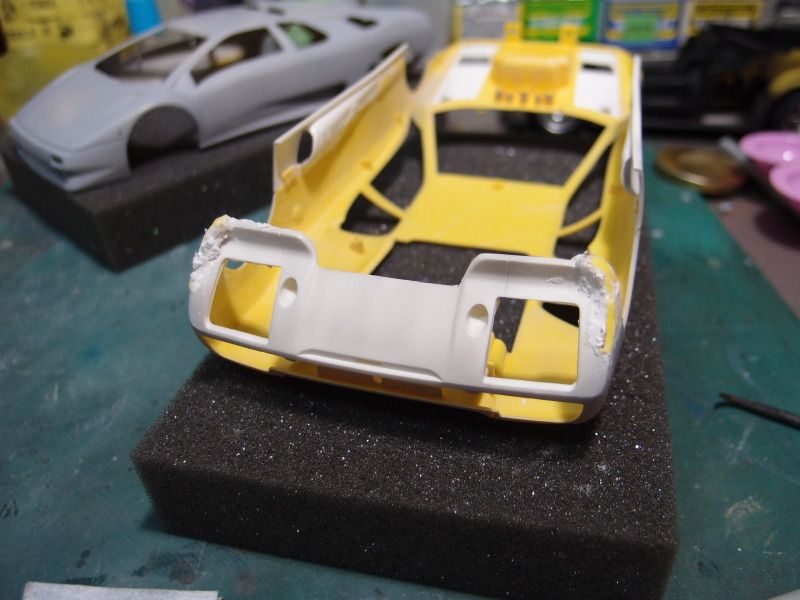 the massive gaps were filled with superglue+tissue+talcum powder 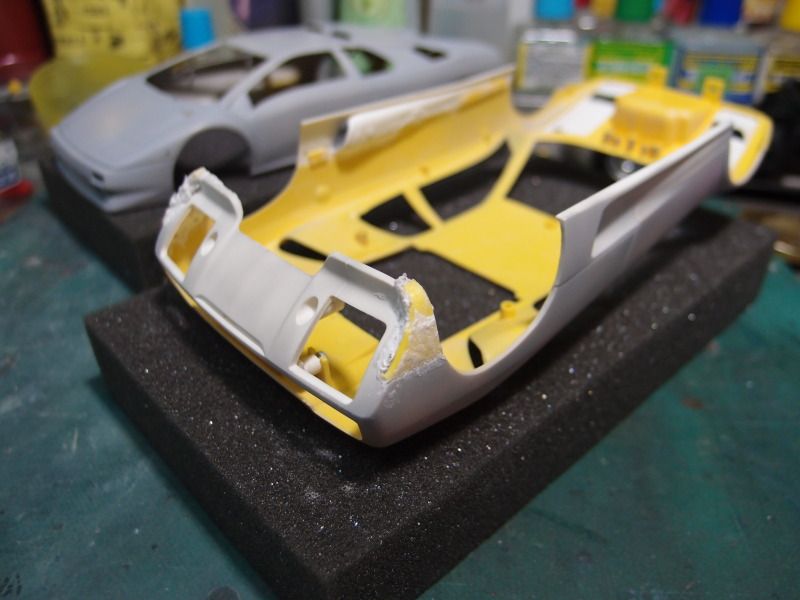 I like this method coz this combination is hard like lastic and never crack. 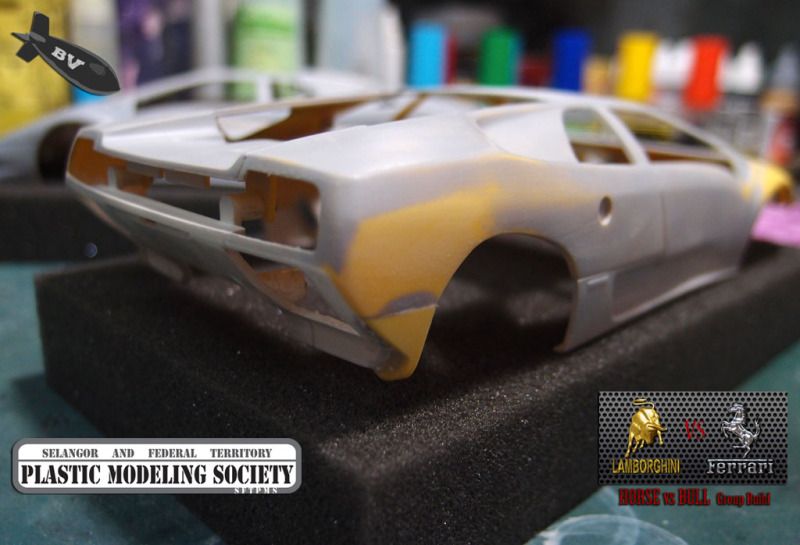 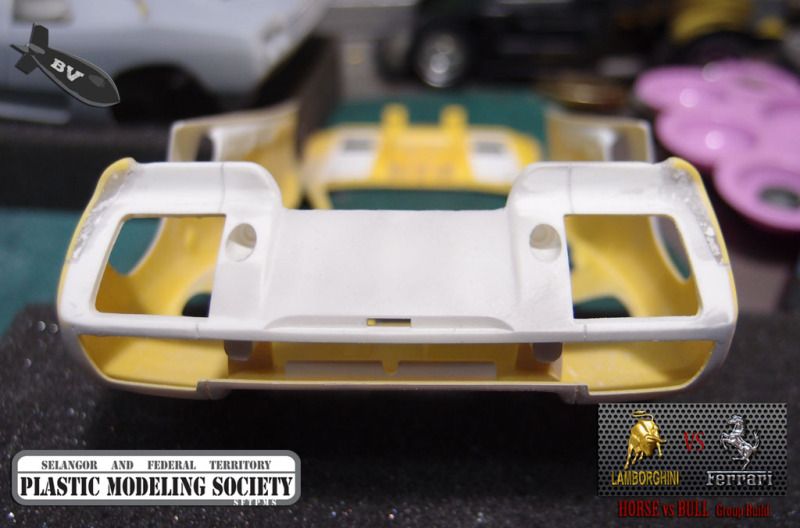 this is how superglue+tissue looks like after sanding 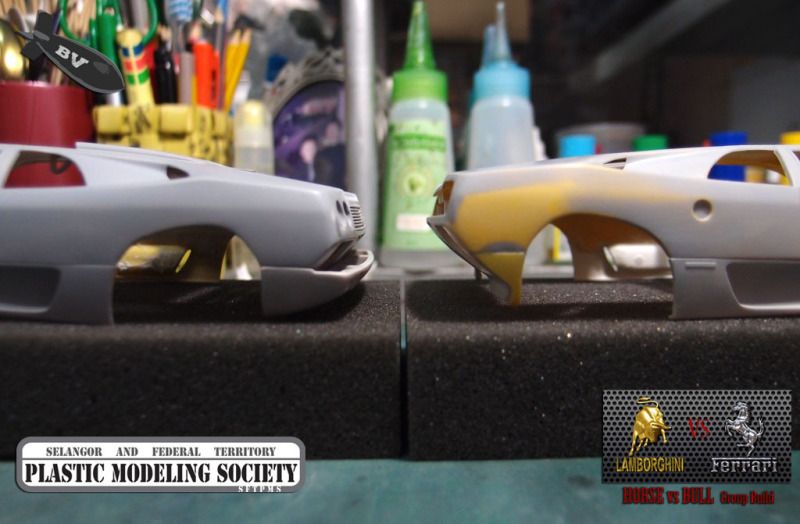 pending rear diffuser
|
|
#10
08-16-2012, 08:33 PM
|
||||
|
||||
|
Re: The 3 Diablos
MY98 Giallo Orion Diablo
  After priming, I found 2 more areas needed to be filled, use the same methond earlier 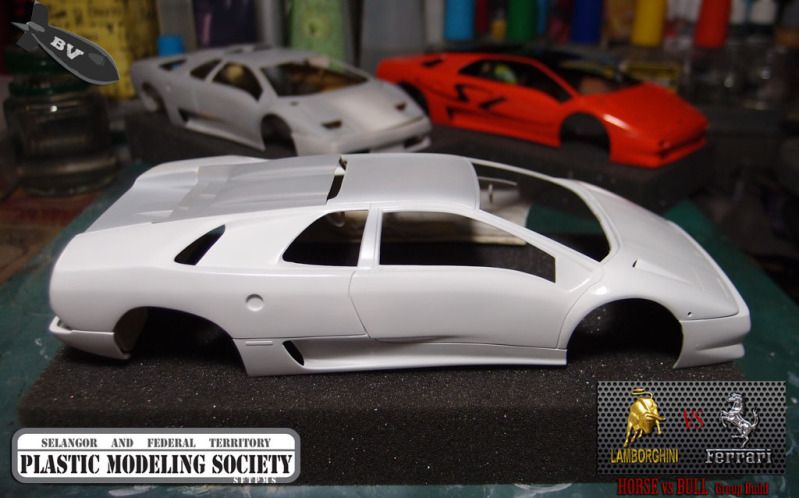 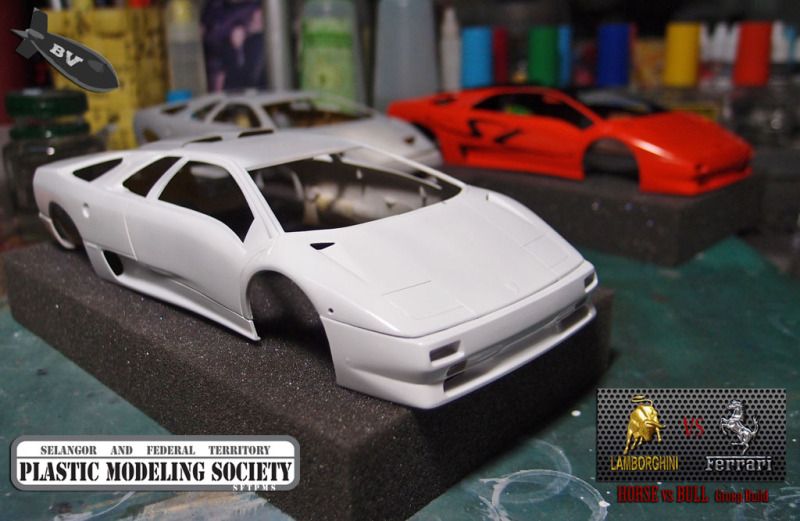 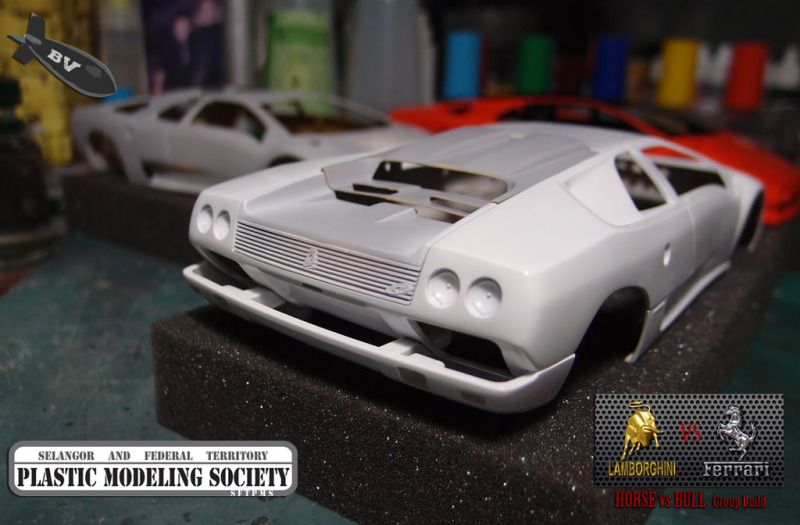 Paint a layer of gloss white to prepare for the the lemon yellow coating
|
|
#11
08-16-2012, 08:34 PM
|
||||
|
||||
|
Re: The 3 Diablos
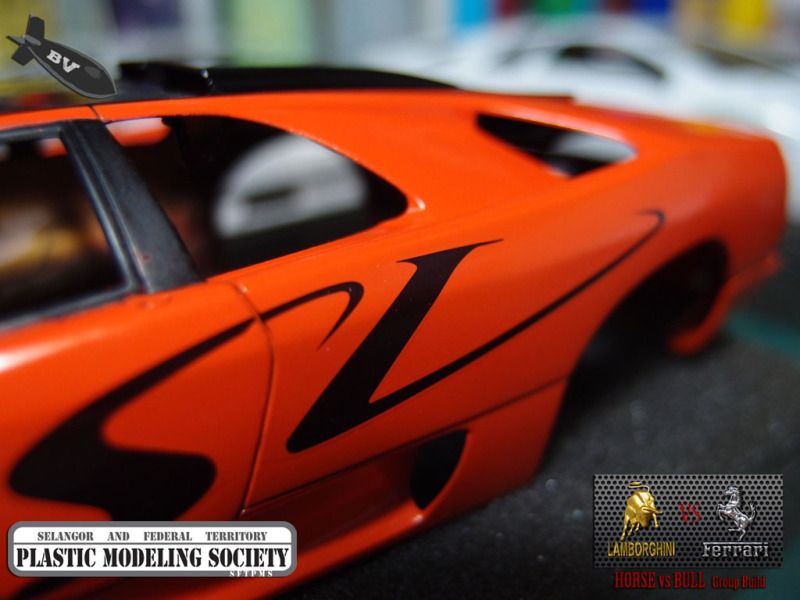 close-up shoot after a layer of clear coat 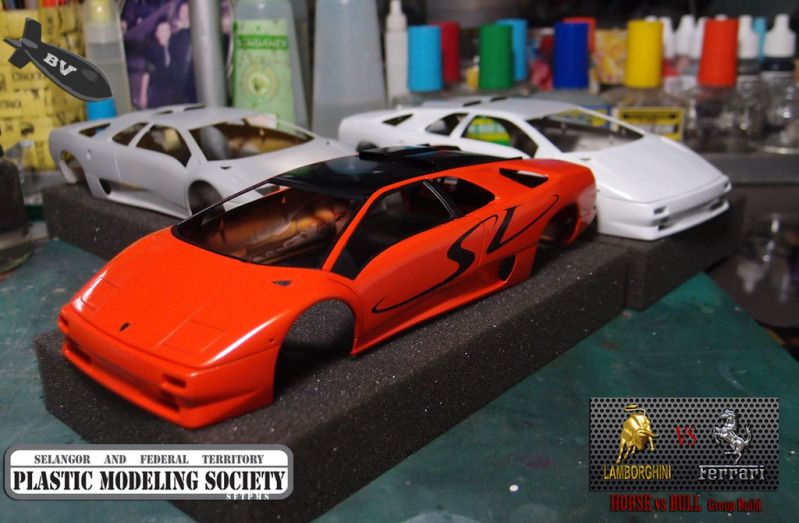 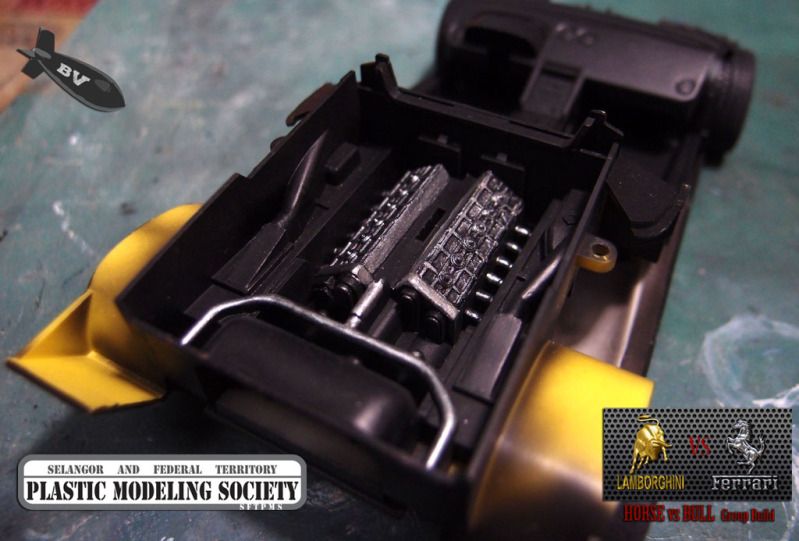 hand-painted engine, too lazy to mask and spray 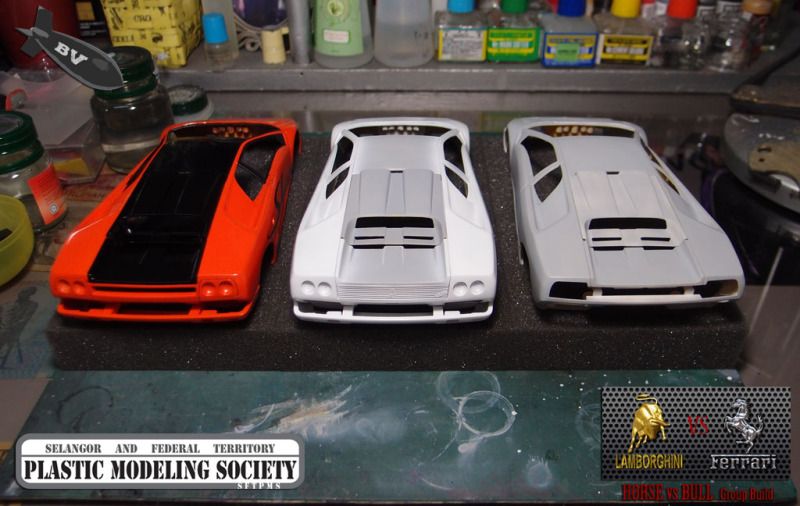 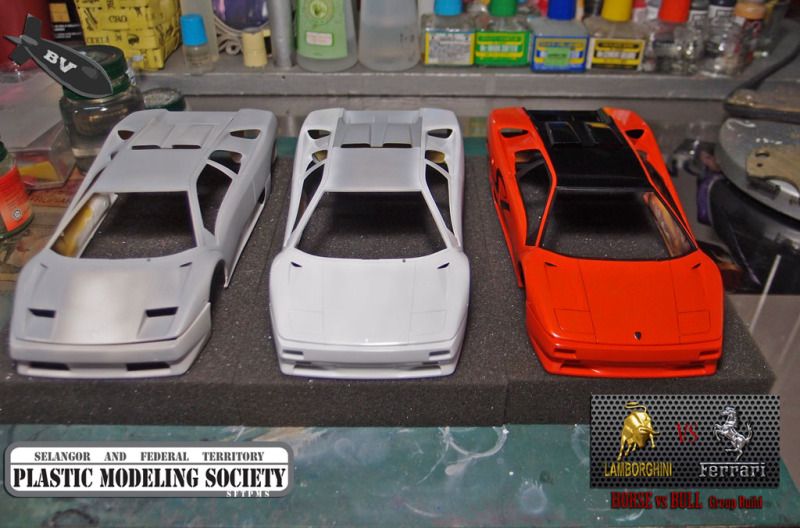 Latest production line up. 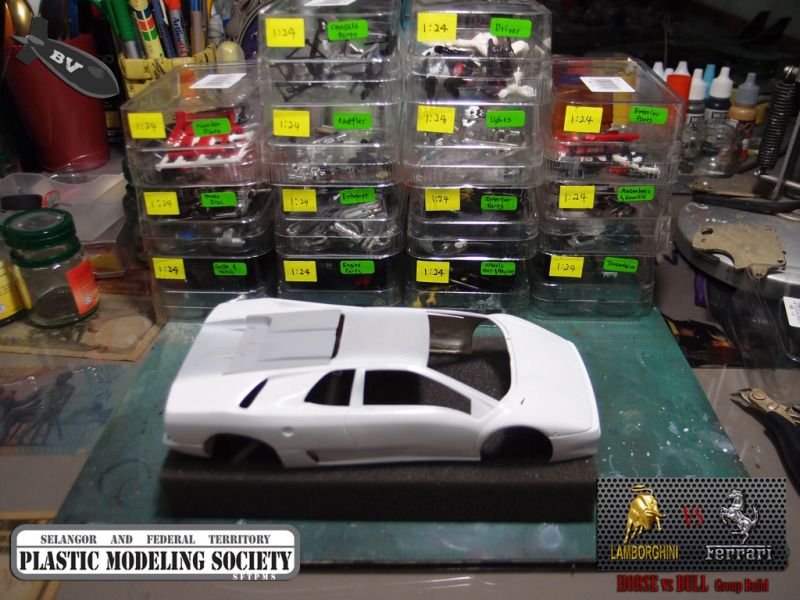 visiting "chop-shop" for more aftermarkets parts... stay tuned. thanks for viewing, C&C are always welcome
|
|
#12
08-16-2012, 10:39 PM
|
||||
|
||||
|
Re: The 3 Diablos
The wheels on the orange one are small and height seems too high.
__________________
https://www.instagram.com/denilsonvm_modelcars/
|
|
#13
08-16-2012, 10:56 PM
|
||||
|
||||
|
Re: The 3 Diablos
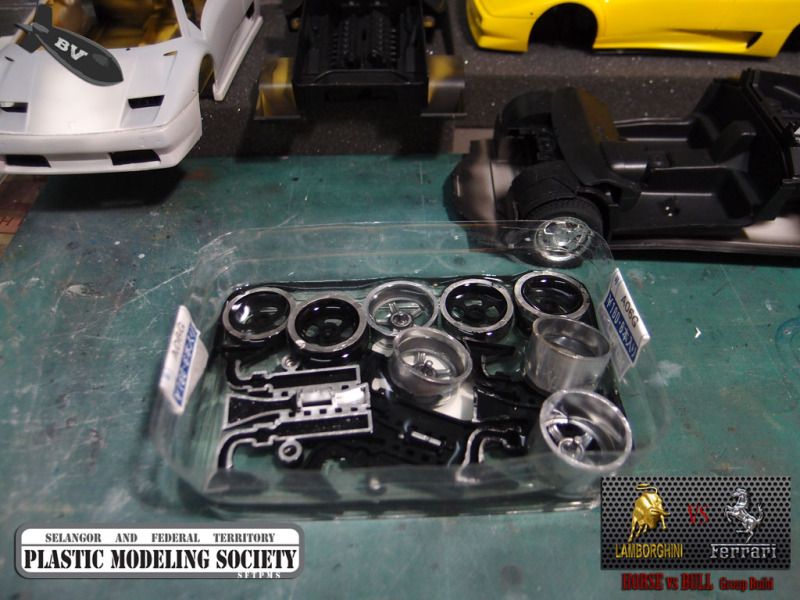
Yup U r right, That's the standard wheels, and the chasis have not been mod yet. I will build the Orange one OOB, the Yellow with mid Mod and the Green one with Custom Body kit.
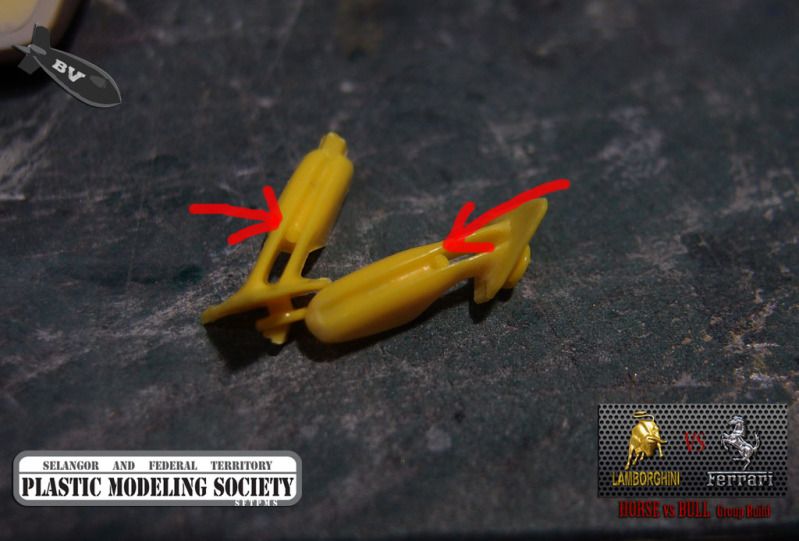
And here are more progress, 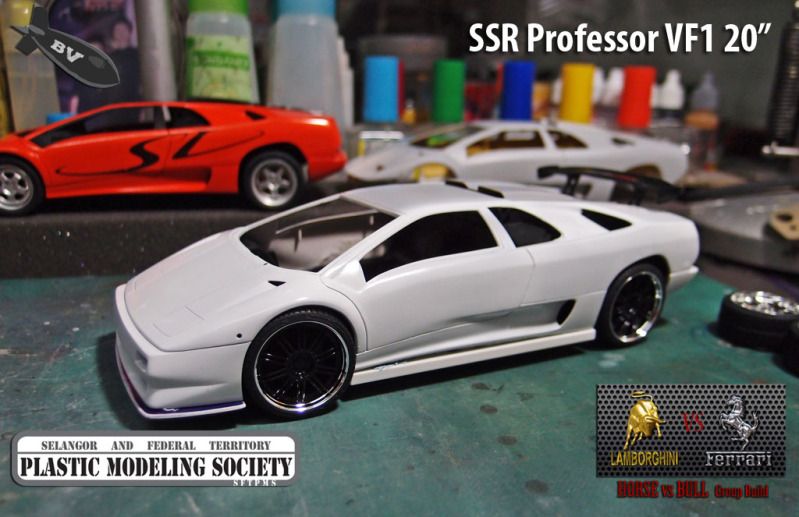 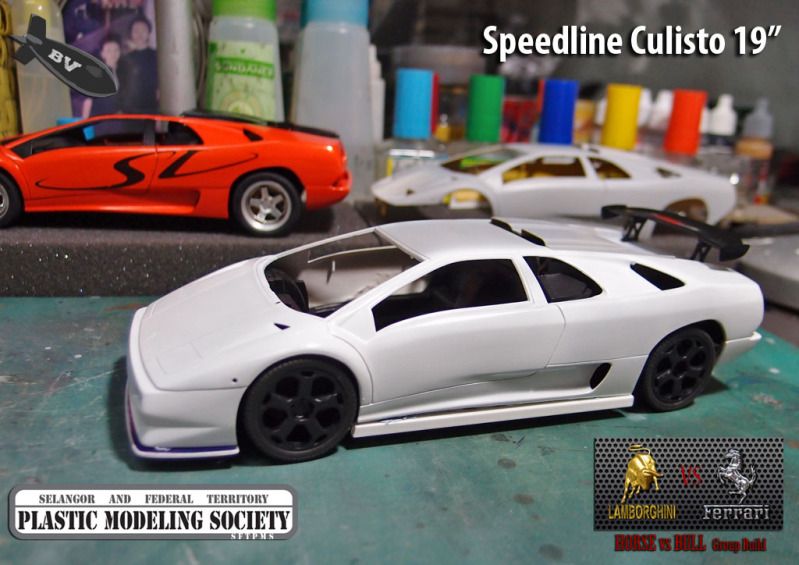 These are the wheels that I will use on the other 2 Diablos. MY98 Giallo Orion Diablo 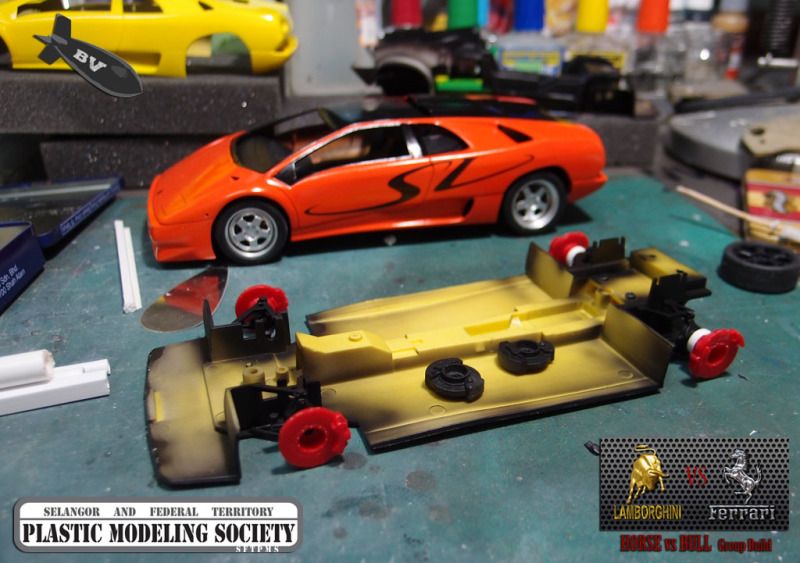 Brake discs replaced with spares from Fujimi F430 Challenge, only minor add-on using plastic tube 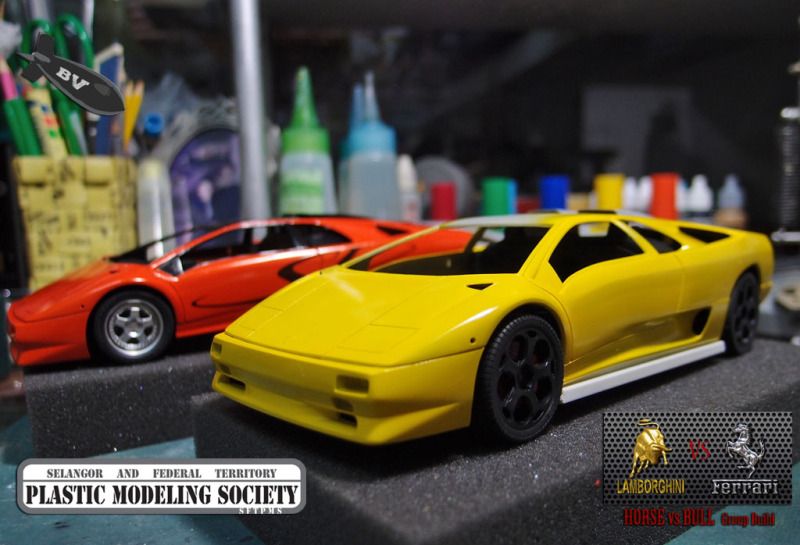  Sprayed with TMY Lemon Yellow MY99 Verde Ithaca Diablo 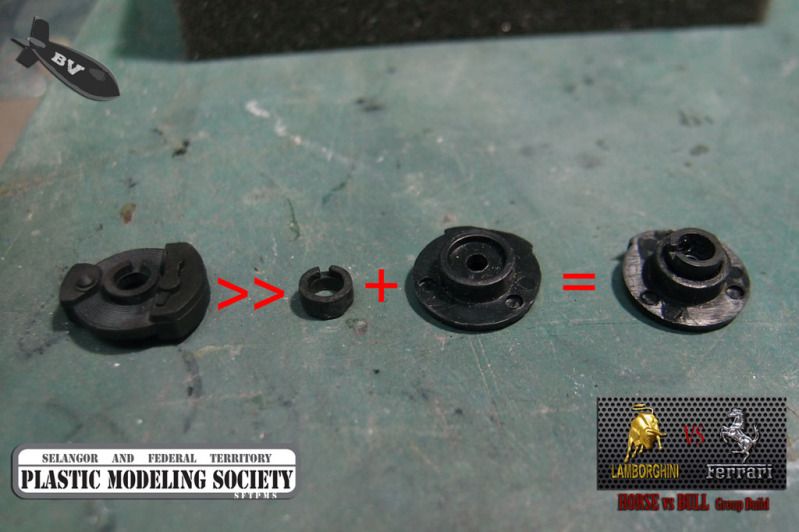 Modding Aoshima Brake Disc: I cut out the center part from the kit's paria disc brake and cement to the Aoshima ones... easy. 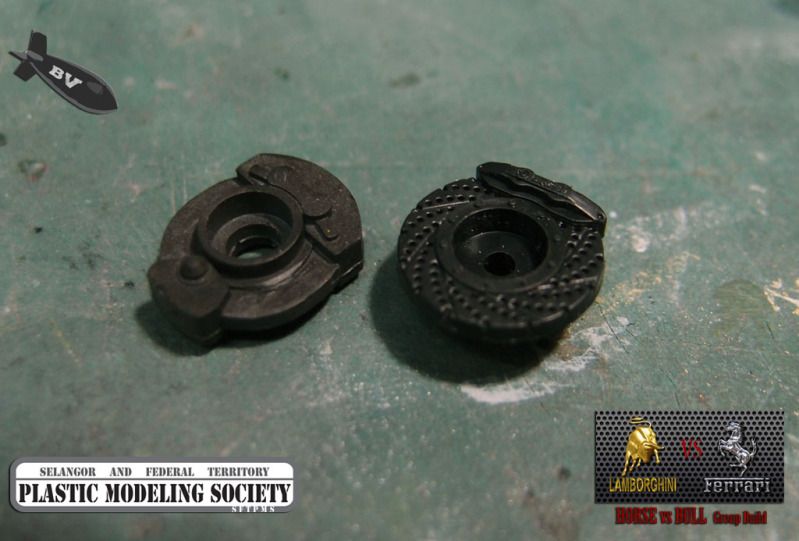 The brake set are from Aoshima VIP cars. 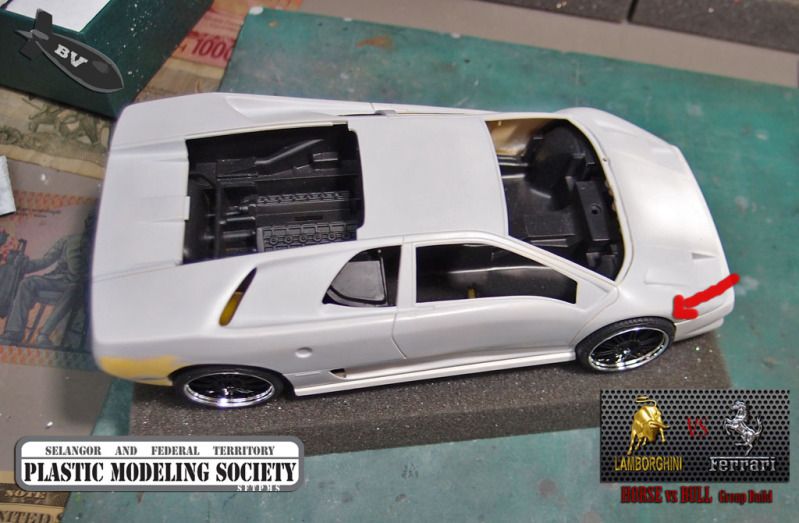 the front tires need some mod.... 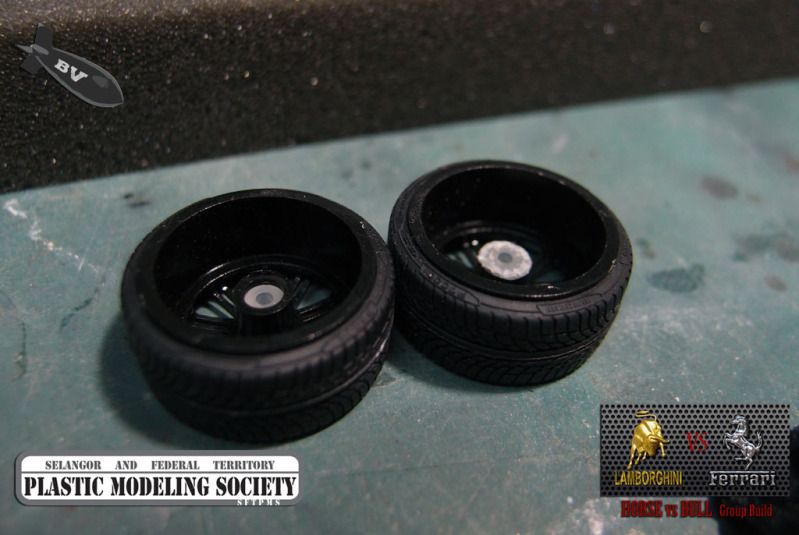 Cut bit of the rims... 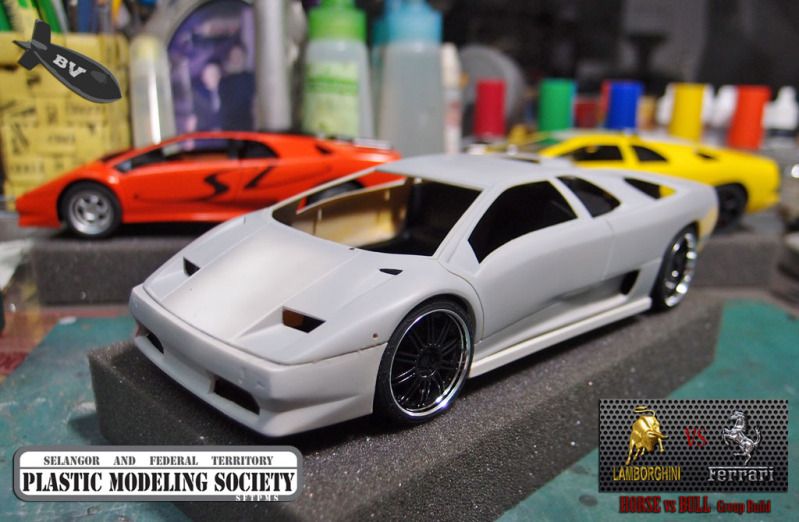 Done...
|
|
#14
08-16-2012, 10:57 PM
|
||||
|
||||
|
Re: The 3 Diablos
 Chromed parts taking a Clorox bath 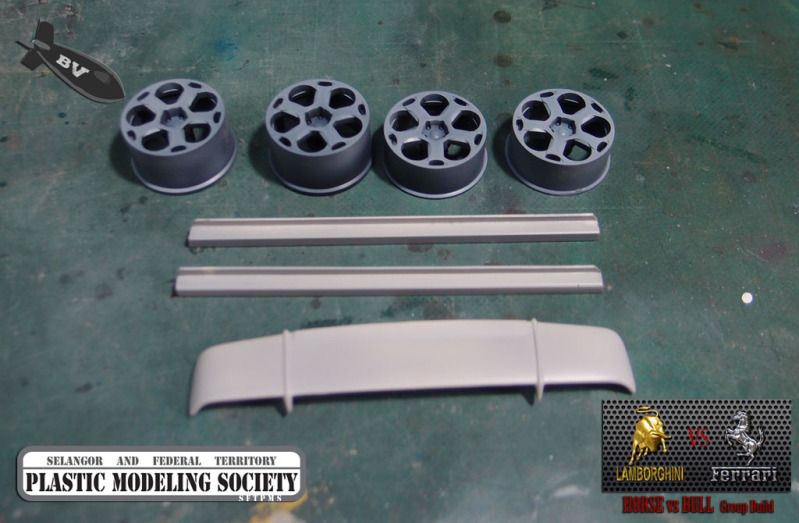 Speedline Culisto 19" and bodykits primed. 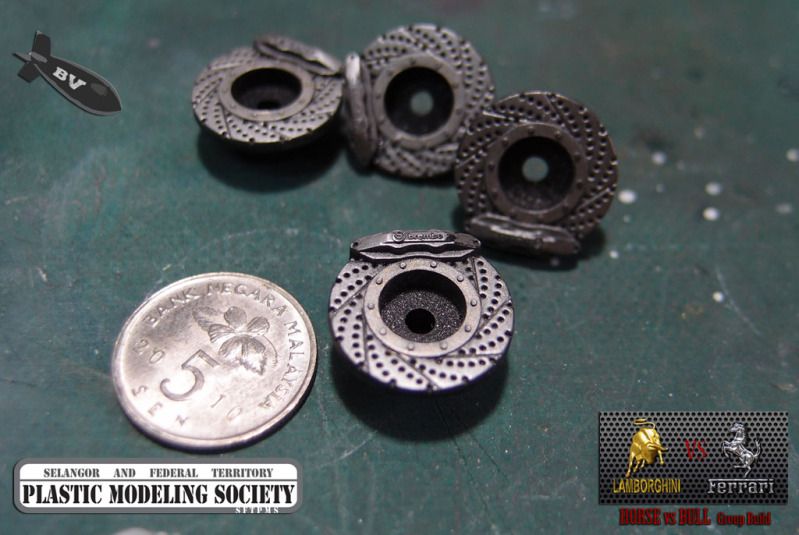 Hand painted with Gunze stainless and the inner ring with valejo gold 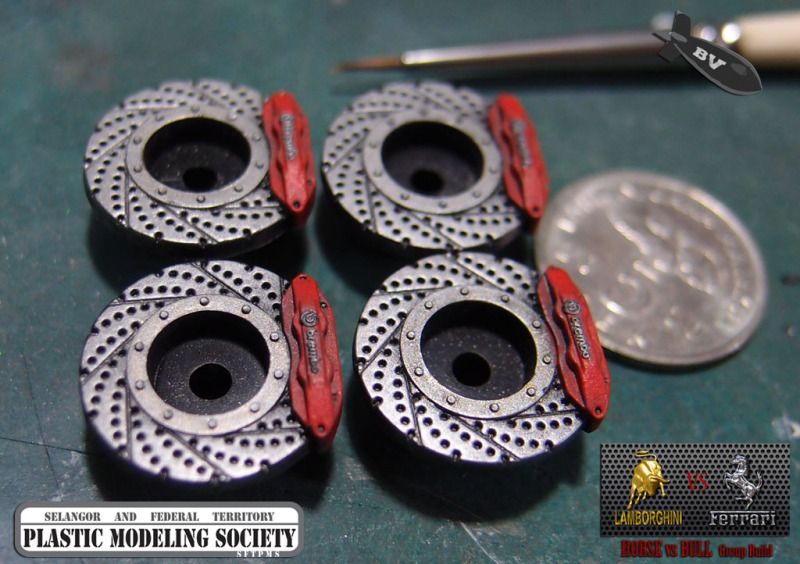 done.. 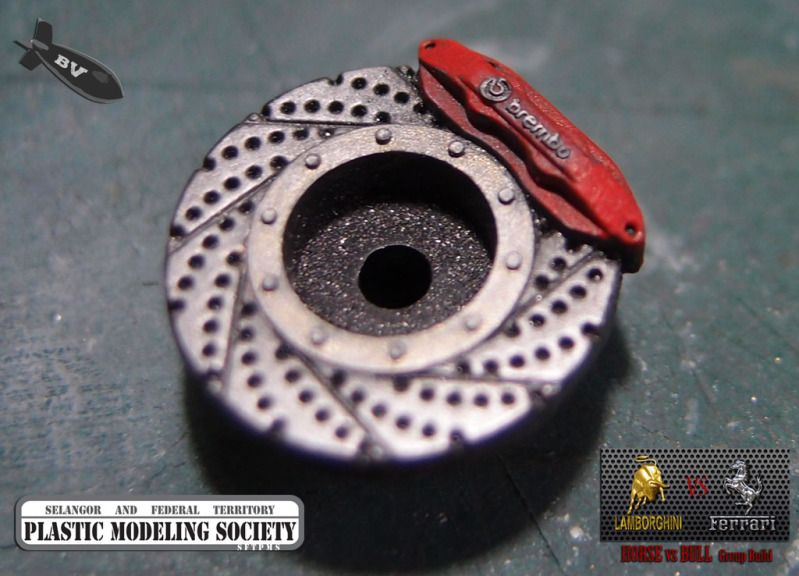 can't resist my self of taking another close-up shot.
|
|
#15
08-17-2012, 02:24 PM
|
||||
|
||||
|
Re: The 3 Diablos
beautiful work
__________________

|
|
|
POST REPLY TO THIS THREAD |
| Tags |
| bomber , diablo , lamborghini , vince |
 |
|
|


