|
|
| Search | Car Forums | Gallery | Articles | Helper | Air Dried Beef Dog Food | IgorSushko.com | Corporate |
|
|||||||
| WIP - Street Post topics for any "Works In Progress" street vehicles projects in this sub-forum. |
 |
 Show Printable Version | Show Printable Version |  Subscribe to this Thread
|
|
|
Thread Tools |
|
#31
 12-06-2007, 10:29 PM
|
|||
|
|||
|
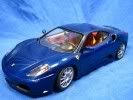
Re: Ferrari 360 Modena, fully open
Great work! Great color for this car, too. Surprised you didn't paint all the body panels at once, I'd be afraid that they doors and hood didn't match the rest, but after seeing you blend the roof, there's no doubt that you're skilled enough to make it work. Sexy work so far....
__________________
It ain't cool 'till your wife hates it. Imagine a world without Alabama Recent builds: Rocket Bunny FR-S and stock BRZ Toyota bB Bro-style Civic K20 powered SiR converted EK WIP I build slowly and poorly. 

|
|
#32
12-07-2007, 05:13 AM
|
||||
|
||||
|
Re: Ferrari 360 Modena, fully open
Quote:
Now, for cutting the door, I forgot to mention a minor detail... Here we see a tab on the bottom of the door. 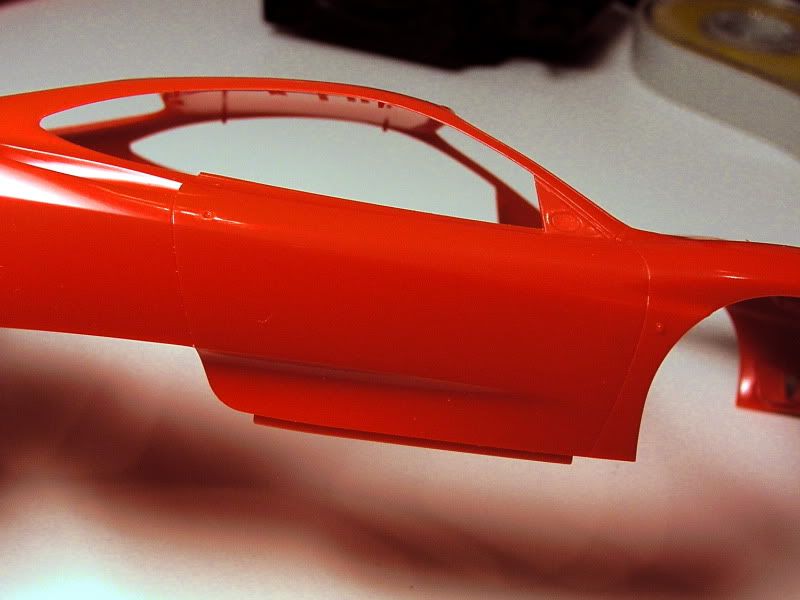 And here's the notch that it glues into. 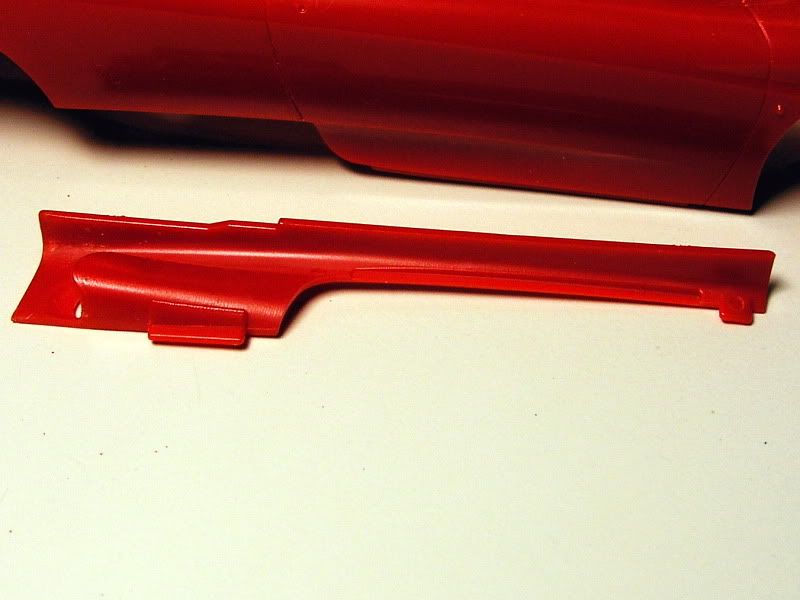 Now, I wasn't going to glue this obviously, so I simply cut off the tab (with very sharp fine knife) and glued it into the notch like this: 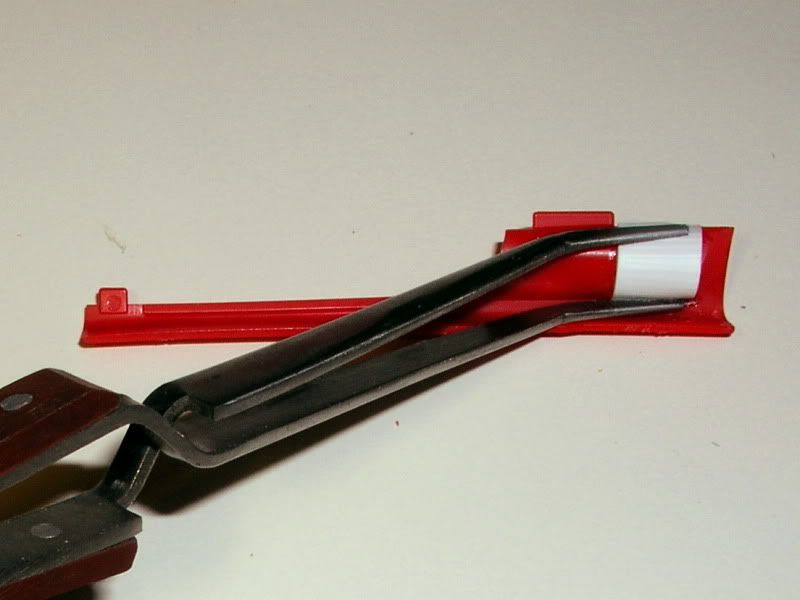 Look carefully - the tab has been glued into the notch. (actually, I'm not sure if it was at this stage! but you get the idea) So... When I glued the side skirt to the body, it wasn't glued to the door. And again, look at the first pic here, and my earlier comments, you're only cutting the back and front part of the door. As I previously mentioned, this cut is in a single plane and can be done with a straight saw!! Well, ok, not quite........ The cut on the front of the door is on too much of an angle, even though it also falls in a plane - so, you have to cut around the curve at the front, just to avoid a slanted edge on the panels. You could cut it stright and then clean up the panel edge, but that would require filling the gap somewhat. I used back of knife, pick, etc, to make this cut. Same for cutting out the hood. I just ran the pic over the panel line nice and softly until it was starting to form a cut, then completed the cut with the back of the hobby knife, ie, the tip of knife turned upside down. The Hasegawa saws are fine, but I'm guessing there are better ones. The teeth are not very sharp, which has its pros and cons. I quite like them, but they're the only ones I've tried. Aren't you glad you asked?  Willimo, you caught me there. I'm a newbie, and I agree it was a big mistake not to paint the panels all together. I will never make that mistake again! Thanks for the tip (obvious to everyone reading this, but it just didn't occur to me...  ) )
|
|
#33
12-29-2007, 07:13 AM
|
||||
|
||||
|
Re: Ferrari 360 Modena, fully open
Merry Xmas everyone!!
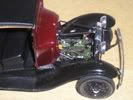
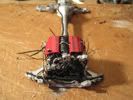
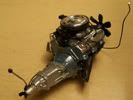
 opcorn: opcorn:And I better get a move on 'cause I'm off to the land down under for a break in a week. So little time, so much to do  As I mentioned, I'm using the Crazy Modeler PE set for this build. To be honest, the only bits I care about are the brake rotors and the engine hood surround, but it has some other goodies (and baddies) too. 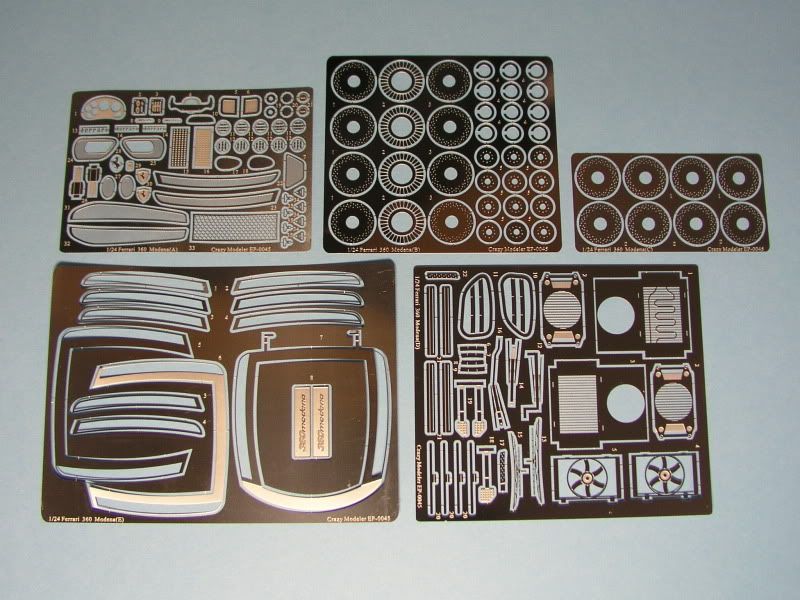 I'll start with a seriously dumb bit of PE - the dash vents. They are too big to even fit the kit properly  However, they look like fun to slap together, so let's practice a bit and see what's involved. However, they look like fun to slap together, so let's practice a bit and see what's involved.As you can see here, the vents need to be bent up within the surround ring. Well it turns out that this is not so easy to do because that little ring wants like all hell to twist and wriggle and distort, and the vents themselves want to break, twist, bend unevenly, etc. The first two gave me grief but as you can see, I found a trick. 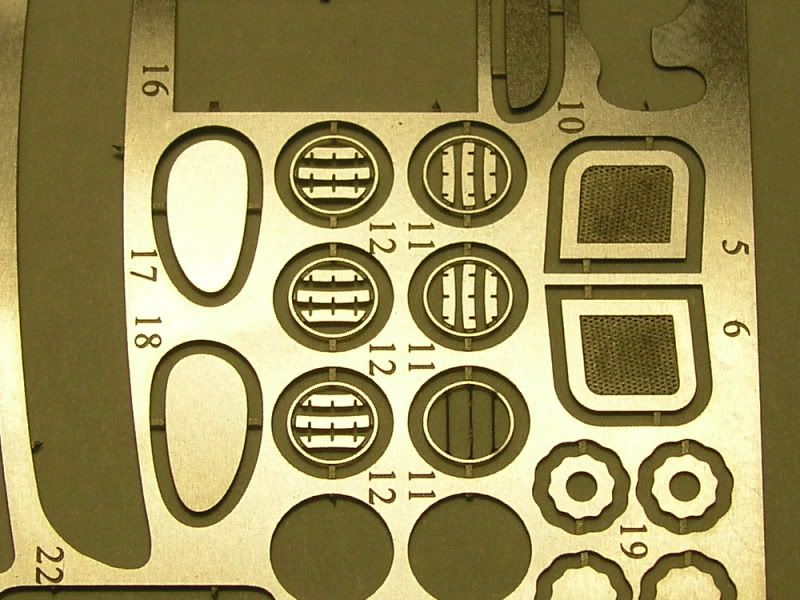 I used some circle guides to clamp the ring in place. The effect is dramatic! Bending the vents is now extremely easy, no more twisting or squirming, they bent up easily, solidly, and very accurately. 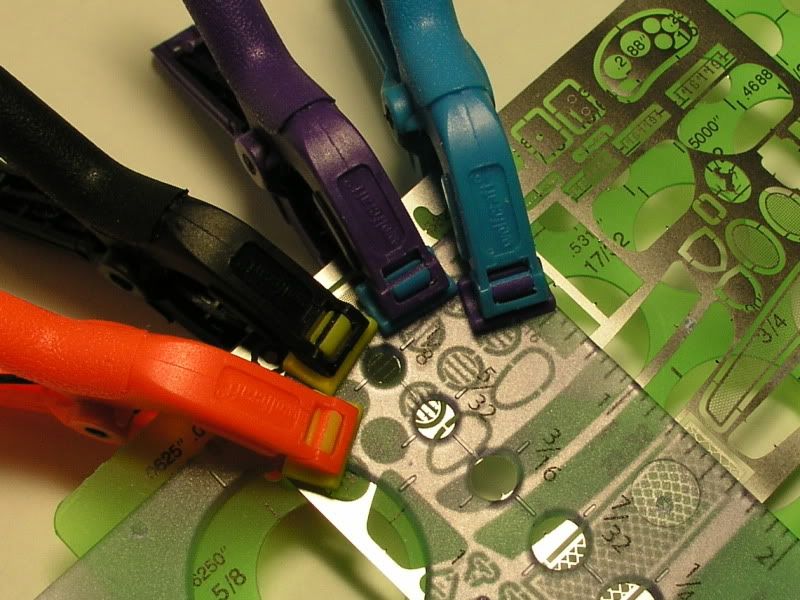 And here they are... 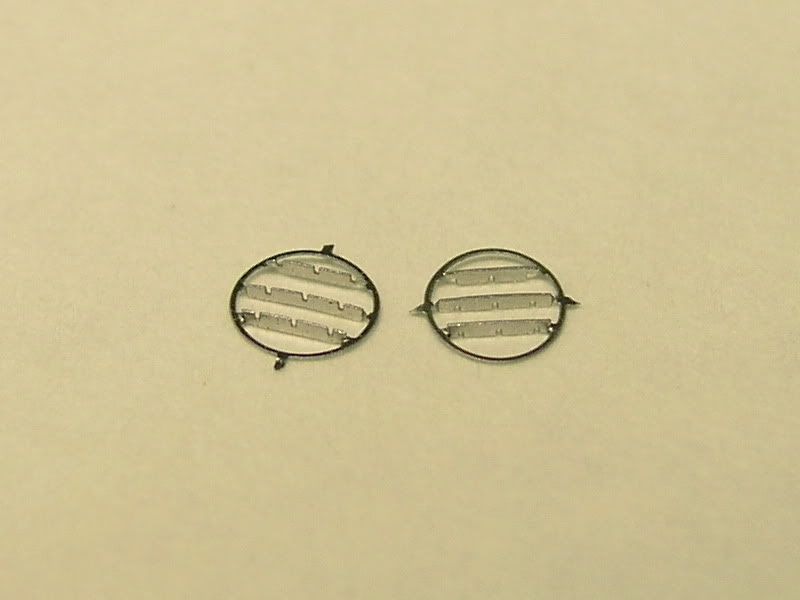 It's as good as I can do, but as I said, they don't fit (not even close). So that was my introduction to PE. Yikes!! I thought CM was supposed to be good stuff, but hey, hopefully it will get better. 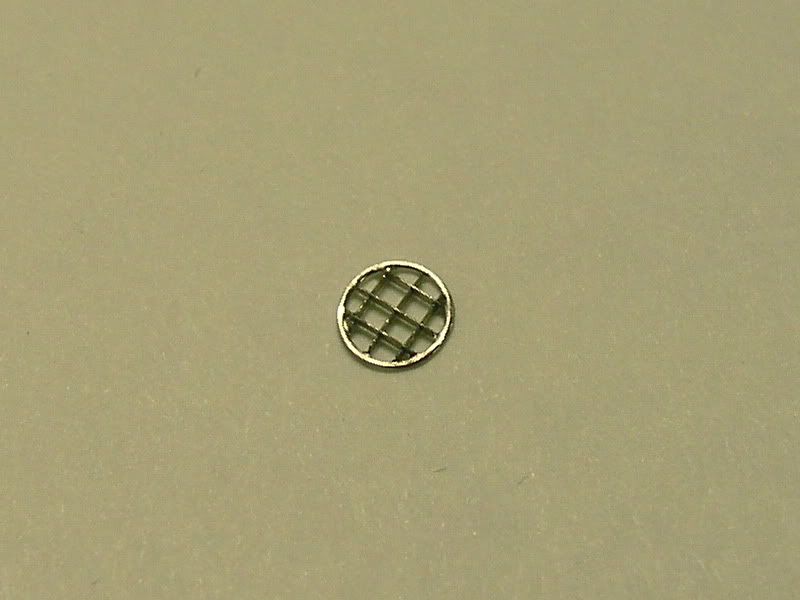 Her's a trivial little item. The rear chassis vent. The instructions are very fuzzy as to how this is installed. I wasn't just going to just glue it on top of the plastic one, so I made a slot to fit it into. Worked out ok, but it was tough love really... I'll clean it up of course.  The set includes PE wipers, but they are rubbish imho. However, I believe the Ferrari does indeed use a cage-like wiper frame, as opposed to the solid/smooth things in the kit, like you would see on a Bimmer for example. So I salvaged the blade part of the wiper, and modified it so the upper PE frame is centered above the lower PE blade part. It's normally just folded over, so it's not centered - completely unacceptable. I also modified the plastic kit wiper part somewhat to simulate the wind vane. Kit oob on left, hybrid PE/kit on right... 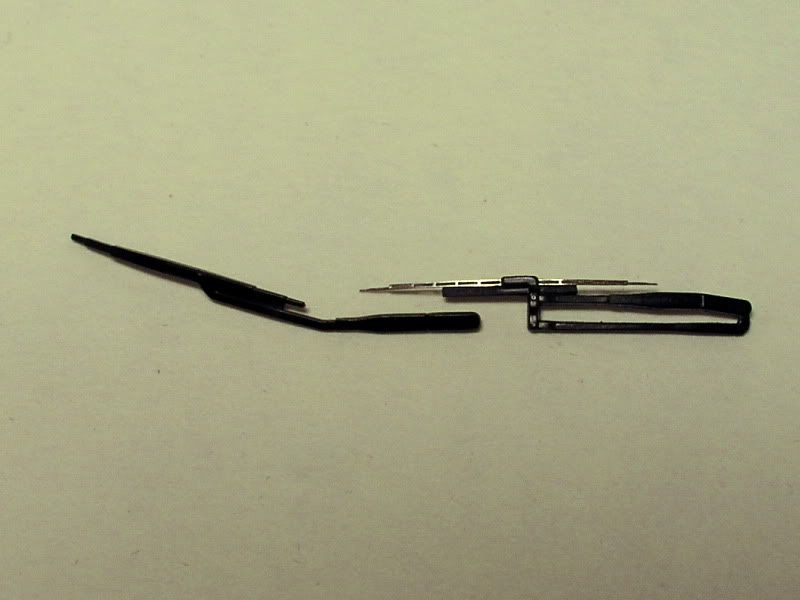 The PE set has some pretty sexy looking fans. They're not very accurate, eg, they put the fan inside the radiator  But they look kinda hot!! But they look kinda hot!!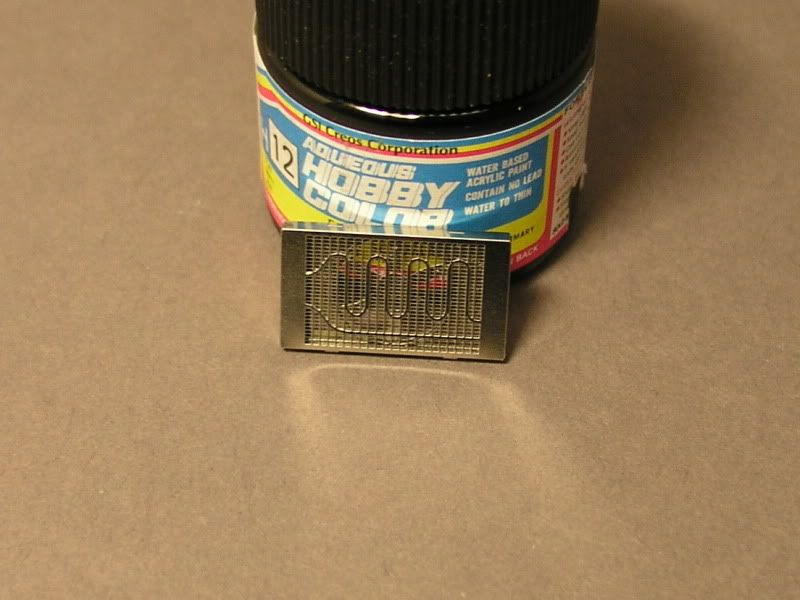 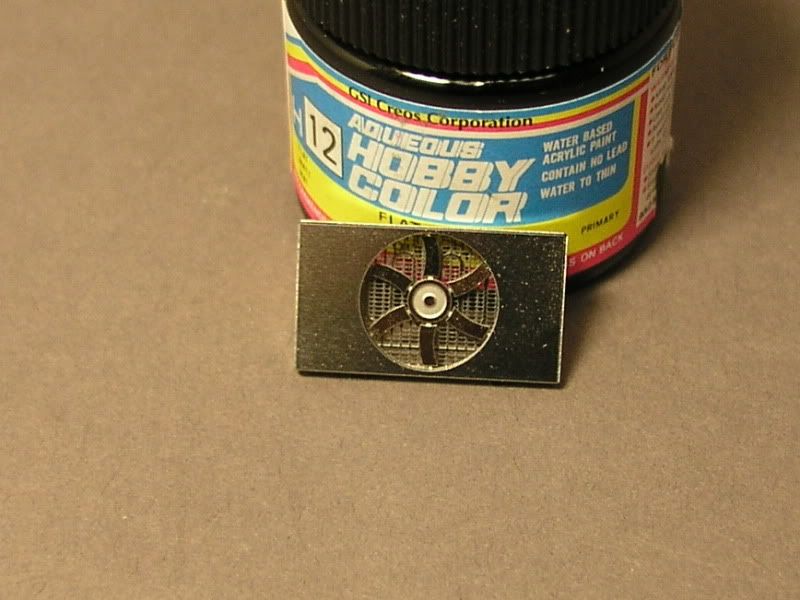 Now this little gem is more like it. The engine hood surround. This is some superb PE. It's made of many sandwiched layers. Very tricky to glue it all together cleanly and accurately, but it can be done with excellent results. 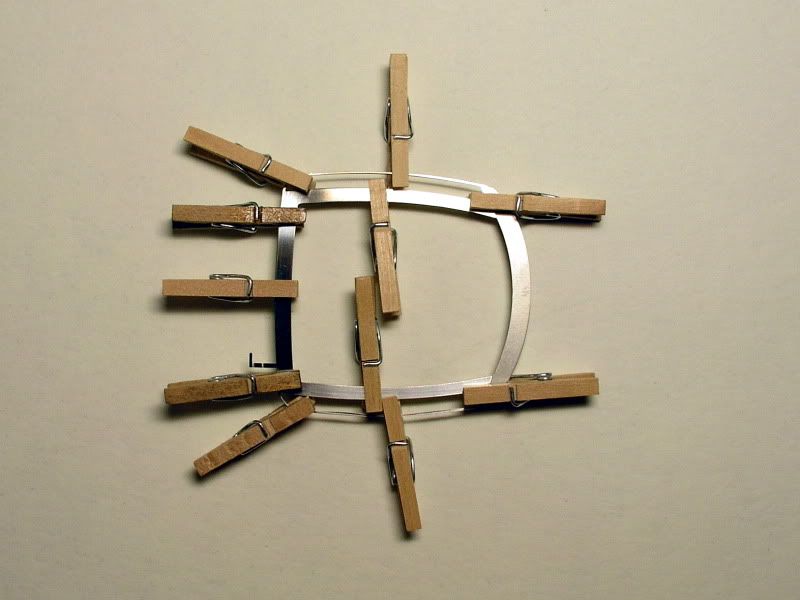 I replaced the dismal PE hinges with a soldered brass rod. This is a class PE item, trust me - I seriously like this engine hood now. 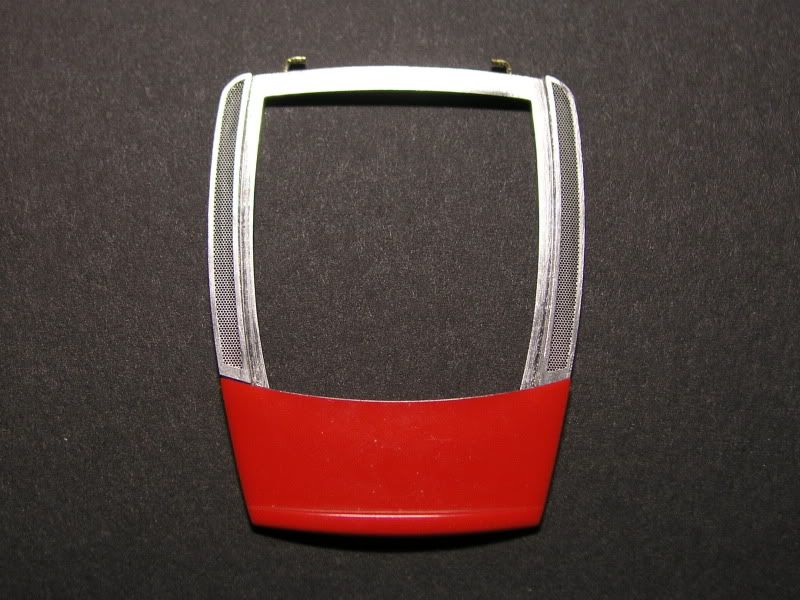 Now here's the other bit I wanted the PE set for, the brakes... 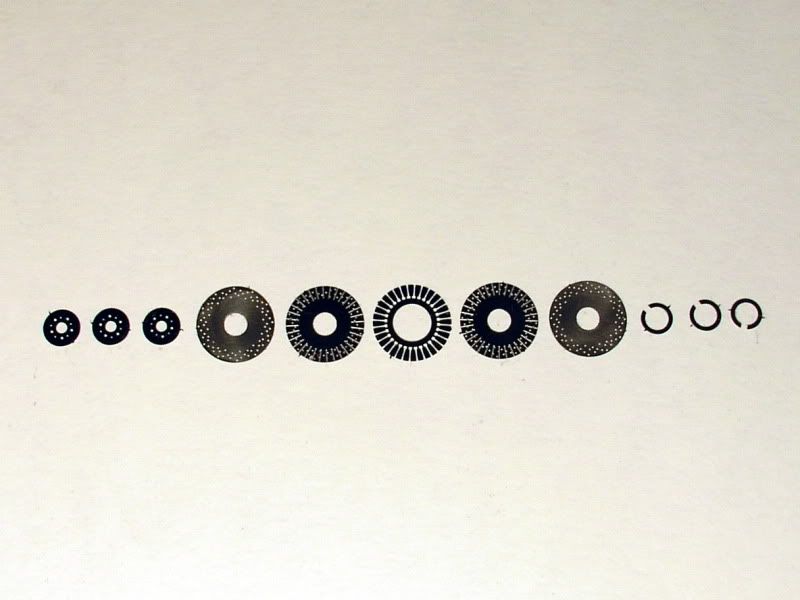 This piece is clever - lots of bending though. 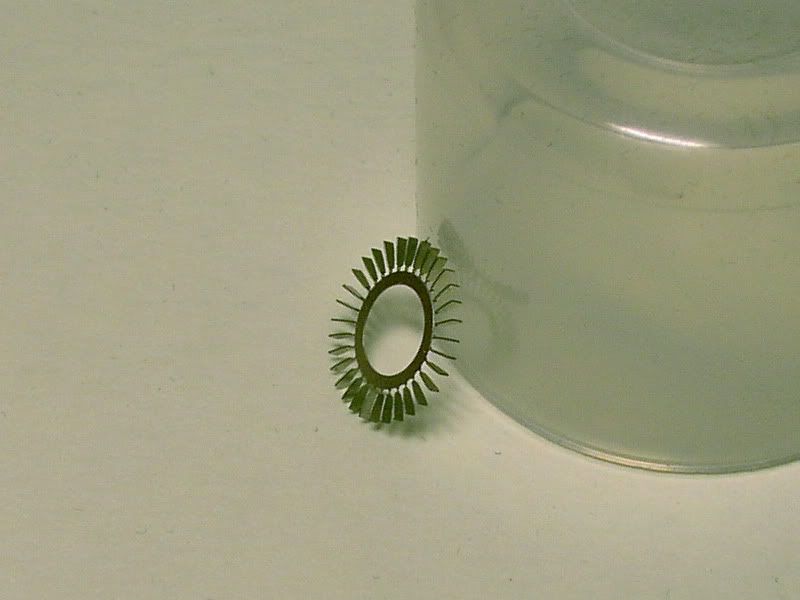  Bling bling!!  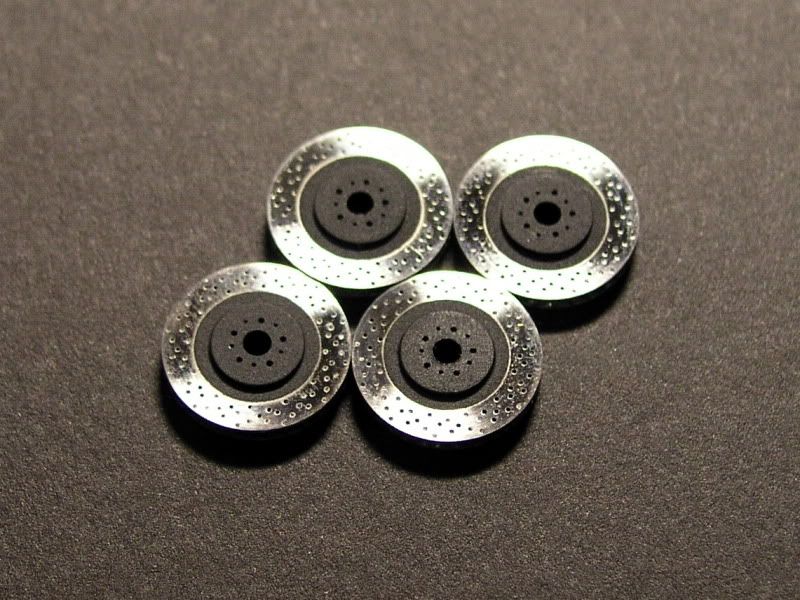 (yes, I see the damned finger print... )The calipers are from the original kit of course... 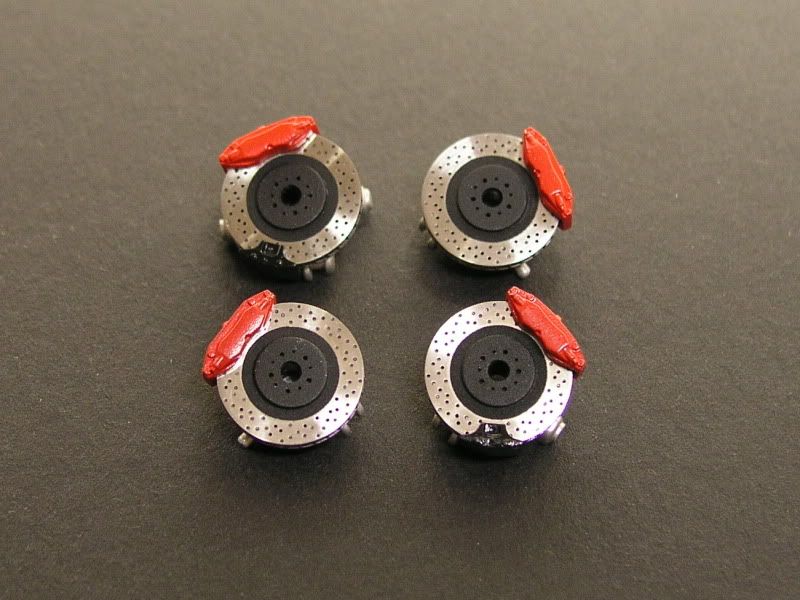 Open seat backs are just not an option. 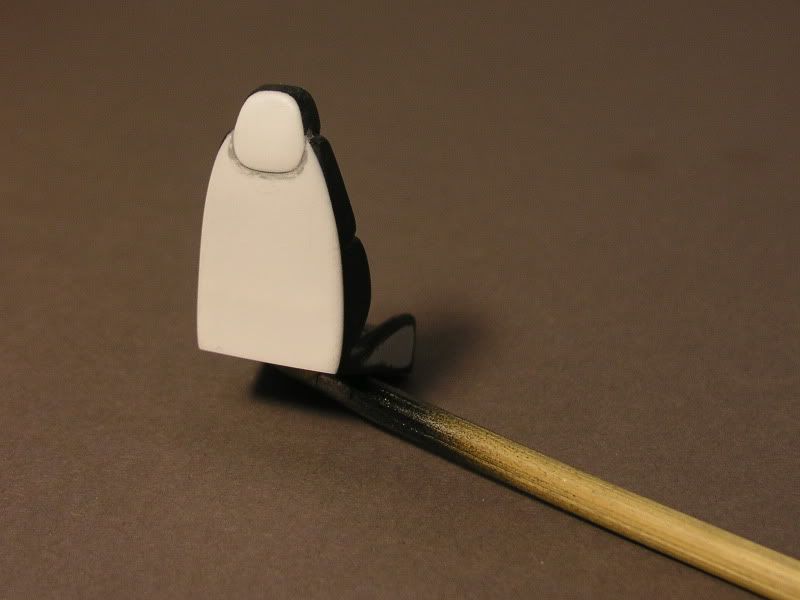 Now, what's a Ferrari without that ENGINE?!?!?!?!  How hot is that? Where's the straight-jacket guy, he definitely needs to get stuck into one of these Here's my first shot at it, Alclad dark aluminium: 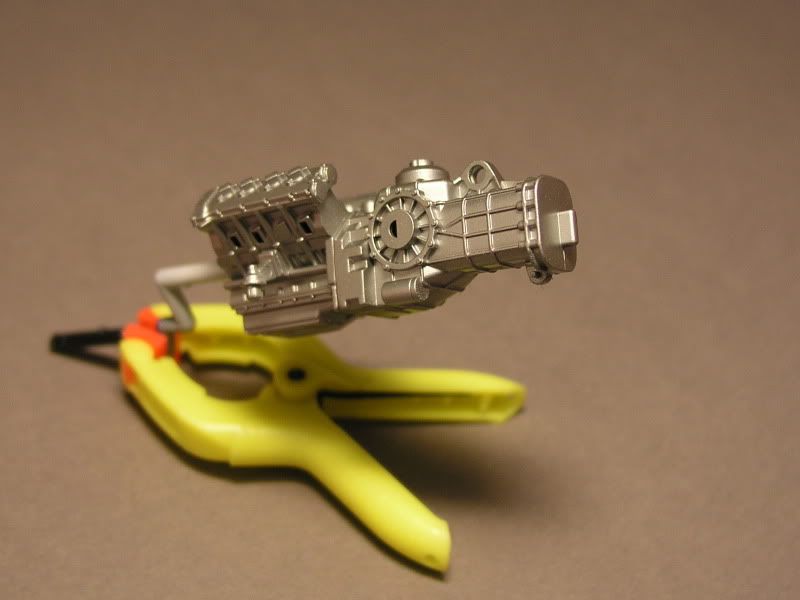 It looks pretty sharp, but let's face it, it's crap compared to the original. So I set about trying to reproduce that finish. Here's Alclad aluminium: 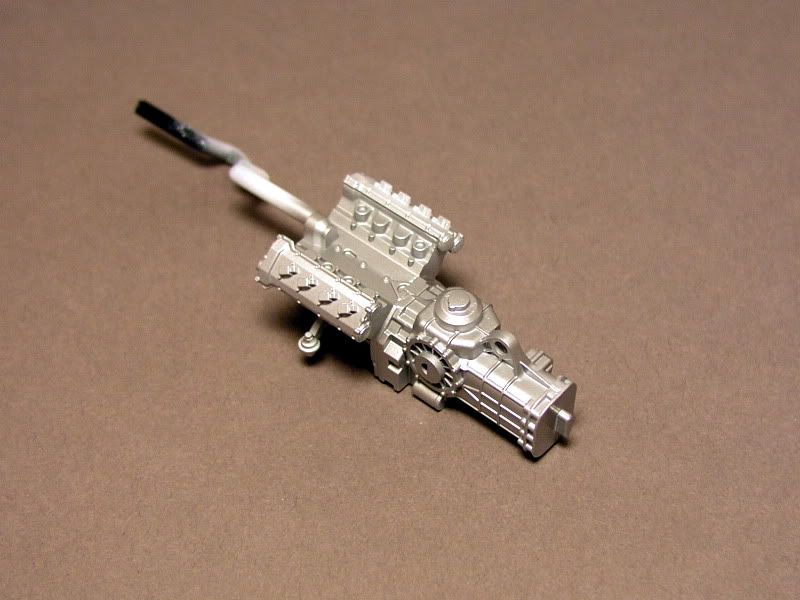 Not bad, but still no cigar. I think that engine has some sort of roughness or even a coating from the mold, so I tried over-spraying some 'texturizing materials'  This is getting close imho. It's Alclad dark aluminium with a texturizer... This is getting close imho. It's Alclad dark aluminium with a texturizer...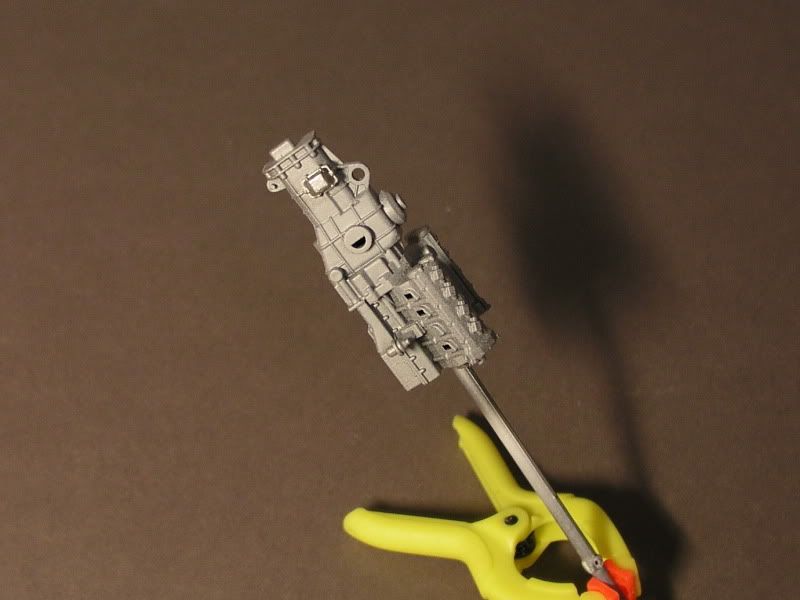 It looks a bit rough, but I'll weather it down to the right finish. 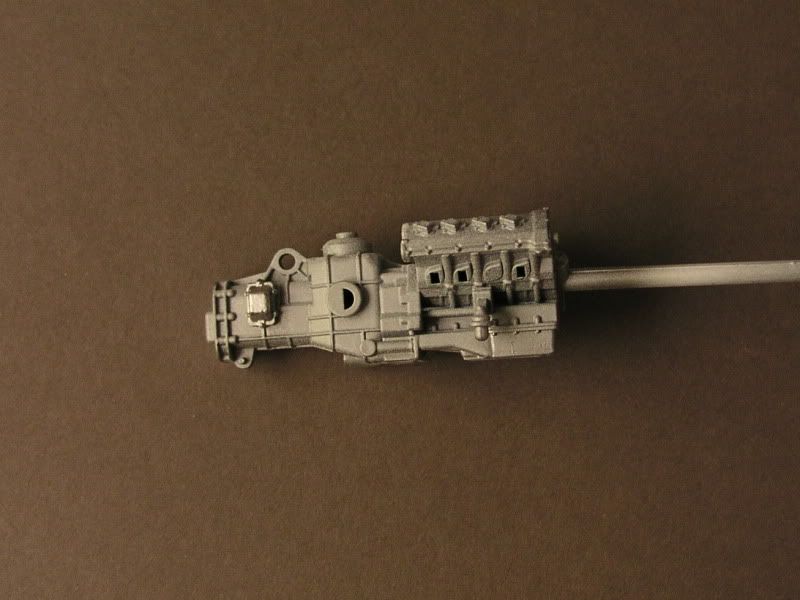 I'm pretty happy with it. Don't worry about the edges where the Alclad has rubbed off (note to self - don't let that happen next time). I'll dry brush that out, it'll actually look quite good I hope. 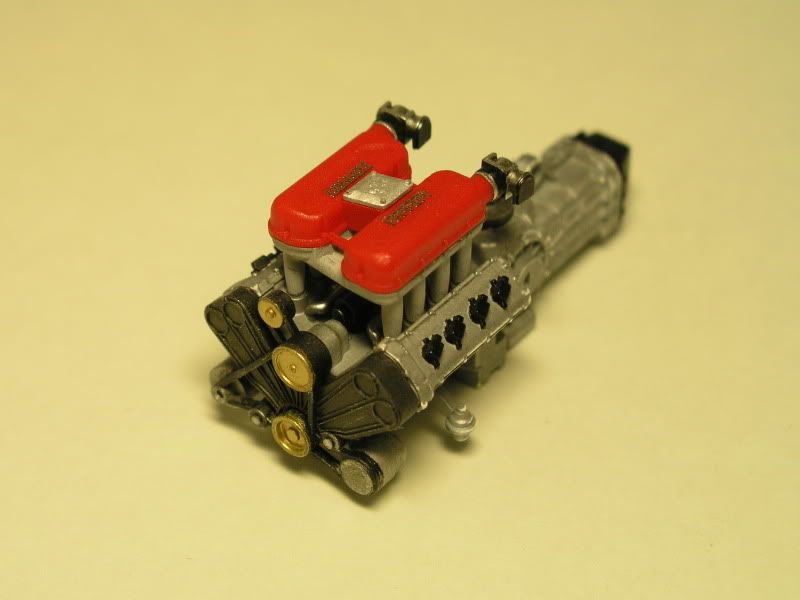 I might be imagining it, but there seems to be a color difference b/w the lower and upper parts of the engine (see ref pic) - you can see how I simulated that here... 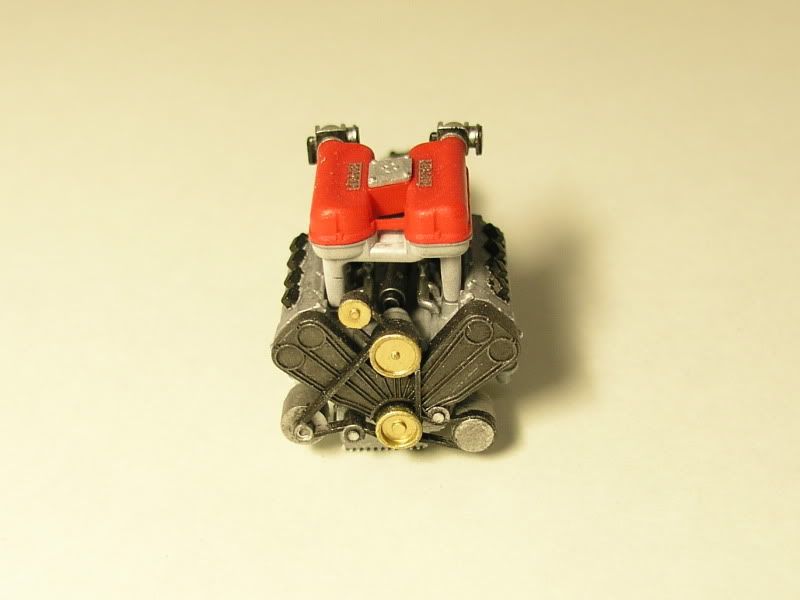 (sorry for all the dust and crap on the pics) 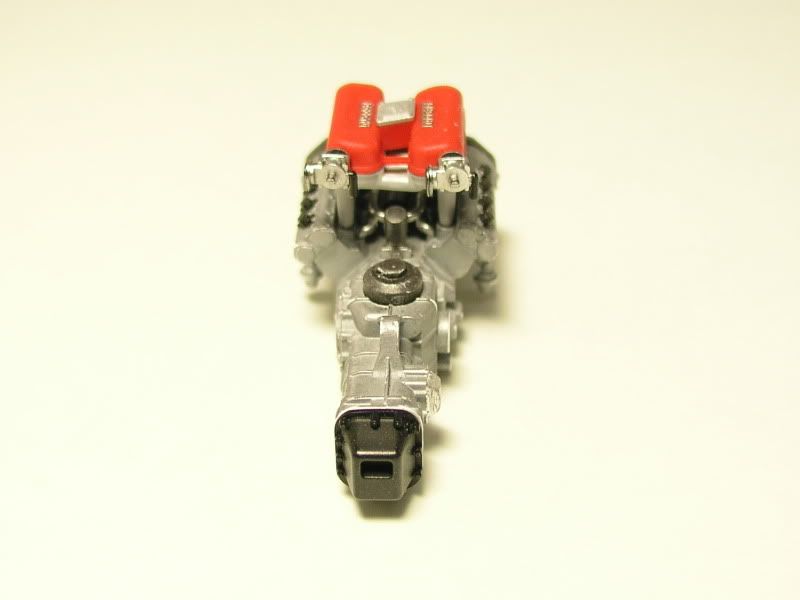 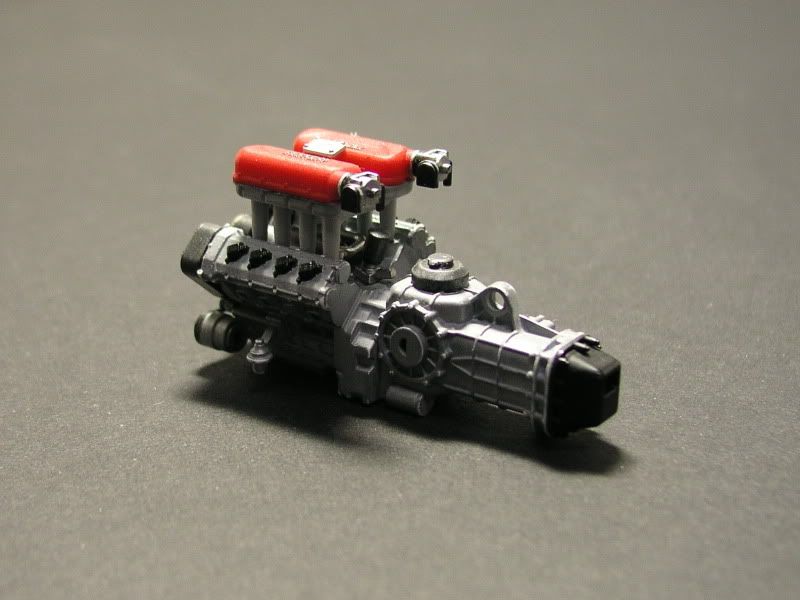 I made a start on the exhaust system. I got rid of all the mold lines, then applied Alclad chrome over Testors black enamel. Smooooooooth... 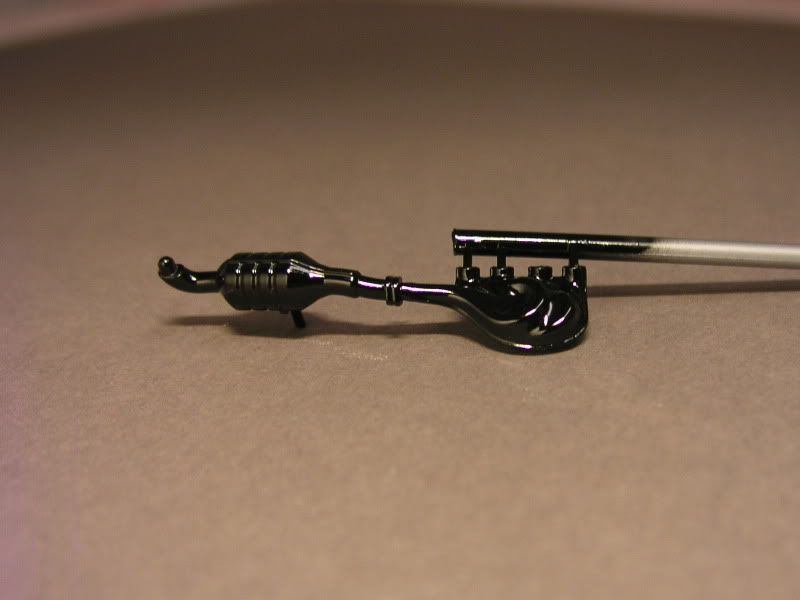 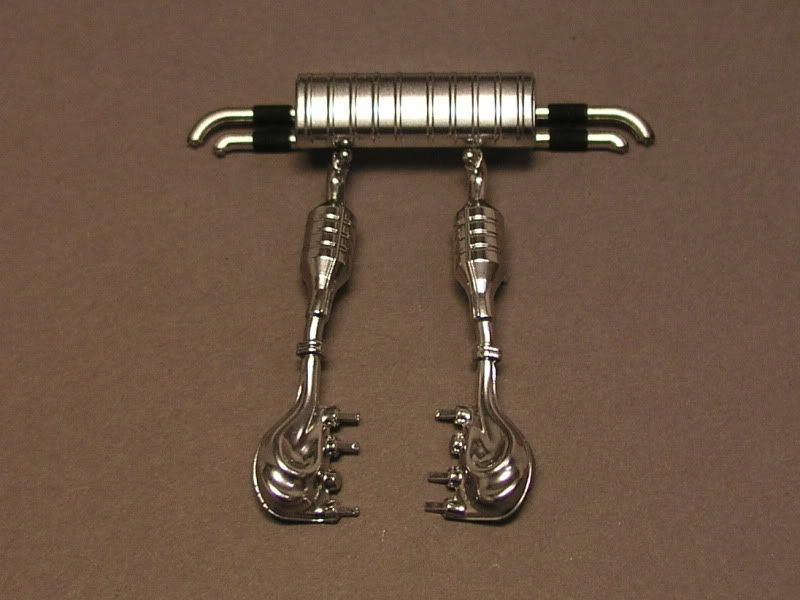 That's it for this episode. Stay tuned, same bat time, same bat channel (edit: corrected engine pic label to alclad dark aluminium) Last edited by mrawl; 12-30-2007 at 04:29 PM.
|
|
#34
12-29-2007, 09:26 AM
|
||||
|
||||
|
Re: Ferrari 360 Modena, fully open
Excellent job
 It all looks just great.
__________________
Guideline for happy modeling: Practice on scrap. Always try something new. Less is more. "I have a plan so cunning, you could put a tail on it and call it a weasel" - Edmund Blackadder
|
|
#40
12-30-2007, 11:23 AM
|
||||
|
||||
|
Re: Ferrari 360 Modena, fully open
Once again, thanks for showing us your work. Interesting bit is that I never thought they had so many PE-sets out there. How does the enginecover window fit into your PE-frame. I think it might be too thick??
__________________
Recently finished Projects:
Porsche 911 Carrera RS 3.0 Current Projects: Ferrari 250 GTO LM 1962 (chassis #3387)  
|
|
#41
12-30-2007, 04:03 PM
|
||||
|
||||
|
Re: Ferrari 360 Modena, fully open
Quote:
__________________
 gio gio
|
|
#42
12-30-2007, 04:26 PM
|
||||
|
||||
|
Re: Ferrari 360 Modena, fully open
Quote:
|
|
#44
01-01-2008, 10:17 PM
|
||||
|
||||
|
Re: Ferrari 360 Modena, fully open
This is great. Spectacular work on the doors, especially the sills/surrounds. Pretty sharp engineering on those hinges. Skillfull paint job. I have this kit also and although I won't be trying any risky [for me] door surgery, I will definitely keep your other tricks in mind. Thanks for contributing!
Alex
__________________
|
|
#45
01-02-2008, 11:43 AM
|
||||
|
||||
|
Re: Ferrari 360 Modena, fully open
this is awesome!
congratulations!
__________________
BR MODELS BRAZILIAN POWER!
|
|
|
POST REPLY TO THIS THREAD |
 |
|
|