|
|
| Search | Car Forums | Gallery | Articles | Helper | Air Dried Beef Dog Food | IgorSushko.com | Corporate |
|
|||||||
| WIP - Street Post topics for any "Works In Progress" street vehicles projects in this sub-forum. |
 |
 Show Printable Version | Show Printable Version |  Subscribe to this Thread
|
|
|
Thread Tools |
|
#31
 12-12-2006, 09:01 PM
|
||||
|
||||
|
Re: Corvette Z06 gift project
Quote:
Quote:
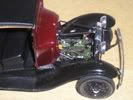
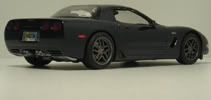
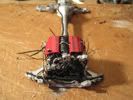
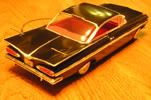
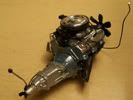
 Should've read more carefully--but that's OK; it's much easier to tell in person, and in good lighting, that this car is blue. But that's the beauty of the dark blue--it's really dark. (It is quite accurate for Chevy's Navy Blue) Should've read more carefully--but that's OK; it's much easier to tell in person, and in good lighting, that this car is blue. But that's the beauty of the dark blue--it's really dark. (It is quite accurate for Chevy's Navy Blue)And now, a progress post! Here is the intake snorkel of the engine. I added Bare-Metal foil to the clamps. 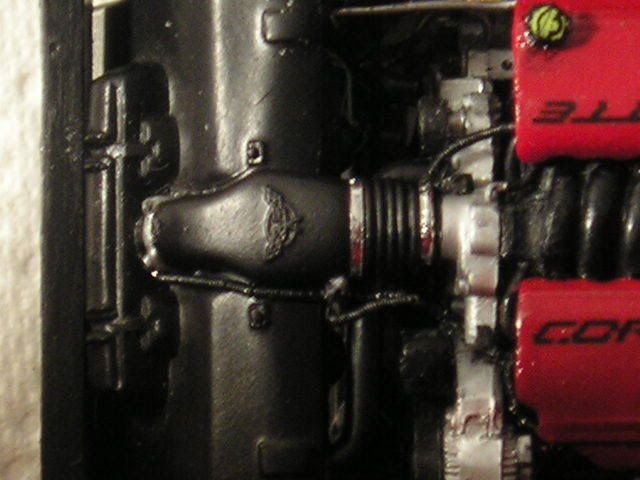 With that, the rest of the engine bay (the body is off in these pictures). 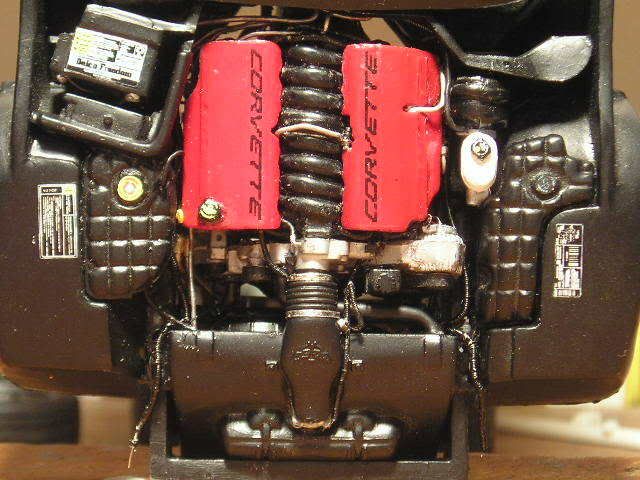 I think the fuel rail covers turned out quite nice. Revell included some awesome decals for the engine bay--they are actually readable! (To some extent) 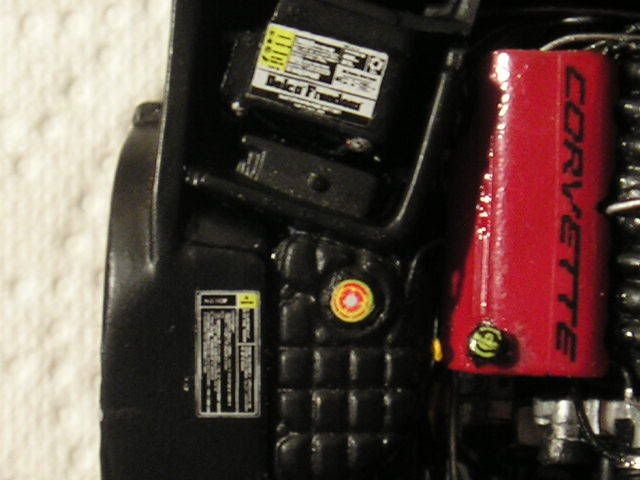 Here is one of the front brake calipers. I drybrushed the Corvette lettering (this is accurate, not a custom touch) 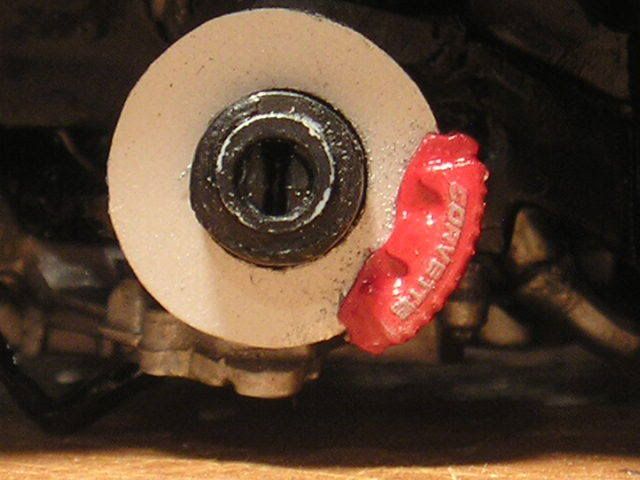 Here are the taillights installed over the chrome foil--they almost look like they are on.  I went to go install the side marker lights and discovered that--huh! They were missing! (Remember that this is a rebuild--my fault that they are missing, not Revell's). I don't know where they could have gone, though--I've kept all the parts in a little divided clear plastic box. Odd. But anyway--I spent little or no time feeling annoyed--I just grabbed a couple of '57 Chevy "custom" taillights from my spare parts box and also my Excel files, and quickly transformed "Part on Left" to "Part on Right." Excellent! 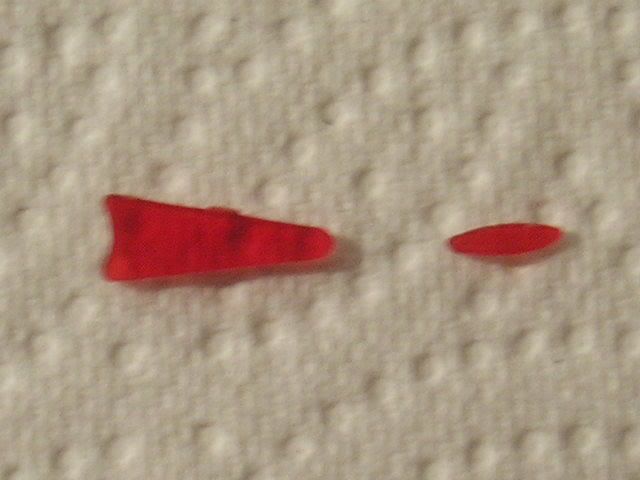 Installed, they actually fit better than the kit parts used to!  My next step was to do something about the headlights. Back at the start of the build, I opted not to make the headlights actually open and close, because there was really no place for a hinge, and I didn't want to make the model too complicated, since I needed to get it done for Christmas and I was giving it to a person who is not familiar with models. However, I was still annoyed about the fact that you can easily see that the headlights are just thin covers; there is no headlight pod underneath. So, I decided to build up a filler panel. Here it is--with the headlight motor installed (I made one for the other side afterwards). 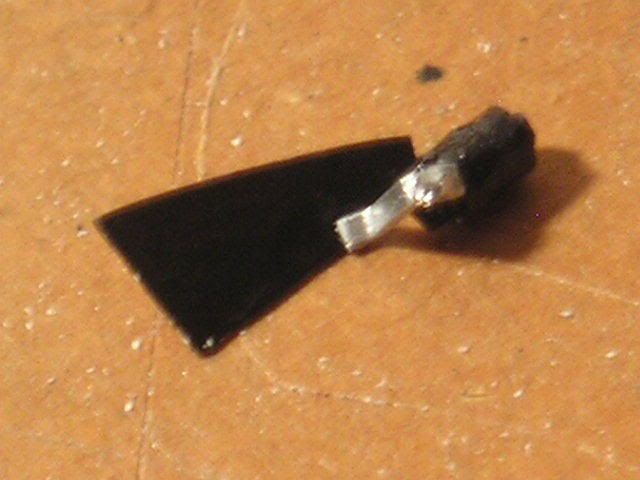 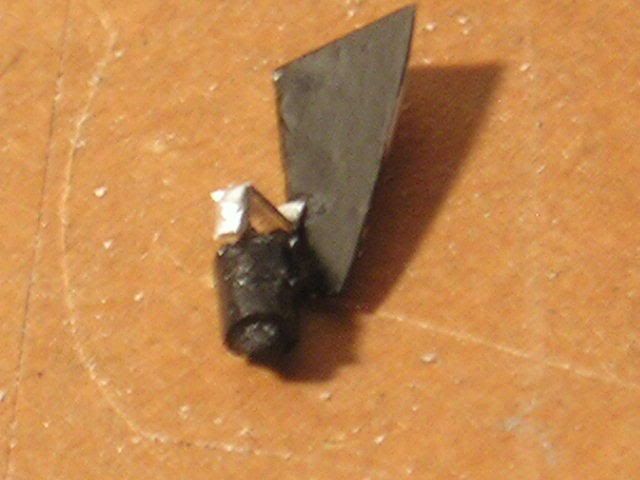 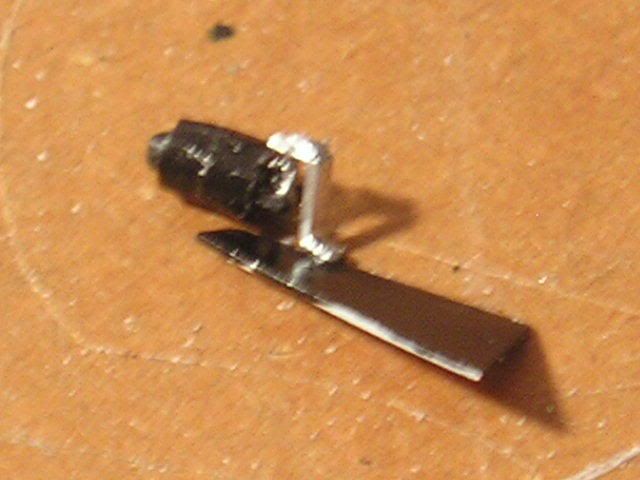 Here is this part installed in place: (the grainy stuff is just styrene dust, and was cleaned off later) 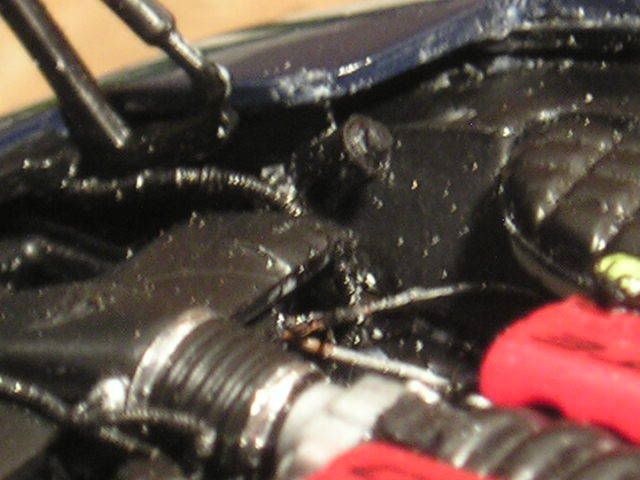 Here is a shot of the inside of the hood--Revell really did a nice job of replicating the Corvette emblem and the insulation. 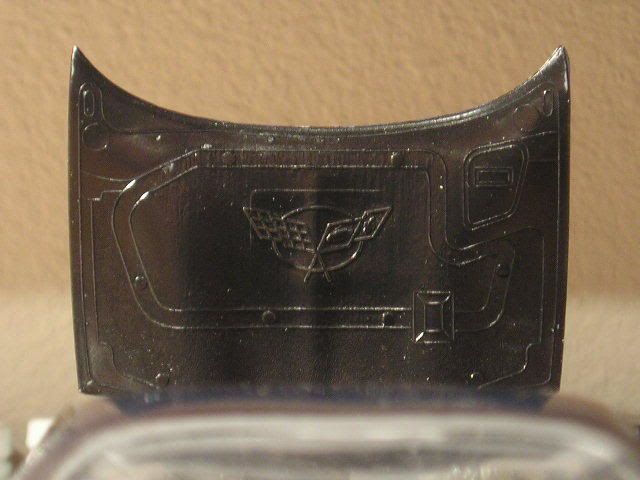 With my final scratchbuilding complete (those pop-up motors), it was a steady march to victory...er, completion. First, I installed the wheels on my custom mounting pins. They worked (phew  ) ) The wheels are airbrushed with Testors Model Master gunmetal non-buffing Metalizer paint. I love this stuff--the results are gorgeous. The red center emblems were kit decals. Then, I installed the front pan and spoiler. It didn't fit super-great, but good enough (I had already done a ton of filing and fitting). 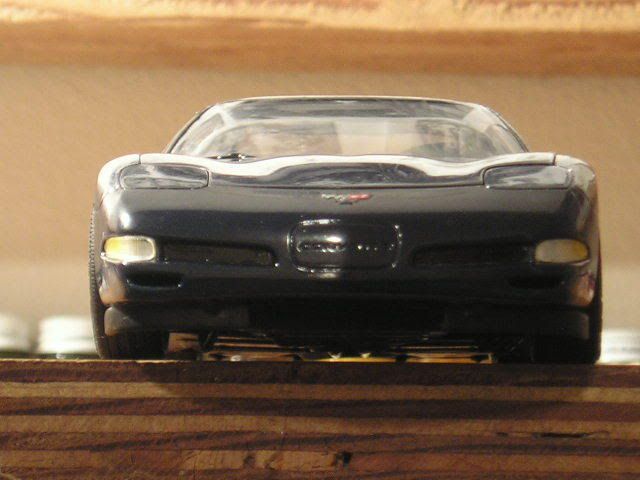 Next, I installed the mirrors with liquid cement. 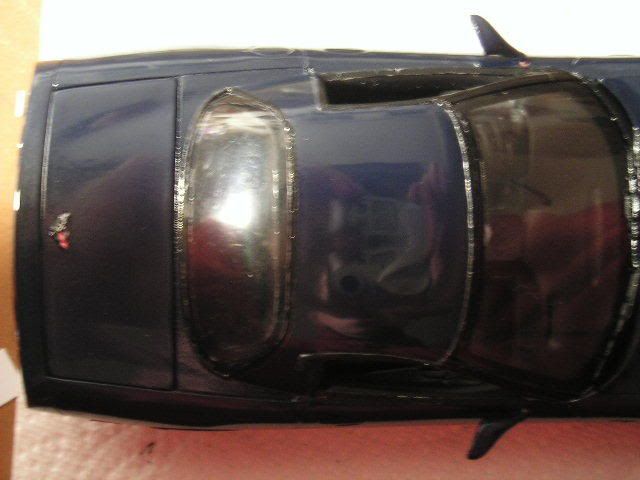 And, the last cool detail. My sister's name is Rachel, and she lives in the state of Mississippi. So, I got on the computer, printed out the letters "RACHEL", and then used colored pencils to replicate the current style of Mississippi license plate. The tabs are sheet plastic. 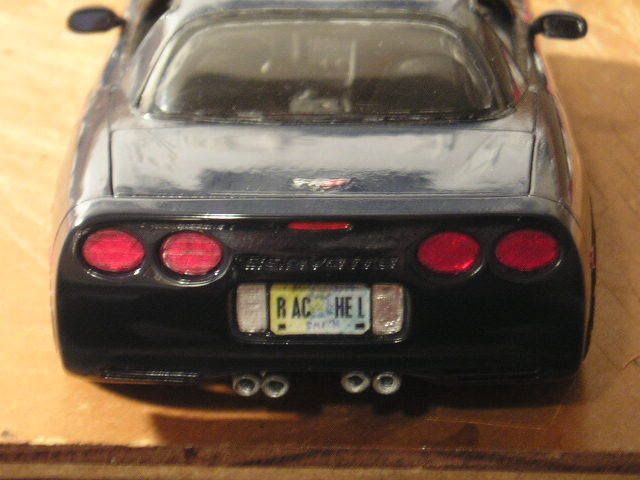 And that, folks, is a rebuild of Revell's Corvette Z06! Go to the link below to see my awesome white-box gallery shots! http://www.automotiveforums.com/vbul...07#post4516607 Thanks for watching! I appreciate your kind comments on my first WIP thread. More models to come--I guarantee! Alex
__________________

|
|
|
POST REPLY TO THIS THREAD |
 |
|
|


