|
|
| Search | Car Forums | Gallery | Articles | Helper | Air Dried Fresh Beef Dog Food | IgorSushko.com | Corporate |
|
|||||||
| WIP - Street Post topics for any "Works In Progress" street vehicles projects in this sub-forum. |
 |
 Show Printable Version | Show Printable Version |  Subscribe to this Thread
|
|
|
Thread Tools |
|
#17
 05-25-2014, 06:44 PM
|
||||
|
||||
|
Re: 1/12 Rover Mini
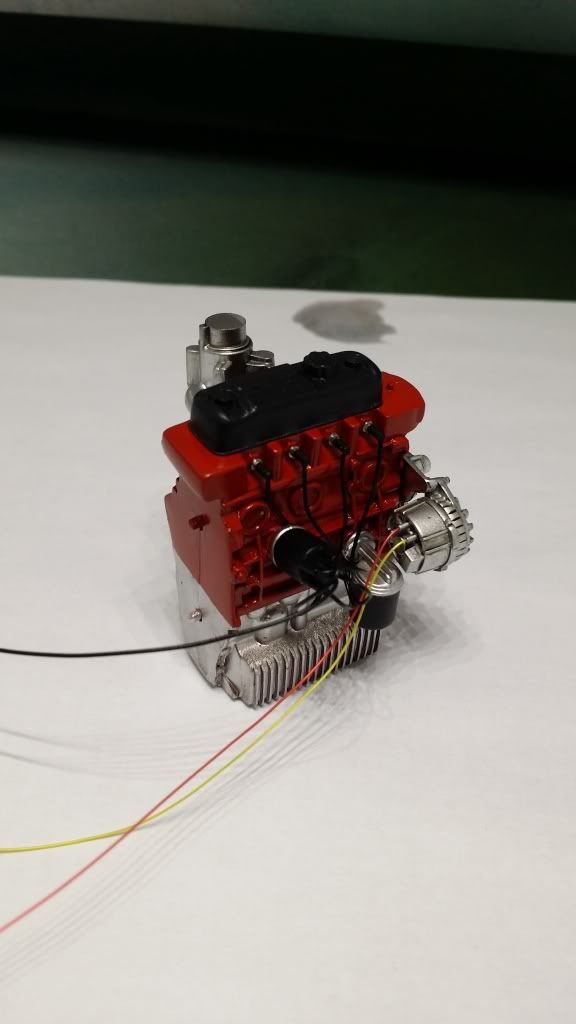
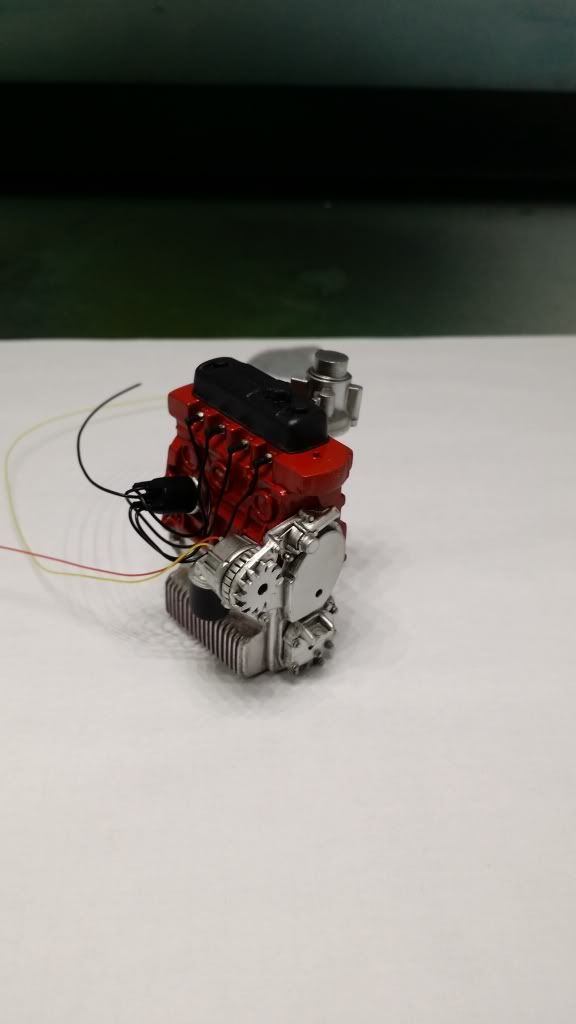
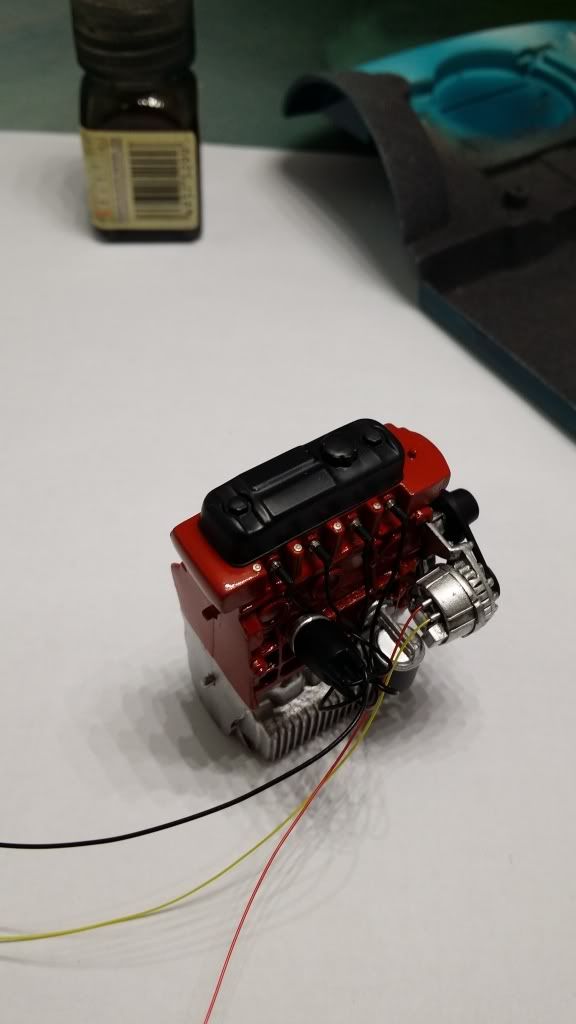
Hello again. Work on the Mini continues. Last night I fitted the engine to the front frame and added some more wiring and the ignition coil (also from the Countach
 ) )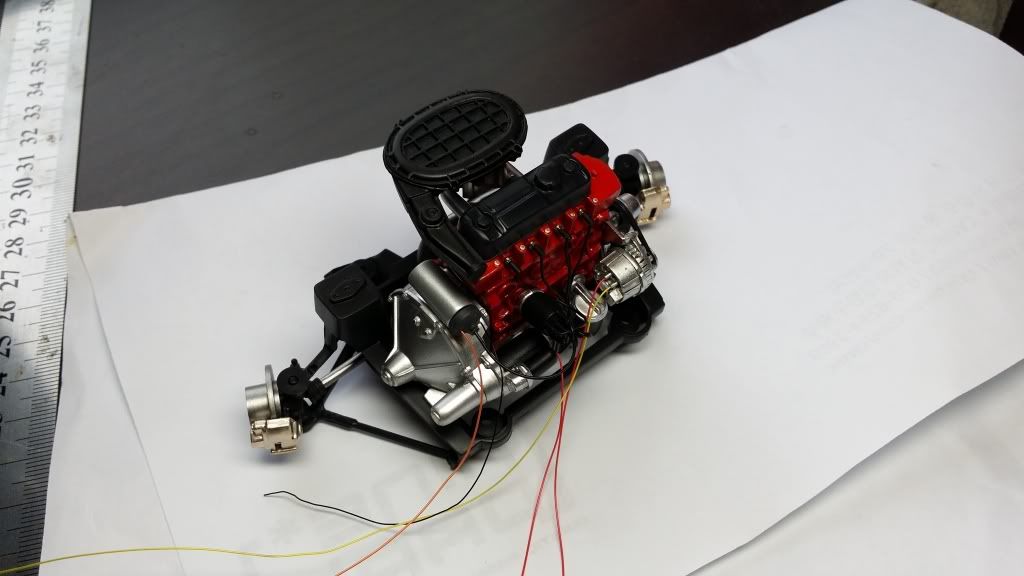   Cheers Emil 
|
|
#19
05-26-2014, 07:03 PM
|
||||
|
||||
|
Re: 1/12 Rover Mini
Quote:
Cheers
|
|
#20
06-07-2014, 11:54 AM
|
||||
|
||||
|
Re: 1/12 Rover Mini
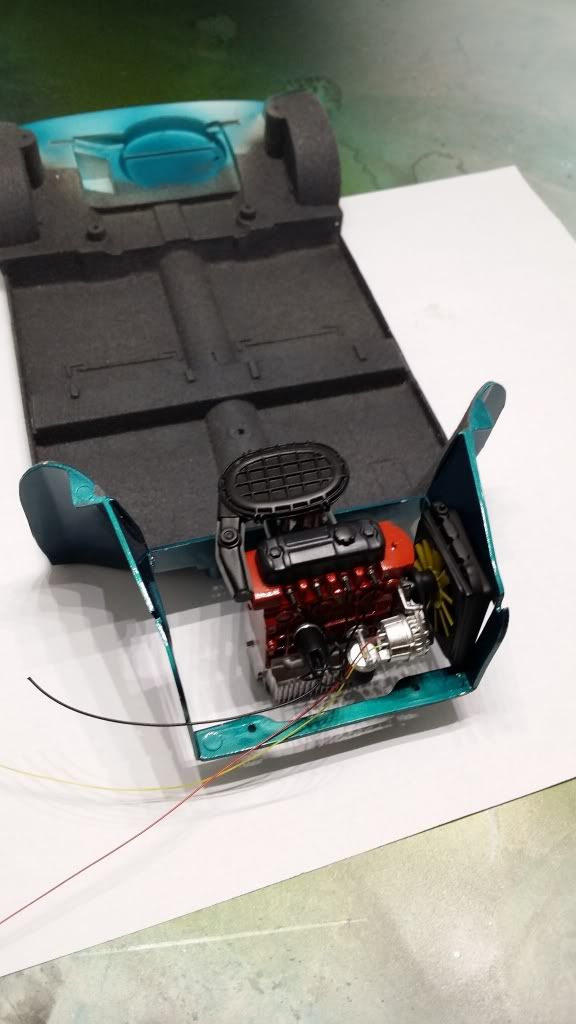
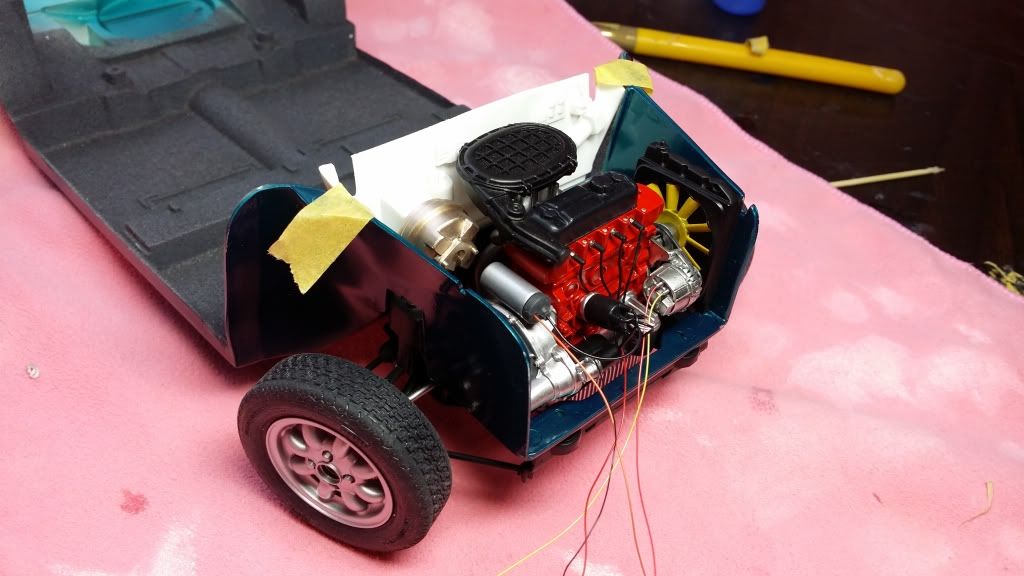
Hi everyone!
After a while I finally had some time today to work on the Mini. And I have to say that it was quite productive too  Although it is missing few more cables and hoses, the engine is almost finished and it's been installed in the car. I particularly like the fuel lines but unfortunately they will be extremely hard to see after the air cleaner is installed (but I will know they're there  ) ) 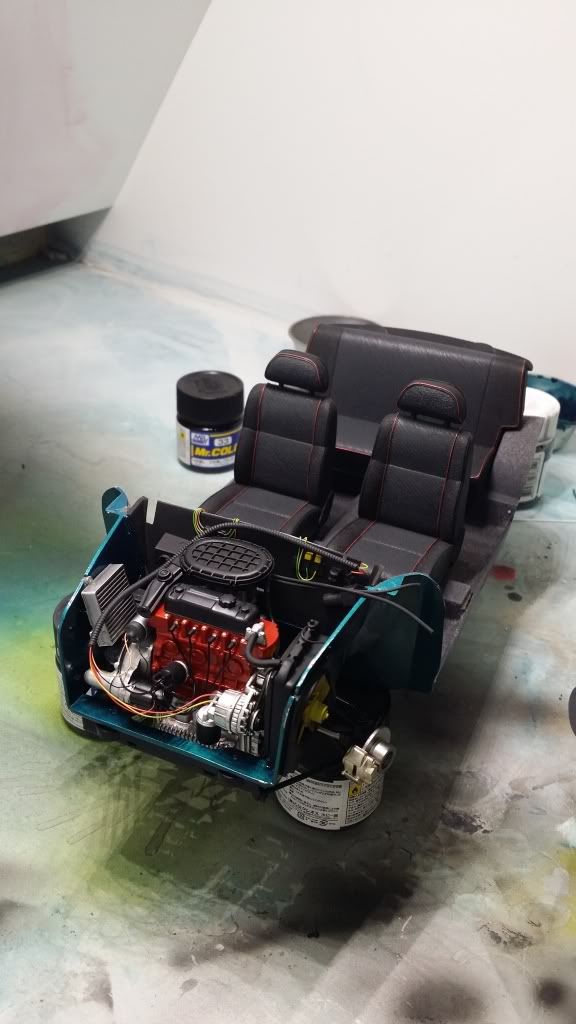 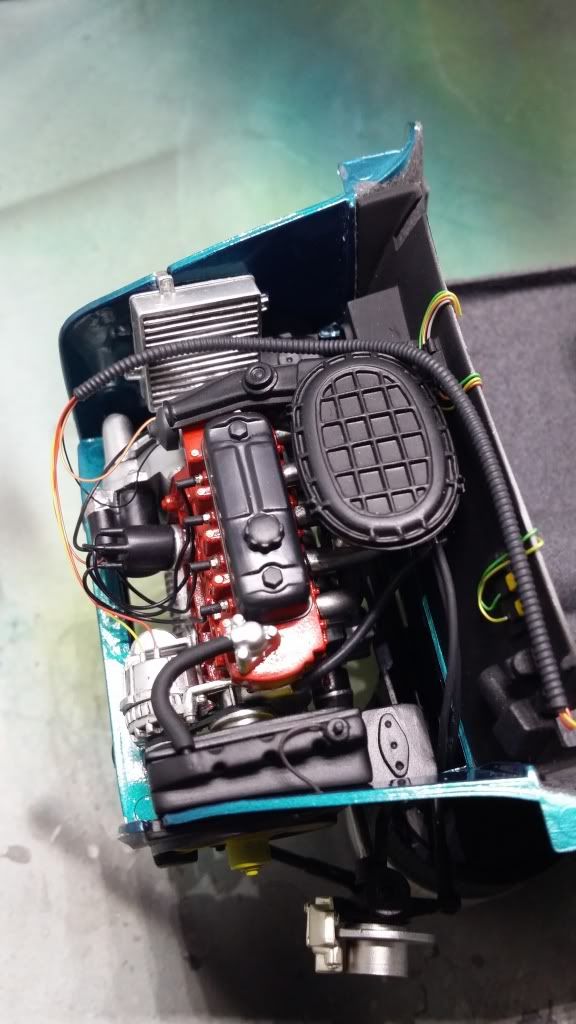 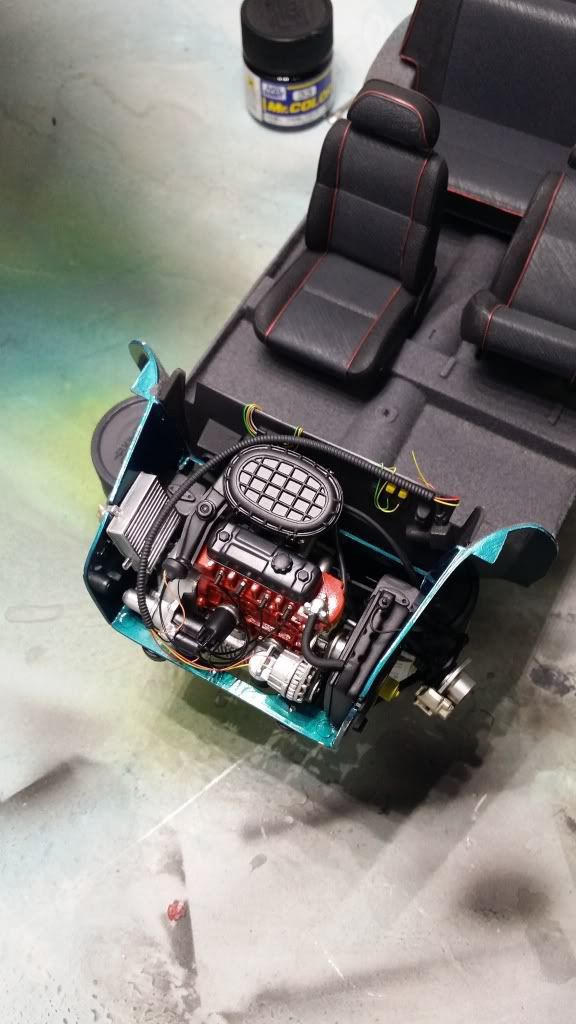 Since I din't have the confidence to mask and paint the red strips on the seats, I decided to glue a red wire to the seats and remove the paint from them after painting, which worked out quite well and certainly much better than my masking skills would have achieved 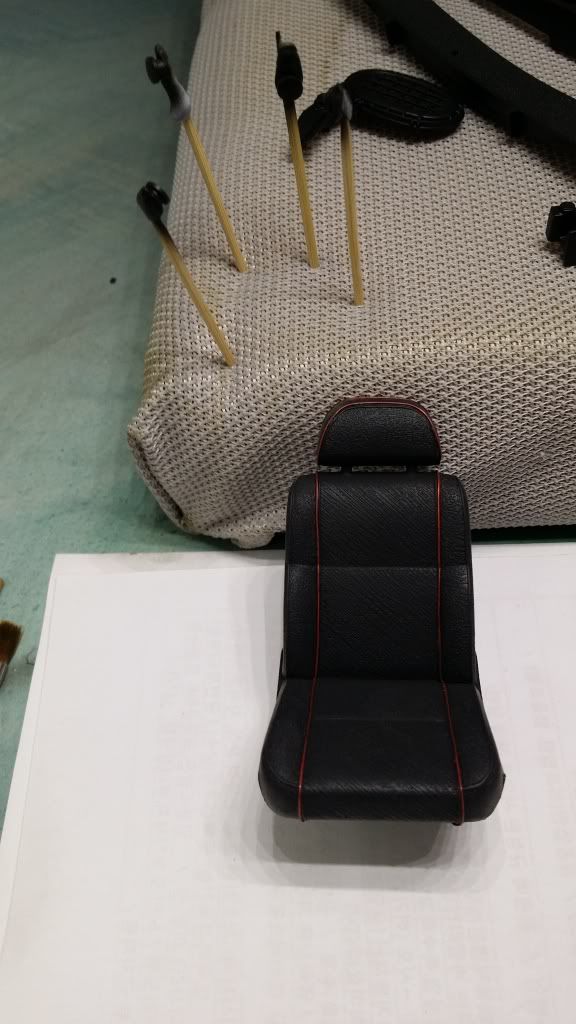 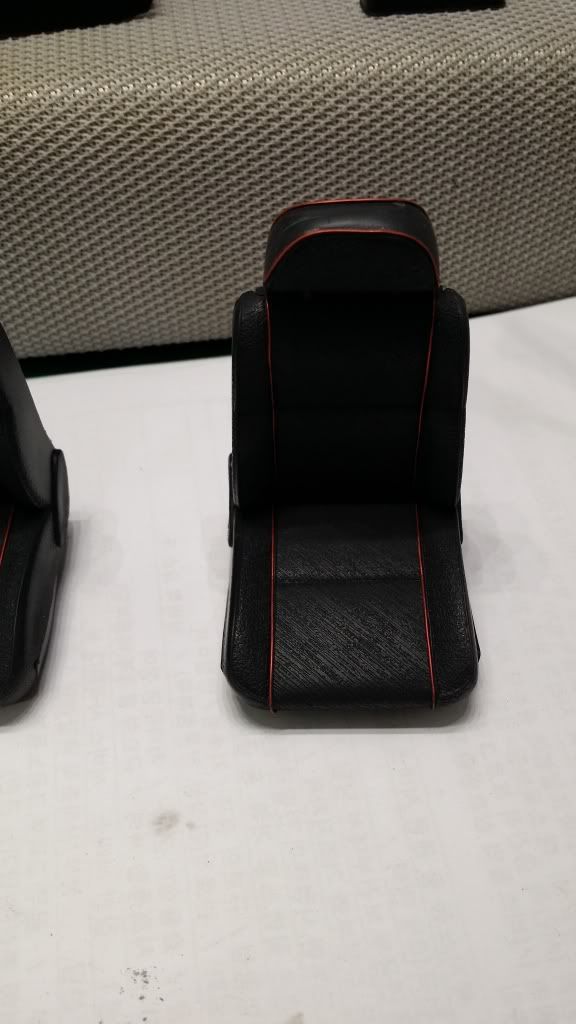 Cheers Emil
|
|
#21
06-08-2014, 09:20 AM
|
||||
|
||||
|
Re: 1/12 Rover Mini
Hello
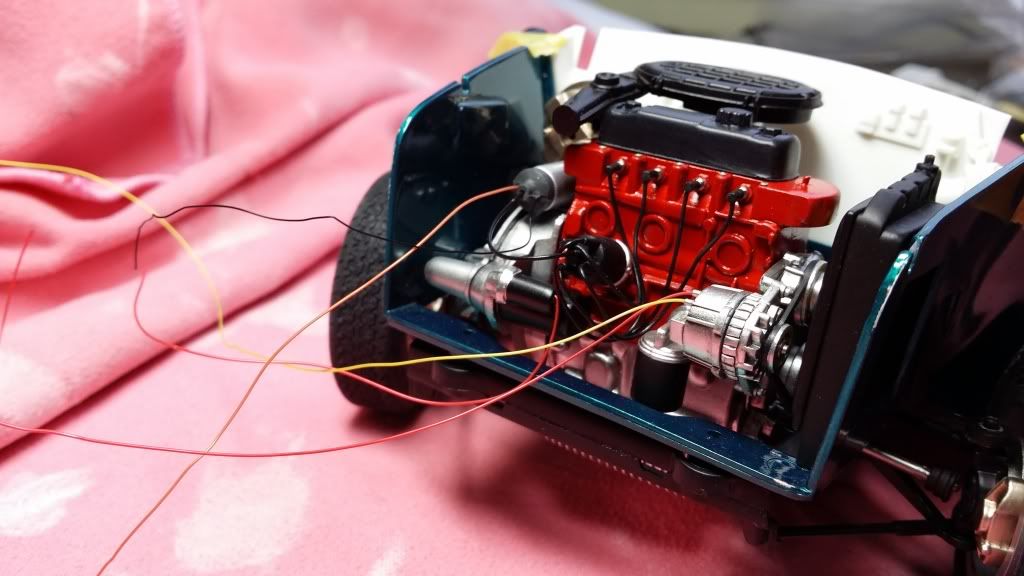
Today I continued working on the engine compartment (which is 85% done now) and did a test-fit with the body to make sure that everything fits, opens/closes etc. So far so good 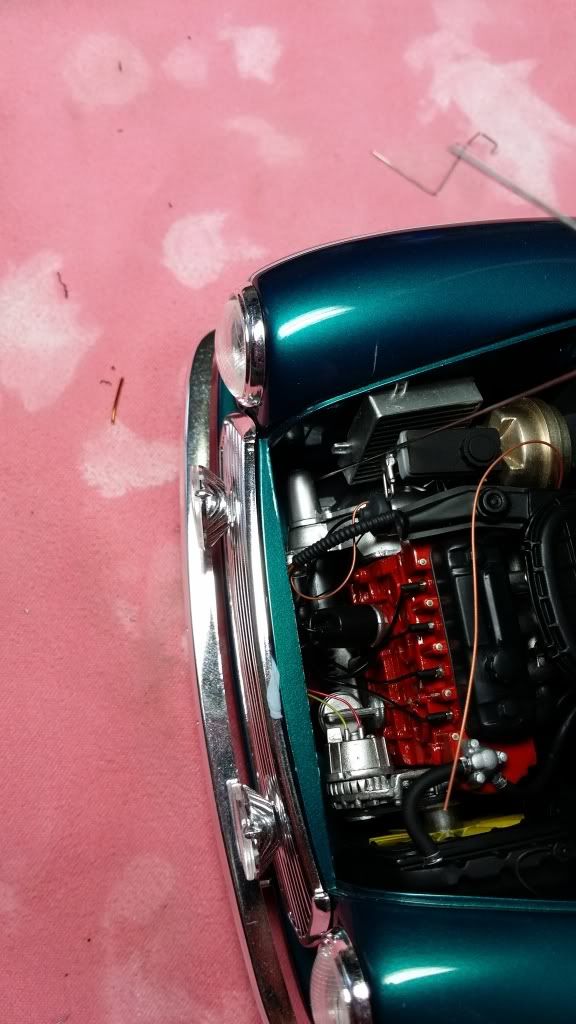 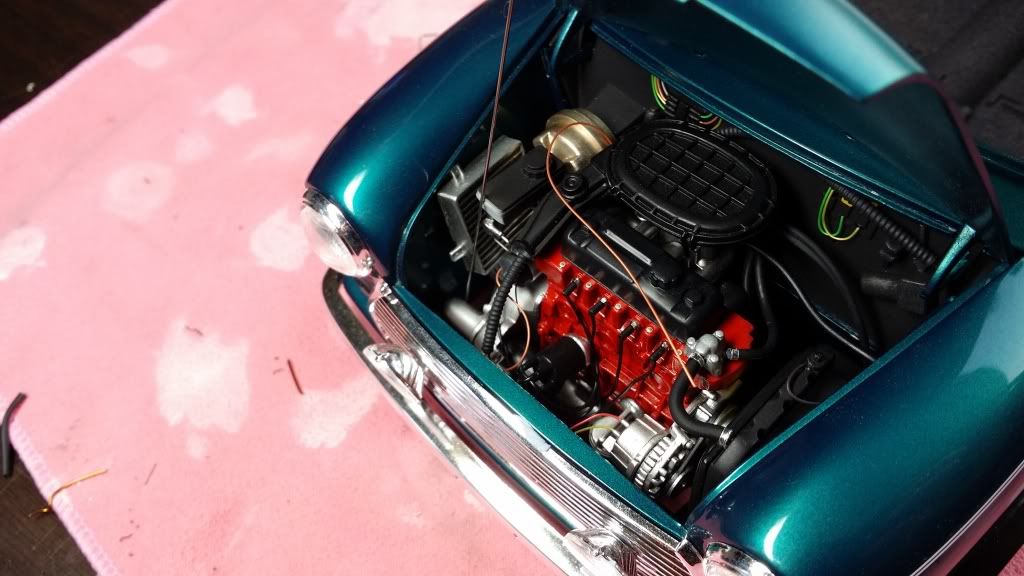 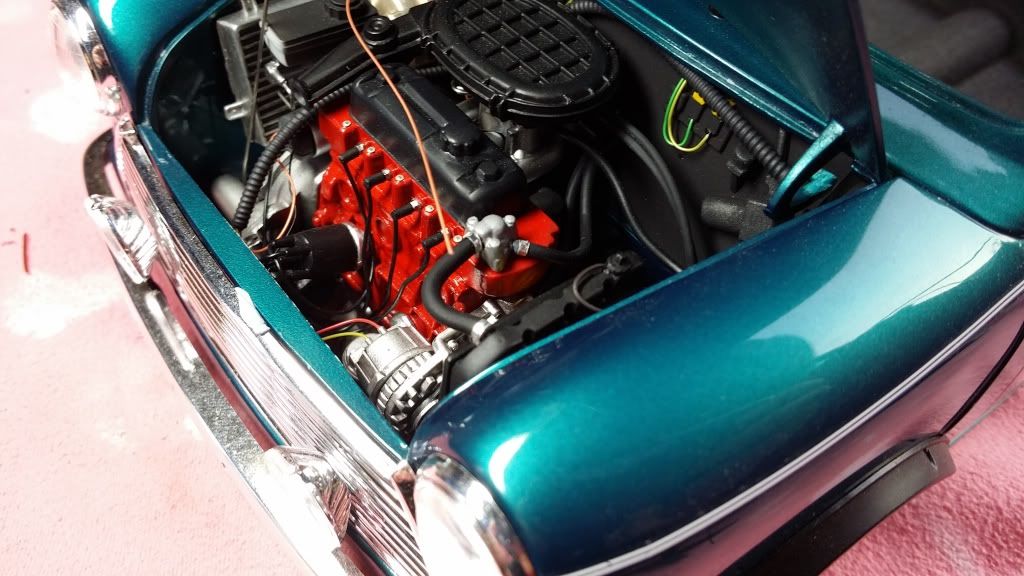 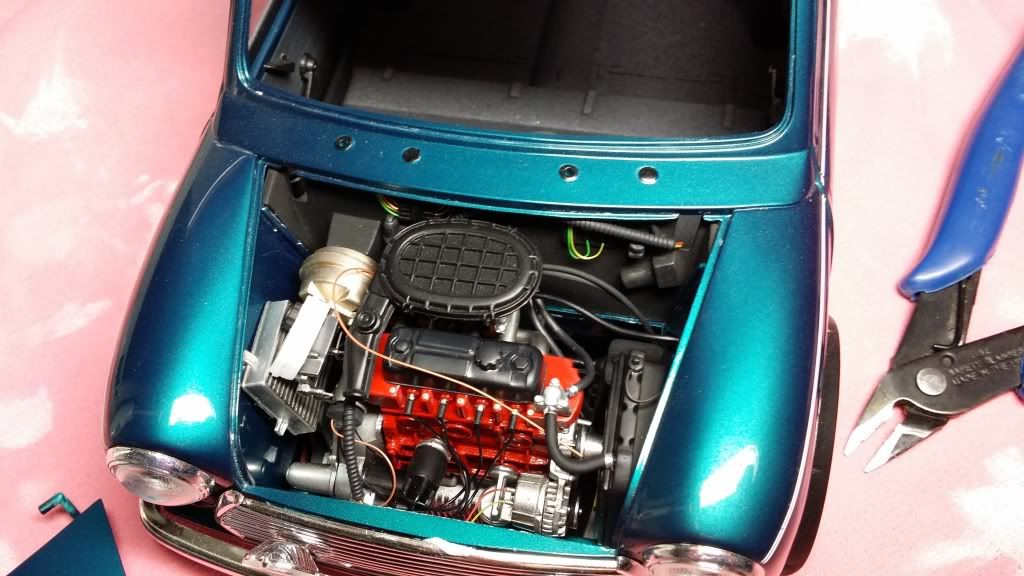 Cheers Emil
|
|
#22
06-15-2014, 06:59 PM
|
||||
|
||||
|
Re: 1/12 Rover Mini
Hello,
Another step forward in this project Engine is done, interior is done, wheels are on. The only major work left to to be done is the roof and clearcoating the hood + minor details like lights, bumpers, decals etc. and... I can't find the handbrake anywhere so I guess I will have to scratch build it :/  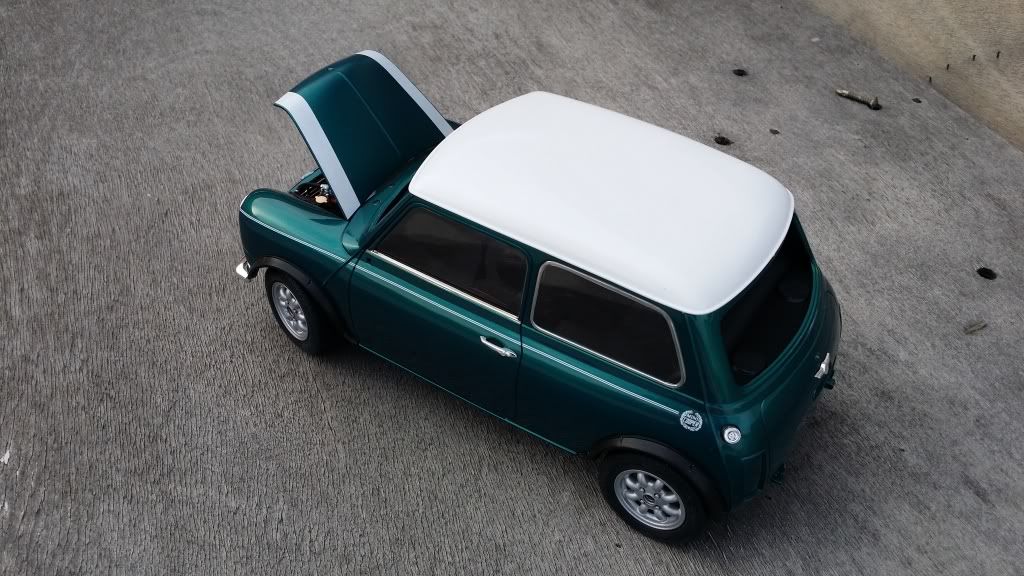 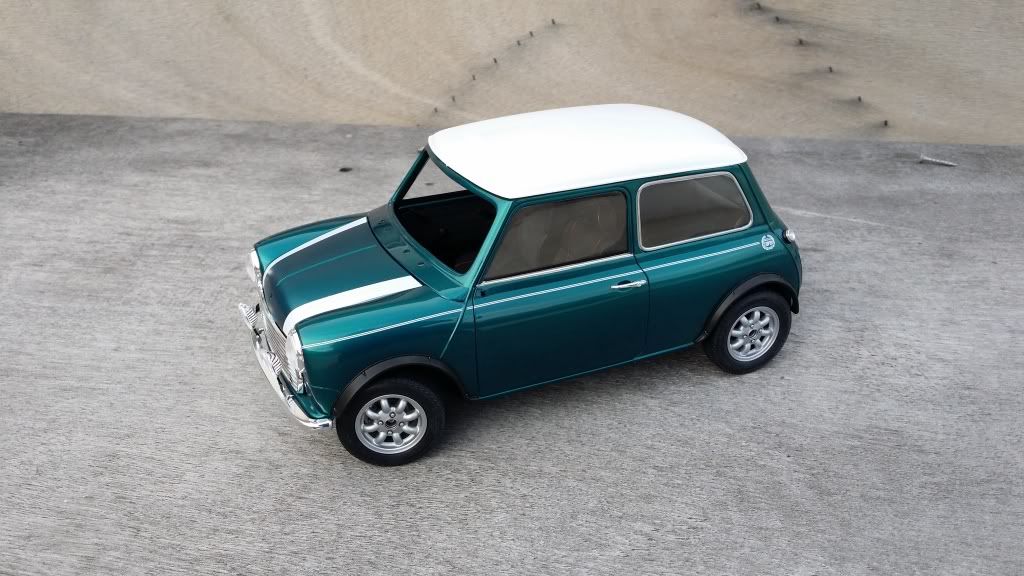 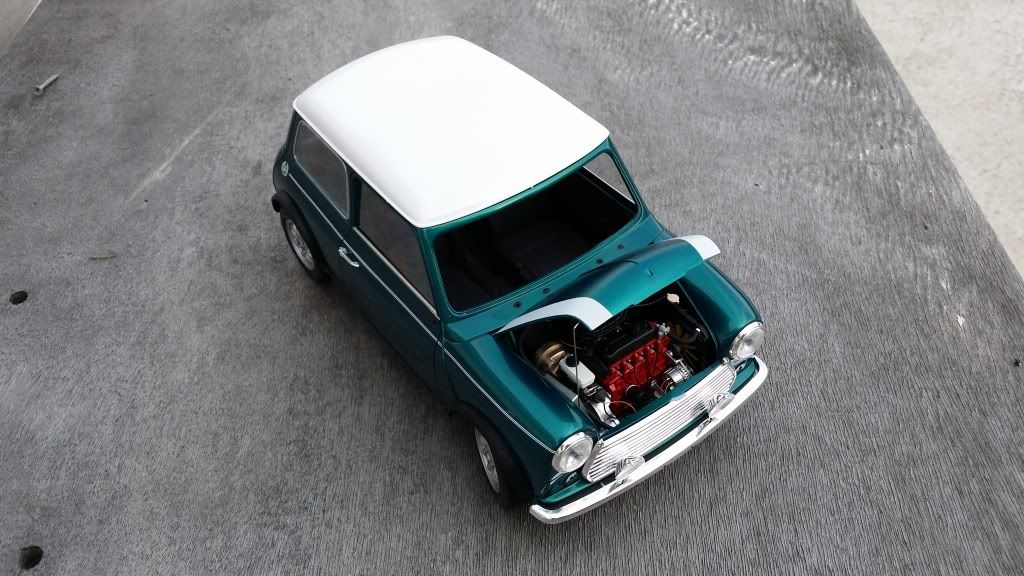 ATB Emil
|
|
#23
06-16-2014, 07:14 AM
|
||||
|
||||
|
Re: 1/12 Rover Mini
Wow, nicely done! Very clean and detailed.
|
|
#25
06-19-2014, 09:34 AM
|
||||
|
||||
|
Re: 1/12 Rover Mini
Thanks for your replies,
ianc, I removed paint from the piping in easily accessible places with a cotton bud soaked in thinner (pretty stressful procedure haha) and for the tighter spots, I used hobby knife. Atb Emil
|
|
#27
06-23-2014, 09:15 AM
|
||||
|
||||
|
Re: 1/12 Rover Mini
This is going to be the last update in this WIP
The Mini is pretty much done, -the rear fog light and some minor accessories. The Mini was fighting me till the very end though... As I mentioned a while ago, I had a mishap with bonnet stripes and when I tried to remove the decals... they pulled the paint So I tried again and they looked 10 times worse!!! 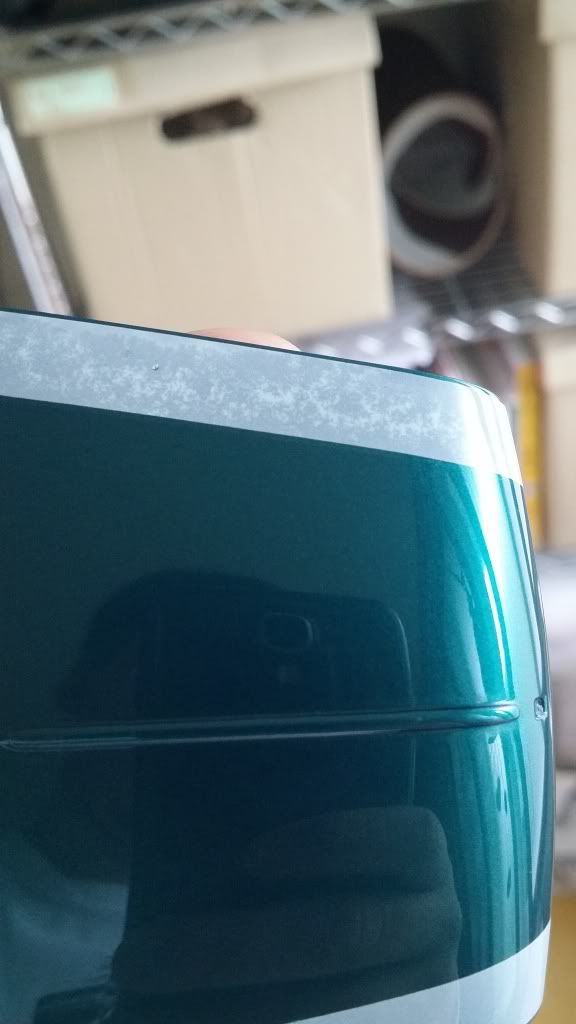 I didn't want to have to strip and paint the bonnet for the 3rd time so I clearcoated it, polished, then masked and painted the stripes. I have to say that I'm extremely happy with the result as it must be the best masking job I have done so far  Thanks everyone for your interest and encouragement during this wip and see you in the 'completed' section ATB Emil
|
|
|
POST REPLY TO THIS THREAD |
 |
|
|