|
|
| Search | Car Forums | Gallery | Articles | Helper | Air Dried Fresh Beef Dog Food | IgorSushko.com | Corporate |
|
|||||||
| WIP - Motorsports Post topics for any "Work In Process" motorsports vehicles in this sub-forum. |
 |
 Show Printable Version | Show Printable Version |  Subscribe to this Thread
|
|
|
Thread Tools |
|
#16
 08-14-2009, 04:45 PM
|
|||
|
|||
|
Re: 1957 Ferrari Testa Rossa
Quote:
http://www.supercars.net/Pics?viewPi...D=1&pID=865718 Quote:

|
|
#17
08-14-2009, 05:51 PM
|
|||
|
|||
|
Re: 1957 Ferrari Testa Rossa
Quote:
|
|
#18
08-19-2009, 01:46 AM
|
|||
|
|||
|
Re: 1957 Ferrari Testa Rossa
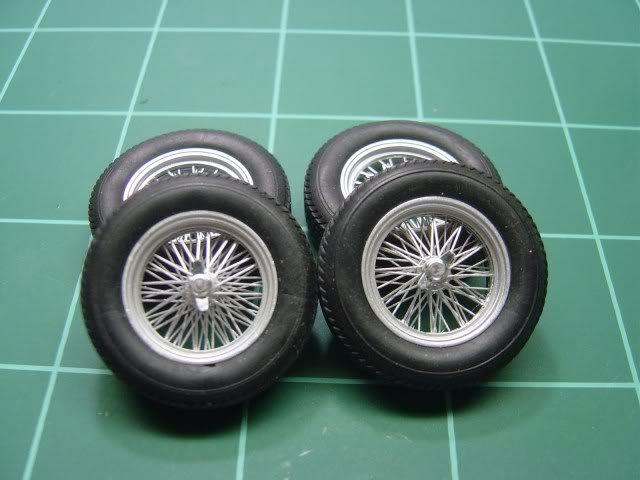
So I have made some progress since my last post. I've decided that I going to really push myself with this build and try thing I have wanted to but have been to scared in the past. What makes this build different? I think it is i have you guys to help me out when ever I get stuck. Well no back to the build. I decided to redo the wheels and paint them silver. This made a huge difference in the look. Thanks for pointing this out CrateCruncher.
 In this build I have decided to "open it up" so im opening the doors, trunk, and fuel cap. The sides had to be glued in before I could take the door out because i would then have two halves of a car and then have to make sure everything is straight. 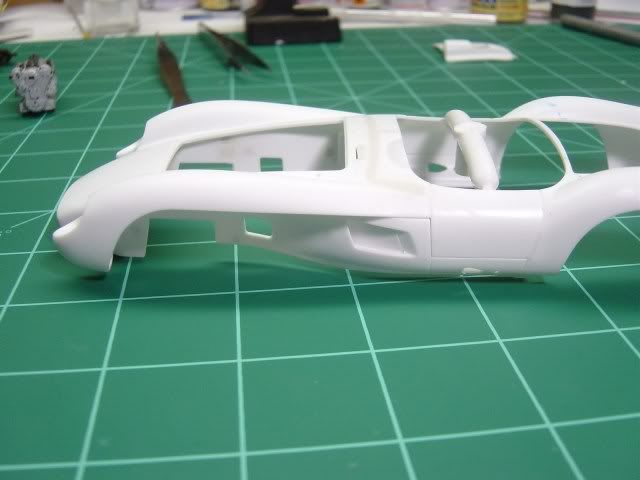 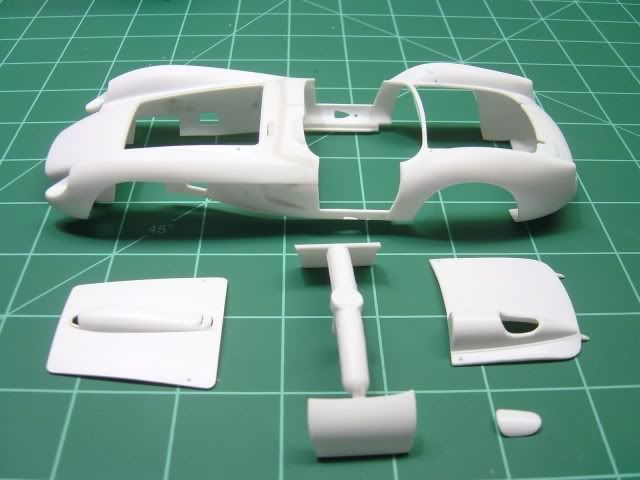 With opening up the trunk this also means I have to build a new gas tank, cut out the floor panel, and build up the frame to be correct. Here is the cut floor panel, I guess there is not turning back now 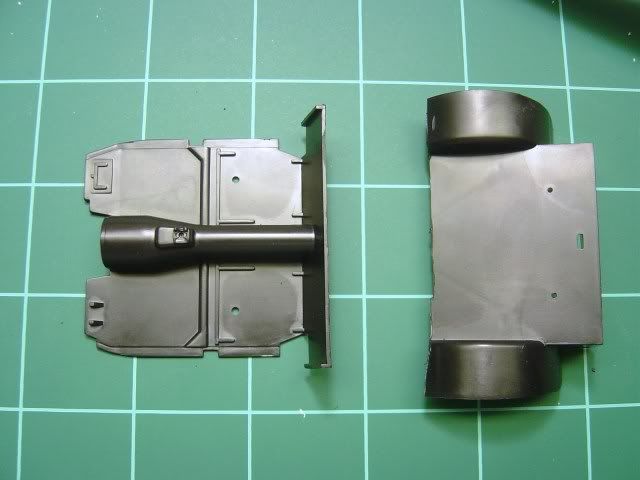 Starting to build the frame. Thankfully most of the frame is correct, just a few pieces need to be added 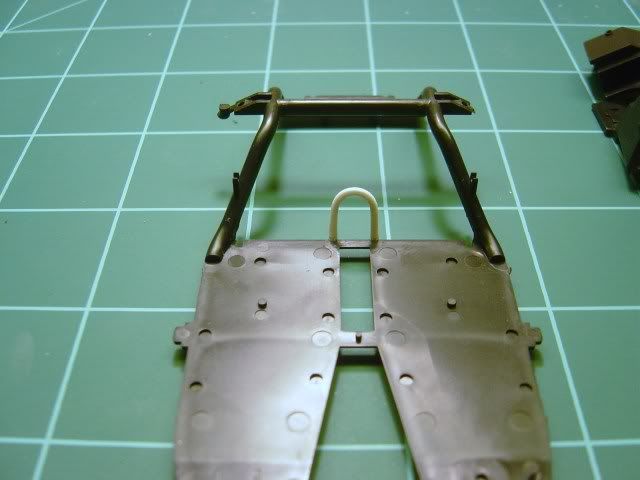 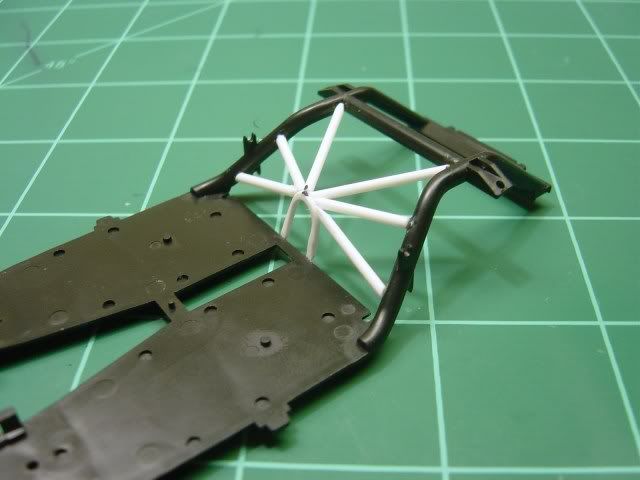 I started to stare at my reference guides again and found some body work that needed to be fixed. About 7 different louvers or holes over the body. The easiest to build was two air ducts under the doors. 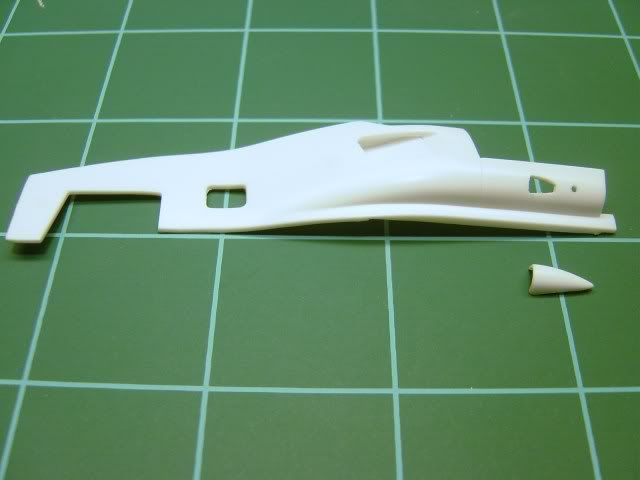 Second easiest was two holes to exhaust air out the back of the body 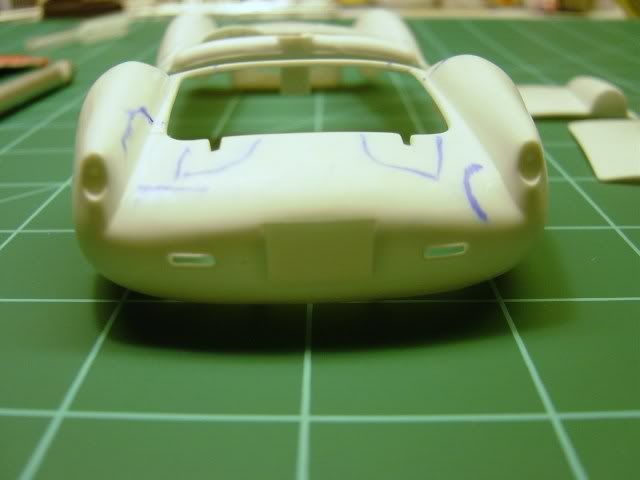 The hardest to do is three that are up on the hood and right in front of the drivers dash. 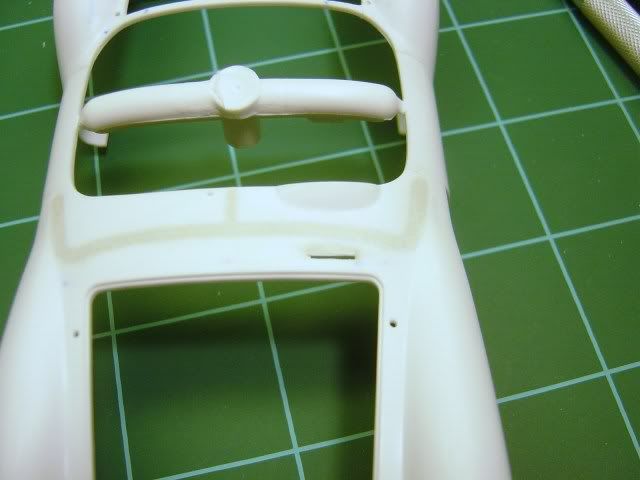 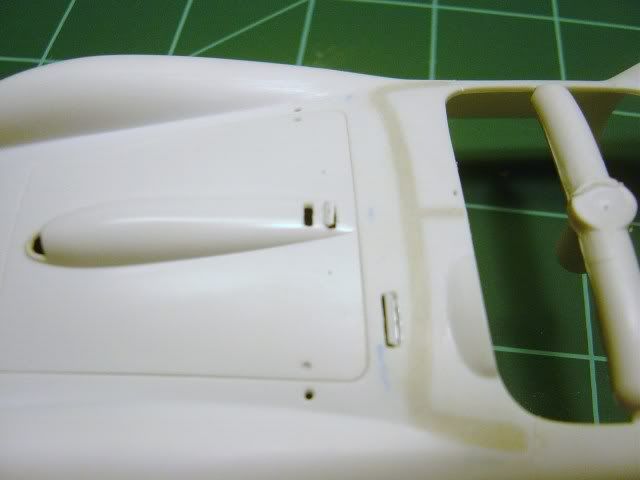 Thats all for now, Im going to start working on the hinges (a first for me) for the doors and the rear deck lid. I need to find a small spare wheel to fit in the trunk. This is going to be that hardest part to find because its a odd size, the normal tire doesn't fit well inside  . Once I find that spare I need, I can continue building the frame and start on the gas tank (scratch building, again a first). The suspension will be started soon with a spring rebuild (which once again be a first for me). . Once I find that spare I need, I can continue building the frame and start on the gas tank (scratch building, again a first). The suspension will be started soon with a spring rebuild (which once again be a first for me).Please all comment welcome, good or bad.
|
|
#19
08-20-2009, 08:48 AM
|
||||
|
||||
|
Re: 1957 Ferrari Testa Rossa
Wow! Very nice Steve. If your tank compartment is like my TR, you may be able to get by with just a tire for the spare. When in place the only part of mine showing is some tread and sidewall.
How did you paint your wheels. Any problem with adhesion to the metal?
|
|
#20
08-20-2009, 10:22 AM
|
|||
|
|||
|
Re: 1957 Ferrari Testa Rossa
Looks very good Steve! But I look at the reference pics I should say that the tubing is a bit to thick. This can cause to little space for the gas tank which is placed on top of the tubing.
|
|
#21
08-20-2009, 11:58 AM
|
|||
|
|||
|
Re: 1957 Ferrari Testa Rossa
Hmmmmmm. Let me guess... You're building it as Chassis no. 0714 TR a.k.a. The Black Hibiscus
|
|
#22
08-24-2009, 03:30 AM
|
|||
|
|||
|
Re: 1957 Ferrari Testa Rossa
Quote:
Quote:
.Quote:
Well now on to what I have been up to. I decided that I need to practice my airbrush and polishing techniques. So I grabbed my mouse (my computer mouse  ) So I made myself my own Mousa Rossa ) So I made myself my own Mousa Rossa   . And yes I am currently using it. . And yes I am currently using it.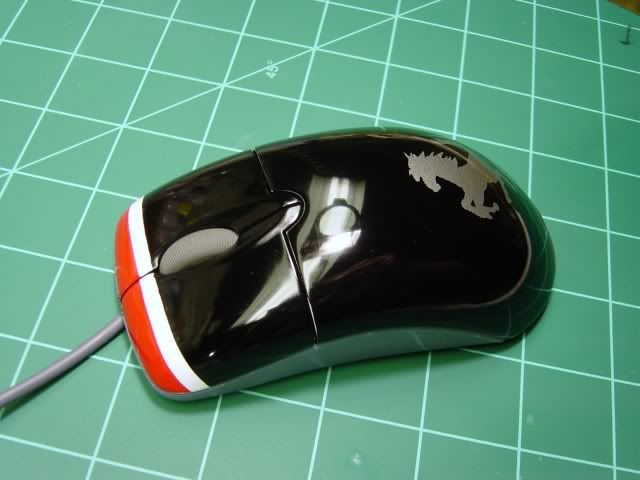 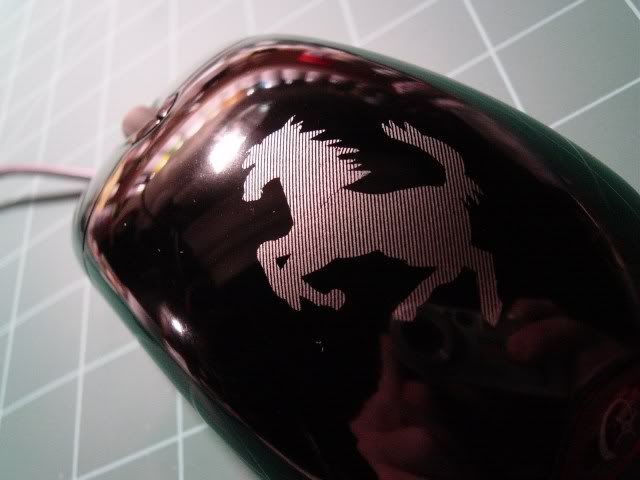 And now on to the build. First off I decided to rebuild the spring to make them look a little better. I found a picture of the under carriage, and it shows only springs. No shocks....I was shocked (Im sorry I could not resist). So this made it a little harder to build now that it had to be free standing with nothing in the middle to make them straight. 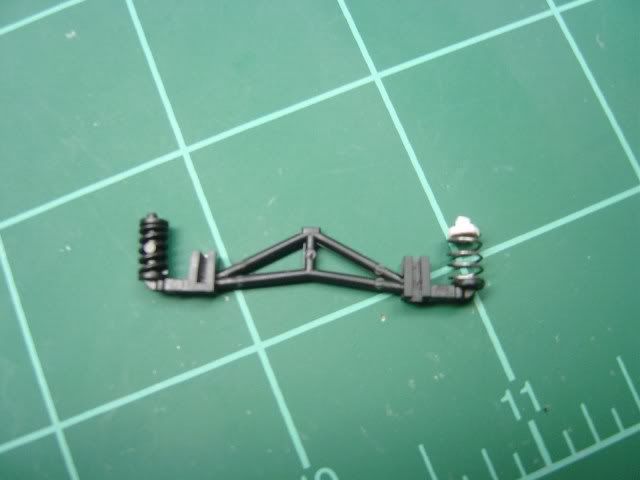 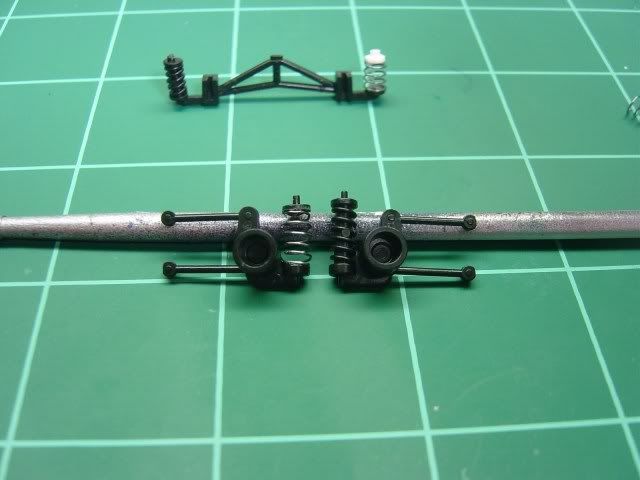 With the springs out of the way I was able to start scratch building the tank. Im not really sure why I decided to build the tank the way I did but it wasnt to bad. I was able to use thin styrene and wrap the outside piece all the way around to forum one smooth piece. I first cut out the sides of the tank and the middle of the tank that would wrap all the way around. Making many different sizes and shapes see which ones I wanted to use. 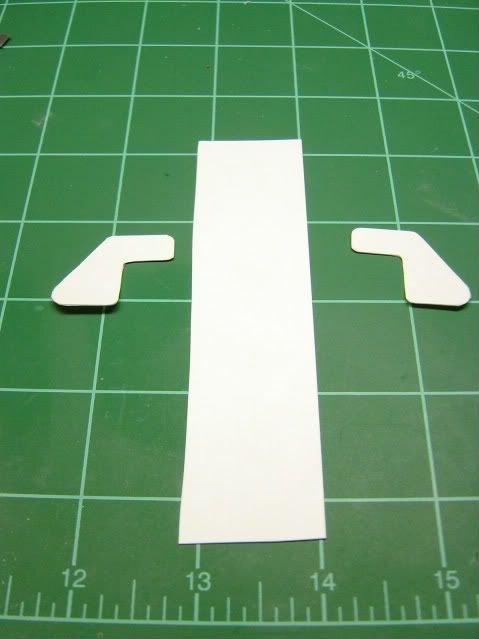 I then used Tenax to weld the tank sides and outside together. 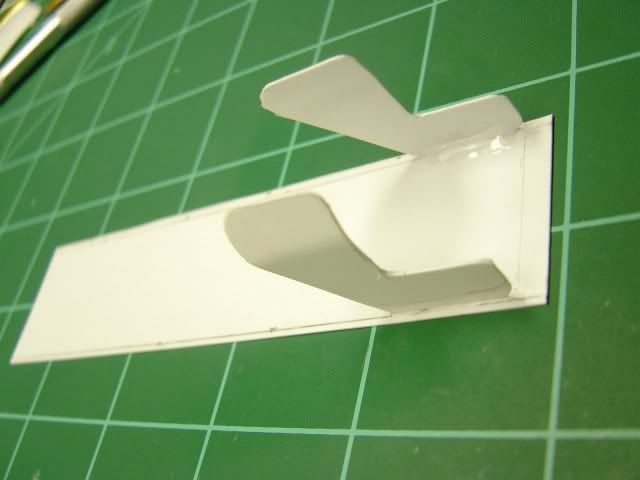 I put some pieces of styrene rod in the middle to stiffen up the side to i could put pressure on it with out worrying. 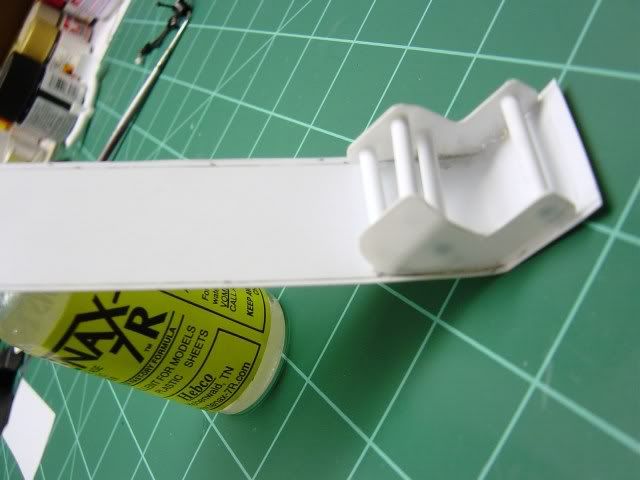 And the finished tank. I was able to trim the plastic to leave a small lip around the entire tank to simulate the real tank. 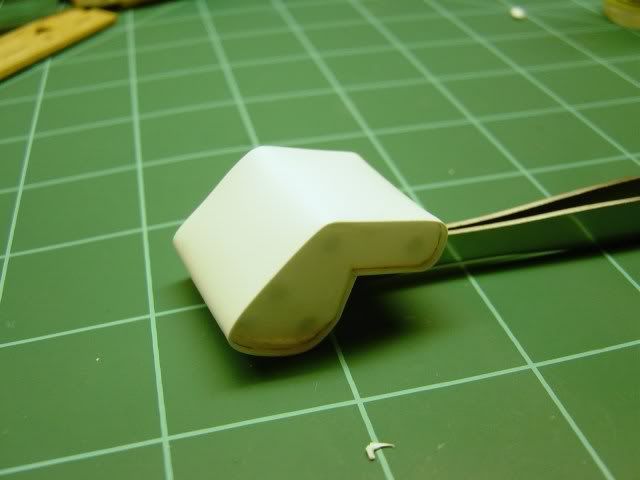 I will end up putting rivets, the tie down straps, gas cap, and fuel lines on at a later time. While I was waiting for the tenax to harden up i decided to read the label...Just read it. 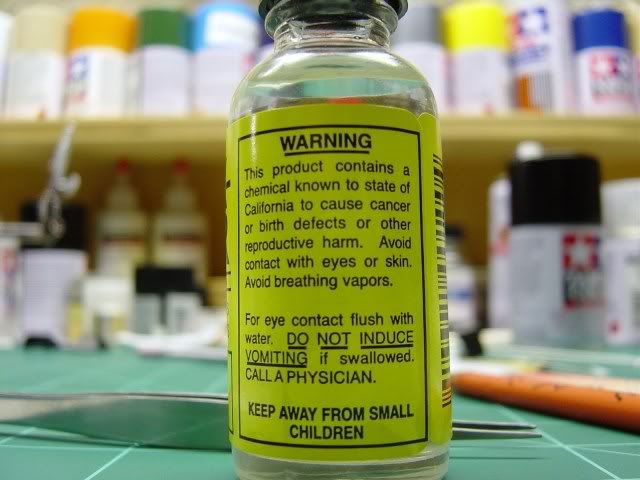   Teaches me to read labels. If anyone is still want to sue this stuff you might want to pick up as much as you can because the company that makes it just went out of business (there goes micro brushes also) Teaches me to read labels. If anyone is still want to sue this stuff you might want to pick up as much as you can because the company that makes it just went out of business (there goes micro brushes also)The final thing I needed to do was making the brass doors and gas filler door on the trunk. 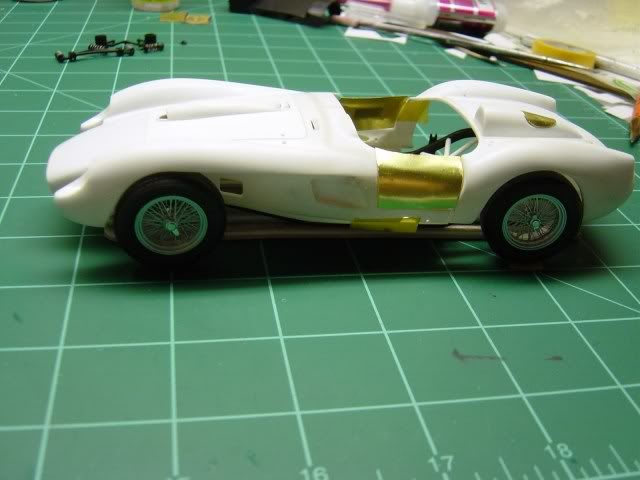 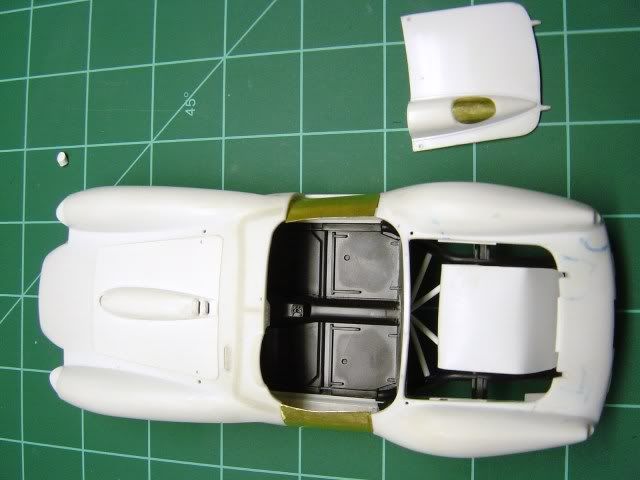 Next I will get the hings done so I can start painting the body and finish the suspension to make it look like im getting some where. Thanks for watching, and once again all comments are welcome (hopefully constructive comments)
|
|
#23
08-24-2009, 04:28 AM
|
|||
|
|||
|
Re: 1957 Ferrari Testa Rossa
Hi Steve,
Great progress..everything looks very good! Quote:
 Maybe the angle distorts the image. I will give them the same size as the arch. Maybe the angle distorts the image. I will give them the same size as the arch. Ton
|
|
#24
08-24-2009, 07:27 AM
|
||||
|
||||
|
Re: 1957 Ferrari Testa Rossa
Great effort you put into this build. If the TR looks like your mouse it will be stunning.
Nice WIP-thread. Very entertaining and informative. Thanks. Robert
__________________
Recently finished Projects:
Porsche 911 Carrera RS 3.0 Current Projects: Ferrari 250 GTO LM 1962 (chassis #3387)  
|
|
#25
08-24-2009, 02:12 PM
|
||||
|
||||
|
Re: 1957 Ferrari Testa Rossa
Nice progress Grayfox. If this is a race I think your in the lead position now (and had time to test your colors on your mouse!). We need to poke Ton for an update on his beast.
Regarding that Tenax label: It only affects the Californians, everyone else is immune.
|
|
#26
08-24-2009, 05:24 PM
|
|||
|
|||
|
Re: 1957 Ferrari Testa Rossa
Quote:
 I didn´t do nothing for a couple of days now. And I am stuck on a rather vital part of my rebuild: the "hump" on the trunk. When I make a paper mould of the hump and cut it in two and put it back it does not fit anymore Someone is making a 3D drawing now for me which you can convert to a flat mould which can be used to cut out a piece of brass/copper. I also ordered some goldsmith tools to manipulate the metal. If I am not able to do the hump in good quality I will stop the rebuild and finish it OOB. So have some patience with me  Ton
|
|
#27
08-24-2009, 09:45 PM
|
|||
|
|||
|
Re: 1957 Ferrari Testa Rossa
The Black Hibiscus lives !
|
|
#29
09-01-2009, 03:09 PM
|
|||
|
|||
|
Re: 1957 Ferrari Testa Rossa
Steve,
Just so you know, I think you're doing a great job on this one. BTW, the pictures of the body on the frame show the additional frame members you installed in their proper profile, and I think they look like you got them right. Now get back to the bench and send us another update. Jeff
|
|
#30
09-02-2009, 08:31 PM
|
|||
|
|||
|
Re: 1957 Ferrari Testa Rossa
|
|
|
POST REPLY TO THIS THREAD |
 |
|
|


