|
|
| Search | Car Forums | Gallery | Articles | Helper | Air Dried Fresh Beef Dog Food | IgorSushko.com | Corporate |
|
|||||||
| WIP - Motorbikes Post topics for any "Works In Progress" motobikes projects in this sub-forum. |
 |
 Show Printable Version | Show Printable Version |  Subscribe to this Thread
|
|
|
Thread Tools |
|
#1
 07-31-2005, 01:03 PM
|
||||
|
||||
|
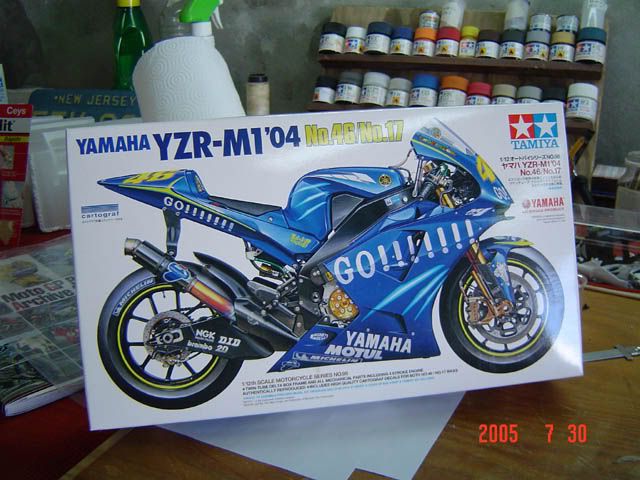
In progress: Detailed 2004 Yamaha YZR-M1
Last summer I built a Tamiya 1:12 bike and I loved it..and since then I've been buying several others, including the recent 2004 Team Gauloises M1. I really liked the livery and beeing aware of Tamiya's bike's quality and detail level, I didn't hesitate
  No it's time to build it. I will try to detail it as far as my capabilities go. First step was to glue the 2 halves of the gas tank and form the inside shape with epoxy putty. It's still a little rough, but it's coming along 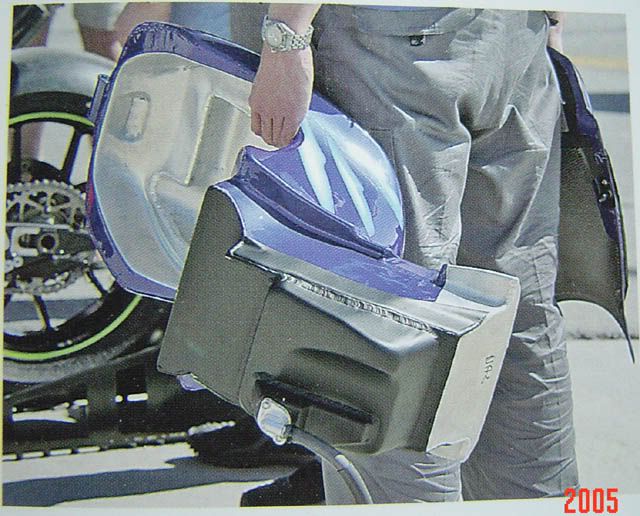 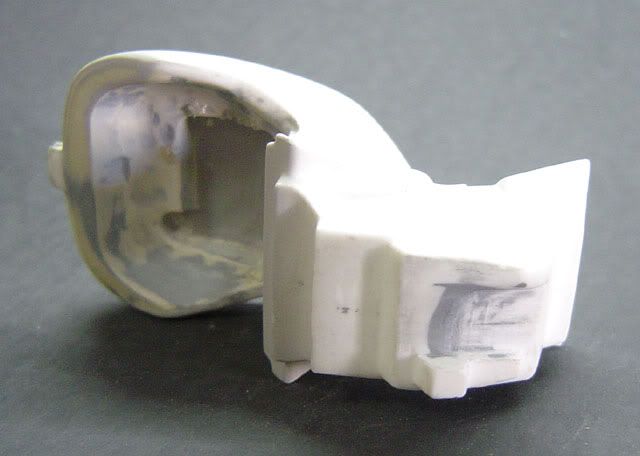 The oil level "check points" were molded only to the engine block. The carter also has 1, so I drilled holes in the respective place to later detail them with homemade PE insides and acetate "glasses". 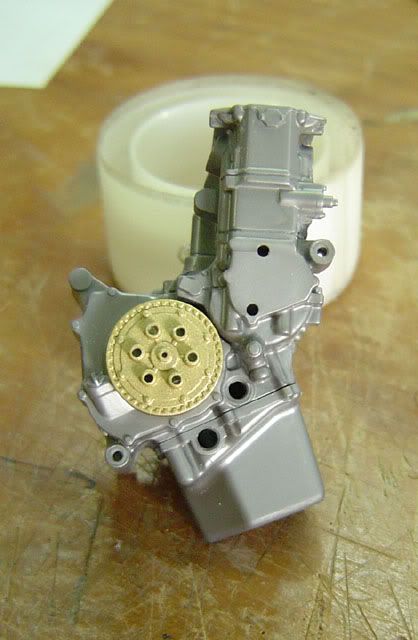 As you can see from this picture, the cluch cover is ventilated: 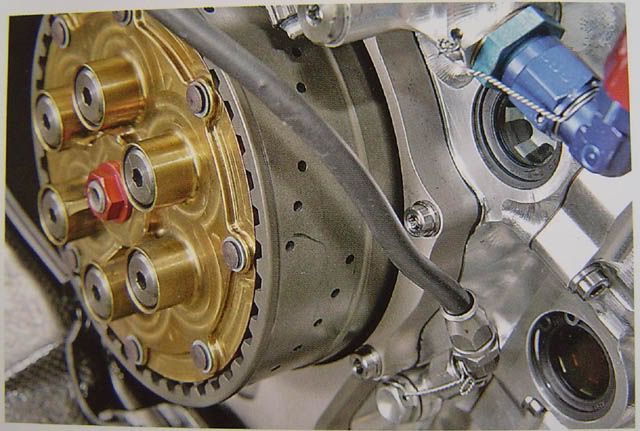 I made a pattern on masking tape and drilled them with a 0.3mm diameter drill bit. The picture is a little blurry.. 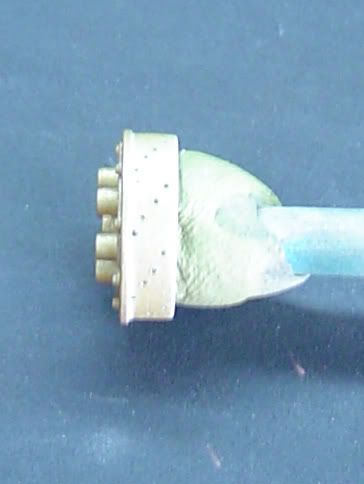 I'm building the late season version, so I made the modifications to the cowlings and oil carter: 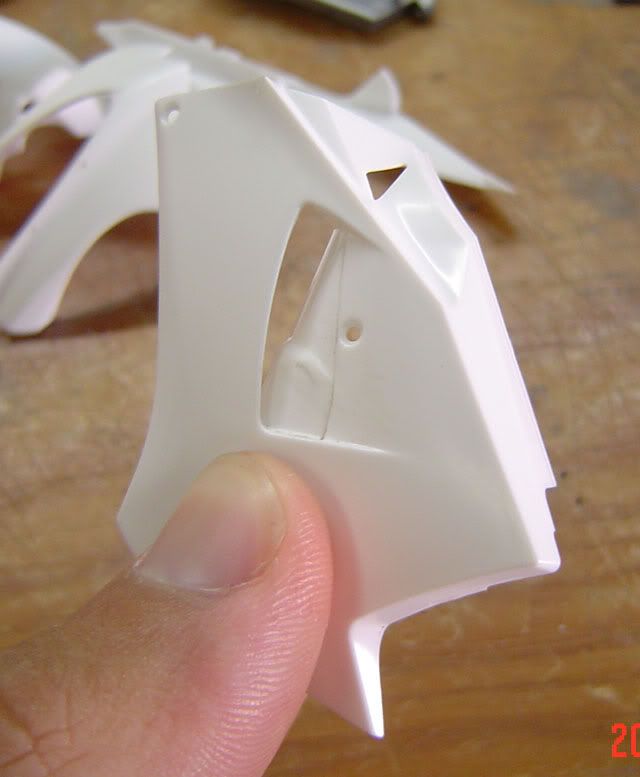 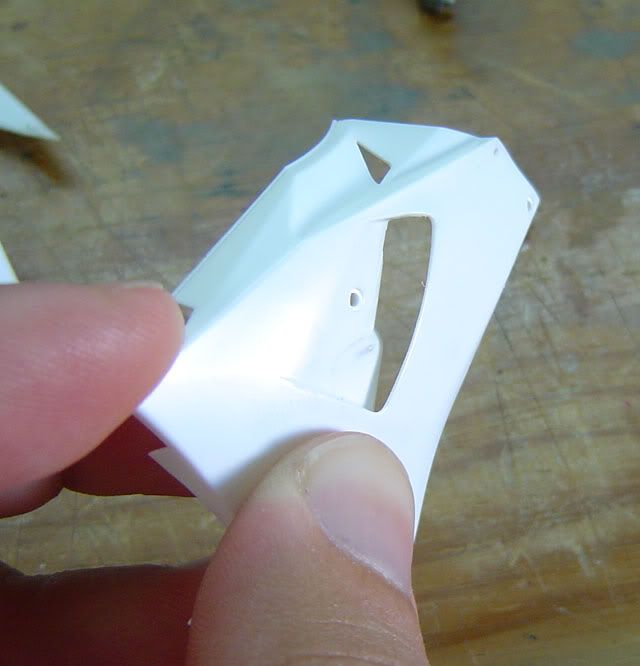 There is also the piece that holds together the frame and the steering box, wich was molded at the same level as the sides of the frame. I can't explain exactly what it is and I didn't take any pictures before I cut it to pieces . I cut them off and replaced them with thinner styrene sheet at the correct level, as per the reference picture: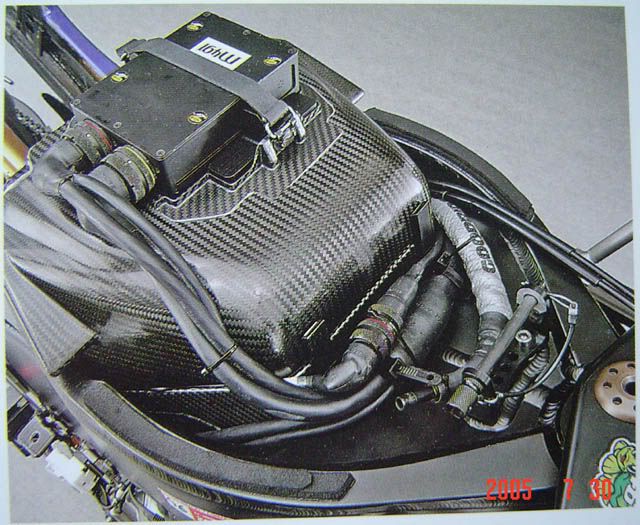 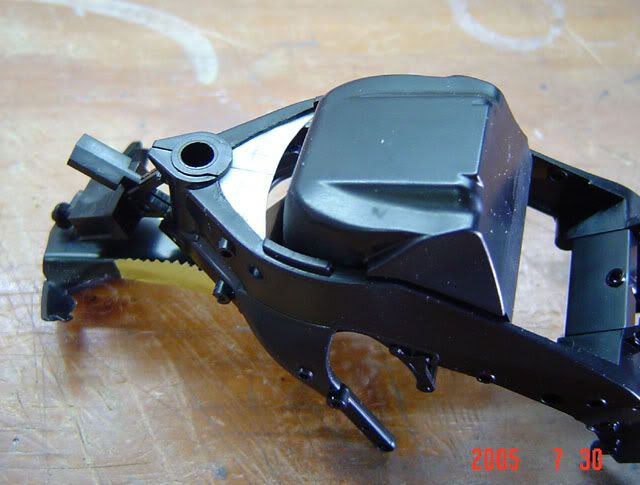 I'll be using Lion Roar PE set, but I'm still waiting for it to arrive. Thanks for looking.
__________________
Pedro Click the picture to check my progress thread: 

|
|
#2
07-31-2005, 03:06 PM
|
||||
|
||||
|
Re: In progress: Detailed 2004 Yamaha YZR-M1
Should be a good build. Must admit I fancy buildiung this one myself to go with the Rossi RCV I have... can I ask where you found the reference photographs?
__________________
My current work-  
|
|
#3
07-31-2005, 03:19 PM
|
||||
|
||||
|
Re: In progress: Detailed 2004 Yamaha YZR-M1
The photos are from the book:MotoGP Racers Archives 2004 that you can find on HLJ or HobbySearch.
I don't have a scanner, so I just borrowed a digital camera to take these pictures Edit: Apparently, HLJ is out of stock..  1999.co.jp here Thanks for looking, Pedro.
__________________
Pedro Click the picture to check my progress thread:
|
|
#5
07-31-2005, 05:07 PM
|
||||
|
||||
|
Re: In progress: Detailed 2004 Yamaha YZR-M1
Great stuff, I'll be watching all these bike builds closely.
|
|
#6
07-31-2005, 06:01 PM
|
||||
|
||||
|
Re: In progress: Detailed 2004 Yamaha YZR-M1
impressive start!
 look forward to learning a lot on this thread
__________________
Guideline for happy modeling: Practice on scrap. Always try something new. Less is more. "I have a plan so cunning, you could put a tail on it and call it a weasel" - Edmund Blackadder
|
|
#7
07-31-2005, 07:32 PM
|
||||
|
||||
|
Re: Re: In progress: Detailed 2004 Yamaha YZR-M1
Awesome, Funny thing is that this morning i was actually watching a rerun i believe of motogp and Rossi won the German grand prix. I dont know much but his bike looks a bit like the one your building, might be the same but i don't pay much attention to them since i don't follow motogp too well.
Looking forward to seeing more Pedro Cheers,
|
|
#8
08-01-2005, 12:43 PM
|
||||
|
||||
|
Hi,
these are very interesting details, keep up the great work
__________________
Micha       
|
|
#9
08-02-2005, 10:39 PM
|
||||
|
||||
|
Re: In progress: Detailed 2004 Yamaha YZR-M1
Outstanding work and attention to detail. Look forward to seeing alot more on your build.
Dave
|
|
#10
08-03-2005, 02:46 AM
|
||||
|
||||
|
Re: Re: In progress: Detailed 2004 Yamaha YZR-M1
Friend petter......it continues that fabulous work!!

__________________
Finished works: Peugeot 205, Lancia Stratos special version, Mercedes 450 SLC version_Rally, Peugeot 405 Paris Dakar Works in progress:Subaru 2005 Wrc Futures progresses:Porsche 935 Martini 1/12 
|
|
#11
08-06-2005, 08:41 AM
|
||||
|
||||
|
This is going pretty slow because it's been a very hot Summer with temperatures reaching 104 ºF (40 ºC)..It's been very tough on the forests too, everything is burning..
The swingarm was filled with epoxy filler and the stand supports were replaced with PE ones from LionRoar's set (wich is brilliant, I might add) If you look closely, you can see that I also closed the shock absorver "hole" with styrene sheet. It now has a much cleaner and real look to it 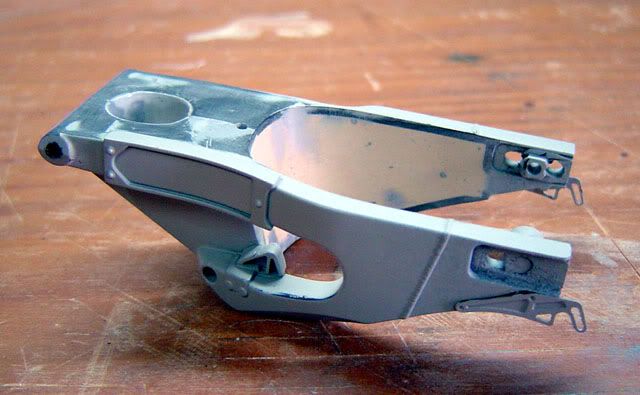 The frame received the same treatment. You can also notice the bracket for the fuel tank. It's just a test part made out of 0.2mm brass sheet to check the correct dimensions. 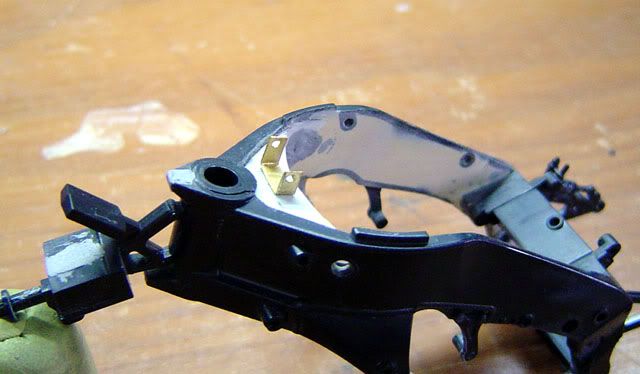 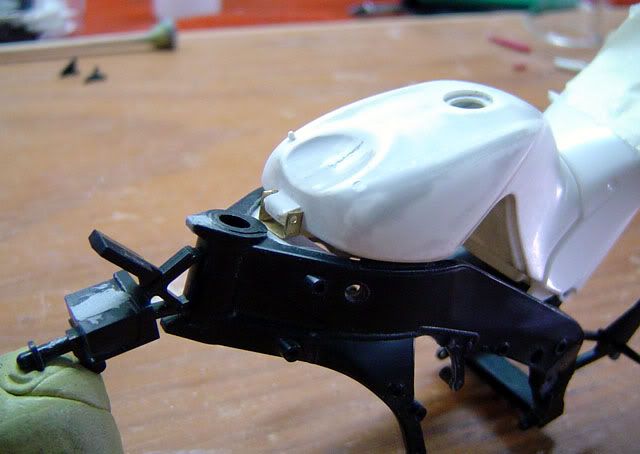 That's it for now. Thanks for looking. Cheers.
__________________
Pedro Click the picture to check my progress thread:
|
|
#12
08-06-2005, 09:01 AM
|
||||
|
||||
|
Re: In progress: Detailed 2004 Yamaha YZR-M1
coming along really well.
Great detailing!
__________________
Guideline for happy modeling: Practice on scrap. Always try something new. Less is more. "I have a plan so cunning, you could put a tail on it and call it a weasel" - Edmund Blackadder
|
|
#13
08-07-2005, 11:57 AM
|
|||
|
|||
|
Re: In progress: Detailed 2004 Yamaha YZR-M1
Thumbs up Petter!! Looking REALLY good, with great eye for the details. How did you create the rounded inner shape of the swing arm? Did you just fill it and then sand it down or did you use some other tool? It looks perfect.
Best regards /Joel
__________________
Visit my FB page www.facebook.com/one12th
|
|
#14
08-07-2005, 01:07 PM
|
||||
|
||||
|
Re: In progress: Detailed 2004 Yamaha YZR-M1
Thanks, Joel.
I used a very special tool indeed...my fingers and sandpaper! Seriously, though..No, no tricks. Just filled it with epoxy putty and sanded back. The small blemishes and little air pockets were filled with Tamiya basic putty thinned with Revell Contacta glue. It works kinda like a really thick primer. Thank you for looking! Cheers.
__________________
Pedro Click the picture to check my progress thread:
|
|
#15
08-09-2005, 04:16 AM
|
||||
|
||||
|
Re: In progress: Detailed 2004 Yamaha YZR-M1
Great job Petter! Some realy nice details.
|
|
|
POST REPLY TO THIS THREAD |
 |
|
|