|
|
| Search | Car Forums | Gallery | Articles | Helper | Air Dried Fresh Beef Dog Food | IgorSushko.com | Corporate |
|
|||||||
| WIP - Motorsports Post topics for any "Work In Process" motorsports vehicles in this sub-forum. |
 |
 Show Printable Version | Show Printable Version |  Subscribe to this Thread
|
|
|
Thread Tools |
|
#1
 07-14-2011, 03:08 PM
|
||||
|
||||
|
Lamborghini murcielago r-gt 2004
With the Ferrari F430 GT done, I have decided to keep in the GT category and build the Lamborghini Murcielago R-GT of the 2004 FIA GT Championship.
 I´ll use the Fujimi kit and the Scale Production transkit: 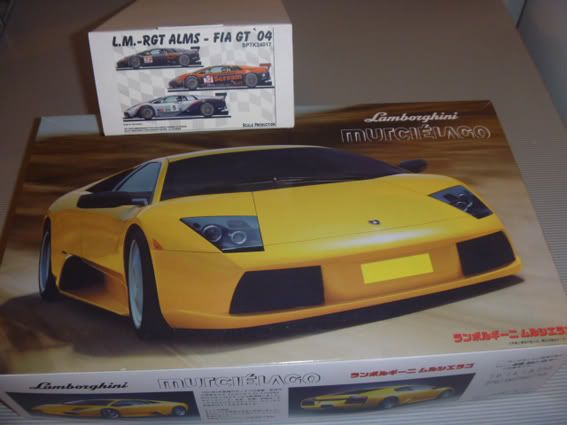 The Scale Production transkit is absolutely gorgeous (it´s a shame it is out of production) and it includes everything you need to convert the street Murcielago to the R-GT car. It even includes 3 paint scheme options: - #29 Reiter Engineering test car sponsored by SCREAM - #24 or #26 Orange/Black paint scheme, sponsored by SCREAM - #5 or #6 Silver/Black Krohn-Barbour car 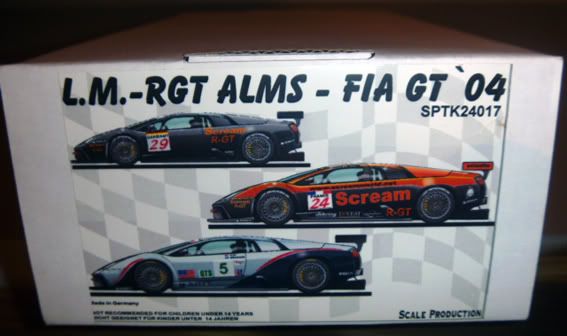 At first, I tought about doing the carbon fiber #29 test car, but I prefer to leave that scheme for the Porsche 911 GT1, so I will build the #24 orange/black SCREAM car: 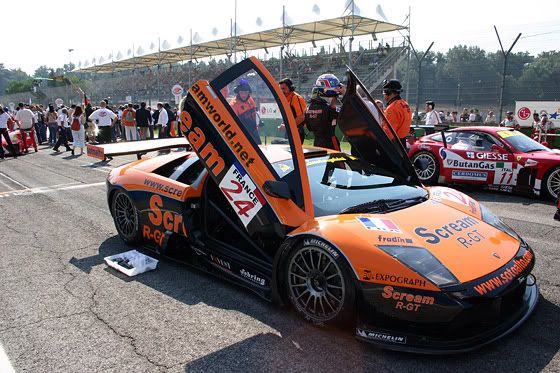 This car was prepared by the Driot-Arnoux Motorsport team (DAMS) to be driven by Andrea Piccini and Jean-Denis Delétraz in the final rounds of the 2004 FIA GT Championship. The first race of the car was in Imola. For the model, I will also use fiber carbon decals and ZERO paints. I hope you like the project!! In a few days I will post the first part of the building process. 
|
|
#2
07-14-2011, 03:23 PM
|
|||
|
|||
|
Re: Lamborghini murcielago r-gt 2004
Love it!! Can't wait to see this one come together
|
|
#3
07-14-2011, 06:04 PM
|
|||
|
|||
|
Re: Lamborghini murcielago r-gt 2004
Can you say amazing !!! Cant Wait !!
|
|
#4
07-16-2011, 02:02 AM
|
||||
|
||||
|
Re: Lamborghini murcielago r-gt 2004
count me in! front row center and waiting patiently
__________________
   
|
|
#5
07-17-2011, 11:38 AM
|
|||
|
|||
|
Re: Lamborghini murcielago r-gt 2004
Very nice transkit, scale production worked very well for create it.
I will follow you very closely because this kit is my next aim !!! By the way...where did you buy it ? Andrea Steven
|
|
#7
07-19-2011, 04:21 PM
|
||||
|
||||
|
Re: Lamborghini murcielago r-gt 2004
Thanks for your interest!
Quote:
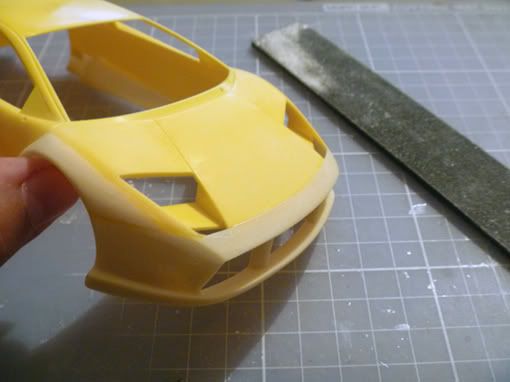
Thanks to a couple days off work, I did some work on the body. To convert the street Murcielago in the racing version, you need to add the front bumper, gas intake, front wheel arches and lateral panels of the Scale Production transkit to the Fujimi body. In the body, you only need to cut off the wheel arches in front of the doors:  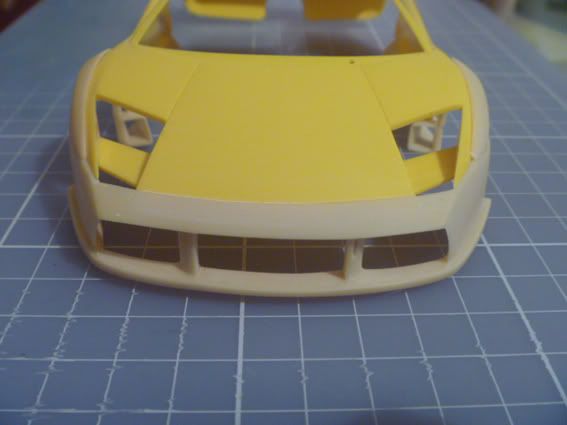 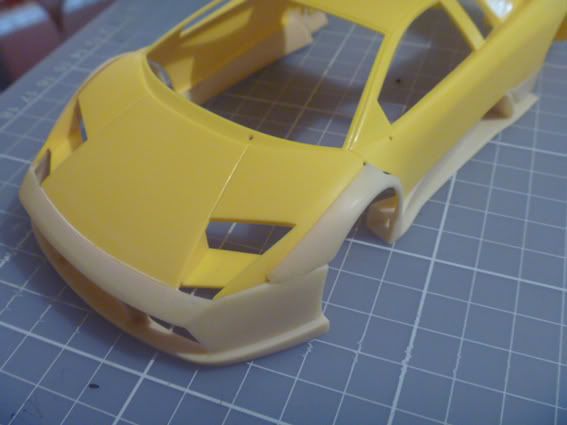 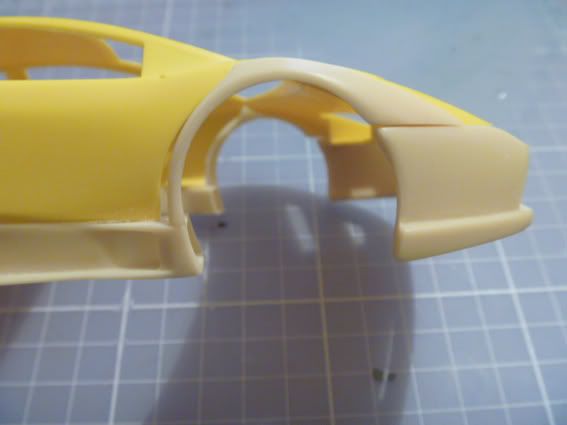 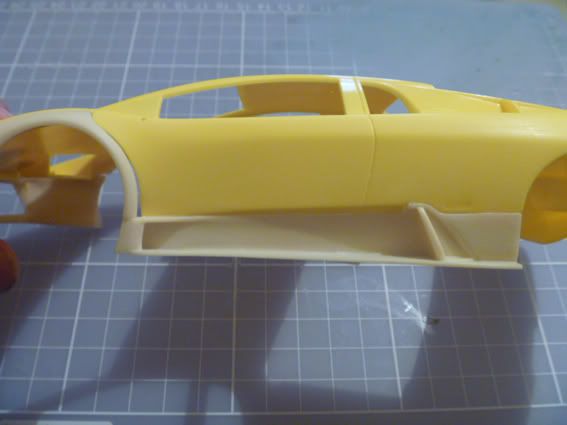 You also need to make holes for the side mirrors and antenna, and cut guides for the rear wing supports. At this time, I also filled the license plate holes. In the photo of the rear of the body, you can see the molded fans, but they will be covered with radiators: 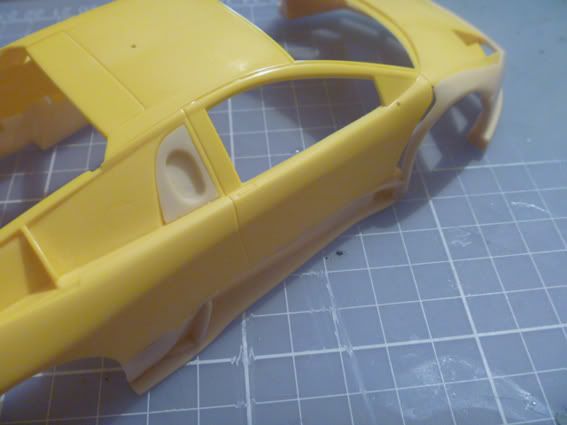 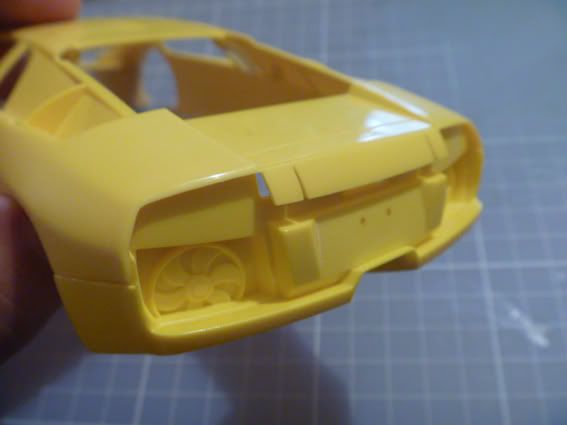 To glue the resin pieces in the body, I used Tamiya´s epoxy cement, but it takes too long to dry and the dried cement is not 100% rigid, so I´ll use another brand in the future. The Tamiya product that I REALLY recommend is Tamiya´s light curing Putty. This stuff is just wonderful. It dries in 1 minute with sun light and 2 minutes in fluorescent light: 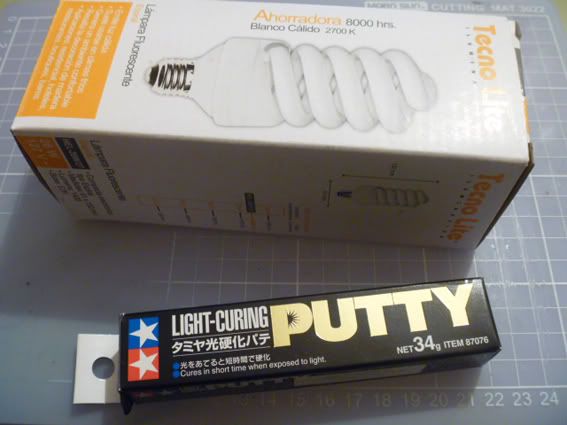 This Putty is just excellent. In this photo I show you the application in a plastic spoon handle: 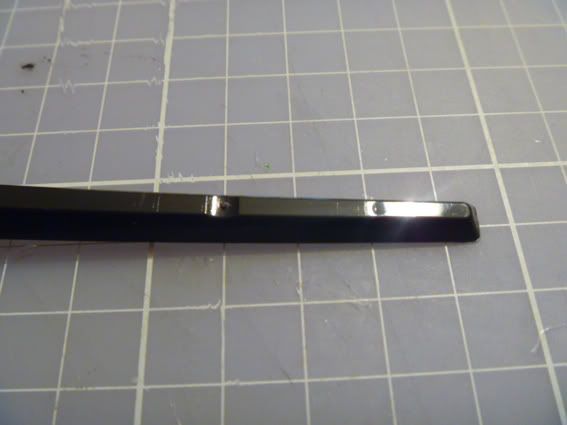 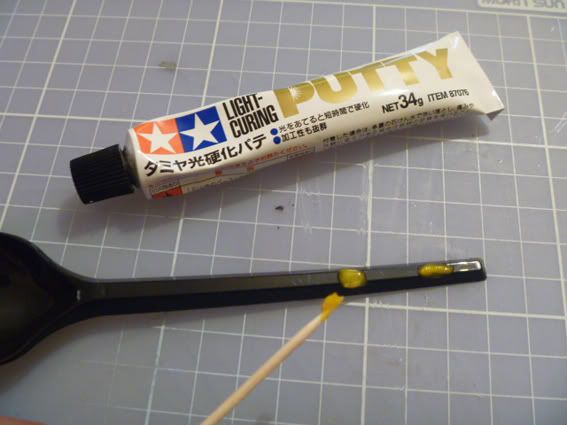 Just after applying the putty, put the piece under a fluorescent light bulb: 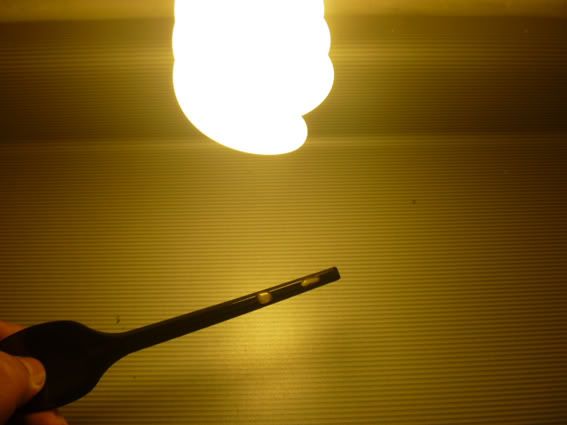 And, just like Tamiya says, the putty is fully cured in less than 2 minutes! It has a greasy residue, but it can be wiped off with laquer thinner: 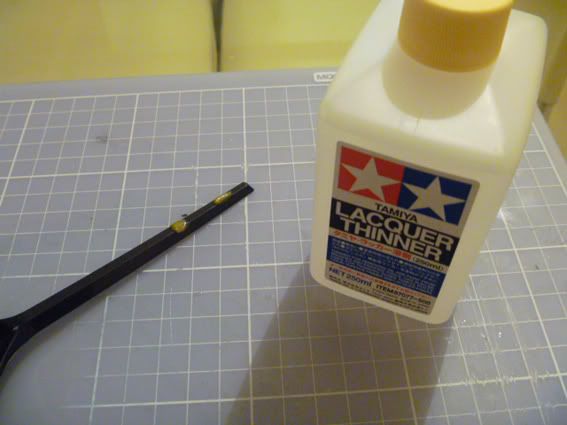 The dry putty has the perfect consistency. Not too hard to make it difficult to sand, and not too soft to clog the sanding paper. And the best of all...it does not shrink! 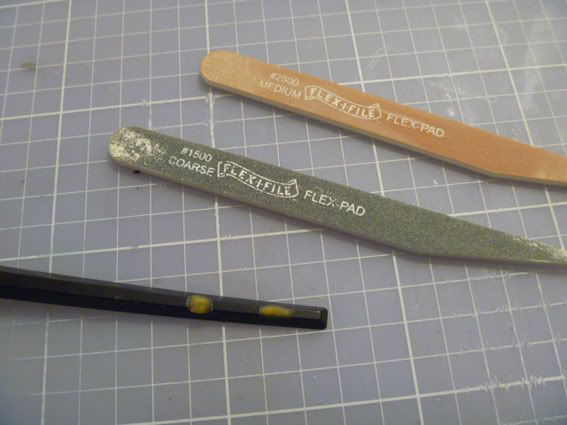 Just a few secons later, the holes are perfectly filled (you can´t see it in the photo, but the putty dries with a clear amber finish): 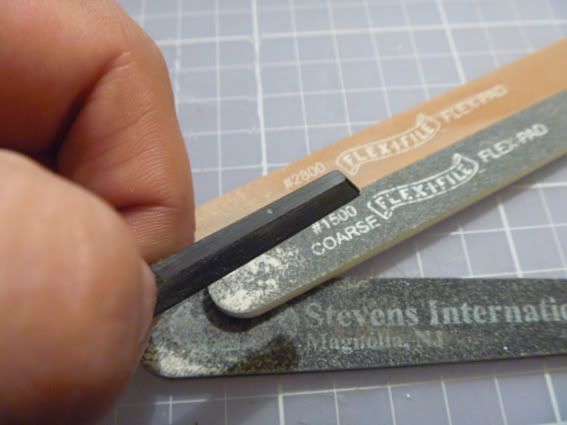 After testing this putty, I am ready to throw out all the putty tubes I have. I will only keep Tamiya´s sculpting putty and this light curing putty. Here are a couple photos of the Murcielago body with putty to fill the spaces between the resin parts and the body plastic. Next time, I will show you the body after all the sanding I need to do. 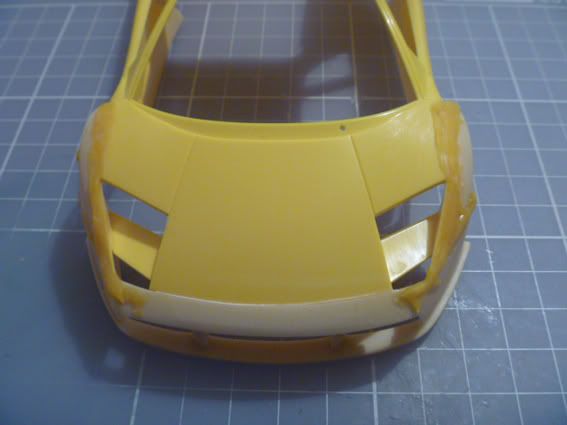 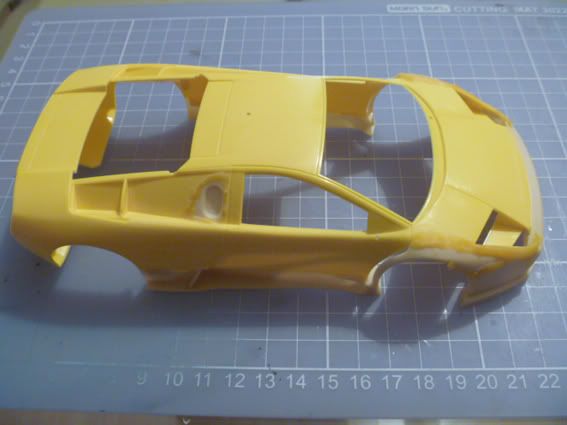 Thanks for watching!
|
|
#8
07-19-2011, 04:50 PM
|
||||
|
||||
|
Re: Lamborghini murcielago r-gt 2004
I never liked the Murcielago but I will love this build of a GT conversion with another great SP transkit !!

__________________
Phil  
|
|
#9
07-19-2011, 07:23 PM
|
||||
|
||||
|
Re: Lamborghini murcielago r-gt 2004
Havent seen one of these in ages! Will follow closely!
__________________
 It's Not wheather you Win or Lose, its how you look while you play the Game
|
|
#11
07-20-2011, 08:02 PM
|
||||
|
||||
|
Re: Lamborghini murcielago r-gt 2004
My son and I both have the same exact kits you have and will be following your progress to learn any tips that will help us. Thanks for posting this and you've got a great start already.
|
|
#12
07-21-2011, 08:10 AM
|
||||
|
||||
|
Re: Lamborghini murcielago r-gt 2004
HI
good start  enclosed some links from other R-GT threads and the kit review http://www.automotiveforums.com/vbul...d.php?t=467093 http://www.automotiveforums.com/vbul...d.php?t=668441 http://www.automotiveforums.com/vbul...d.php?t=940420 http://www.wettringer-modellbauforum...+gt#post217543 http://www.wettringer-modellbauforum...+gt#post219707 http://www.baracca.net/html/showroom_jloc.html Mike
|
|
#13
07-30-2011, 04:25 PM
|
||||
|
||||
|
Re: Lamborghini murcielago r-gt 2004
Great start.
I'm anxiously waiting for your next update. Thank you for the extensive post concerning the putty. I always wondered if and how good the light curing putty would be. Now I might consider trying that too.
|
|
#14
09-07-2011, 10:58 PM
|
||||
|
||||
|
Re: Lamborghini murcielago r-gt 2004
As I mentioned earlier, the Tamiya light curing putty is very easy to sand, so I blended the resin parts with the Fujimi body in no time:
 In this particular racecar, the spaces originally intended for rear side windows are used for the gas intake (right side) and air intakes (left side), so I glue the parts included in the transkit: 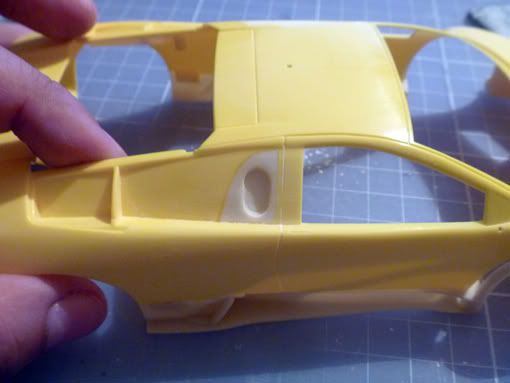 With all the sanding required to blend the resin parts to the body, is very easy to loose some lines that should appear in the body. To redraw those lines, I place Tamiya masking tape in the place where the lines should be, and I sand the area very gently. I sand a little over the tape to be sure the line will appear exactly where it should be: 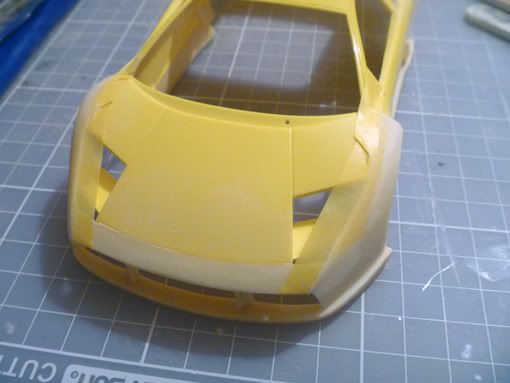 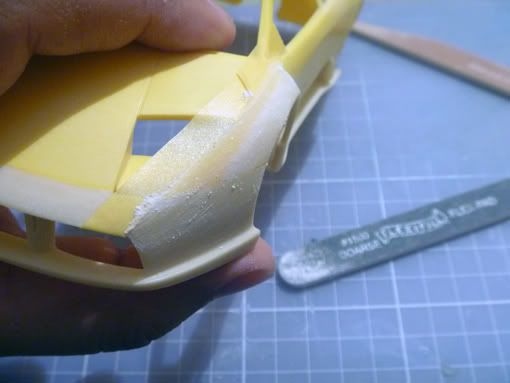 And here you can see the line back in the body:  Now I apply Tamiya´s grey primer to the body as a guide to reveal any imperfections that should be filled and sanded: 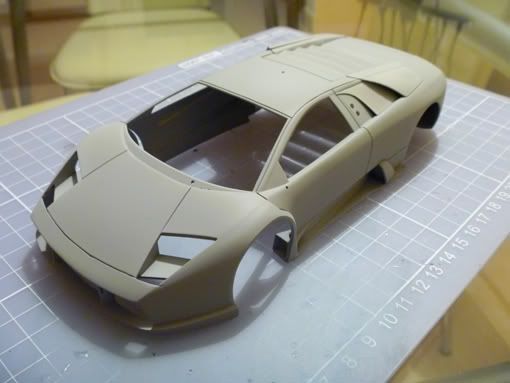  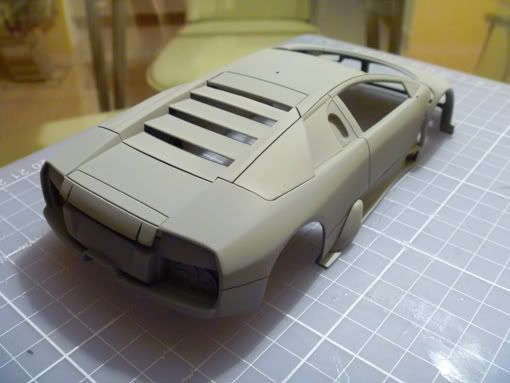 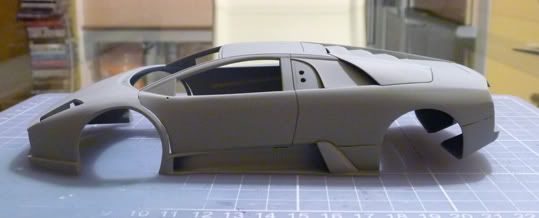 Well, that´s it for the moment. Next I will do some modifications to convert the street chassis to a racecar version. Thanks for watching!
|
| ||||||||||||||||||||||||||||||||||||||
|
POST REPLY TO THIS THREAD |
 |
|
|


