...and another dusted off for completion.
Originally started off as part of a series of V8 Ferrari cars and also as a test for different paints and/or versions of the Ferrari/Italian/Rosso Corsa.
I don't remember much about this one except that had a bit of problem with the paint being very fragile and chipping very easily. I last left it with a fresh coat that was applied on top of a not very good base and was a bit orange peely and I really couldn't be bother to deal with it then.
One of the few shots of the body from back then.

and taken today.

(please excuse the poor lighting; I've shifted my building space and i don't get much direct sunlight onto my worktop and I seriously need to get a better table light)
A little polish later.

and after a good night's rest, another go and I think I'm quite happy with this considering the poor starting point.

As with many Ferrari of this period there was a lot of black bits both on the interior and exterior so I snipped off everything and mounted for spray.

I did the same with the engine parts (for a aluminium spray) and ended up with a pile of bits, ready to make into bigger bits...

As you can see I made a start on the interior and given the engine a test fit.
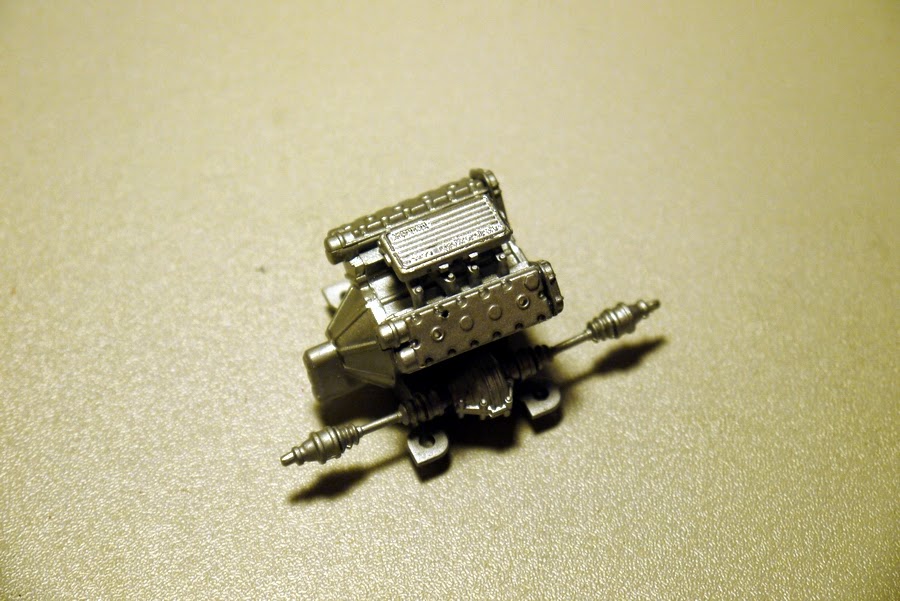
Engine first.
This kit has a very nice engine, much nicer than the old rubbish thing you found in the 1970s Revell kits of the 308. The 328 does of course, run on "modern" injectors so it's not identical but I do keep wanting to build a 308 using 328 GTB kit parts.
Exhaust parts are known to be very fiddly here and have next to no positive mounting points. Whatever locating pins are there are very shallow and not very good so I drilled and prepared them pinned them for security.

The air intake filter box came chromed.
TO get the polished text, I masked off the top portion of the box before spraying aluminium directly onto the chrome finish. Once the paint had dried, I then removed the masking tape and filled the area with a mix of Tamiya Red and Flat Red acrylic.
Then with a little careful buffing with the edge of a piece of cardboard, the text is revealed and can be read.

Needs to be given a final clean with a little acrylic thinner applied to the edge of a bit of cardboard again later.