I made
Fujimi's 288GTO already, but I thought I would be able to gain more on my favorite Ferrari.
*I've chosen Revell's body and chassis. Overall, I prefer the lines of it than Fujimis.
Ms. Fujimi is too fat...
Pros and cons on Revell's.It's only my point of view.
<Pros>
*Good shape on rear and side section
*Atmosphere overall is good (Less emphasis)
<Cons>
*Face doesn't look similar (Too right-angled edges on Light covers, bonnet. They are also too close to the front edges.)
*Rounded edges on front and back on doors
OK, I'll sort those cons out!
Face Before
...
I nearly throw this kit away because of this appearance. Look at these shape of edges of light lids and bonnet.
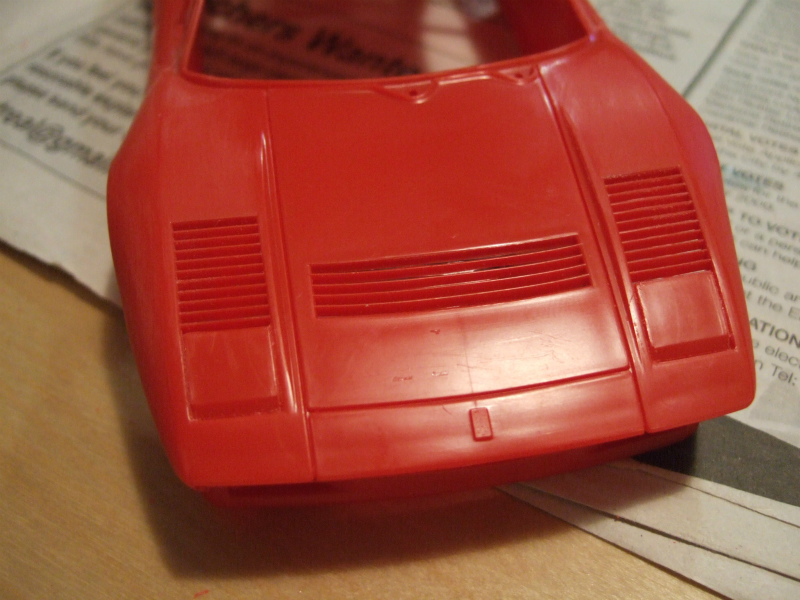
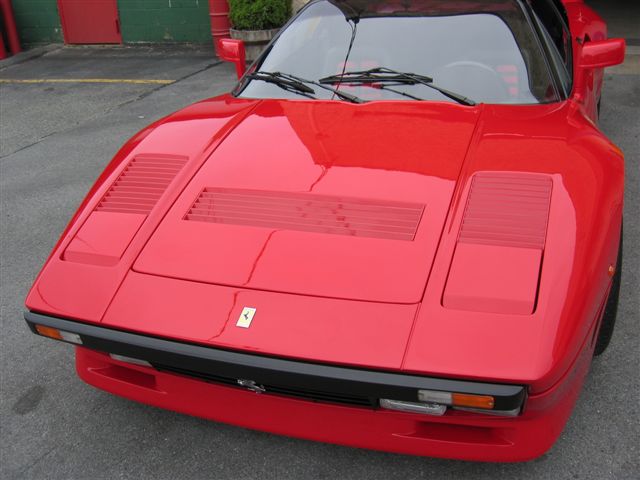
Compare with the real one. I also have to think about louvers.
I don't actually like to make louvers from scratch,, but only to 288GTO...
I cut all those away and applied 0.3mm plastic papers.
And filled the putty...
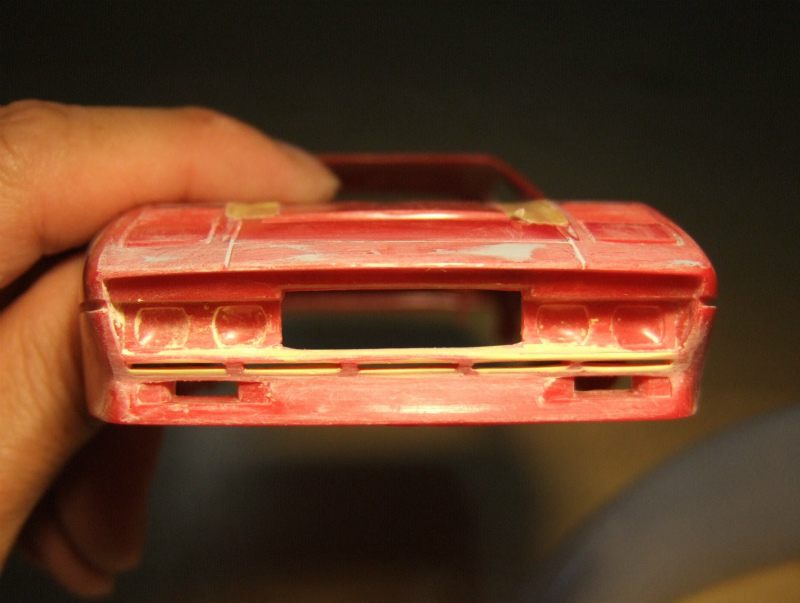
Then sanded. OK, I feel much better now!!

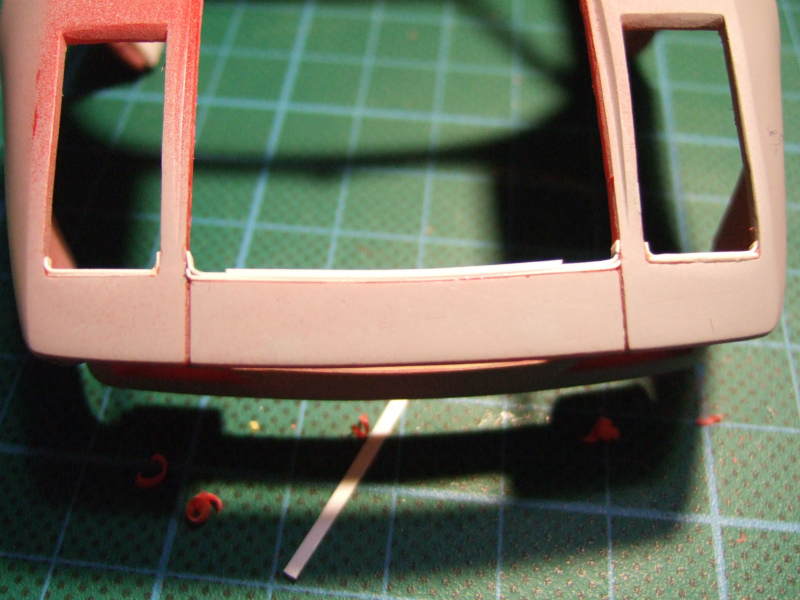
Oops.. ... I was too bad to apply holes... (These following photos are before the works on light covers and bonnet)
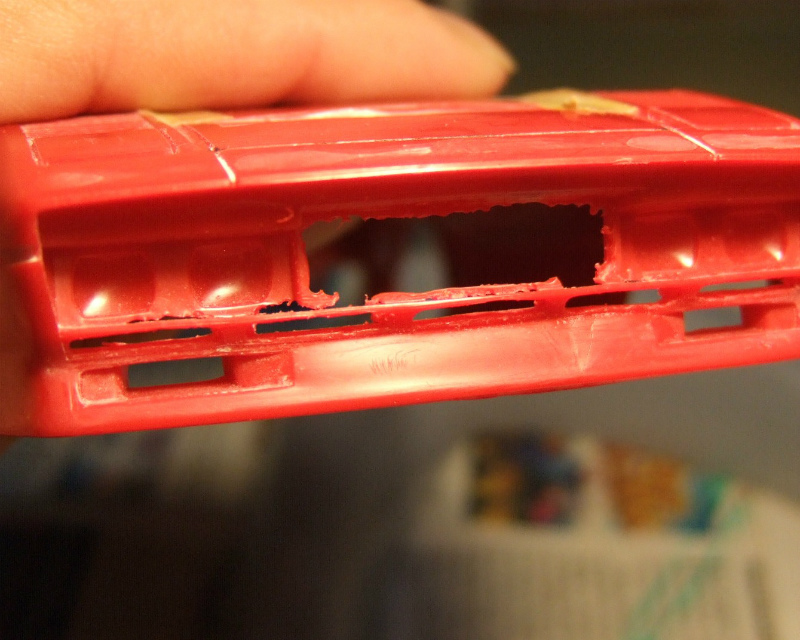
I have to sort my terrible works out...

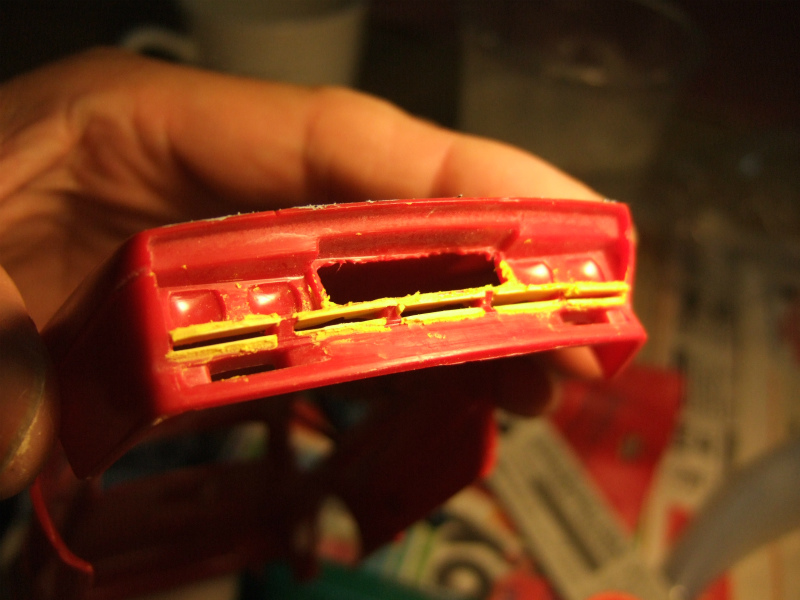
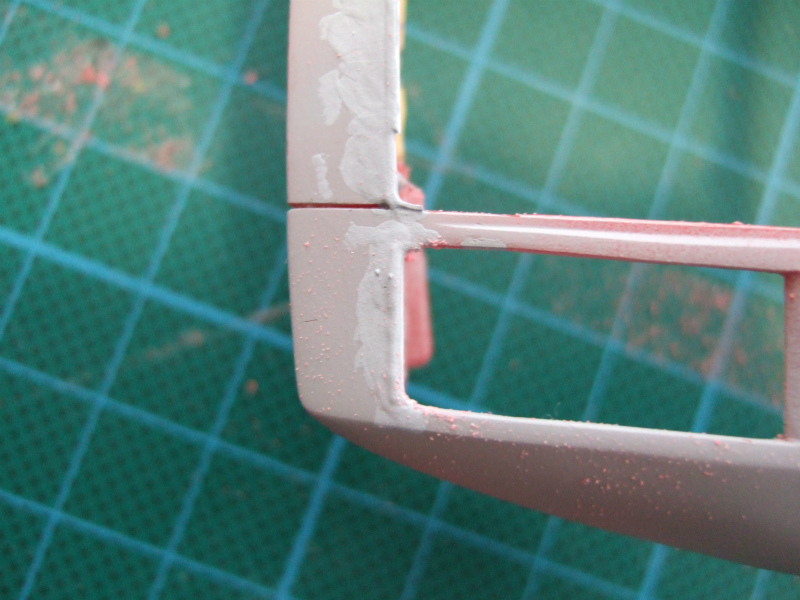
Putty was applied. Then sand up... yes, acceptable.
Don't pursue the perfect.
I felt those driving light lenses are too big. To apply Fujimi's lenses, I put plastic board on the area and made the area smaller .

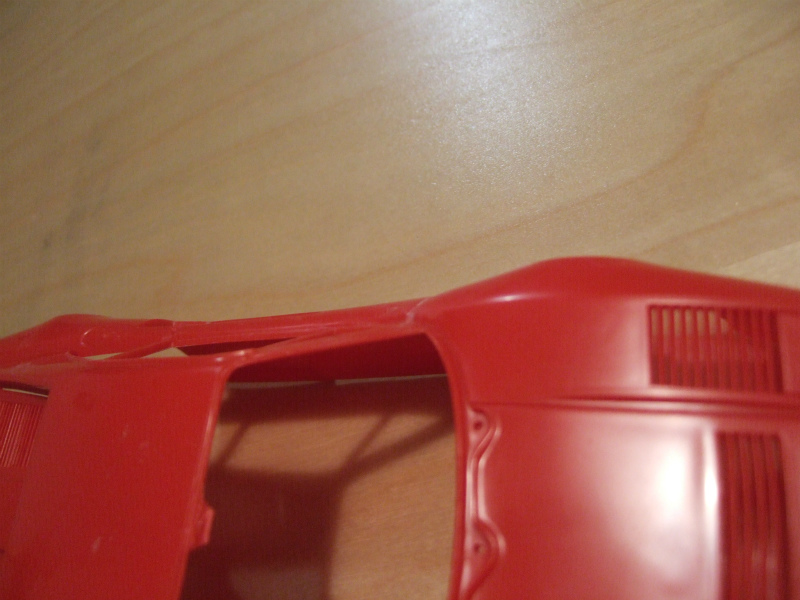
Rounded edges on front and back on doors
Before:
After:
(This photo is before the changing the shape of bonnet and light lids.)
The doors were sanded up to make straight line from front to back.
Can't see the deference...?
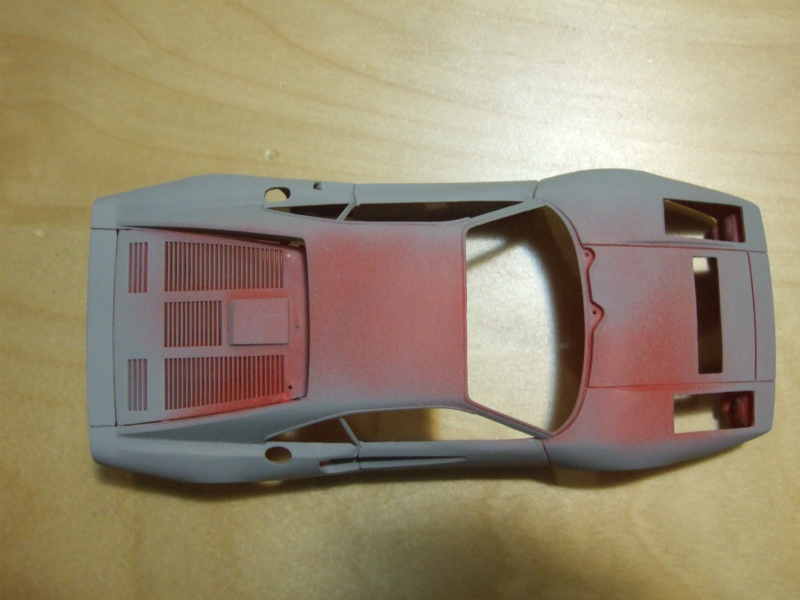
The loubers on front section was also removed. To check the deference, I spray the surfacer from time to time.
That's all for today. Thanks for visiting!
