A few Christmases ago, I received AMT's 1969 Firebird (1/25). Upon opening it, I was beyond unimpressed; rather, I was downright disgusted. The kit looks like it was designed in a day, and was most likely made as a quick revenue source. "Detail" is limited to the body, with is fairly realistic. Everything else falls pathetically short of acceptable. To boot, I'm not that enthralled with the actual car. However, because I got it as a gift, and just because it's a good challenge, I'm going to "make it work for me." This, however, will require a ton of scratchbuilding. So, I dusted off the styrene sheets and got ready for a long haul (which will hopefully be not as long as some of my other projects

)
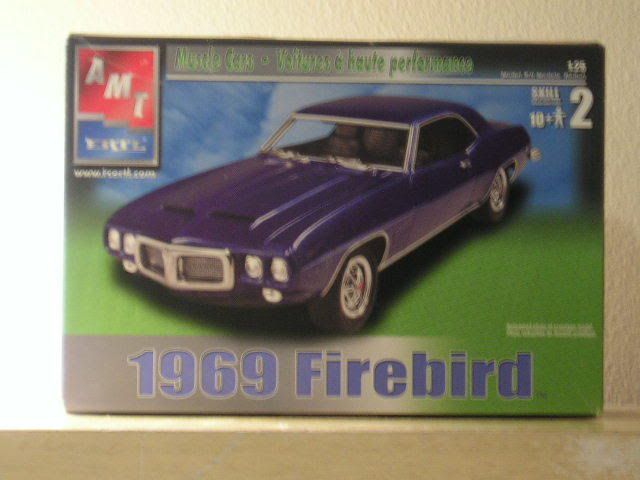
Here is the kit. Yeah, I know, a blurry pic right off the bat. But fortunately this will not carry throughout, and we won't be looking at the box much anyway!
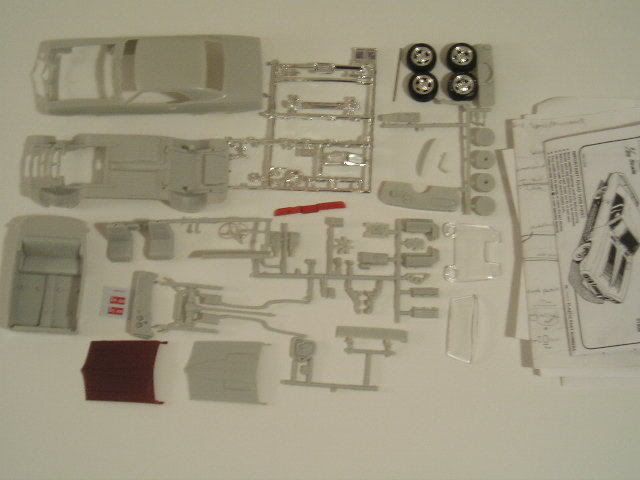
Here are the glorious parts. I have already removed some from the trees in my fiddling. Also note that the kit's stock and optional wheels and tires, neither of which I was impressed with, have been replaced by the wheels/tires from AMT's 1968 El Camino custom. They look right for this car. The Ram-Air hood has been primered when I was testing primer; I don't think I'll be doing the Ram-Air. At the right are the directions (which completely lack painting instructions) and my stack of reference material, mostly diagrams from online repair manuals. The only decals are two license plates, which I don't care for.
I decided to start off by cleaning up the body. I plan to paint it bright orange, which was a good-looking factory color. One of the most notable body problems was the kit's molded-on wipers, which look quite fake. I plan to scratch some new ones, so the molded-on crud had to go. My file took care of one of them...
And then the other. A few minor scratches, but those will be filled in with primer.
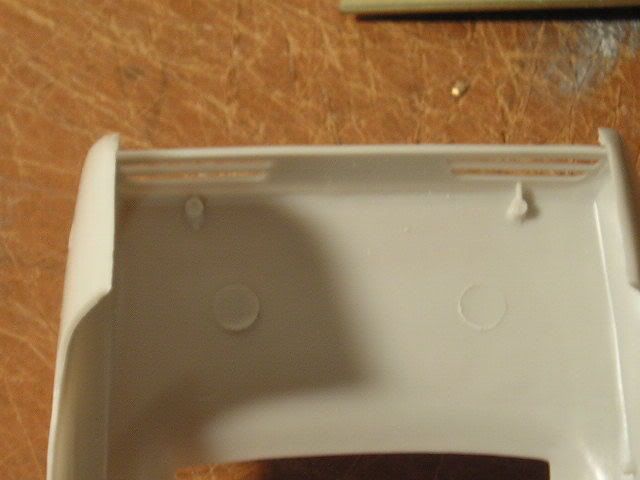
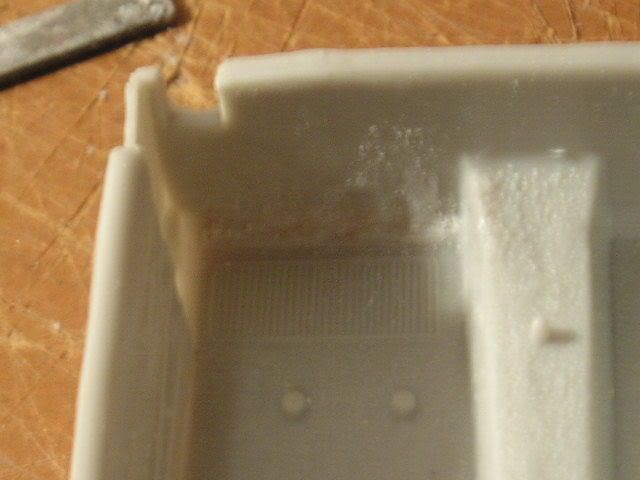
AMT added two pins in the inside of the rear trunk. Though I don't plan to open the trunk, these are visible through the clear taillight panel. I don't know why they're there; my only explanation is that they are an attempt to recreate the back-up light section of the taillight panel. Obviously, when viewed through clear red plastic, they don't do a very good job. I plan to cut the taillights and add clear back-up lights, so I removed the pegs.
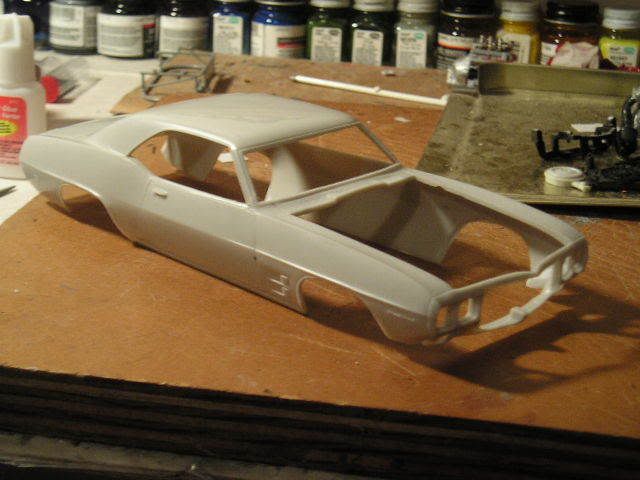
Here is the body with mold seams off and all modifications done.
Since it is the dead of winter and cold/wet right now, I'm not going to primer right away. I'll probably do it in my garage anyway, but haven't had a chance. In the meantime, I set about modifying other body parts.
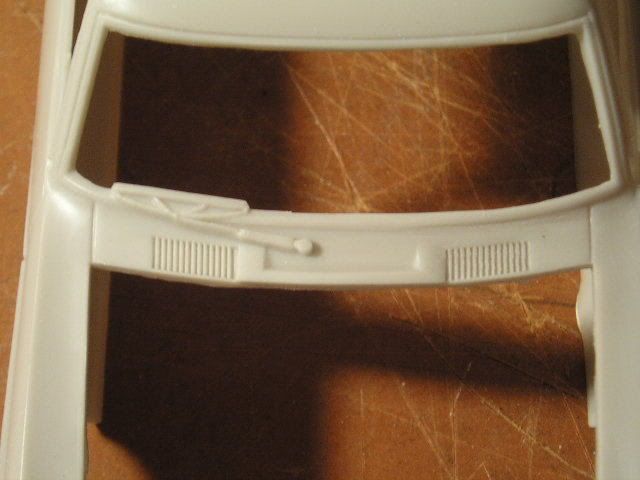
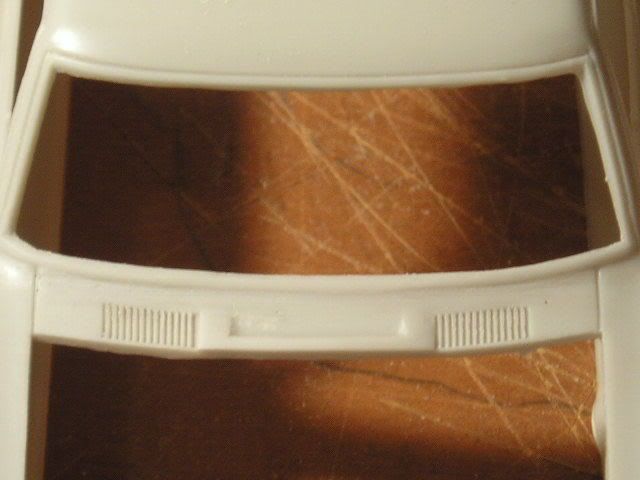
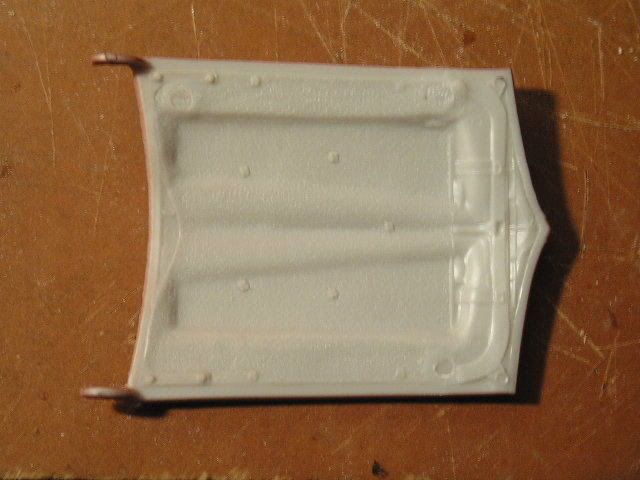
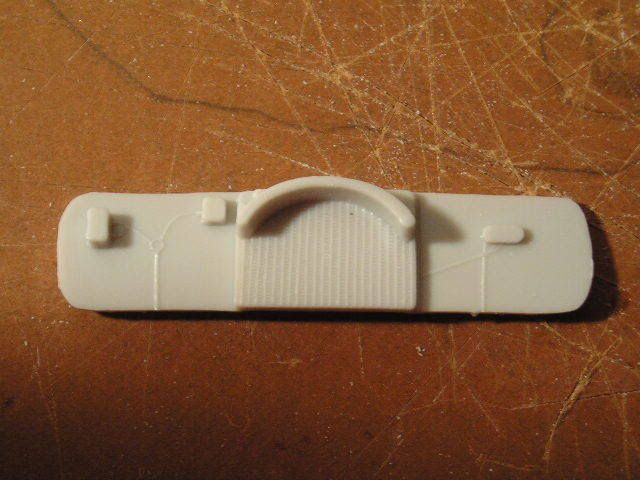
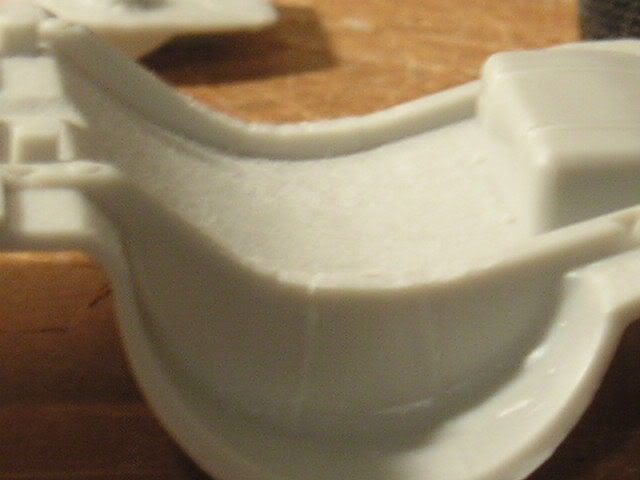
Here is the inside of the Ram-Air hood. The other hood differs slightly, but the details are about the same. AMT actually did a decent job here; realistic texture/clips. However, the hinges are lame. I'll fix them later.
Here are the parts AMT provides for the front end. As you can see, they are bulky, and the connecting "bar" on the lights is clearly visible in the engine bay.
I cut the bar out and also removed the huge pegs from the grille that were supposed to go into those two holes. The grille fits pretty poorly, but with a little fitting, and maybe some putty, I can make it work. Affixing it will be a little more challenging, but if needs be, I can add some lips for it to glue to.

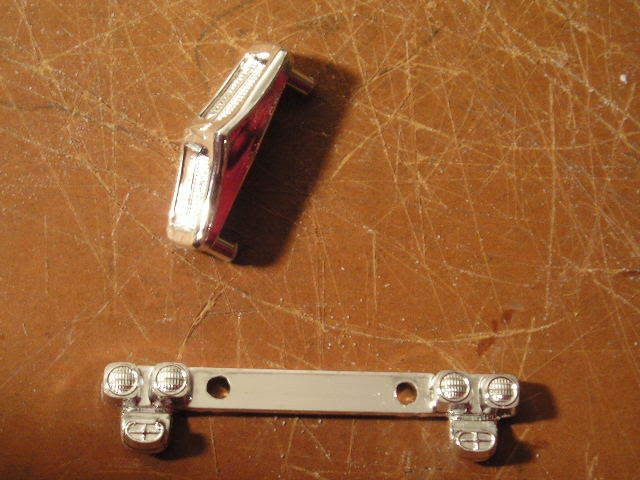
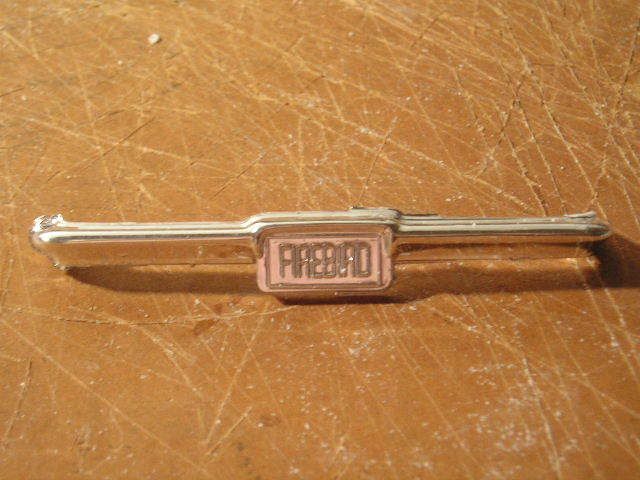
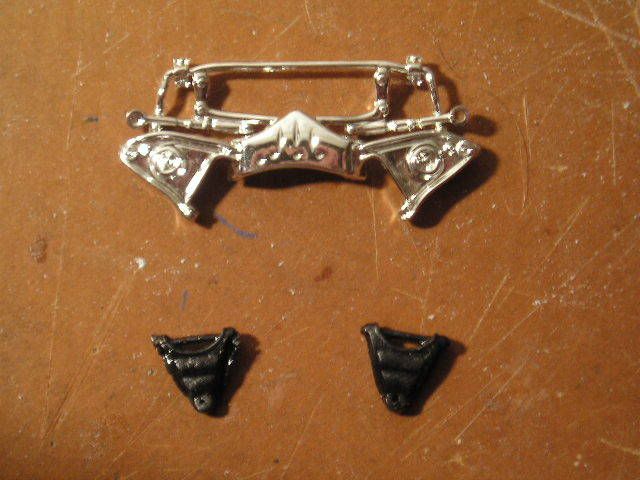
Another heinous feature: the rear bumper. The license plate literally had the scale thickness of a large dictionary, and the "FIREBIRD" lettering was tacky. I wonder how AMT expected you to install their cheap license plate decals?

Additionally, the area around the plate was inaccurate. Sigh.
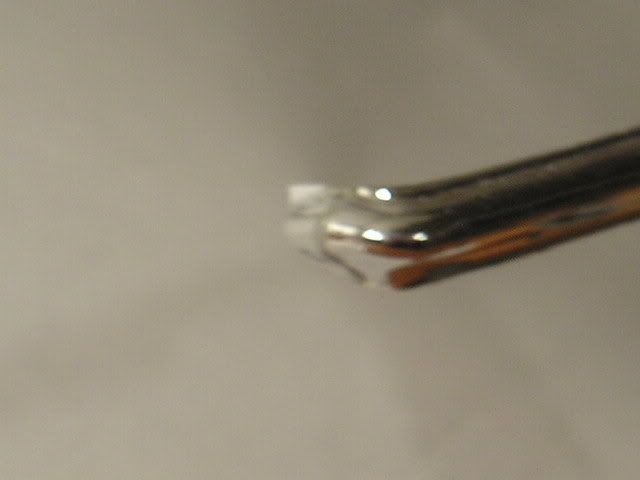
I used my saw and files to remove the plate, then re-shape the surrounding area. I also had to add a piece of plastic to the driver's side top front corner, as it sloped down too much. This picture shows that--the camera couldn't focus on the part, so it is blurry.
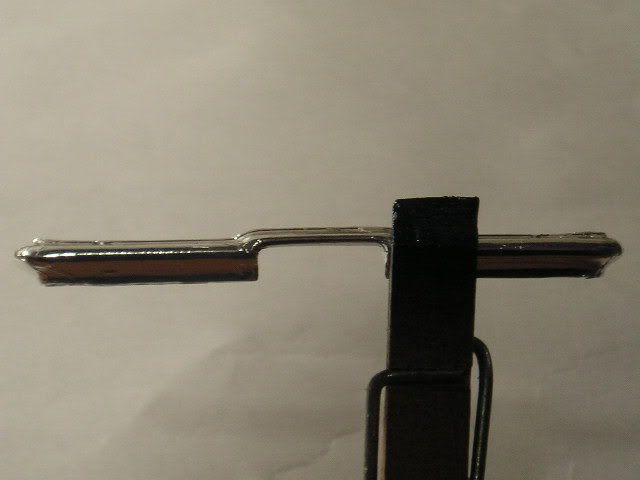
Obviously, all that work wreaked havoc on the chrome. So, I had to do a little Bare-Metal foiling. Not perfect, but decent. (It's hard to cover such a component).
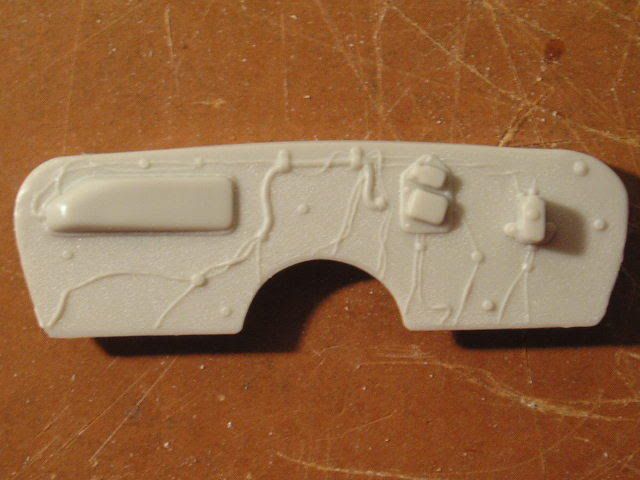
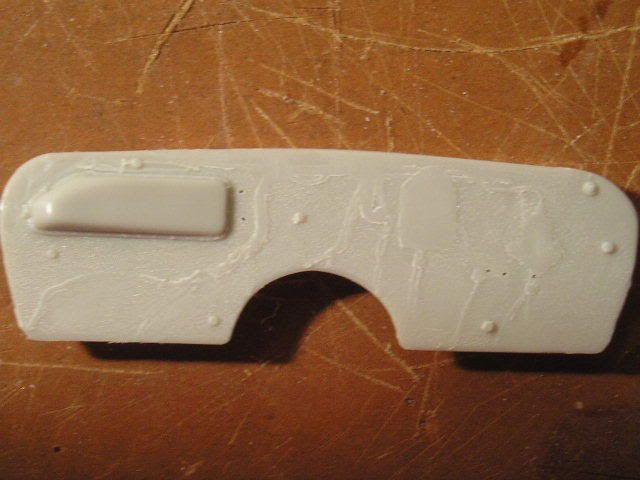
I then moved to engine bay panels. Here is the radiator. AMT molded on some inaccurate boxes which are probably trying to replicate the voltage regulator and the horn relay. Also, the fan shroud is incomplete.
I removed the boxes and thinned the battery mount. I'll fix the shroud later.
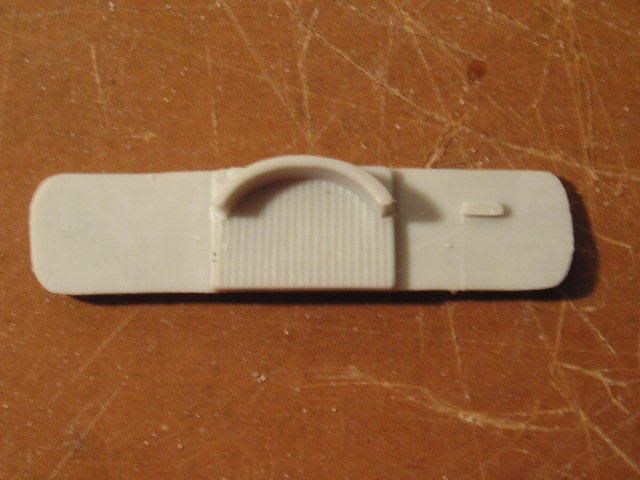
Here is the kit firewall. AMT actually has decent wiring detail, but since I'll be fully wiring this, that would be redundant. Besides, the master cylinder is a joke and the wiper motor is inaccurate, so once again I got out the file and saw.
The heater is OK, so I kept it.
While I waited for an opportunity to paint, I messed with the interior tub. Here is the stock part. It is decent, except for the door panel detail (or lack of) and some carpet that looks like gravel.
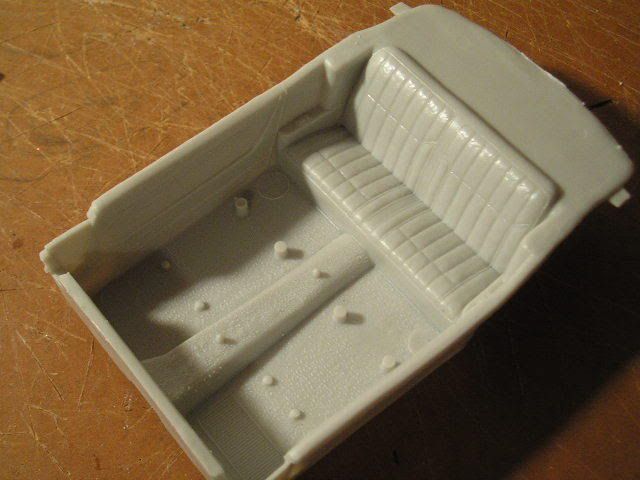
Oh, and the molded-on pedals. I removed them with my Dremel, which was a little rough. Fortunately, you can't see down there when the model's done anyway. I am going to replace the pedals, though. I'm getting a photoetch kit for the 1968 Firebird (because I can't find one for the '69, but I need the "400" emblems); if it doesn't have pedals, I'm going to build some custom drilled ones.
By far the worst detail on this kit is its suspension. Simply put, it doesn't have any. Well, there is one piece with exhaust, mufflers, axle, leaf springs, and driveshaft on it for the rear (but the axle is dumptruck-sized), and the front has two shoddy molded-on lower A-arms clogging the crossmember. Otherwise, there's zip. Here is the stock frame. Bleah.

Before I got into the suspension, I decided to removed the two completely useless pins that AMT had strangely molded at the rear.
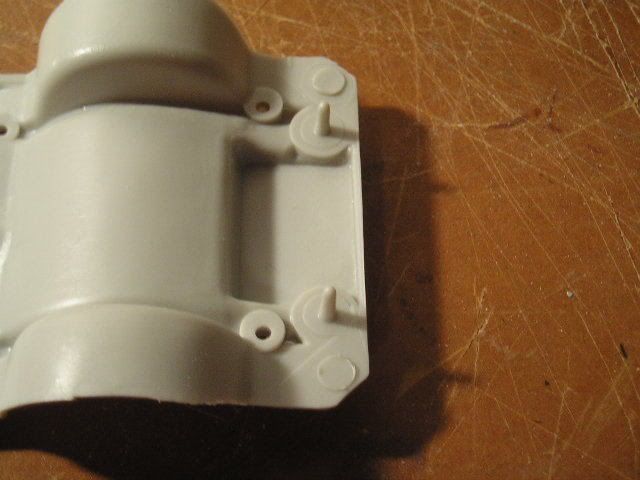
With the touch of a Dremel, they're gone.
Now, for the suspension. First, I vehemently removed those stupid A-arms. This resulted in a gappy, incomplete crossmember. But I'm not done yet.

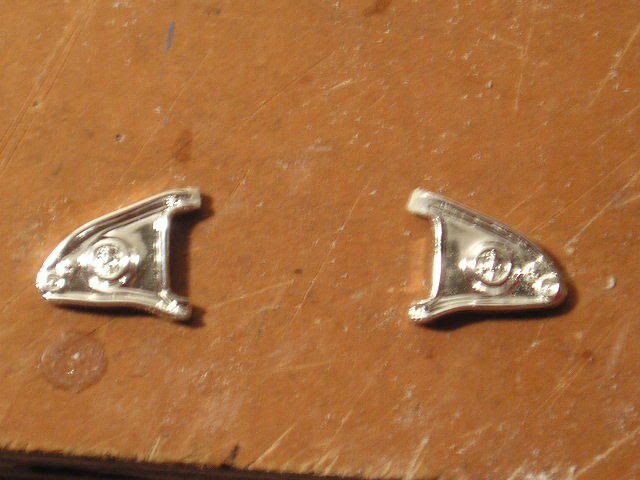
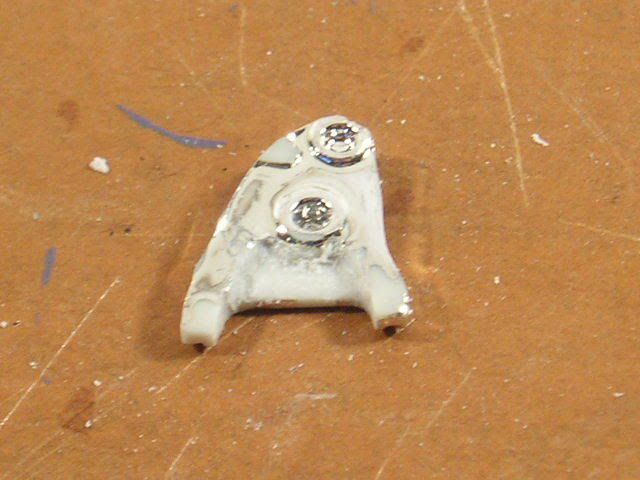
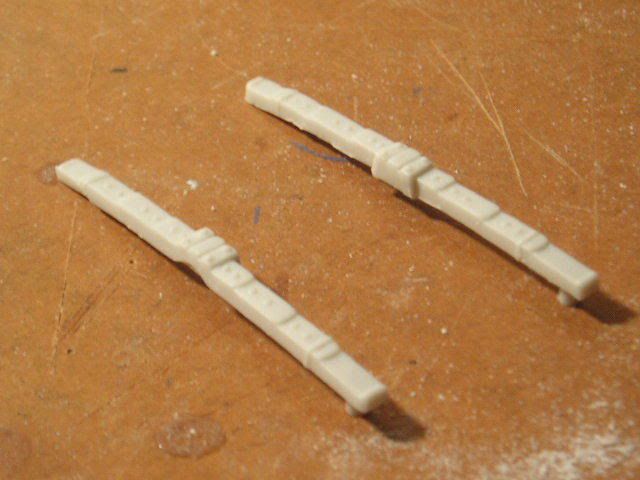
I found the front suspension from AMT's 1970 Monte Carlo and the upper A-arms from AMT's 1966 Olds 4-4-2 in my spare parts box (no, I really don't like AMT's; I just keep getting them as gifts!) These parts will work to give this Firebird front suspension.
Here are the lower A-arms, removed and ready for fitting.
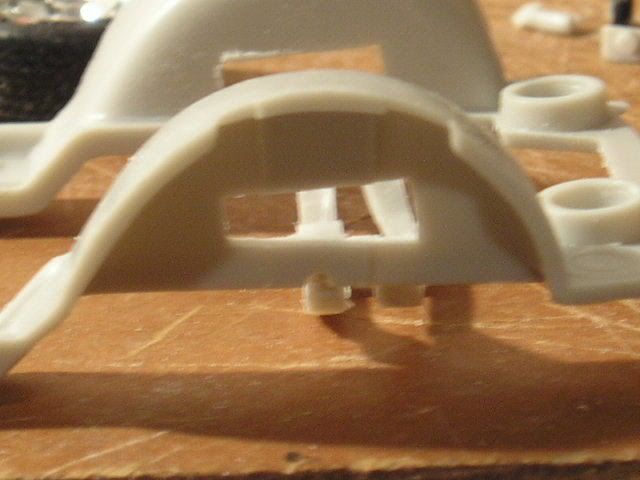
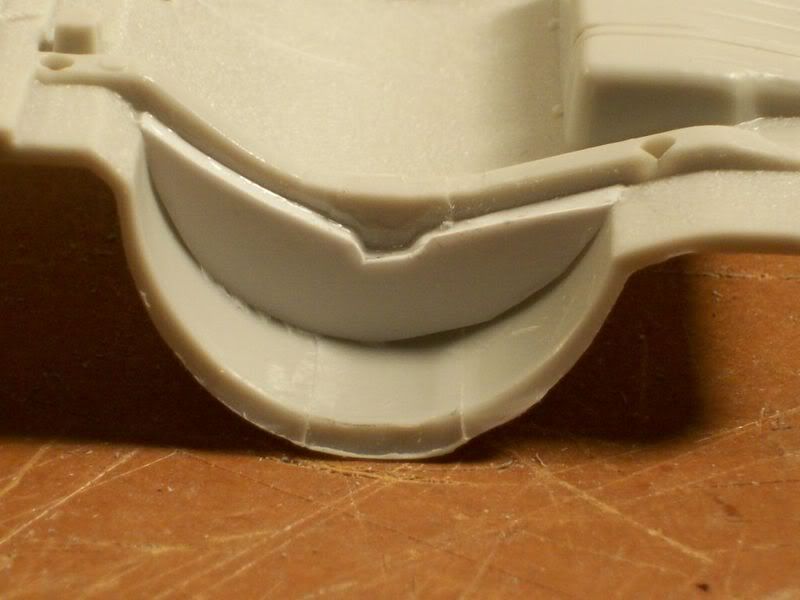
I cut these slots in the solid wheel wells to accomodate the upper A-arms. I'll add a lip to the engine bay side of these slots later.
Here I have built up the rails of the subframe. These were puny and inadequate on the kit. Now this car won't twist like a pretzel

.
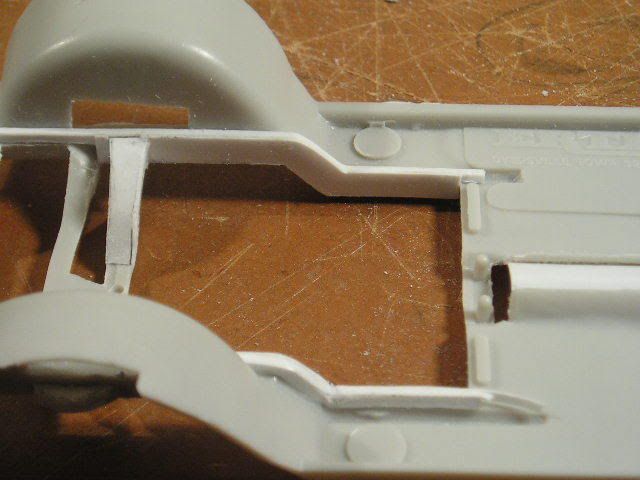
The little wayward piece of plastic at the bottom the the picture won't be visible once the interior tub is on. Next, I added the structure to the rear part of the crossmember.
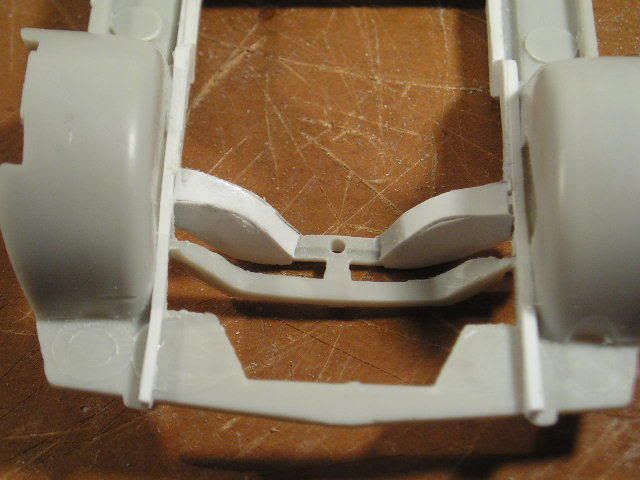
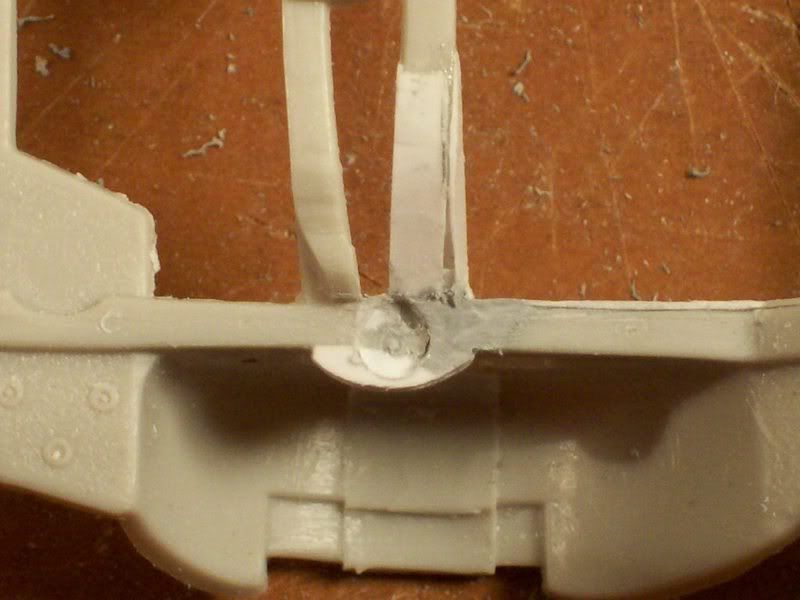
Here I have added the coil spring mounts to the frame rail and am puttying them in.
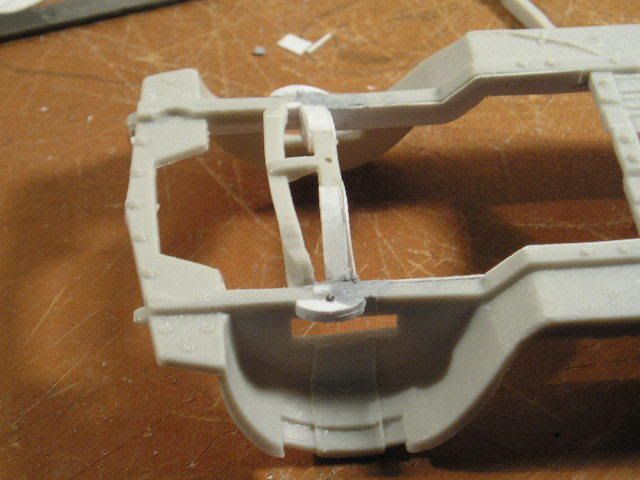
As I fitted the A-arms, I noticed that they would need a notch to sit properly. So, I used the Dremel again to thin the flat part on the underside of the arms.
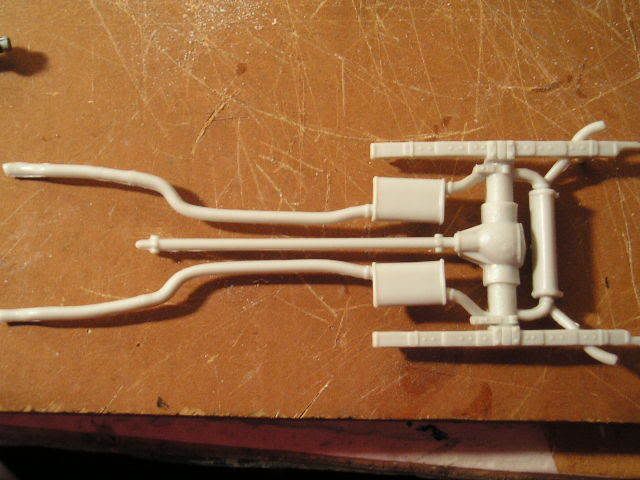
While I waited for glue and putty to dry, I moved on to the rear. This is that lame conglomerate part I was talking about.
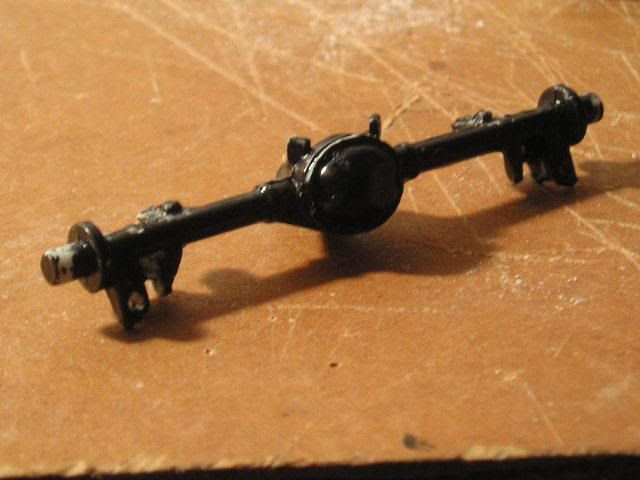
Here is the axle from the 1966 Olds, scrounged from the parts bin. It'll do the job much better.
The leaf springs on the kit are decent, so I sawed them from the axle assembly.
I then removed the two pillar-like mounts (which were for the rear metal axle) from the rear frame. The wheels will mount directly to the new plastic axle, just like on a real car. I really despise metal axles.
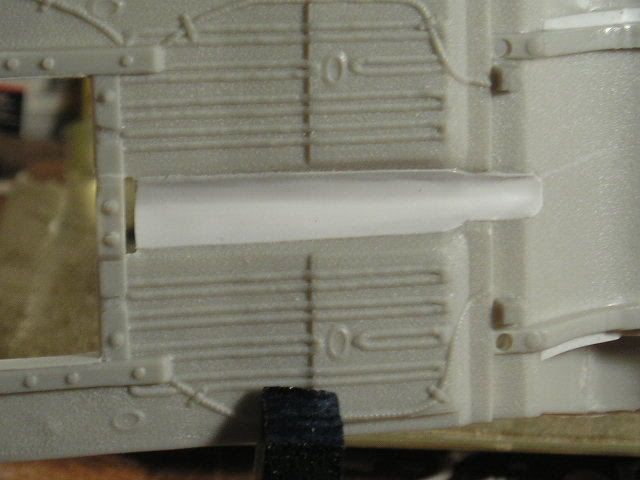
I'm planning to lower the ride height of this car somewhat, and in test-fitting, I discovered that the driveshaft tunnel was too shallow. So, I cut and filed it out, then cut a strip of .010" styrene. I wrapped it around a paintbrush handle to curve it, then glued it in place. When it was dry, I filed the edges.
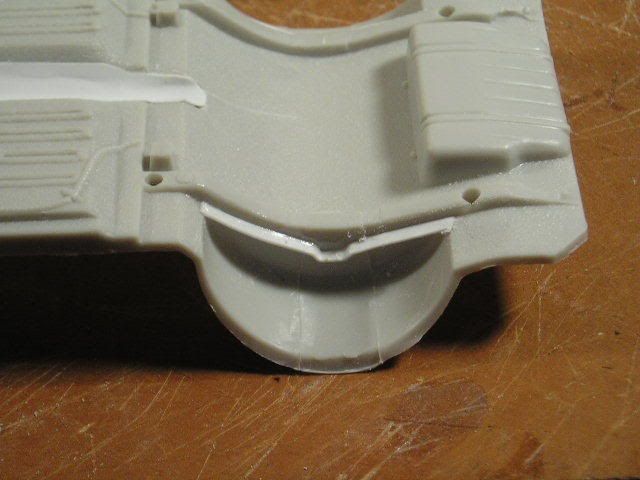
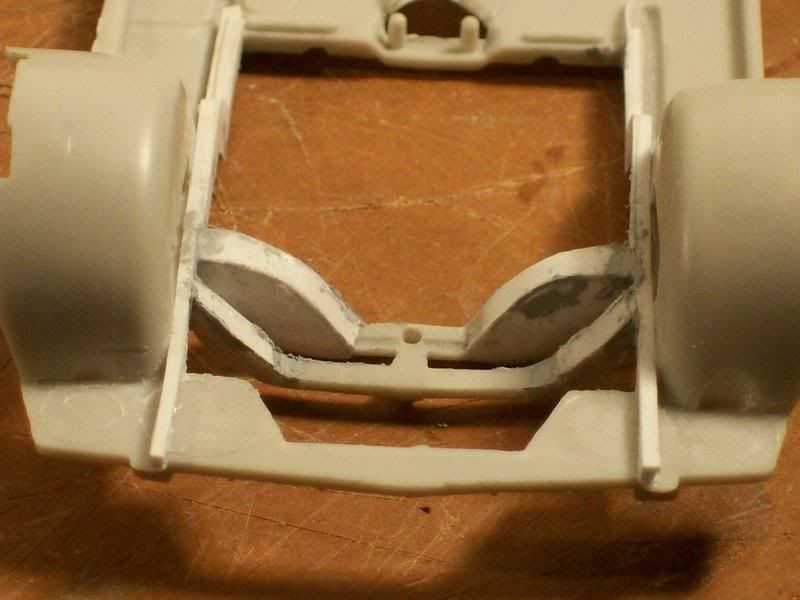
Studying my reference photos revealed that the rear shocks are supposed to attach to the trunk floor, not the subframe. But they attach outside the subframe...and there was nothing there...so I had to add the mounts, which narrowed the wheel wells. This, however, is not a problem. My wide rear tires still fit. Here is the first part of the shock mounts.
Meanwhile, back up front, I bored out the coil spring mounts with my Dremel to accept the springs I will be winding from copper wire.
Back at the rear, I added these panels to finish the shock mounts/wheel wells.
They are gappy, but putty will fix that.
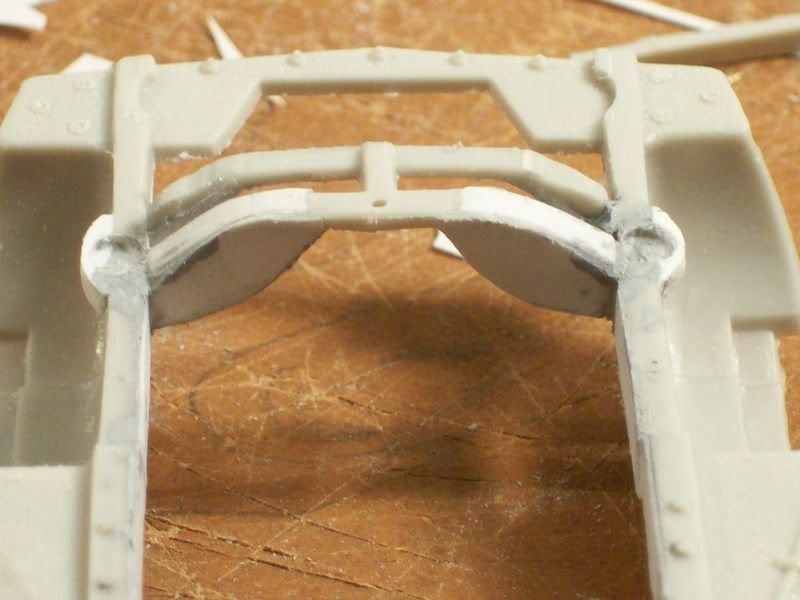
Back up front, I added the smaller structures to the forward part of the crossmember. In these shots, everything is puttied and sanded. I used Tamiya regular putty.
The most difficult part of my chassis work is done. A coat of primer will reveal any flaws; then I can "undercoat" it. Next time, on to the engine!
Thanks for looking.
Alex