|
|
|

|
|
| Search | Car Forums | Gallery | Articles | Helper | AF 350Z | IgorSushko.com | Corporate |
|
| Latest | 0 Rplys |
|
|||||||
| WIP - Motorbikes Post topics for any "Works In Progress" motobikes projects in this sub-forum. |
 |
 Show Printable Version | Show Printable Version |  Email this Page | Email this Page |  Subscribe to this Thread
|
|
|
Thread Tools |
 02-09-2015, 03:04 AM
|
#31 | |
|
AF Enthusiast
Join Date: May 2004
Location: Kalmar
Posts: 2,047
Thanks: 66
Thanked 25 Times in 25 Posts
|
Re: Kawasaki ZX-RR 2006 motogp
Looking at some reference photos perhaps the real fork legs are more yellow/golden but I think yours look good!
|
|

|

|
|
03-20-2015, 02:56 PM
|
#32 | |
|
AF Regular
Thread starter

Join Date: Mar 2014
Location: Drenthe
Posts: 163
Thanks: 14
Thanked 23 Times in 22 Posts
|
Re: Kawasaki ZX-RR 2006 motogp
Hi everybody,
Hereby my sixth update. I'm sorry it took so long but I had some problems with the pictures. I lost a memory card with some pictures on it. I can only show you the beginning of the progress and the chain mounted on the bike. Because I have not many pictures of the chain I decided to make a bigger update. I'll show you the chain, finished the front and rear wheel, and you can see the status of the bike right now. CHAIN I've used a Topstudio kit. 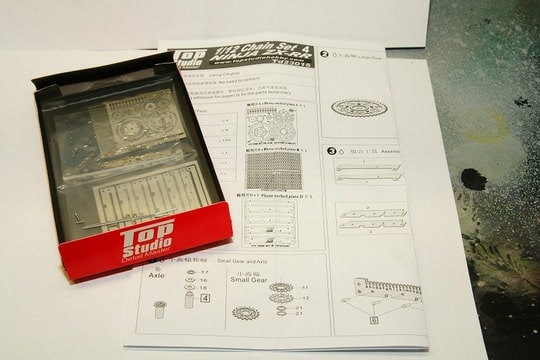 The set looks good with a few bags of very, very small pieces, a manual and the front and rear sprockets. The scale is 1:12 and thats really, really small !!  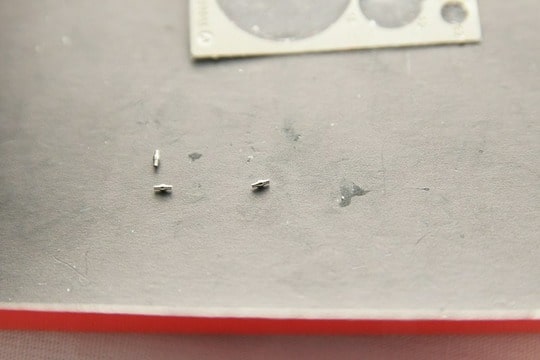 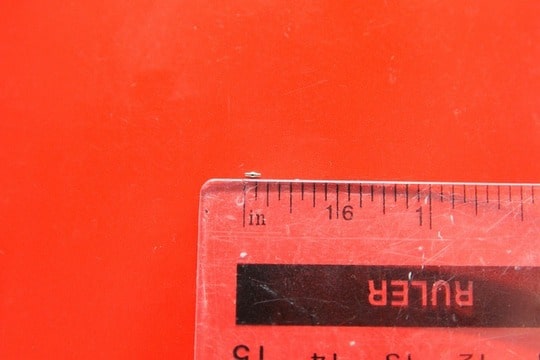 Before you can begin assembly the chain you first have to make a bracket 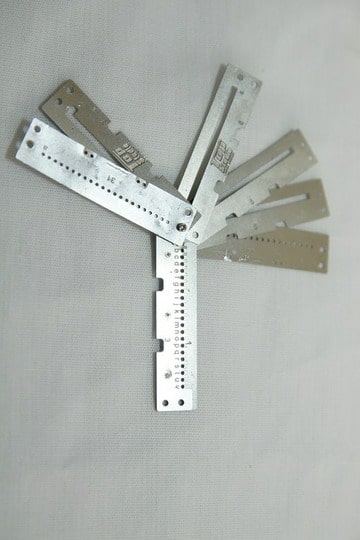 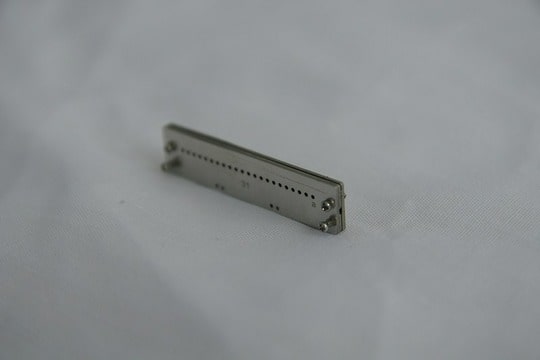   You need a chain of approx 10 inches, and every piece you make is about 1,5 inch long. It took my about one hour to make 1 piece. Like I said, I had some problems. When I was dry fitting the front sprocket it got stuck, couldn't remove it anymore!! Because I didn't want to risk damaging the bike itself I decided to leave it like that. Mounting the chain though wasn't so easy. 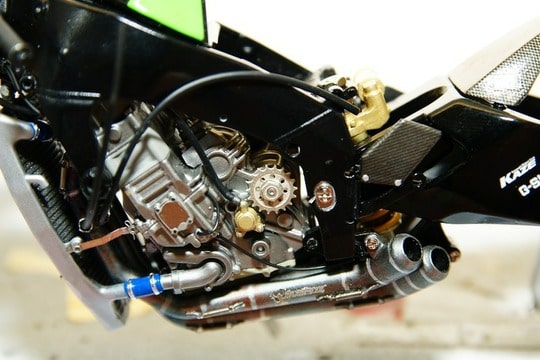 Because I lost a memory card I can't show you anymore right now. Later on you can see the final result. When I was making the chain I also made the rear brake disc. This comes in 5 pieces. 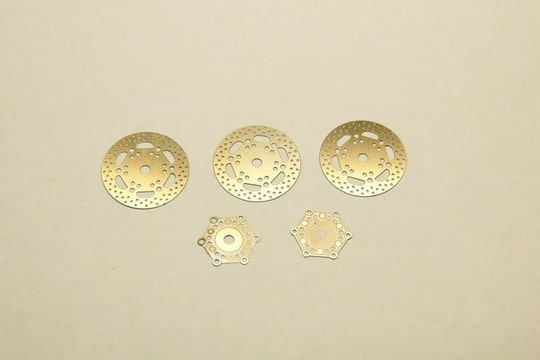 Final result... 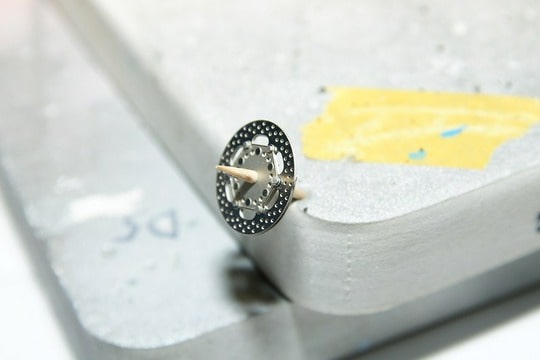 When the chain was done I began with the wheels. WHEELS REAR WHEEL I started making a hole for the air valve... 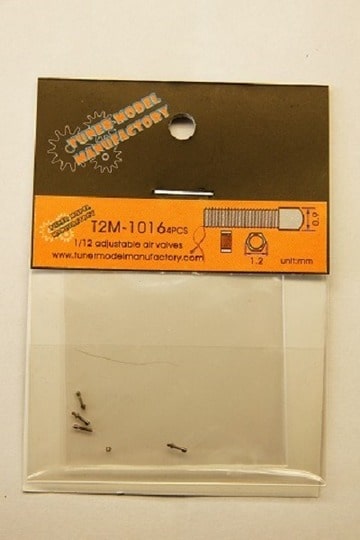 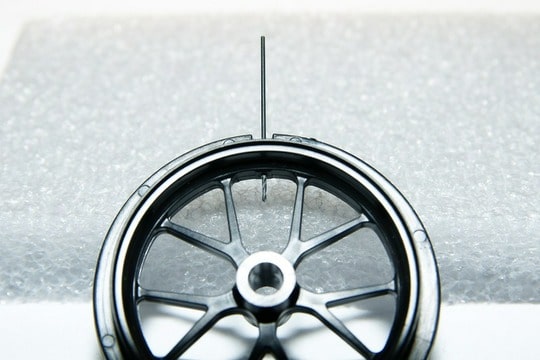 ...and did a dry fit. 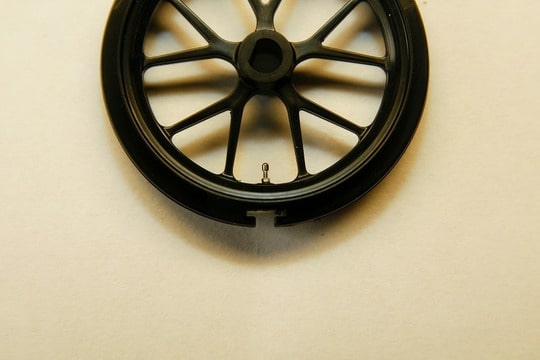  After making the holes for the air valves I sprayed the wheels gloss black from Zero-Paint,fitted some decals and finished it with some clearcoat also from Zero-Paint. Mounted the tires and used sanding paper 400. ...they look like this, nice right?   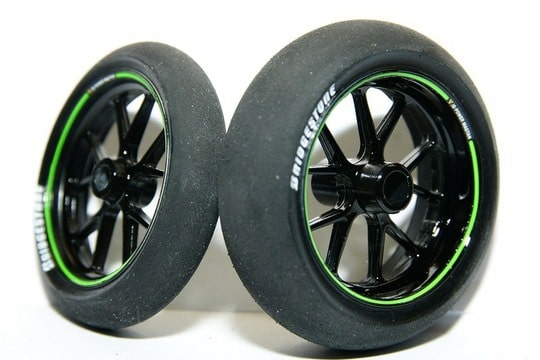 When everything was done it was time for mounting the rear tire, chain, sprocket, brake disc and some small PE stuff... ...final result. 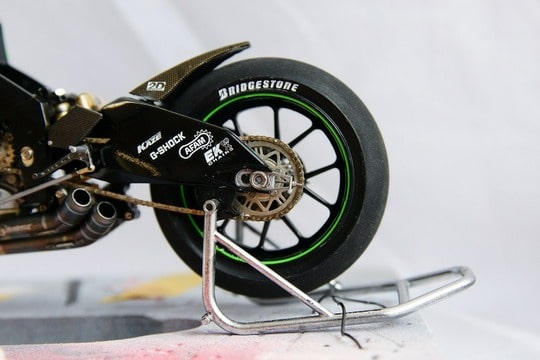 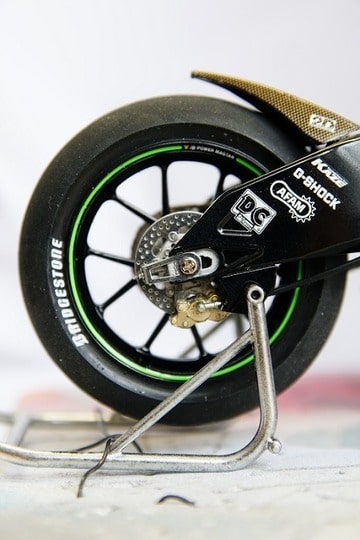 FRONT WHEEL For the front wheel I wanted to use a PE brake disc set which I had ordered together with the kit. But.. I ordered only 1 set and not 2 sets... That meant that I had only a brake disc set for one side of the wheel. So I had to use the original brake discs which came with the kit Painted the disc gun metal from Tamiya X-10  Front wheel is done.  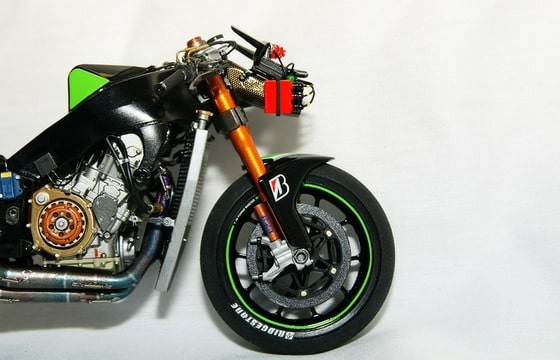 This model is almost done. The next thing I have to do are the fairing, tophalf seat etc etc I'll show all those things in a next update and maybe together with the end result. The final four pics are from the bike in the current state and two pictures with some reference material. 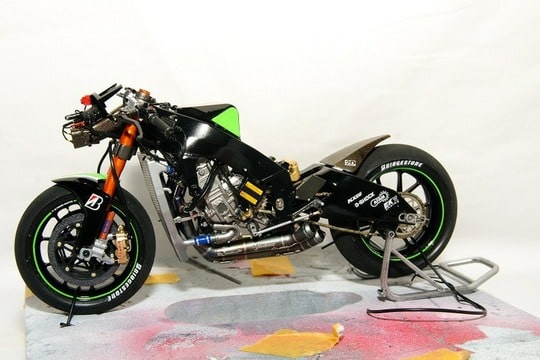 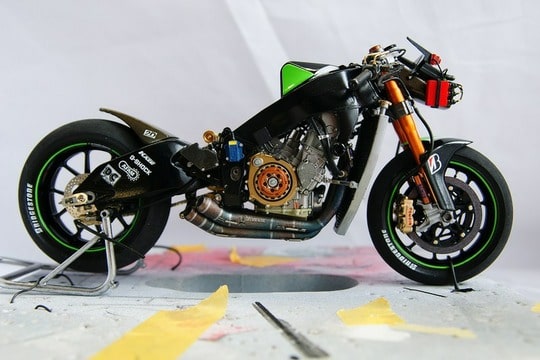  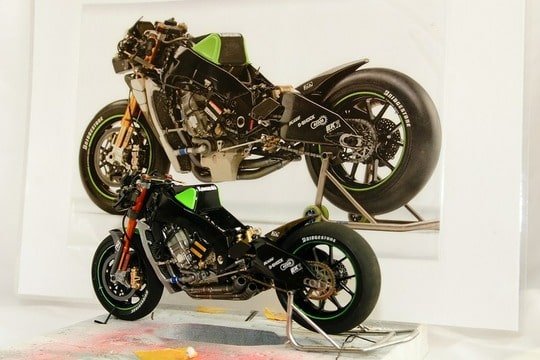 This is all for now Thanks for watching and until next time modellmaker
__________________
 Twitter, Instagram: #modellmaker |
|
|
|
|
|
05-17-2015, 04:23 AM
|
#33 | |
|
AF Regular
Thread starter
Join Date: Mar 2014
Location: Drenthe
Posts: 163
Thanks: 14
Thanked 23 Times in 22 Posts
|
Re: Kawasaki ZX-RR 2006 motogp
Hi everybody,
Finally, finally , I'm done with the Kawasaki. So I will show you the last pictures. I decided to leave the right fairing part off. So I can see the engine. Let me know what you think. I don't know what my next project will be.  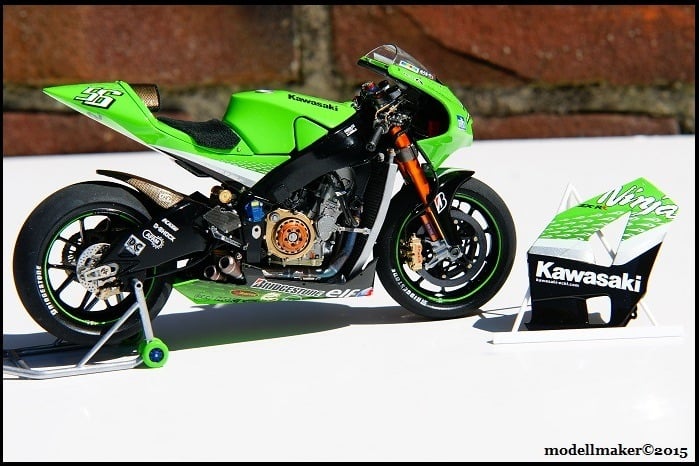  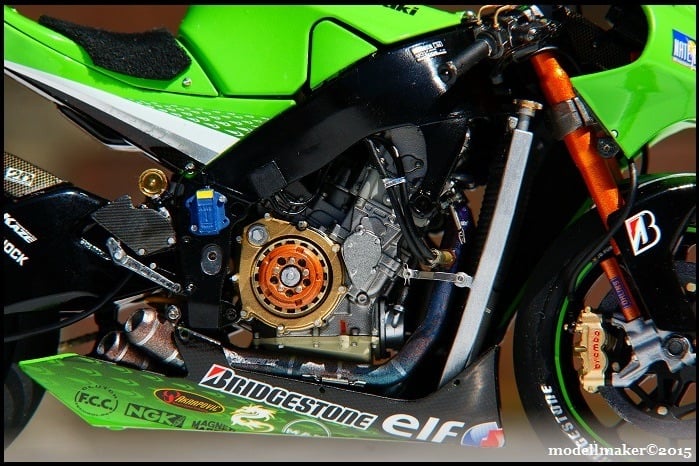 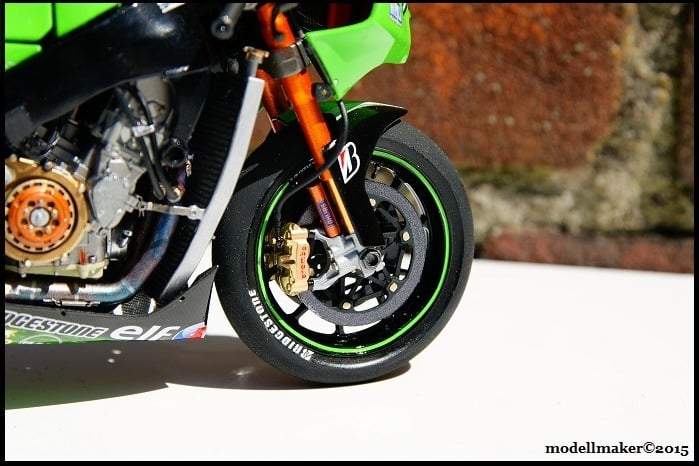 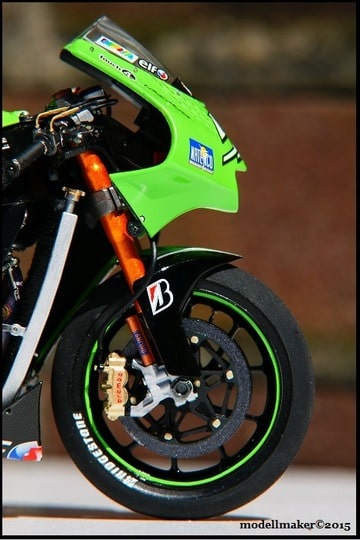 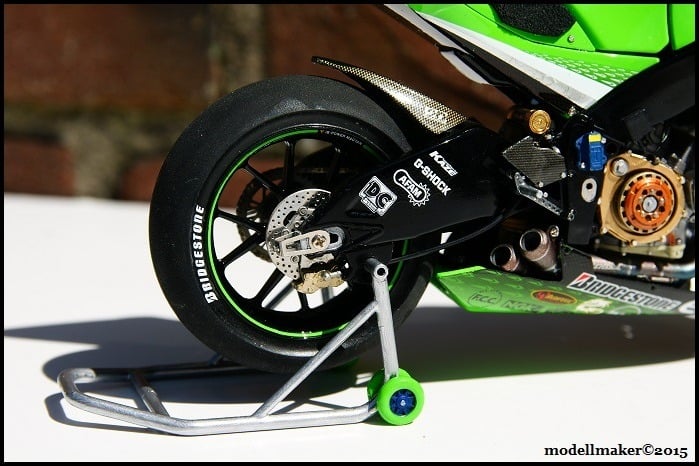 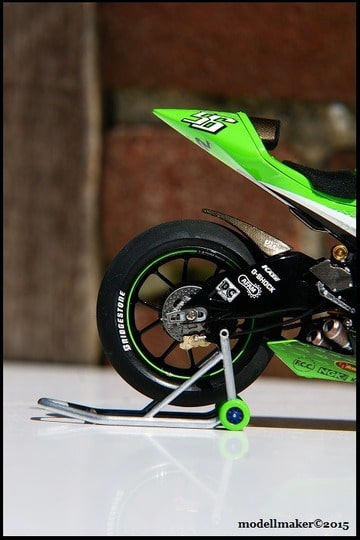    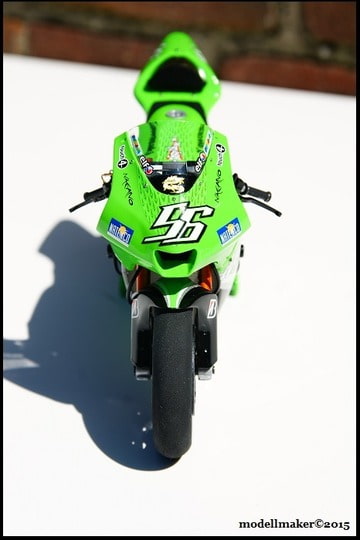 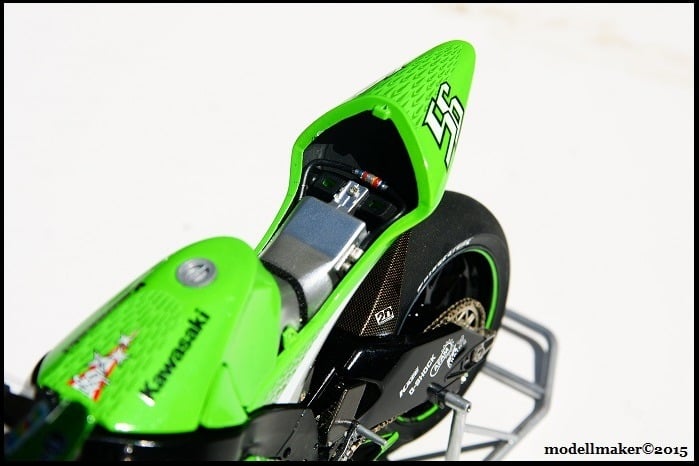 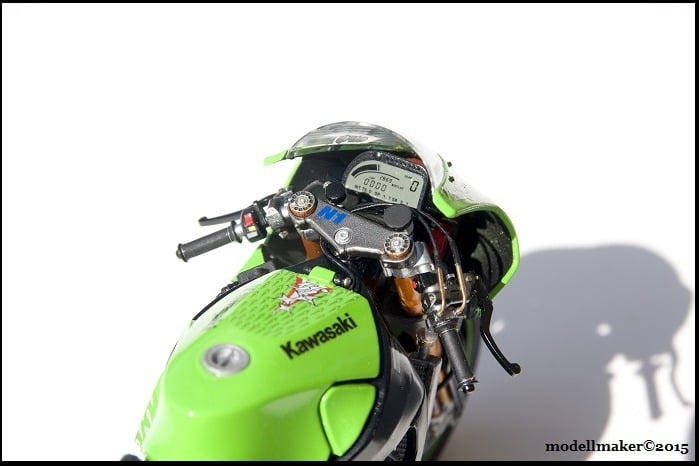 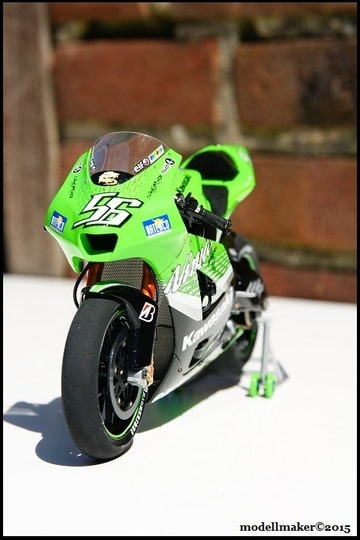   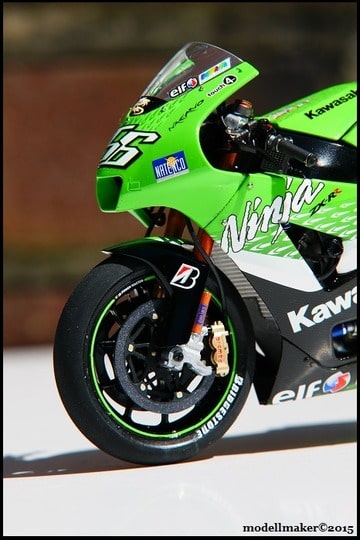  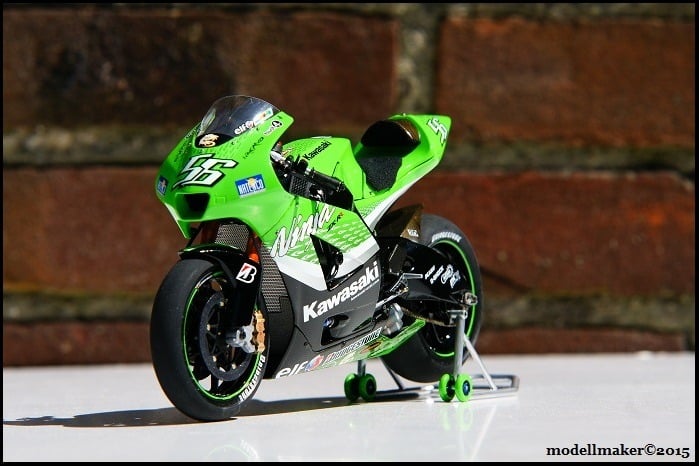  Thanks for watching, Untill next time. modellmaker.
__________________
Twitter, Instagram: #modellmaker |
|
|
|
|
|
05-17-2015, 06:49 AM
|
#34 | |
|
AF Newbie

Join Date: Jan 2013
Location: Hill City, Kansas
Posts: 51
Thanks: 0
Thanked 9 Times in 8 Posts
|
Re: Kawasaki ZX-RR 2006 motogp
Great job modellmaker! The extra detail parts and your attention and skill made this turn out really well. Was a lot of fun to watch your progress.
|
|
|
|
|
| The Following User Says Thank You to evilduse For This Useful Post: |
modellmaker. (05-17-2015)
|
|
05-21-2015, 04:57 PM
|
#35 | |
|
AF Regular

Join Date: Feb 2014
Location: Seattle, Washington
Posts: 107
Thanks: 0
Thanked 11 Times in 9 Posts
|
Re: Kawasaki ZX-RR 2006 motogp
Great job Modellmaker! These bikes seem to take forever, don't they?
I'm working on my building speed.. Love the extra details you've added. Excellent! Marco |
|
|
|
|
| The Following User Says Thank You to MarcoMoto For This Useful Post: |
modellmaker. (05-21-2015)
|
|
|
POST REPLY TO THIS THREAD |
 |
|
|

