Quote:
|
Originally Posted by theOmni
Update # 1
Updates are gonna be going slow for the next few weeks, as exams are closing in on me. After more than a week, this is all I've gotten done so far:
After priming, I waited for about 4 days before applying coats of paint. I inspected through it and lightly sanded some places with 1500 grit sandpaper where the primer seems to be a bit rough or uneven.
After applying some paint (in 3 steps) I noticed that in the 3rd step, the paint on the roof of the car was screwed up. It was uneven and had peeled off a bit because of my hand  . I waited a day for the whole paint to dry up. Today, I wet sanded it with 1500 paper, washed it, and 4-5 hours later, I applied the final coats of paint. This is what it looks like so far: . I waited a day for the whole paint to dry up. Today, I wet sanded it with 1500 paper, washed it, and 4-5 hours later, I applied the final coats of paint. This is what it looks like so far:
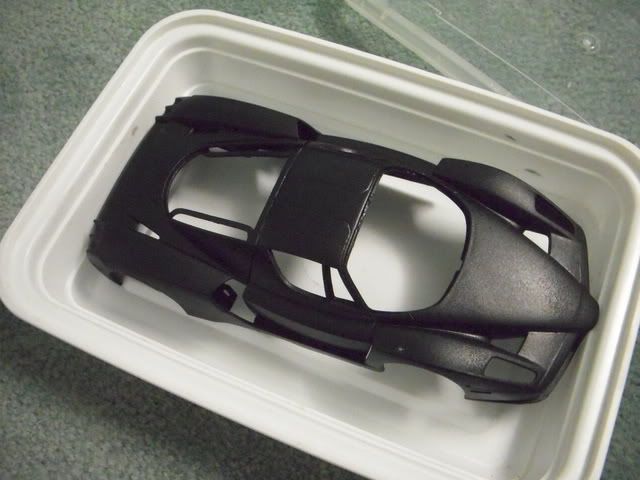
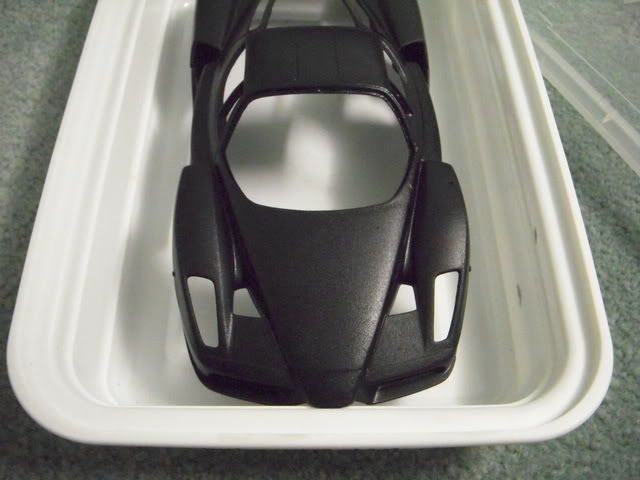
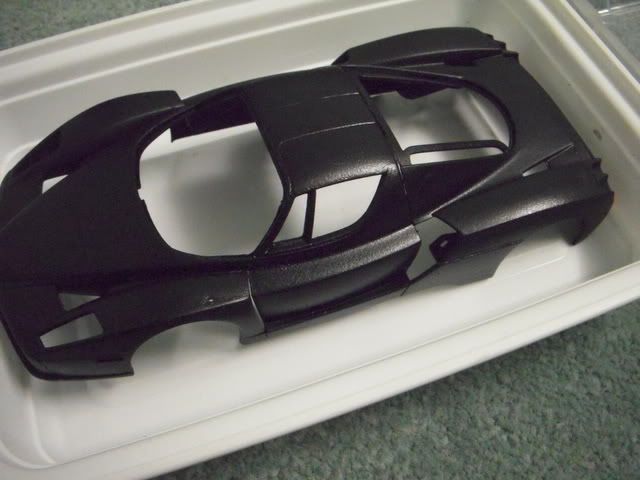
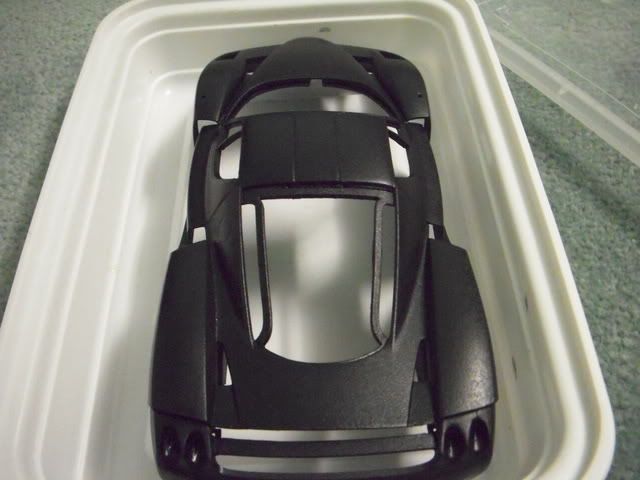
Some parts may look shinier than others, but thats because it hasn't had enough time to dry up. I will take a look at it again in about 3-4 days (after my first exam) and inspect a bit closer. So far, I am happy with the paint job. Certainly better than my very first model (see first picture).
If everything seems okay, I will do the final steps of the body work (sanding and polishing). After that, I will post up my full Tutorial:
Full Priming, Painting, and Polish and everything in between!
Look forward to it and support me  Also, in that tutorial, I will credit all those who's idea's I have taken in order to make this an awesome paintjob Also, in that tutorial, I will credit all those who's idea's I have taken in order to make this an awesome paintjob
|
Even allowing for the fact this is 2pack auto spray, you need to spray a little bit closer to the job than you otherwise would if you were using, say a Tamiya rattlecan, to achieve a smoother finish. Generally auto sprays are acrylic based to be user friendly, so they tend to dry even quicker when the atomised paint spots eject from the nozzle - & the spray pattern on those stupid nozzles aren't condusive to non-spatter.
Anyways a few quick blasts with light sanding in between should give you a nice surface to then clear coat.

 Show Printable Version |
  Subscribe to this Thread
 10-15-2008, 04:12 PM


