|
|
| Search | Car Forums | Gallery | Articles | Helper | Air Dried Beef Dog Food | IgorSushko.com | Corporate |
|
|||||||
| WIP - Street Post topics for any "Works In Progress" street vehicles projects in this sub-forum. |
 |
 Show Printable Version | Show Printable Version |  Subscribe to this Thread
|
|
|
Thread Tools |
|
#16
 05-10-2003, 07:13 PM
|
||||
|
||||
|
hmm well first pic i sae the chrome hood i thought it would look good but i dont like it that much, but amazing job on undercarraige!(sp?)

|
|
#17
05-10-2003, 07:19 PM
|
||||
|
||||
|
Quote:
Quote:
__________________
BSR (Sweden) A4 1.8T 225+hp 330Nm 
|
|
#19
05-11-2003, 04:31 PM
|
||||
|
||||
|
OK, here's a quick 'how to' for the shocks for anybody who's interested.
I'll start with a crappy picture, this shows the kit part and has the 4 cuts needed and the 3 pieces to be used. Other bits required are :- Length of tubing (I use brass) of approx 1mm external diameter. Length of brass rod that fits nicely into the tubing Springs (I use MiniZ but a pen spring cut to length should be OK).  Before I start, here are a few tips you may want to consider:- 1) If possible, practice on a spare shock coz if this goes wrong you could have all sorts of trouble! 2) I personaly make one at a time using the second as a guide for the size of the new one and then the completed new shock as a guide to the second. 3) I also perform only one cut at a time and build it up bit by bit, this way you can adjust cuts or lengths as required. Wanna go for it? OK then:- STEP1 Do cut1, removing the shock from the bottom piece (A). After sanding down the top surface of 'A', use a drill of equal diameter to the tube to make a hole just deep enough to hold a length of the tube fairly securely. On some models, for example the rear of the Subaru, the upright is either wider than the base or moulded onto the end. In these cases just work something out that best suits the part, as long as the upright can be held securely in some way. STEP2 Using the suspension part for the other side of the model (the uncut one), measure and cut a length of the tubing that is equal to the original upright (between parts A and B), PLUS enough to fit into the hole you just drilled PLUS half to two thirds of the thickness of part B, the spring support. This can then be superglued into the drilled hole, being carefull to get it nice and straight. STEP3 You can now do cuts 2 and 3. This will leave you with the spring support. Clean it up and using the same drill, do a hole right through the centre. Again using the uncut shock as a guide, slide the support down onto the tube a super glue into place, being VERY carefull not to block the hole in the tube STEP4 Spring. As I said, I use MiniZ springs, which when cut in half are just the right length to do two shocks (this depends on the model of course). Whatever spring you choose to use, just cut it to the same length as the molded spring bit on the kit part, ie to fit between your parts B and C. After cuting a spring, you should have one flat end and one uneven end (the cut end). Super glue the FLAT end to the spring support, again being carefull not to block the hole and making sure it is nice and straight. NOT FAR TO GO NOW!! STEP4 Cut 4. I didn't mark this on the diagam, but when doing cut 4, I move down the spring slightly and cut. The reason for this is to give an uneven surface, which if guessed correctly, will compensate for the uneven end of the spring. If in doubt, cut a little to low and sand back until you get a surface that sits nicely on the chopped spring. You then drill a hole, this time the diameter of the brass rod into the centre of this part but not through. STEP5 Cut a length of the rod that after putting into the just drilled hole, equals the length of the spring (between parts B and C) PLUS about one third to half of the length of the tubing (between parts A and B). Super glue into the hole in part C. STEP6 And thats it folks, all that remains is to super glue the top of the spring to part C and you have a real working coilover on you model. You can then use this new piece as a size guide to the second shock. One thing I do is to paint as I go along, this makes it take a little longer but if you want to, for example, paint the spring red and the piston of the shock silver, it's much easier. Hope some of you find this helpfull, at the end of the day no body ever sees it but like a lot that we do, its just nice to know it's there!!!! Richie
__________________
BSR (Sweden) A4 1.8T 225+hp 330Nm
|
|
#20
05-20-2003, 04:08 PM
|
||||
|
||||
|
Hi folks, been doing a little work on the interior over the last few days.
Here are the pics :- 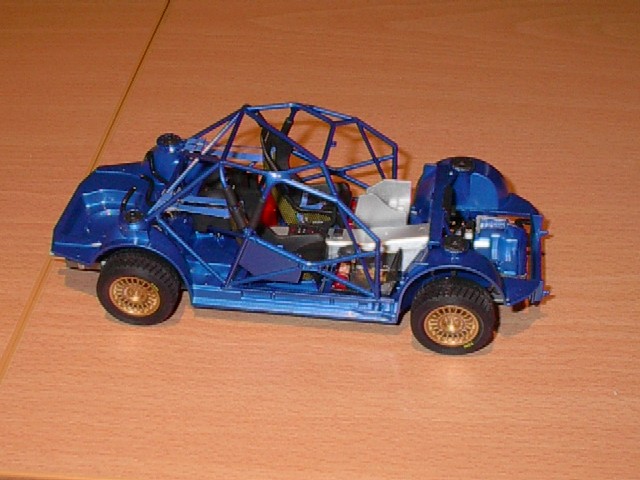 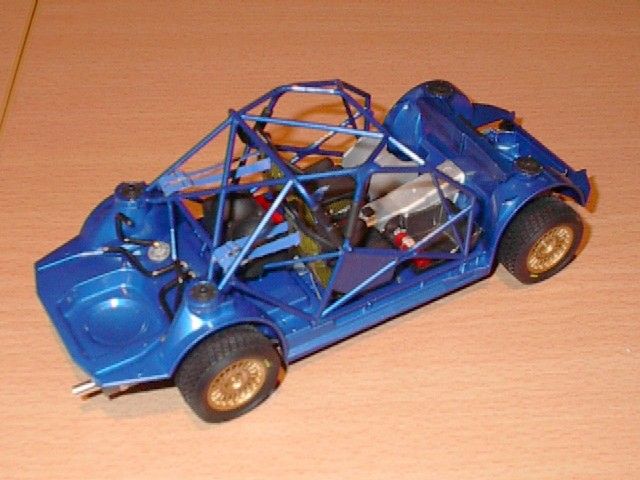 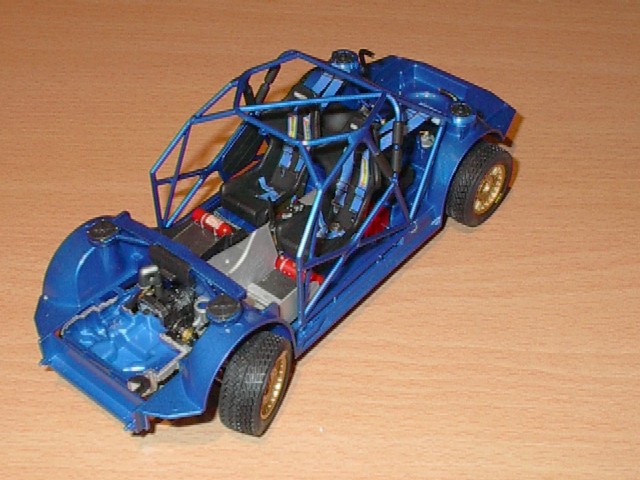   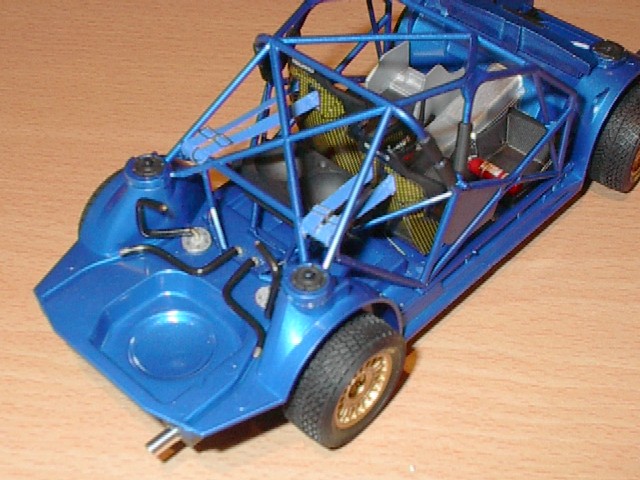 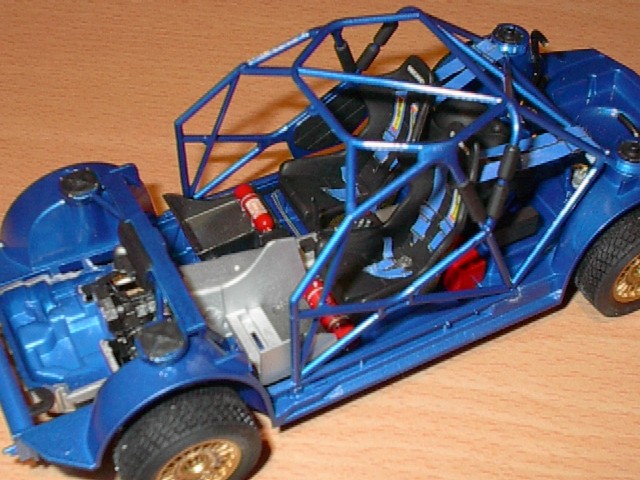 So far have added a few wires, pipes etc and used ref pics to see the pipes for the fuel tank. Next, engine. Hope you like it. Richie
__________________
BSR (Sweden) A4 1.8T 225+hp 330Nm
|
|
#21
05-20-2003, 04:12 PM
|
||||
|
||||
|
nice

__________________
The name's Adrian 1990 Civic HB Si - 265.7whp/223tq @9.2psi. Tuned on NepTune by J.Mills 1991 Civic Sedan DX - 296.3whp/230tq @1bar. Tuned on NepTune by J.Mills 1991 Civic Sedan DX - 185.8whp/139tq. Tuned on NepTune by J.Mills 2006 G35 Coupe 6MT - Stock 2011 CR-Z - Stock
|
|
#22
05-20-2003, 07:44 PM
|
||||
|
||||
|
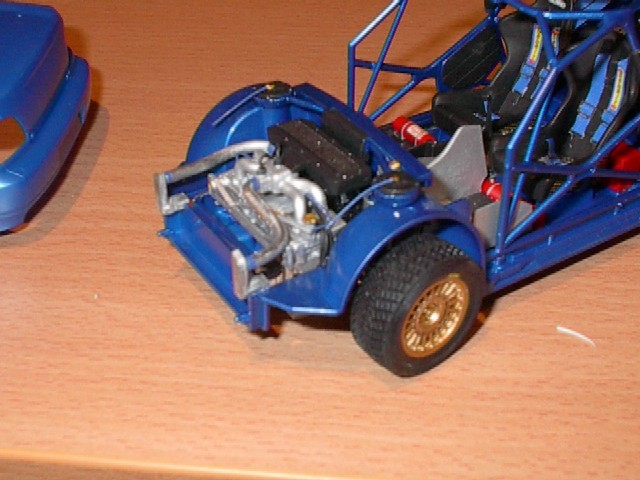
Hello again, twice in one night, bloody hell.
Have been doing a bit of work on the engine, here it is:- 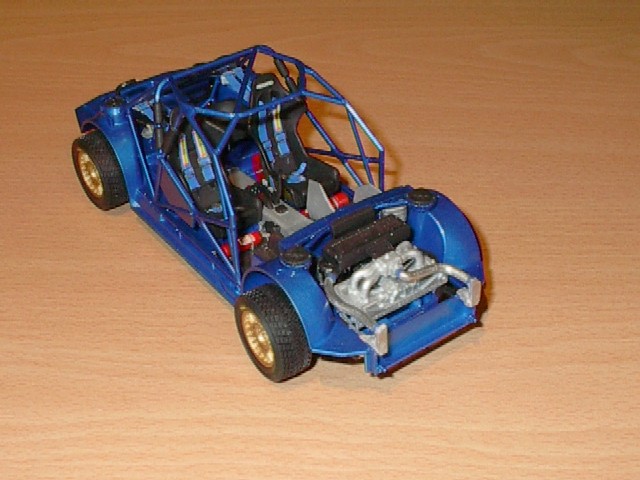      Still lots to do, will keep you all informed
__________________
BSR (Sweden) A4 1.8T 225+hp 330Nm
|
|
#23
05-20-2003, 08:50 PM
|
||||
|
||||
|
Looking good. Nice engine also.
|
|
#24
05-20-2003, 08:54 PM
|
||||
|
||||
|
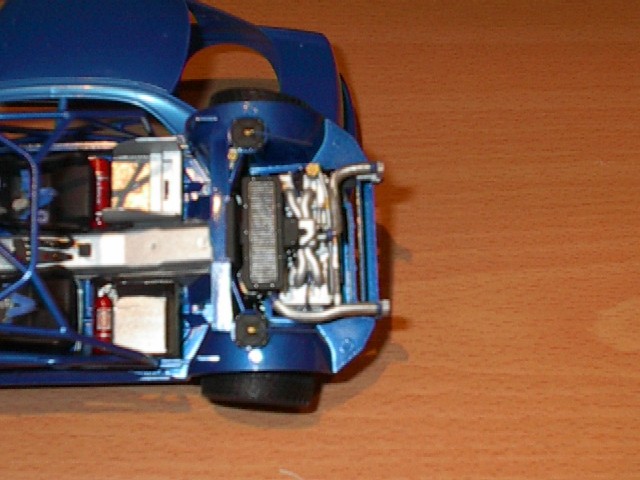
With a few wires and stuff.
__________________
BSR (Sweden) A4 1.8T 225+hp 330Nm
|
|
#25
05-23-2003, 01:41 PM
|
||||
|
||||
|
Finally got around to hanging the doors.
Tomorrow......bonnet! 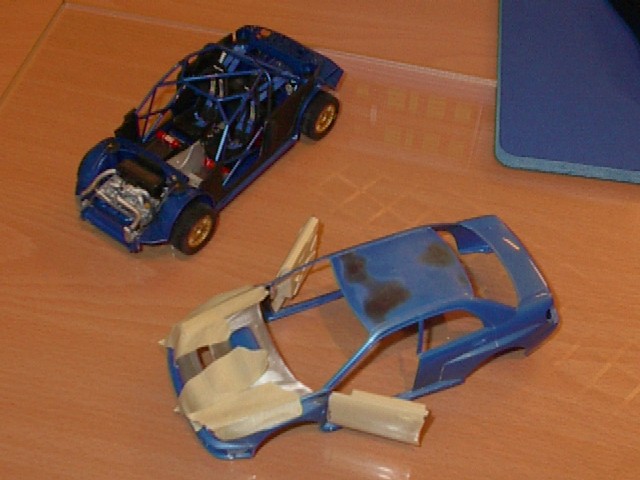  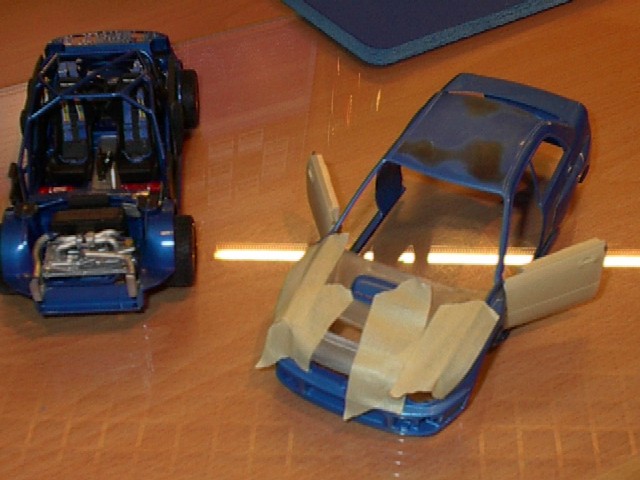
__________________
BSR (Sweden) A4 1.8T 225+hp 330Nm
|
|
#26
05-23-2003, 06:43 PM
|
||||
|
||||
|
Awesome!!!! I did not realize that kit came w/ a motor!!!
|
|
#27
05-24-2003, 07:33 AM
|
|||
|
|||
|
Awesome!!!! I did not realize that kit came w/ a motor!!!
It didn't! Its the Studio 27 upgrade for it. Hey UKSupraBoy ; Keep the pics coming. I myself am very interested in this conversion as I am looking at doing the same thing. I am in the process of gathering up all the bits and pieces I need at the moment before I start. Geez you don't realize how many there are out there that you can get, do you, until you start. How did you end up hingeing the doors in the end and did you have any problems fitting the Ren.... doors as I have them coming in the post at the moment? Cheers Tony
|
|
#28
05-24-2003, 07:52 AM
|
||||
|
||||
|
Nobby Nuts, good luck with your attempt.
As for the doors, I found a few problems with one side. The inner door panel was a little large for the cut out in the original interior panel but a bit of careful sanding sorted it out. This has been one of the main reasons that I am building the body last. Another thing to watch if you get the engine kit, is the bonnet/hood. With the new shock tower/strut brace, the bonnet didn't quite close properly. I just very gently, very slightly curved the bonnet over. I also had to sand down the leading edge of the black bit at the windshield base. For hinging the doors I have used a short piece of tube vertically on the inside, very edge, of the door and some bar that comes in a 'V' from the body work before bending upwards. The tube then slides down onto the wire. This way means that the leading edge goes slightly inside the front wing when the door is opened as it should. Good luck again matey. Richie
__________________
BSR (Sweden) A4 1.8T 225+hp 330Nm
|
|
#29
05-24-2003, 08:00 AM
|
|||
|
|||
|
Thanks Ritchie
Thanks Ritchie. Sounds like I am going to have fun with this one.
Regards Tony
|
|
|
POST REPLY TO THIS THREAD |
 |
|
|


