|
|
| Search | Car Forums | Gallery | Articles | Helper | Air Dried Fresh Beef Dog Food | IgorSushko.com | Corporate |
|
#197
 05-08-2010, 01:09 PM
|
|||
|
|||
|
Re: Jordan 191
This is really not fair.
__________________


|
|
#198
05-08-2010, 03:36 PM
|
||||
|
||||
|
Re: Jordan 191
Looks like the real thing, a top model !!!
__________________
Micha       
|
|
#201
05-10-2010, 01:41 AM
|
||||
|
||||
|
Re: Jordan 191
[Drops dead in a faint] ...... bonk!
__________________
Guideline for happy modeling: Practice on scrap. Always try something new. Less is more. "I have a plan so cunning, you could put a tail on it and call it a weasel" - Edmund Blackadder
|
|
#206
05-11-2010, 01:48 PM
|
||||
|
||||
|
Re: Jordan 191
Supreme work Jaykay! Thanks for giving me that extra push of inspiration! Keep up the phenomenal work.
__________________
-Mike AF Director of Media / Photographer  [email protected] | AutomotiveForums.com | Flickr Gallery
|
|
#207
05-11-2010, 01:57 PM
|
|||
|
|||
|
Re: Jordan 191
Simply mind blowing a masterpiece it is so depressing just by looking at your work since I know I will never achieve your level of detail building but anyhow still enjoy watching you build Thank you Jay!

|
|
#208
05-13-2010, 12:35 PM
|
|||
|
|||
|
Re: Jordan 191
Against my own expectations I have made some more progress already, so here come some new pictures :-)
It was finally time to glue the monocoque to the undertray. I did that with epoxy glue after first attaching the sidepods to the monocoque. Like this I had better access to them and it was easier to ensure they ended up in the right spot. After everything was in place I mounted these meshes inside the sidepods. I guess they are to protect the radiators from debris. To be honest, theyll hardly be visible, but I got carried away when making the etched parts so in they went :-) 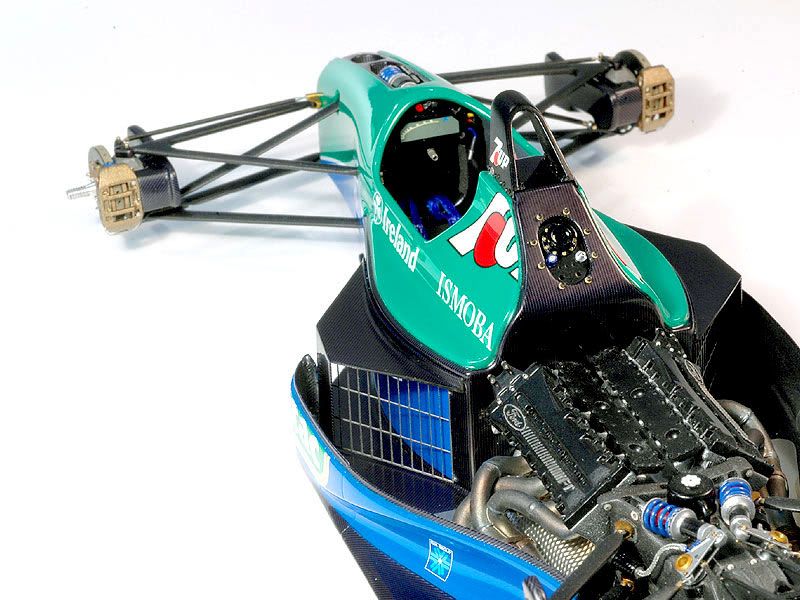 Then came the radiators. I had postponed finishing them until the sidepods and engine were in place in case the parts lineup wasnt correct anymore. This proved to be a wise decision, as some additional filing and bending was necessary to make them sit right. I started by milling the molded in radiator grids off the Tamiya parts to replace them with etched ones. I also etched these structures that sit on top of the radiators and fix them to the sidepods. 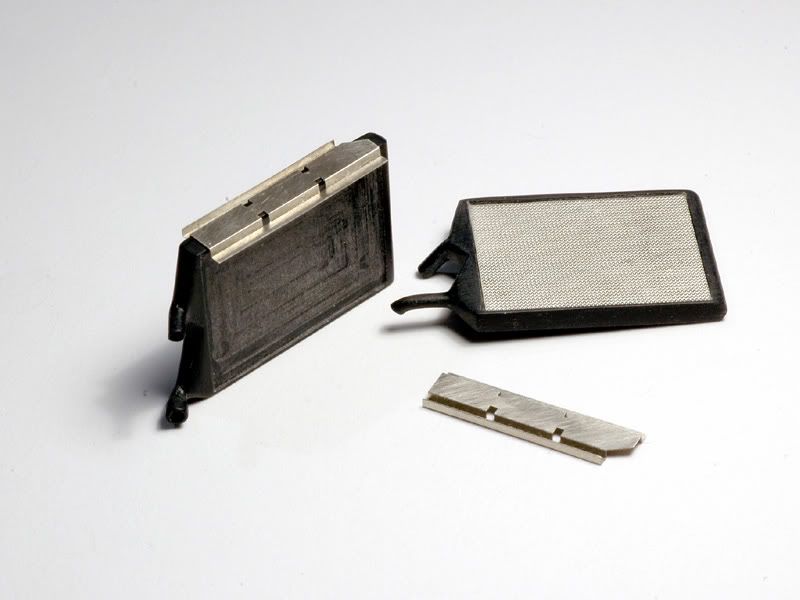 I primed the parts and painted them Alclad Highly Polished Aluminium over a gloss black base. The radiator mesh is divided in two layers. The lower or inner layer has the typical zigzag pattern. This part received a wash to bring out the pattern a bit more. The overlay part just has a very thin horizontal grid. This was painted Alclad HPA as well to blend in with the painted radiator body. As a result the radiator mesh has more depth than a typical aftermarket etching part. Mine are also finer but they are really fragile and tricky to handle :-) In the picture you see a finished assembly on the left side and the radiator on the right is awaiting the second layer etched part in front of it. 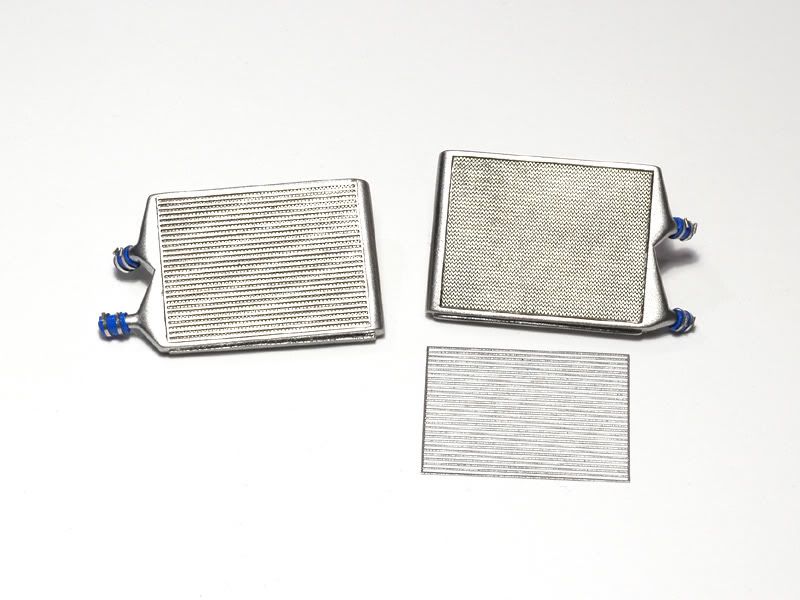 I also made the blue hose connections from masking tape and tiny metal bits and then installed the radiators. The etched parts on top were CFd, cleared and polished and I added those vertical straps that seem to fix the radiators as well on the real car.  Heres a close up view from the side 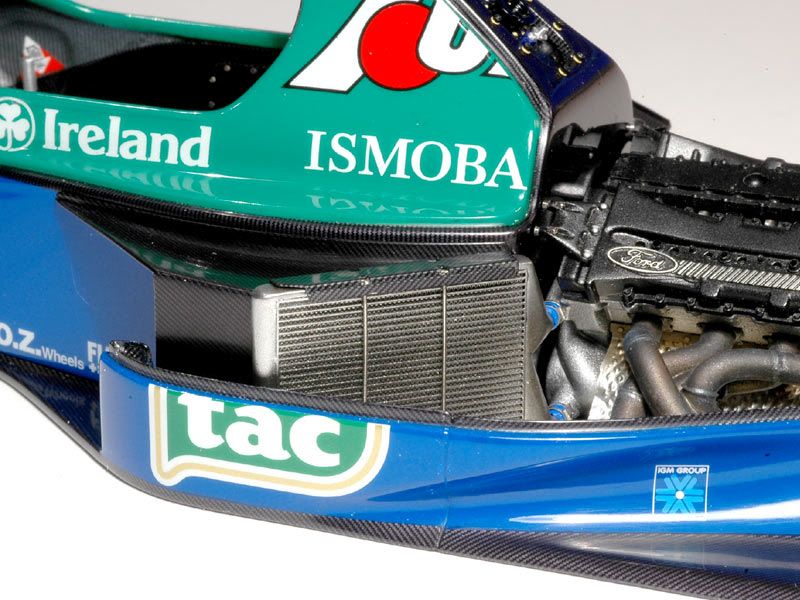 and a complete sideview of the current state. Starts to look like an F1 car :-)  Thanks a lot again for all your comments and see you for the next update!
|
|
 |
POST REPLY TO THIS THREAD |
 |
|
|


