|
|
|

|
|
| Search | Car Forums | Gallery | Articles | Helper | Quality Dog Food | IgorSushko.com | Corporate |
|
| Latest | 0 Rplys |
|
|||||||
| WIP - Street Post topics for any "Works In Progress" street vehicles projects in this sub-forum. |
 |
 Show Printable Version | Show Printable Version |  Email this Page | Email this Page |  Subscribe to this Thread
|
|
|
Thread Tools |
 09-13-2010, 08:53 PM
|
#1 | |
|
AF Enthusiast

Join Date: Oct 2008
Location: Auckland
Posts: 2,761
Thanks: 51
Thanked 136 Times in 134 Posts
|
Murcielago 40th Anniversary
Hey guys
Here is another of my builds that I have going on, Truth is I got the colour from Zero & just had to see what it looked like painted, so out the box came & thats why my F50 hasnt been going very far... Anyway.. Kit is Fujimis average Murcielago kit with Photoetched parts ( the PE set is done by KA models), Its a damn good kit, it has its issues but should build up nicely. The main inaccuracery is the windows, fujimi has molded "rubber" seals around the glass, this isnt correct, the glass goes all the way to the edge & sits flush with the A pillar & roof line bodywork, So Ive changed this & am pretty happy with the result. Let the Photos do the Talking... Inspiration 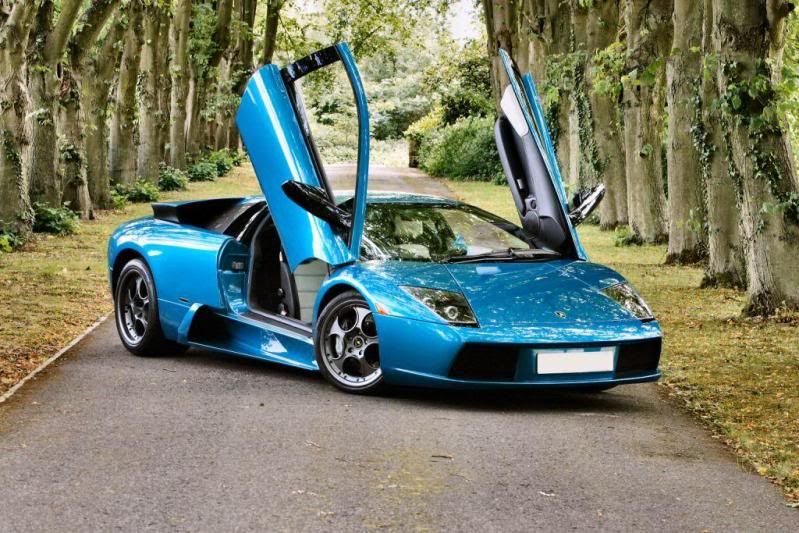 All of the vent areas are molded closed - so I opened them 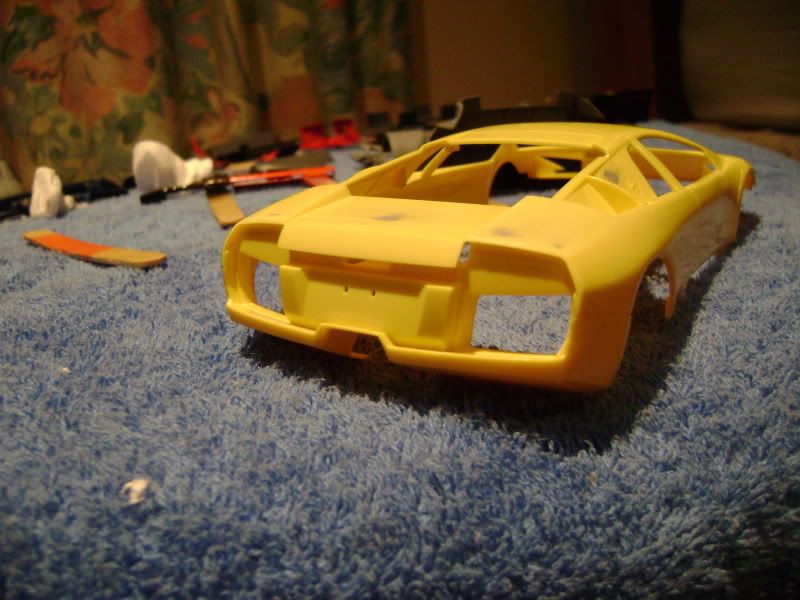  New recessed window frame with mounts for mirrors 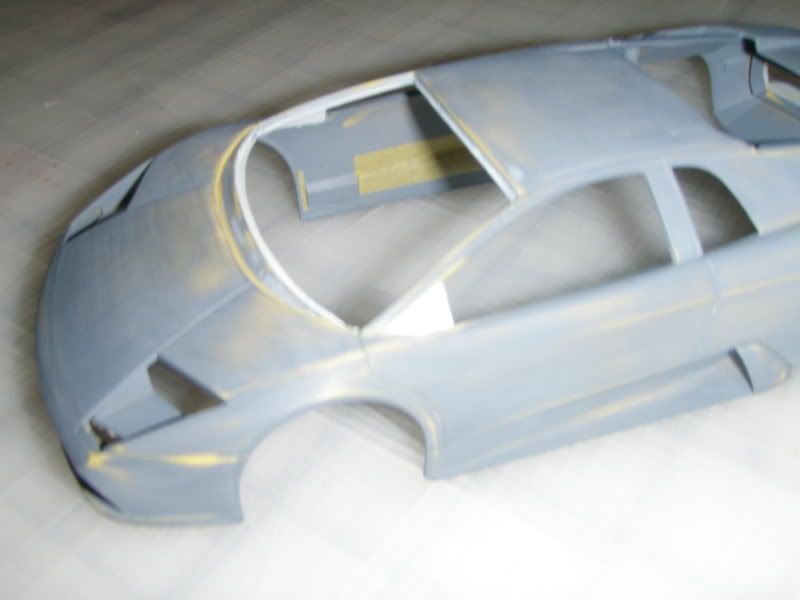 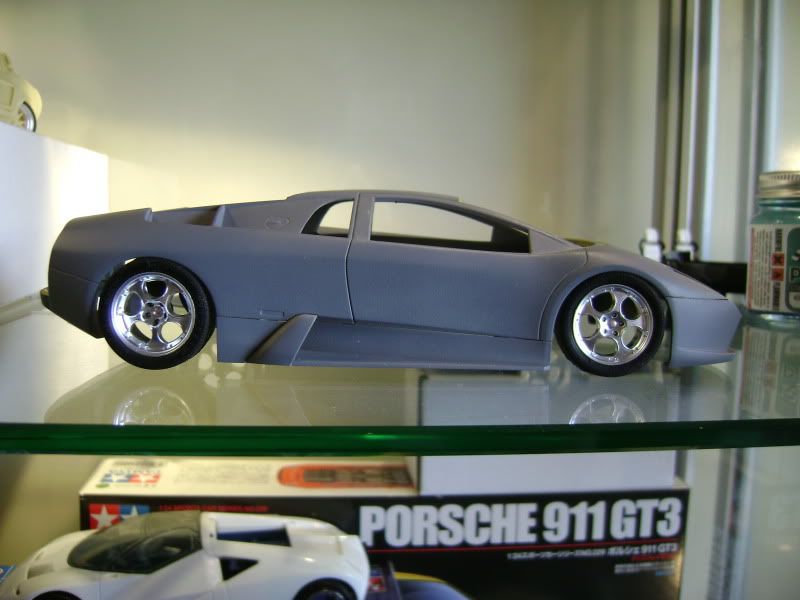 This is the PE set produced by KA Models - includes all the mesh, Brakes, wiper, interior stuff & even an iPod & cell phone!!! 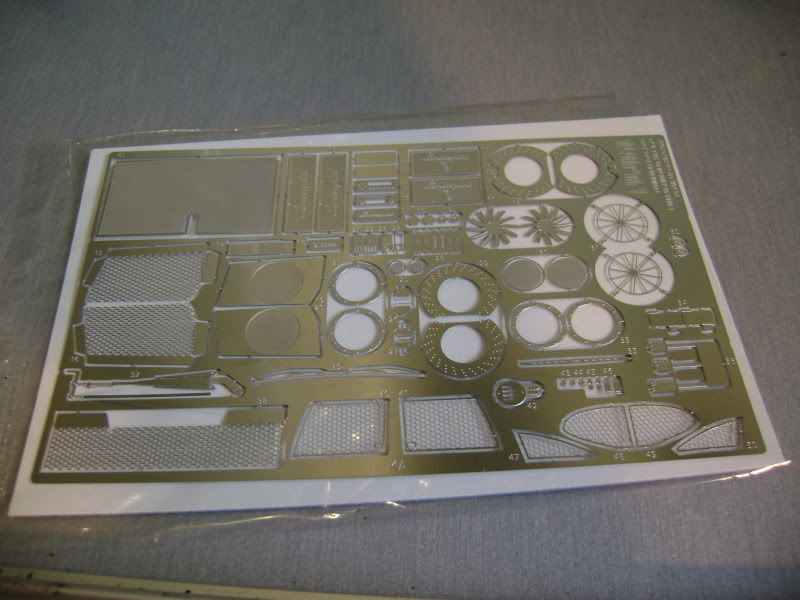 This is the amazing colour 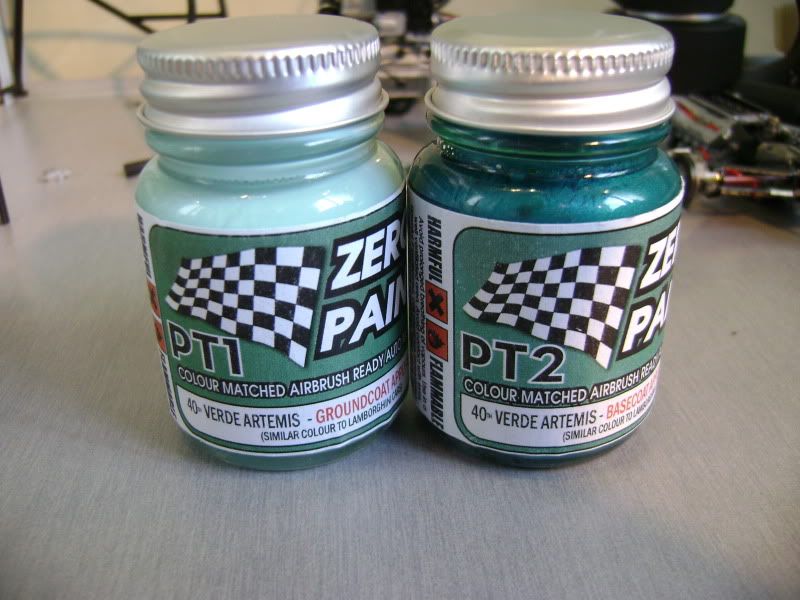 & in the sun 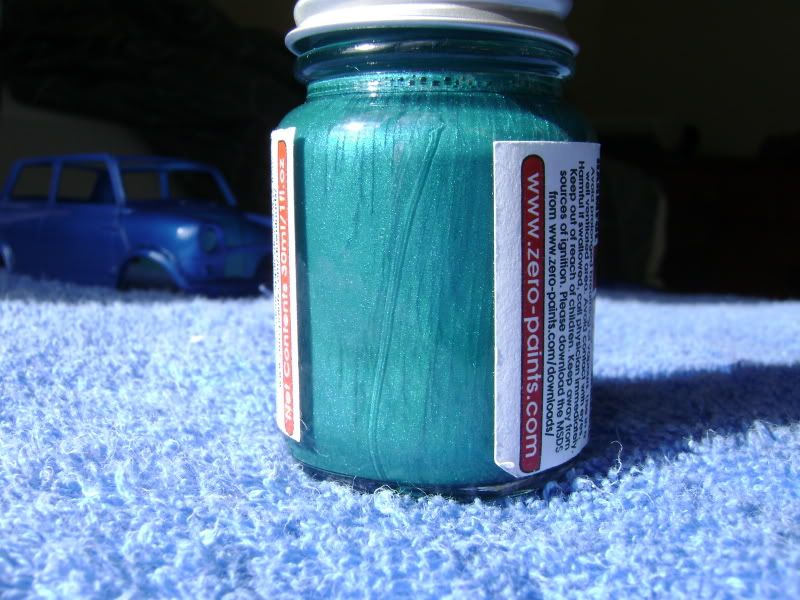 Ground coat is a nice solid mint colour - looks abit weird on a Lambo..  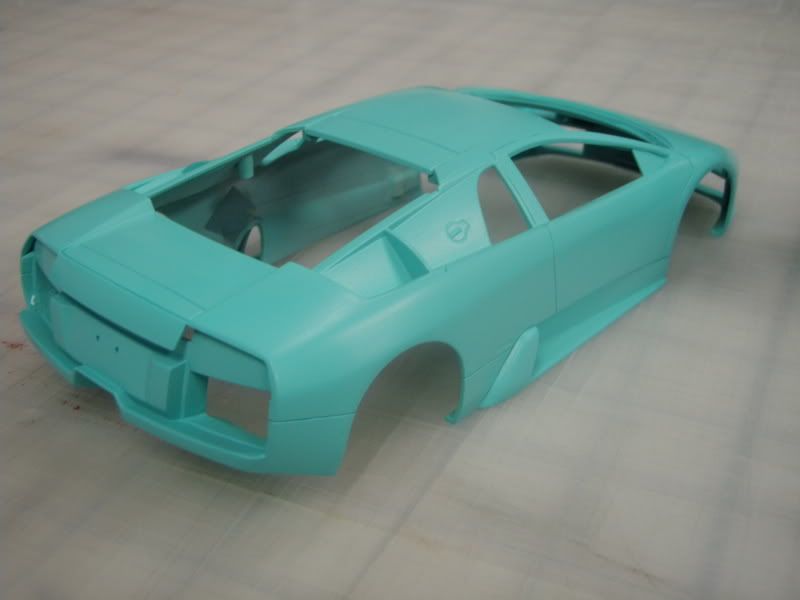 I wanted body colour brakes 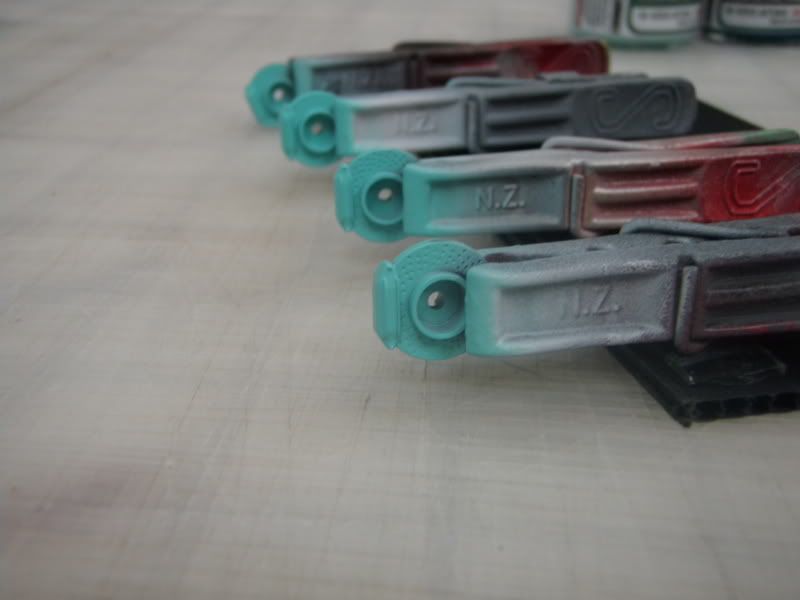 First light coat of base coat 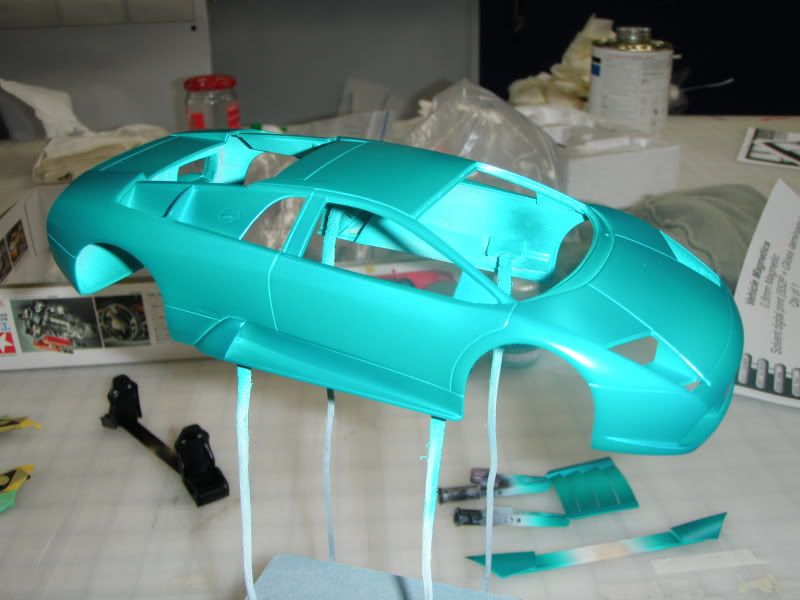 Finished base coat - I think I applied 3 light coats of this colour as per directions. Very hard to photograph but is very beautiful in person 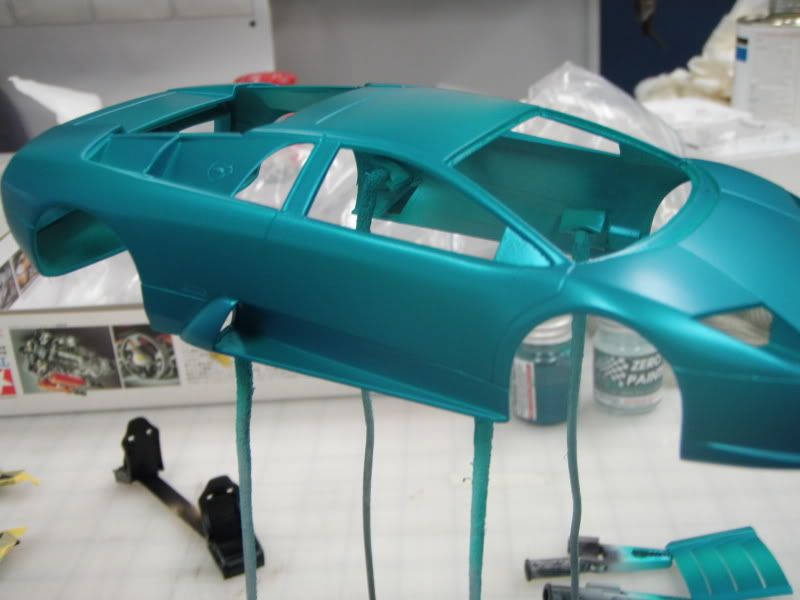 The weather then turned to crap for ages so no good shots until now, Thanks Spring!! 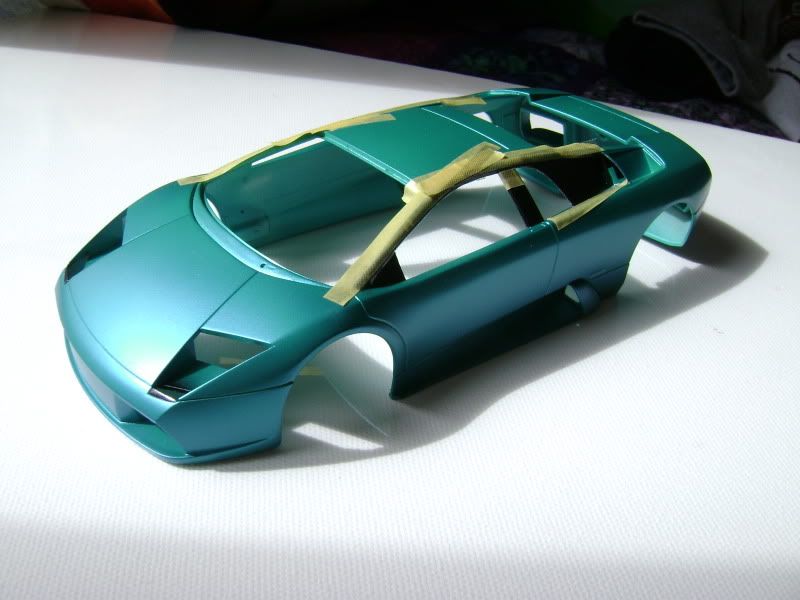 Adding the false carbon fibre to sides - I'm using SMS's amazing Clear CF decal before I clear coat it with 2K clear  Working on th PE stuff 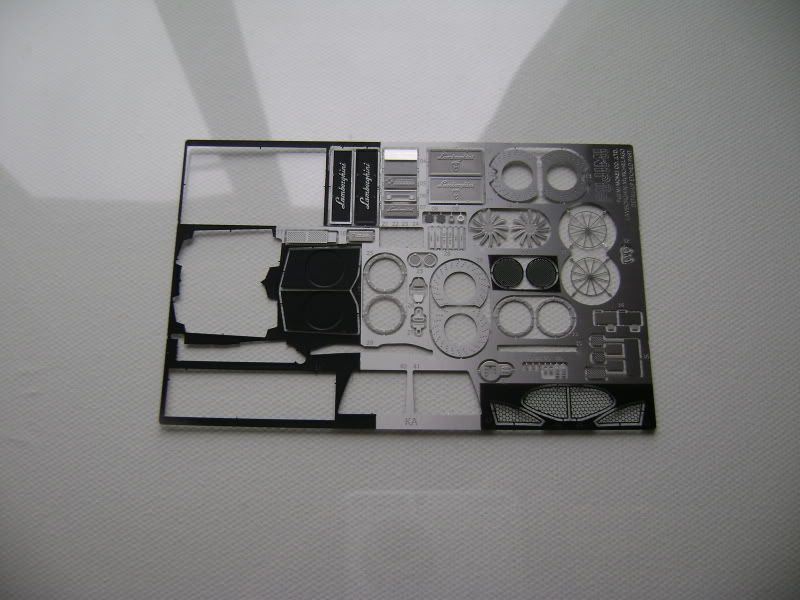 Doors are not strickly accurate but changing them required changing 80% of the interior. 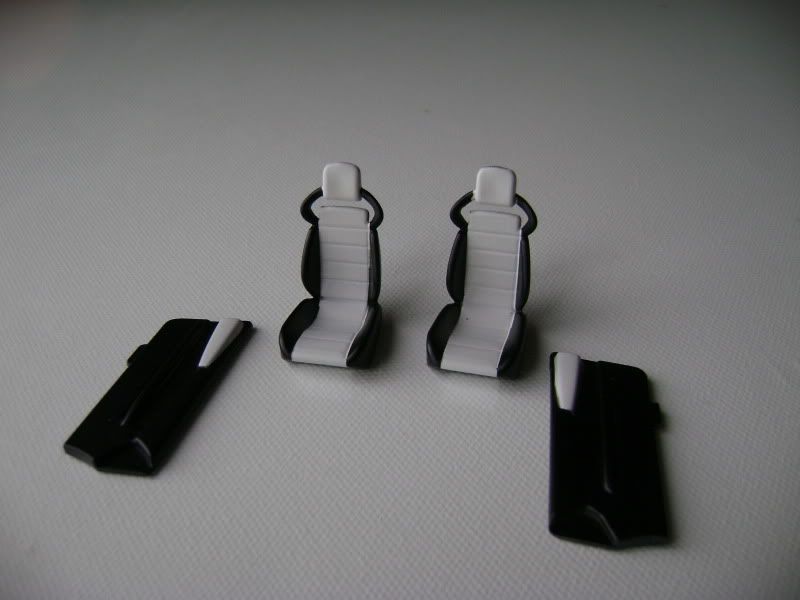 Exhaust - Alcad chrome 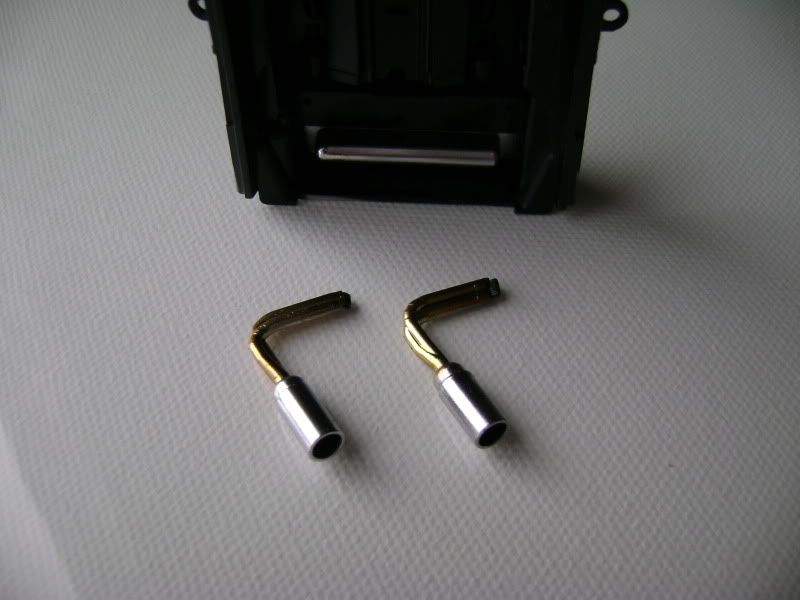 I bend up all the mesh before painting to avoid craking the paint. very crisp & sharp  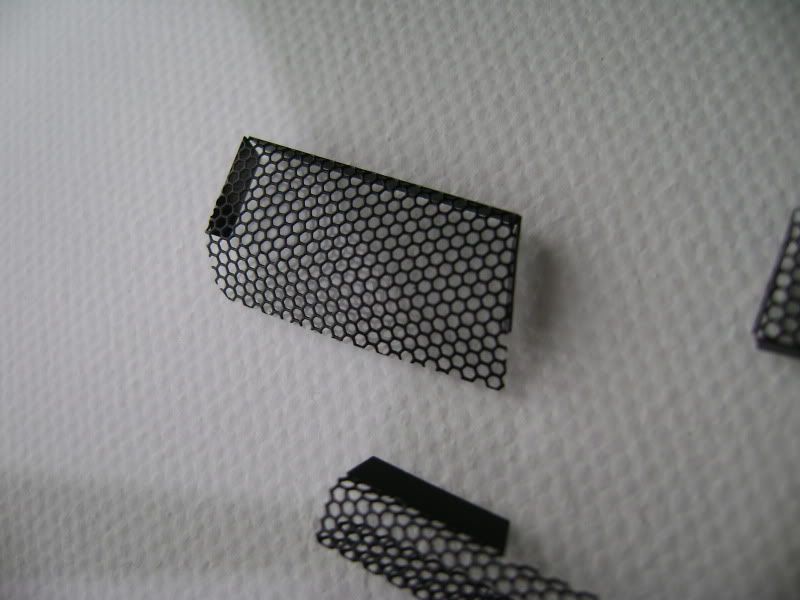 Exhaust shield - very difficult to bend 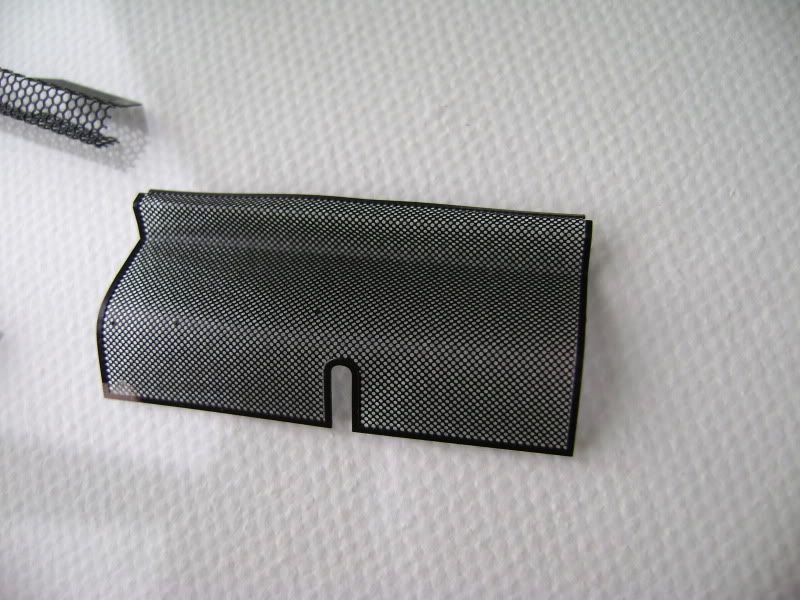 Thats all for now, I'm working on getting her ready for clearcoat this weekend. Thanks for looking, let me know what you think!! Ash
__________________
 It's Not wheather you Win or Lose, its how you look while you play the Game |
|

|

|
|
09-13-2010, 09:19 PM
|
#2 | |
|
AF Enthusiast
Join Date: Jan 2002
Location: Washington, Washington DC
Posts: 2,383
Thanks: 129
Thanked 102 Times in 95 Posts
|
Re: Murcielago 40th Anniversary
Nice work and pics so far!
|
|
|
|
|
|
09-13-2010, 10:23 PM
|
#3 | |
|
AF Regular

Join Date: Jun 2010
Location: Bahia Blanca
Posts: 268
Thanks: 5
Thanked 3 Times in 3 Posts
|
Re: Murcielago 40th Anniversary
wow! excelent work you are doing!
The colour is very beatiful...and the photoetched part are also great! |
|
|
|
|
|
09-14-2010, 02:21 AM
|
#4 | |
|
AF Enthusiast

Join Date: Jan 2009
Location: Brisbane
Posts: 685
Thanks: 0
Thanked 4 Times in 4 Posts
|
Re: Murcielago 40th Anniversary
You have got some good progress and the colours looks great!
__________________
or 2010 QMHE Intermediate Silver - Mini Cooper S 2010 QMHE Intermediate Bronze - 37' Delivery 2011 QMHE Intermediate Silver - Panzer Tank 2011 QMHE Imtermediate Bronze - McLaren M8B |
|
|
|
|
|
09-14-2010, 06:43 AM
|
#5 | |
|
AF Enthusiast
Join Date: May 2004
Location: Sao Paulo
Posts: 675
Thanks: 17
Thanked 15 Times in 15 Posts

|
Re: Murcielago 40th Anniversary
Great work so far, i´m also building a Murcielago and i´m using KA models PE as well, very ince color choice.
Carefull with the rear PE brake disc it doesn´t fit perfectly. I´ll try to take some photos from my Murcielago to post here. Regards, |
|
|
|
|
|
09-14-2010, 06:59 AM
|
#6 | |
|
AF Newbie

Join Date: Feb 2009
Location: Auckland
Posts: 34
Thanks: 0
Thanked 1 Time in 1 Post
|
Re: Murcielago 40th Anniversary
Wow! That colour is intense. Very nice.
With the Zero paints, is the ground colour a primer or is there primer under it? Also, being from Auckland as well I'm curious to know, do you order the paints direct and have you had any problems with getting them shpped here?
__________________
I'm not a complete idiot, some parts are missing. |
|
|
|
|
|
09-14-2010, 10:04 AM
|
#7 | |
|
AF Regular
Join Date: Feb 2009
Location: Moscow, Russia
Posts: 297
Thanks: 5
Thanked 17 Times in 16 Posts
|
Re: Murcielago 40th Anniversary
Great work! I already like it. Especially the sits. Keep it going!
__________________
 "Precious and fragile things Needs special handling.." "Precious and fragile things Needs special handling.."
|
|
|
|
|
|
09-14-2010, 01:56 PM
|
#8 | |
|
AF Enthusiast

Join Date: Dec 2008
Location: Limerick, Ireland
Posts: 744
Thanks: 2
Thanked 6 Times in 6 Posts
|
Re: Murcielago 40th Anniversary
Really great work so far, the colour is teriffic
__________________
https://www.instagram.com/ecemodelling/ |
|
|
|
|
|
09-14-2010, 08:34 PM
|
#9 | |||
|
AF Enthusiast
Thread starter
Join Date: Oct 2008
Location: Auckland
Posts: 2,761
Thanks: 51
Thanked 136 Times in 134 Posts
|
Re: Murcielago 40th Anniversary
Thanks evryone, yeah I love the colour too, cant wait to clear coat it, itll really bring out the blue pearl in the paint.
Quote:
Quote:
I used a white primer as a base then applied the mint green, the teal colour is very thin & not a solid colour, the mint makes the top colour really pop!! I havent had any problems so far with customs not letting my paint in, I do worry about that, Hiroboy writes on the customs declaration that it is hobby parts & accessories. So far I think ive got about 12 zero paints spread accross 2 shipments. Thanks everyone, stay tuned!! Ash
__________________
It's Not wheather you Win or Lose, its how you look while you play the Game |
|||
|
|
|
|
09-15-2010, 10:55 PM
|
#10 | |
|
AF Fanatic

Join Date: Feb 2004
Location: Hartford, Connecticut
Posts: 5,601
Thanks: 7
Thanked 108 Times in 103 Posts
|
Re: Murcielago 40th Anniversary
Great job on bending the pe. Did you use dowels? Keep us posted!
__________________
In Progress    
|
|
|
|
|
|
09-18-2010, 12:41 PM
|
#11 | |
|
AF Regular

Join Date: Jan 2005
Location: Puebla
Posts: 439
Thanks: 6
Thanked 13 Times in 3 Posts

|
Re: Murcielago 40th Anniversary
Great build, nice job correcting the windshield to make it fit flush with the body.
The paint looks so smooth, can't wait to see it under the clear. On the interior, a little correction, one characteristic of this version is the asymmetrical color scheme, the driver's side seat and door upholstery are covered with Grigio Syrius (dark grey) perforated leather while the passenger's side is covered in smooth black leather. Based on the body plastic color I assume you have one of the first non corrected versions of the kit, so, some corrections will be required to the ride height and front track width, check what I did to mine Here... Keep it coming!
__________________
Happy modeling! Ramon Garcia Puebla, Mexico |
|
|
|
|
|
09-18-2010, 01:11 PM
|
#12 | |
|
AF Enthusiast

Join Date: Jun 2008
Location: Kuala Lumpur
Posts: 505
Thanks: 2
Thanked 6 Times in 6 Posts
|
Re: Murcielago 40th Anniversary
love the color, u did a great job, it is so smooth i can't even see the metallic flakes
 |
|
|
|
|
|
09-19-2010, 11:30 AM
|
#13 | |
|
AF Enthusiast
Join Date: Mar 2009
Location: Rio de Janeiro, Brazil
Posts: 1,209
Thanks: 6
Thanked 144 Times in 136 Posts
|
Re: Murcielago 40th Anniversary
Great job man!
__________________
https://www.instagram.com/denilsonvm_modelcars/ |
|
|
|
|
|
09-20-2010, 01:25 PM
|
#14 | |
|
AF Enthusiast

Join Date: May 2007
Location: Budapest
Posts: 1,264
Thanks: 0
Thanked 14 Times in 14 Posts
|
Re: Murcielago 40th Anniversary
This is fantastic so far, both the color and the details, I bet it will look superb once finished! Can't wait!
__________________

|
|
|
|
|
|
09-20-2010, 08:39 PM
|
#15 | |||
|
AF Enthusiast
Thread starter
Join Date: Oct 2008
Location: Auckland
Posts: 2,761
Thanks: 51
Thanked 136 Times in 134 Posts
|
Re: Murcielago 40th Anniversary
Quote:
Thanks heaps for the link, those pics are very inspiring & really show the effort you went to. I was aware that the interior was different side to side, but I thought it was just the drivers seat that was trimmed differently. I do plan to mask & give it a light coat of grey. I painted both black just to save time. As for the Ride height, I did know about this issue from an article on Scalewiki (which I dont think is there anymore) but ive decided to use different wheels & will tackle the ride height when they arrive. I know bad way to do things, paint the body & then work out the mods. I was just too impatient to see that colour!! Quote:
__________________
It's Not wheather you Win or Lose, its how you look while you play the Game |
|||
|
|
|
|
|
POST REPLY TO THIS THREAD |
 |
|
|


