|
|
| Search | Car Forums | Gallery | Articles | Helper | Air Dried Beef Dog Food | IgorSushko.com | Corporate |
|
|||||||
| Register | FAQ | Social Groups | |||||||||||||||||||||||||||||||||||||||||||||||||||
| WIP - Motorsports Post topics for any "Work In Process" motorsports vehicles in this sub-forum. |
 |
 Show Printable Version | Show Printable Version |  Subscribe to this Thread
|
|
|
Thread Tools |
|
#46
 04-26-2010, 03:31 PM
|
|||
|
|||
|
Re: Porsche 917K Le Mans 1971
As asked by Slave 1, here a little tutorial about cutting out doors and so on.
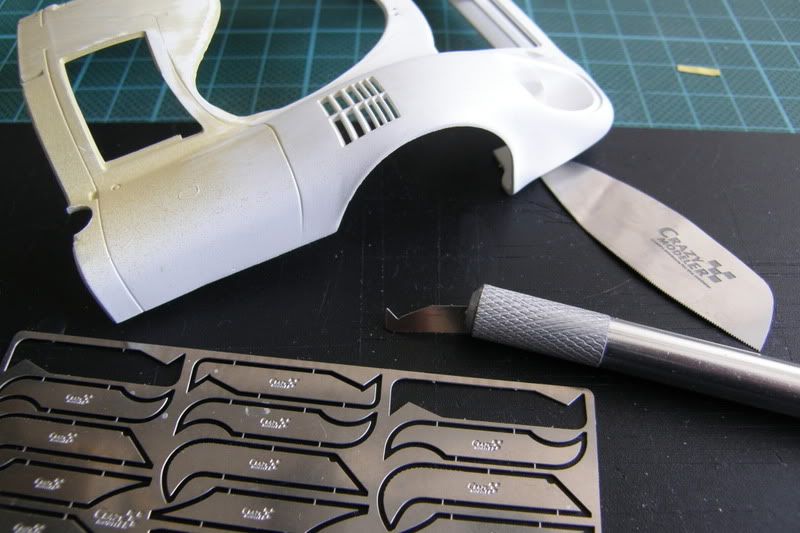 To do this job right I use a new blade in the Exacto knife, a pe saw and panelscriber both from Crazy Modeller. Specialy the panelscriber from CM is very good. 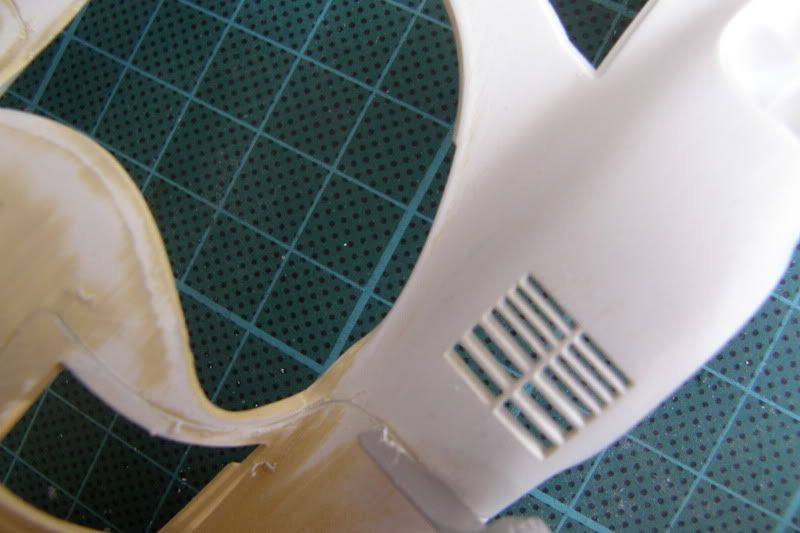 I always start on difficult places on the model because the body is still firm. In the hard to reach places sometimes you must grab the body wich can cause the body to break if you have scribed the easy spots. Try to resist to start on the easy part. 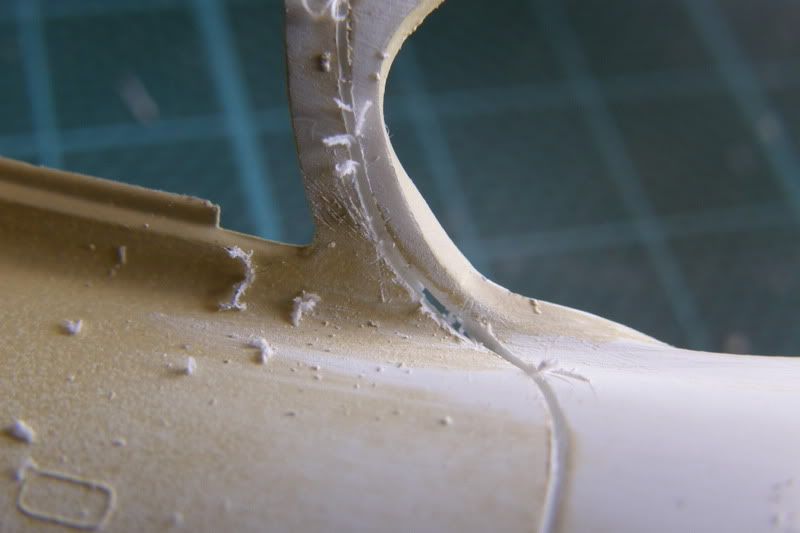 With the panelscriber gently pull line after line. Don't go back and forth because with the panelscriber you can only go one way. 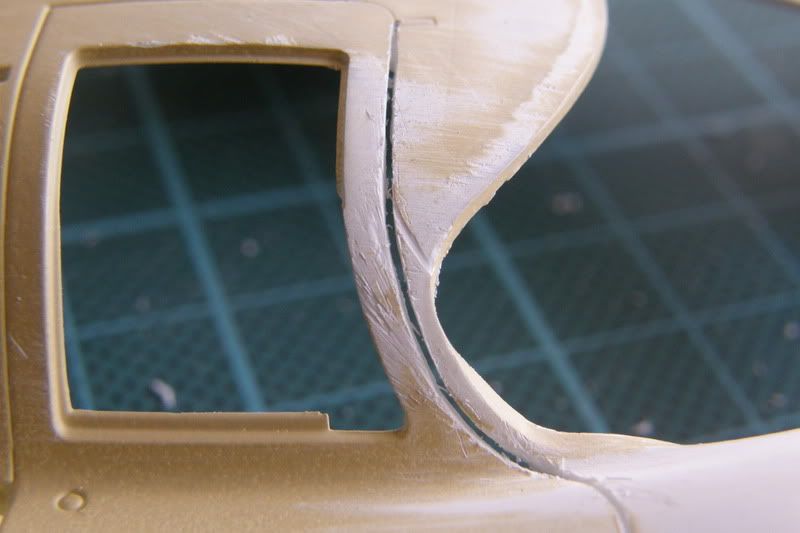 Finally you are through. 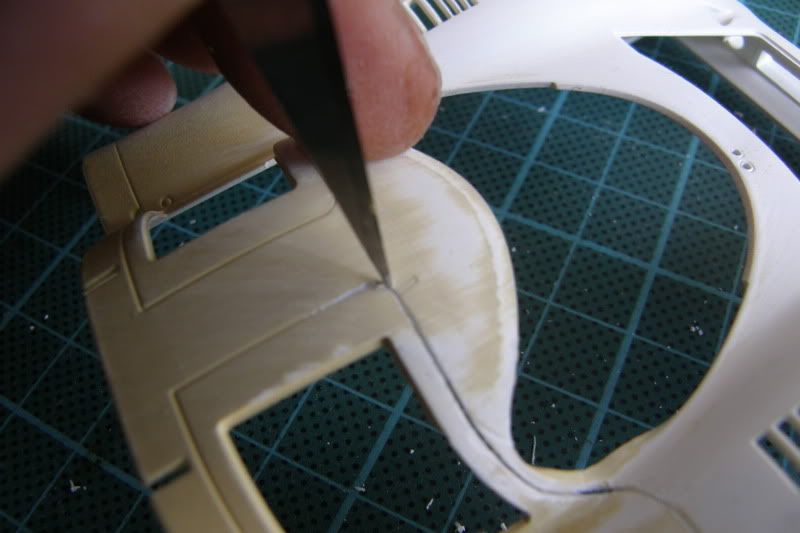 Another hard part is scribing the bends. For this I use the Exacto knife. Very gently scribe the bend until you are through. Just before I'm going through the plastic I start to carefully punch through the plastic. 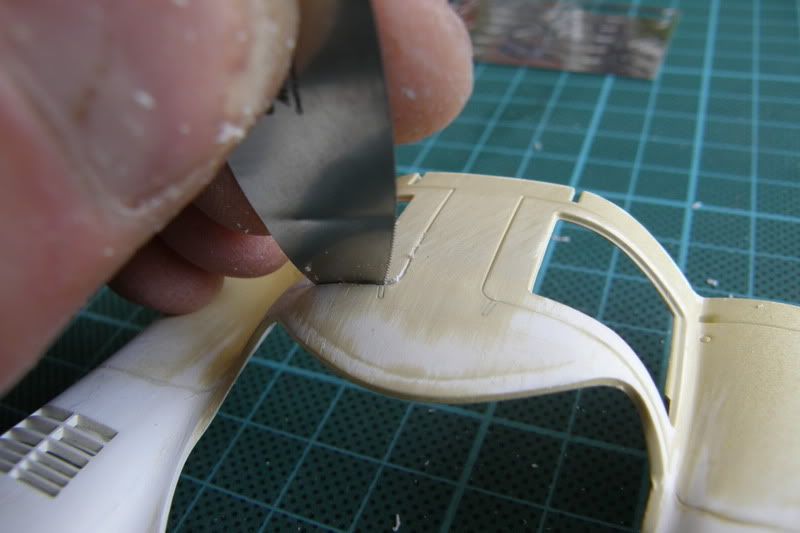 For the straight lines I first use the panelscriber. I stop scribing when you see that the panelline is brighter when you hold it against the light. The I use the pe-saw to go through the plastic. This leaves a very fine cut with less loss of plastic. 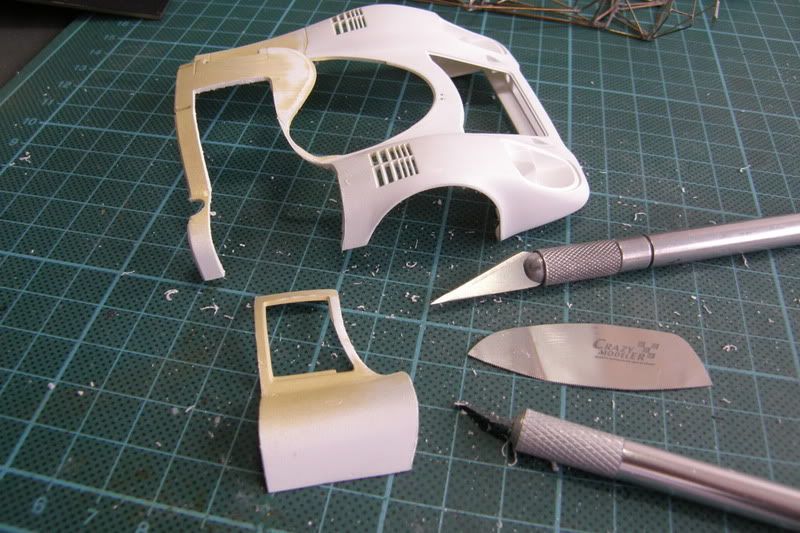 And there you are. The door is out. Now with this Fujimi 917 the realy carefull part starts, because with one door out the body is less rigid and is easy to brake, but....... 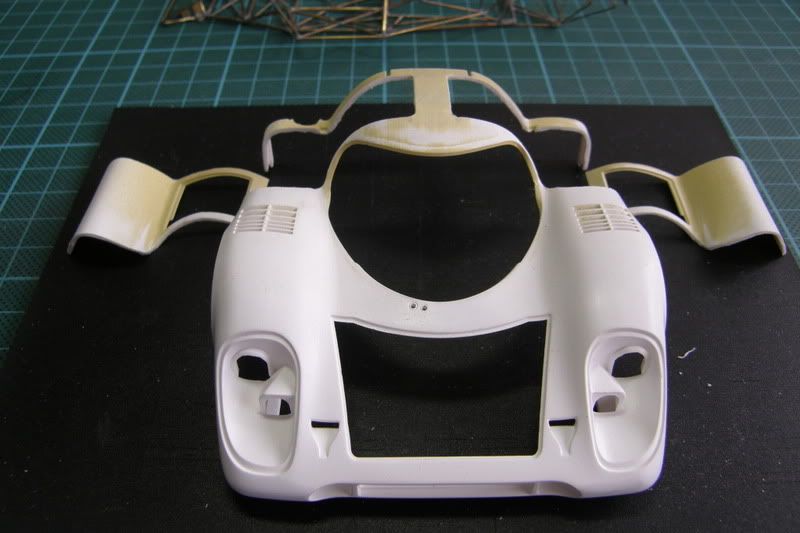 ...with extra care the second door is removed. It isn't difficult and the main secret is "take your time". For me to remove both doors it took me about two and a half hours. I hope this was of any use and remember....take your time. Eric 
|
|
#48
04-27-2010, 01:21 AM
|
|||
|
|||
|
Re: Porsche 917K Le Mans 1971
 thanx eric, i have also managed to this with my 2nd body shell,but only on the driver's door. as for the now flimsy body,i've made the lip for the door to sit on with styrene strip,this strenthen's the area quite a bit. and also i have left the fuel filler neck uncut,as it's even more flimsy if cut out. thanx eric, i have also managed to this with my 2nd body shell,but only on the driver's door. as for the now flimsy body,i've made the lip for the door to sit on with styrene strip,this strenthen's the area quite a bit. and also i have left the fuel filler neck uncut,as it's even more flimsy if cut out.you can see my handywork on spc,but it's not up to the standard of your's. keep it coming and thanx again..
|
|
#49
05-02-2010, 01:32 PM
|
|||
|
|||
|
Re: Porsche 917K Le Mans 1971
It's raining allday now. A good time to work on the 917. I worked on the wheels and changed it to a threaded nut and bolt configuration. This way I can remove the wheels when the model is finished. I started with the nuts and bolds...
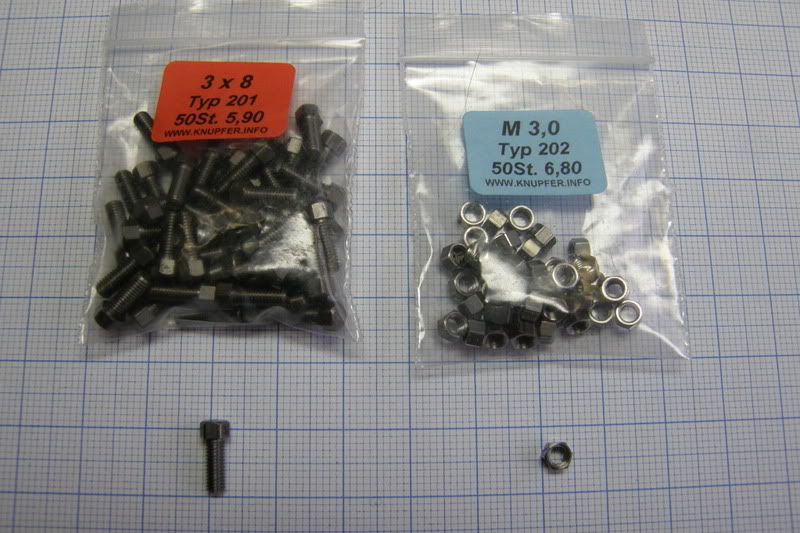 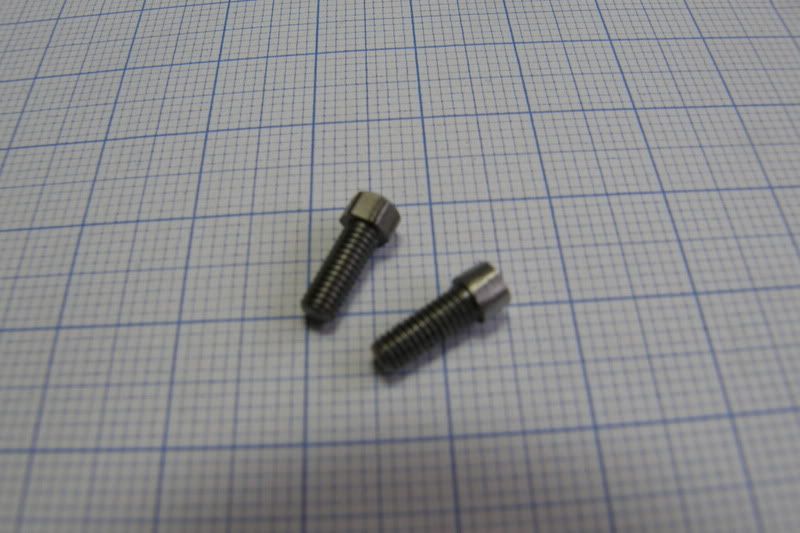 In order to make the bolts suitable for the wheelhubs I shaved of the corners 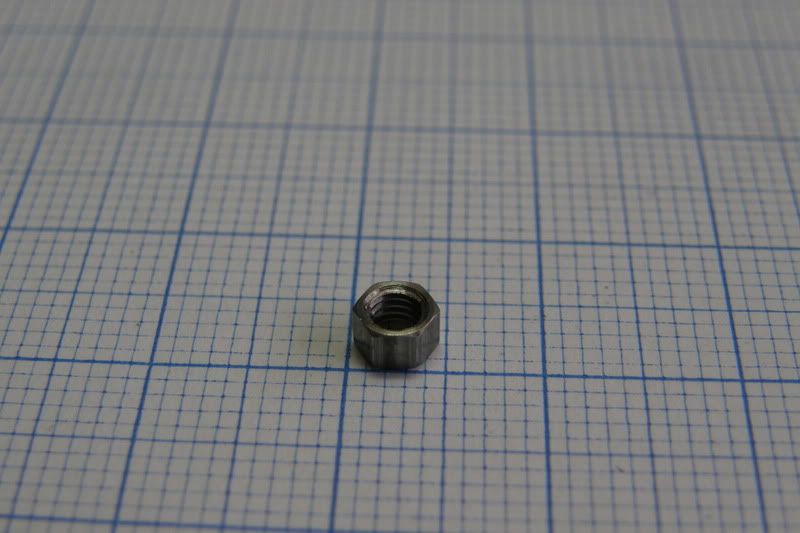 The nuts are to large and had to be shaved to the correct size 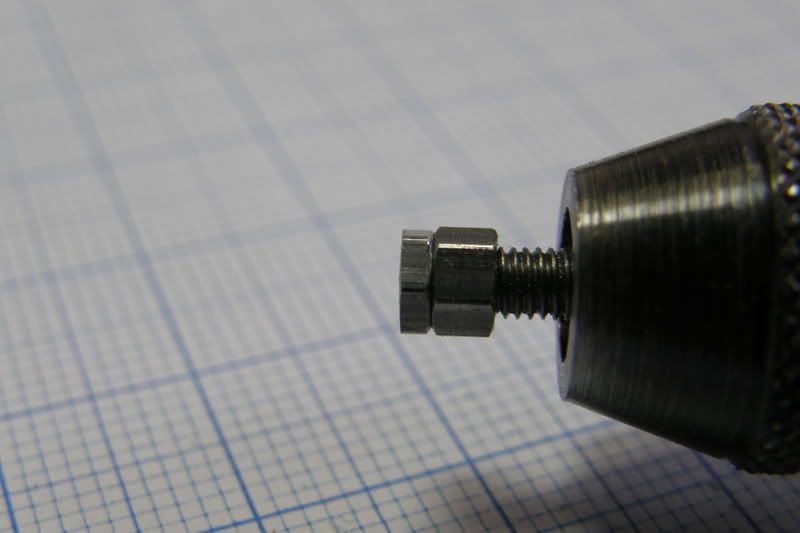 This was all done with the mini handdrill 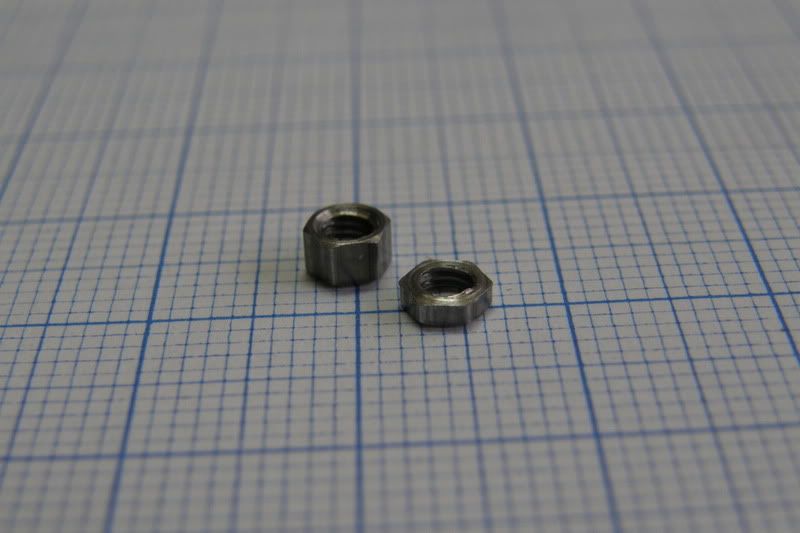 Here you can see the result 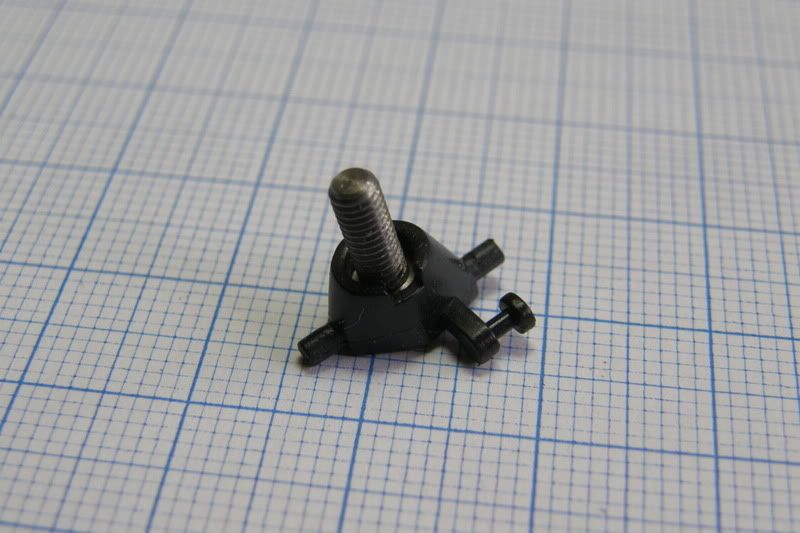 Threaded wheelhub 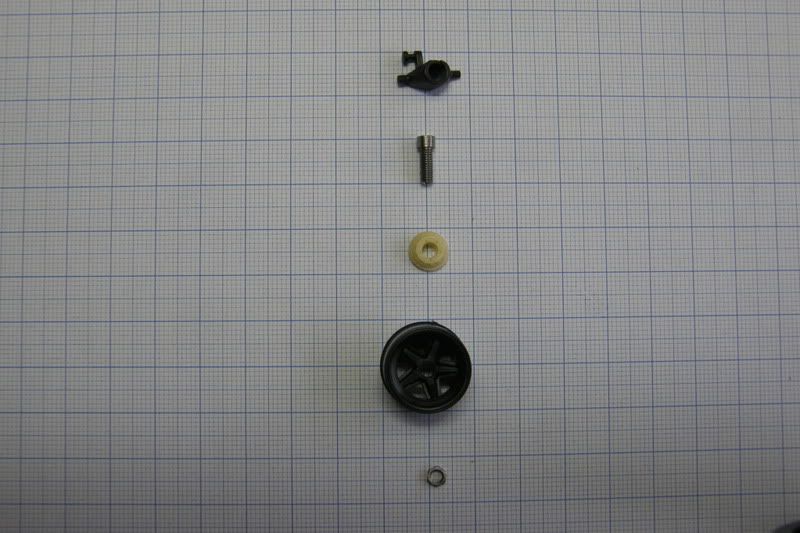 Here the parts are lined up. The only thing missing is the brake-disc. The frame has now all the front mounting-points for the suspension. I soon start to work on the mounting-points for the rear. Keep you posted. Eric
|
|
#54
09-17-2011, 07:10 PM
|
|||
|
|||
|
Re: Porsche 917K Le Mans 1971
@ ianc, yes I will start working on the 917 again. Today I bought the wonderful 912 engine from MFH. I will post pictures soon. Stay tuned
.Eric
|
|
#58
12-04-2011, 05:08 PM
|
|||
|
|||
|
Re: Porsche 917K Le Mans 1971
It has been a while since my last up-date. But this project is on again. I've decided not to use my scratchbuild spaceframe for the car. Instead I will show it next to the finished 917. My last post was that I've bought a beautiful 912 engine. It's from Model Factory Hiro and will replace the HRM engine. Still a good engine, but I like the extra detailing and the resin parts for cooled air etc. Here some pictures.
The box. 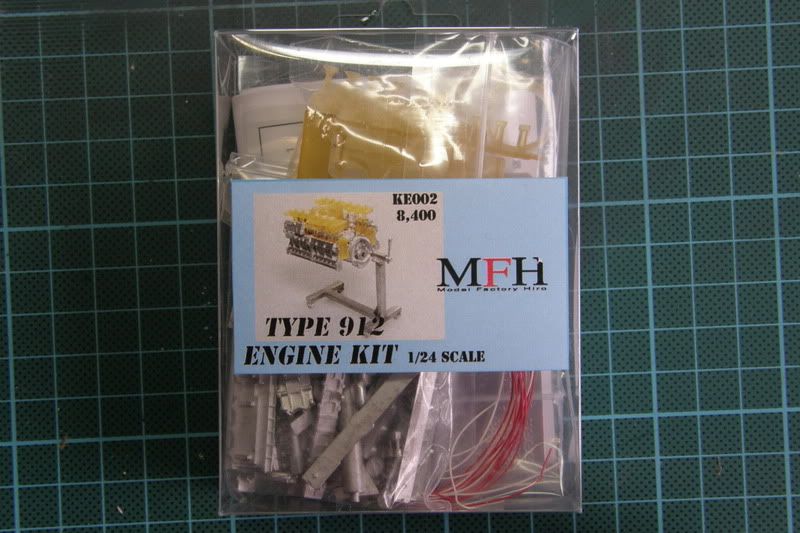 The parts. 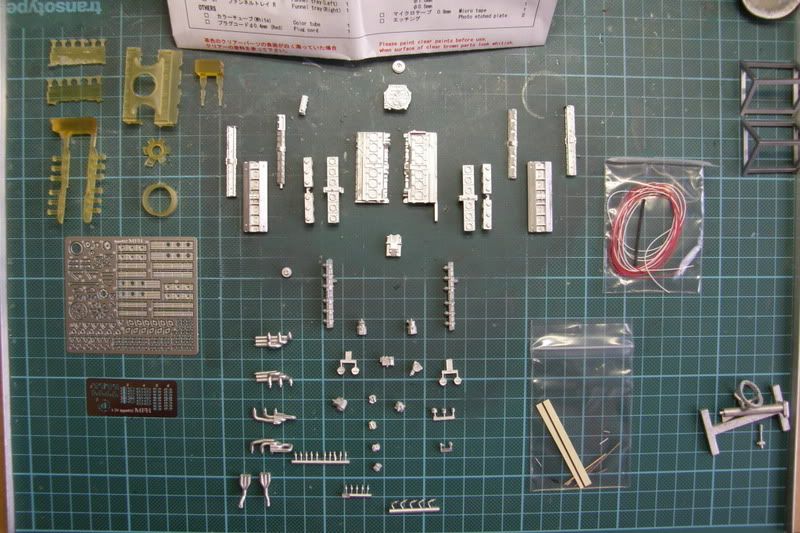 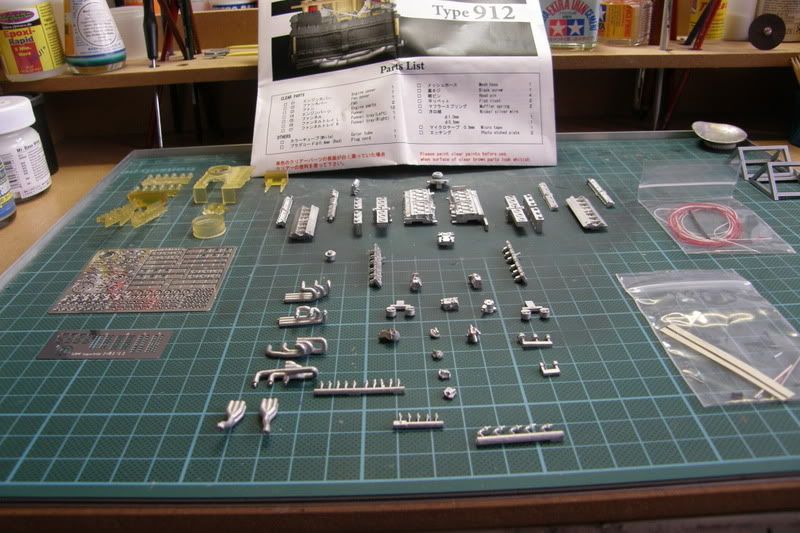 So I started with the engine. I gave it a brownish color and weathered it with dark washes. In the process I will handle the engine wich it hopefully gives natural wear. 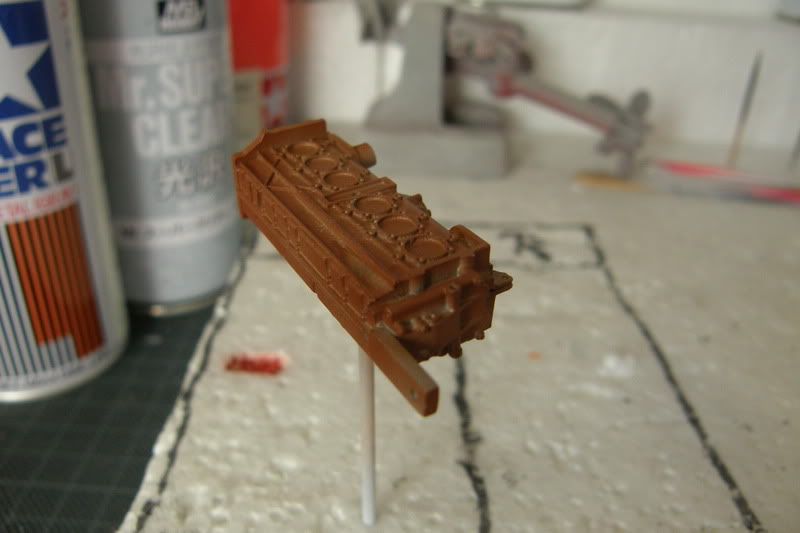 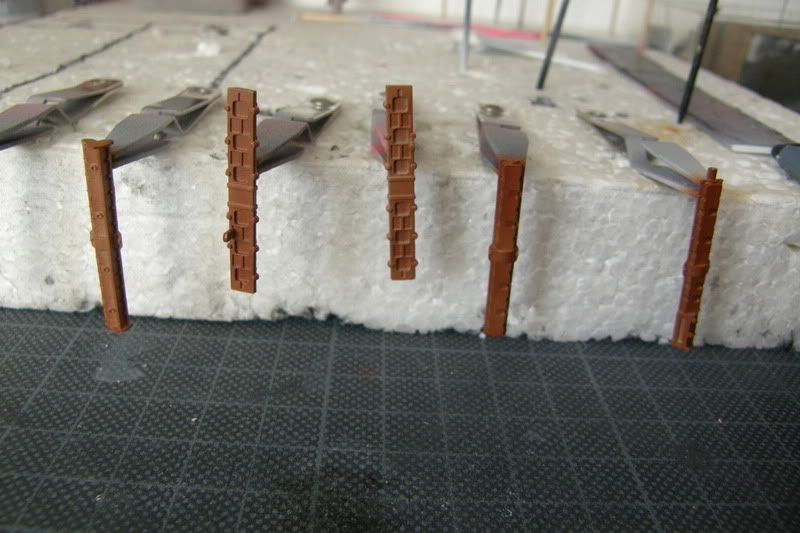 The coolingfins are PE. 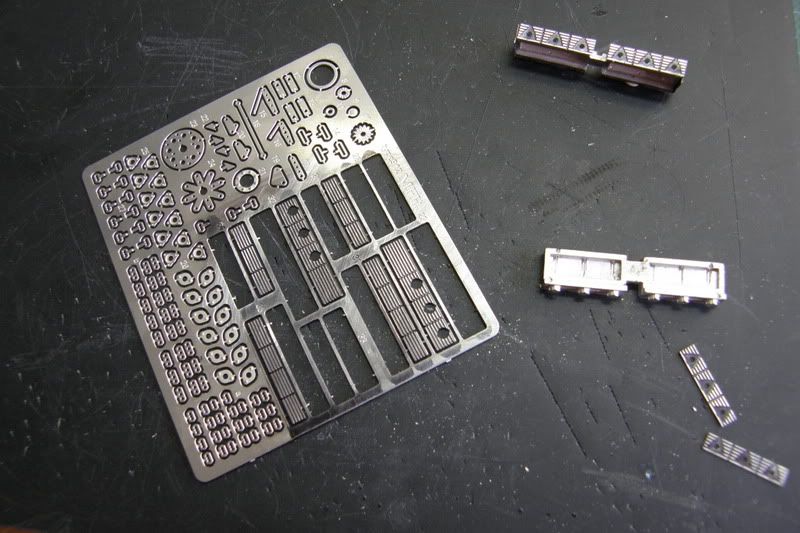 Engine-parts glued together. 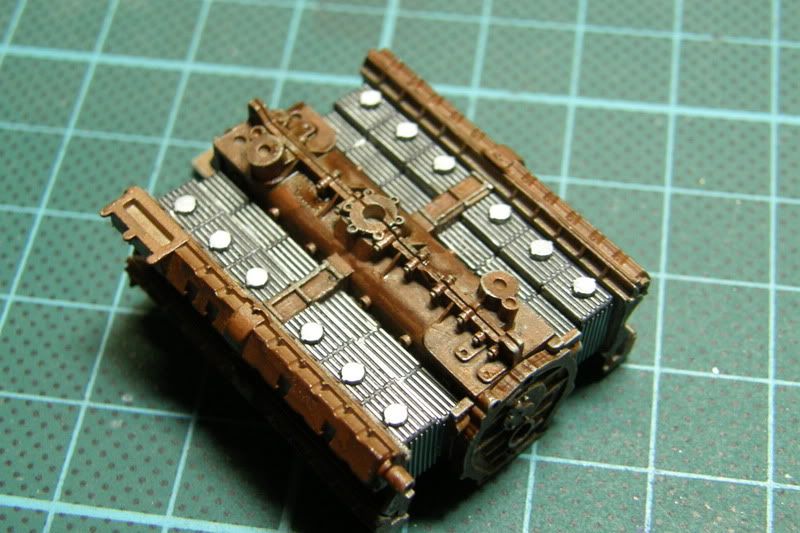 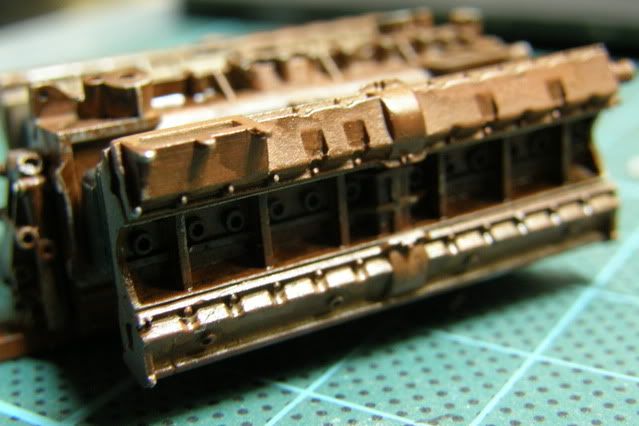 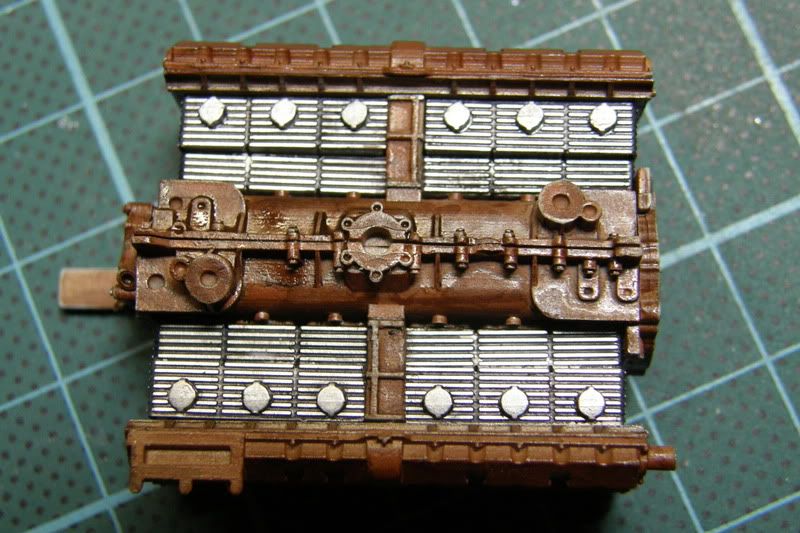 Here you see the resin part to direct cool air to the engine. I'm planning on slightly give it some dark washes to give it a used effect. 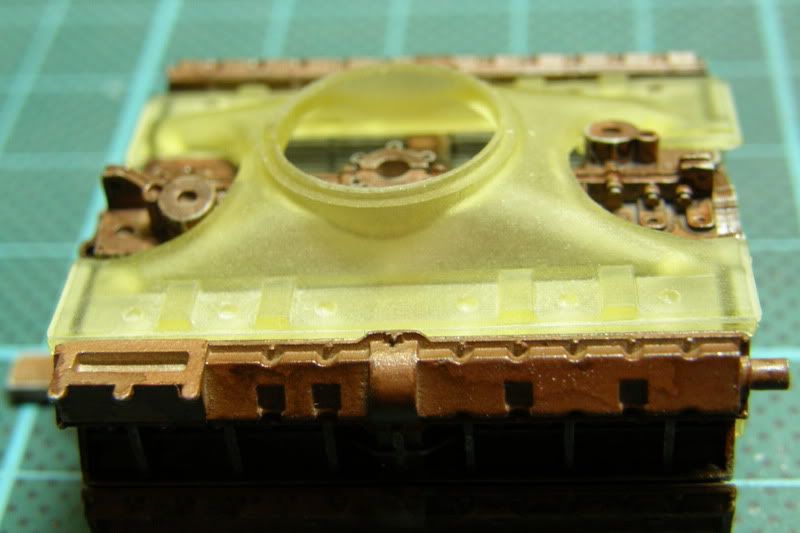 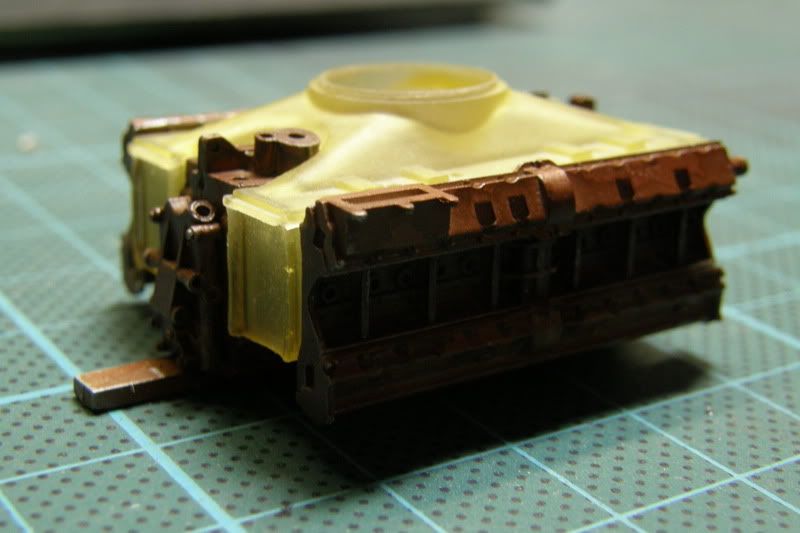 Since I've abonded this... 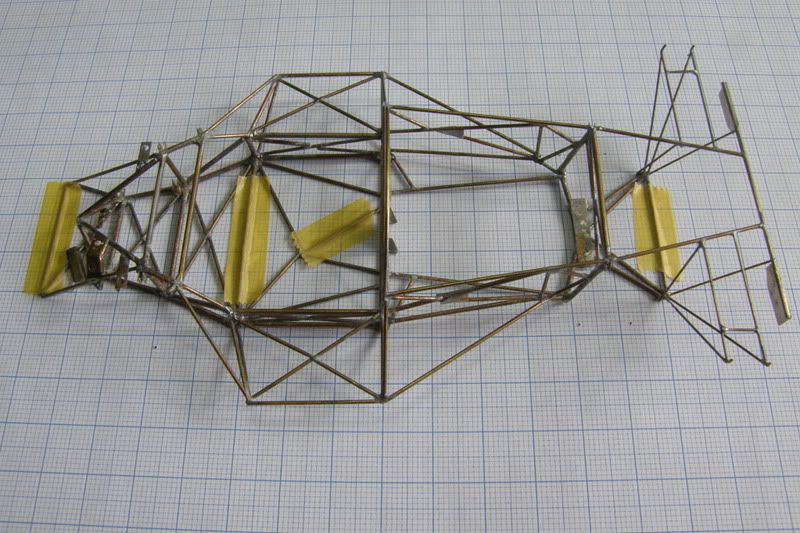 I had to build a new part of the spaceframe. Again I used copperwire and soldered it together. 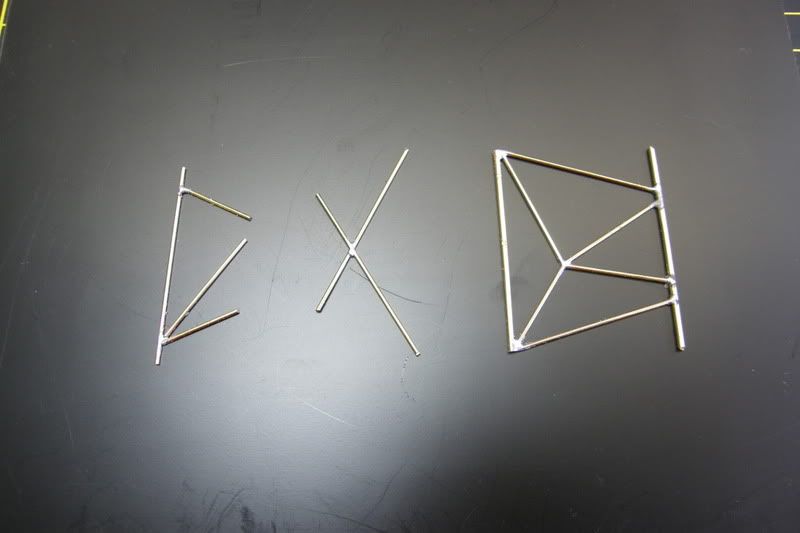 I got a proper fit of the new frame in the body. 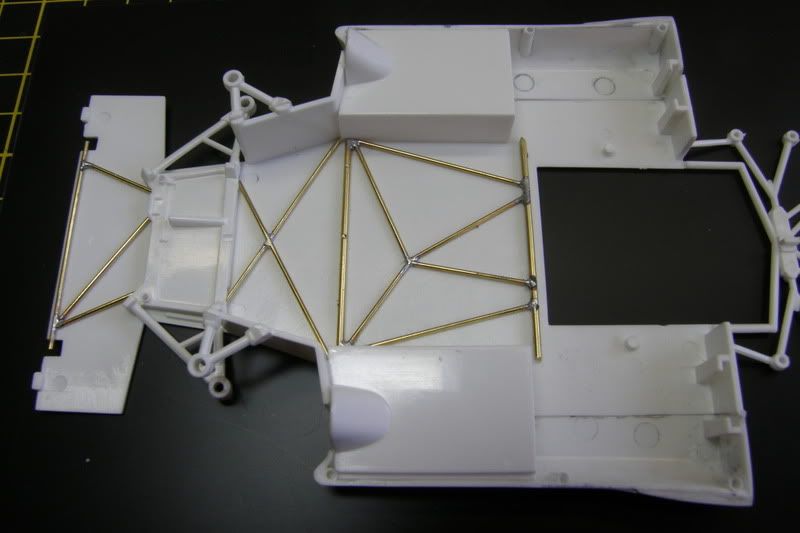 The rear wheelarches must have a rough polyester look. To reach this I used cloth from tee-backs (the pyramid ones). First I made a template. 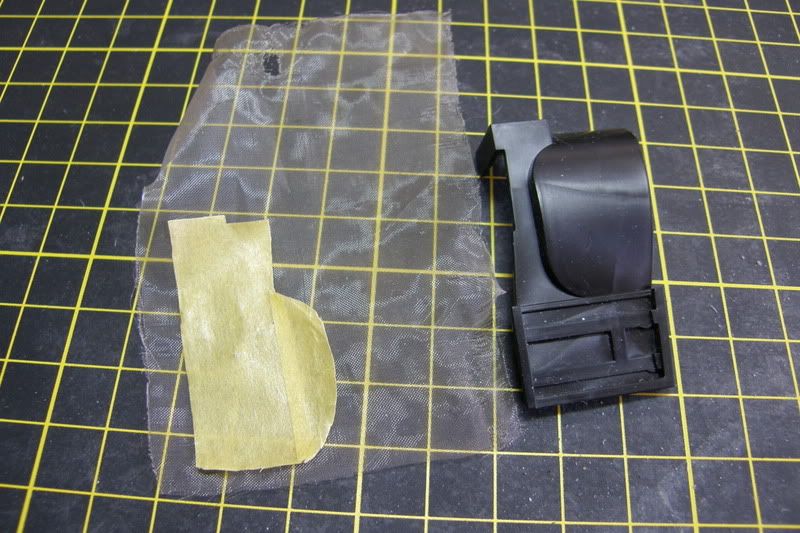 With Tamiya Plastic glue I bonded it on the wheelarch. 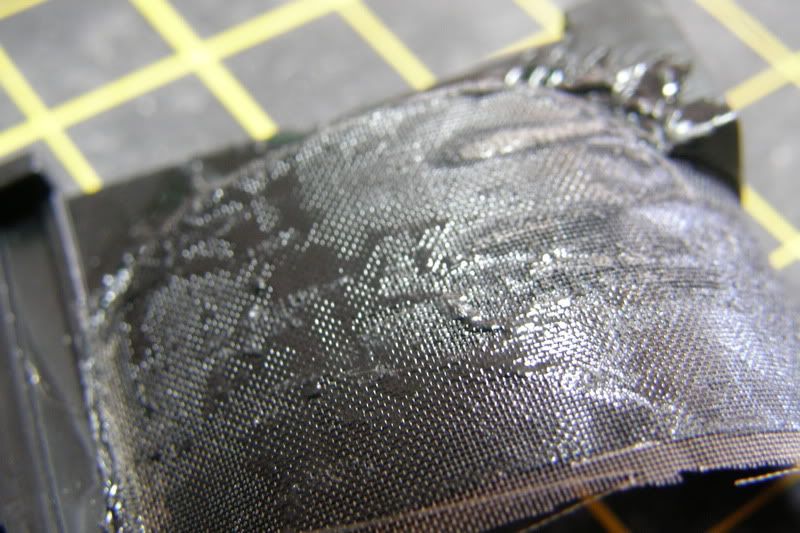 I first gave it a brown look. I used thinned artpaint (oil based). 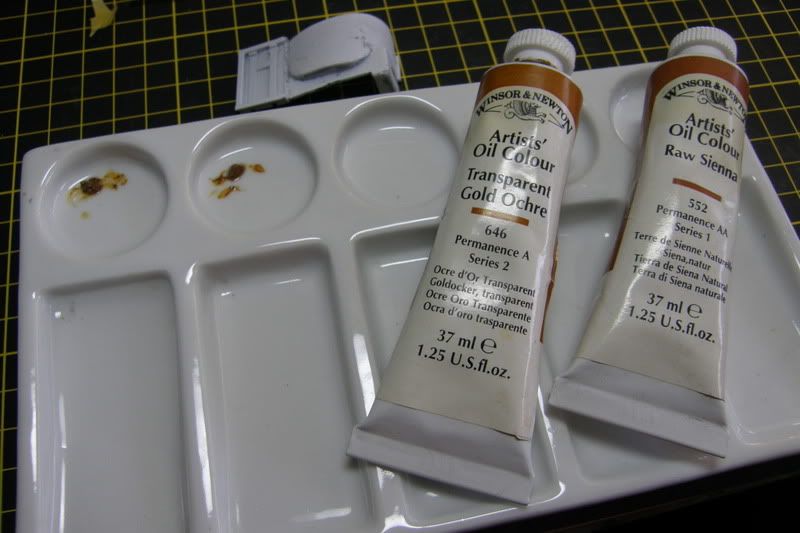 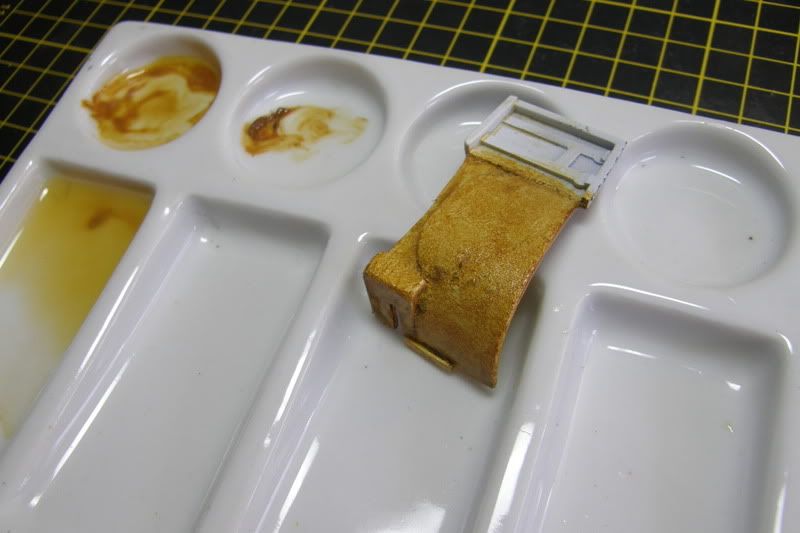 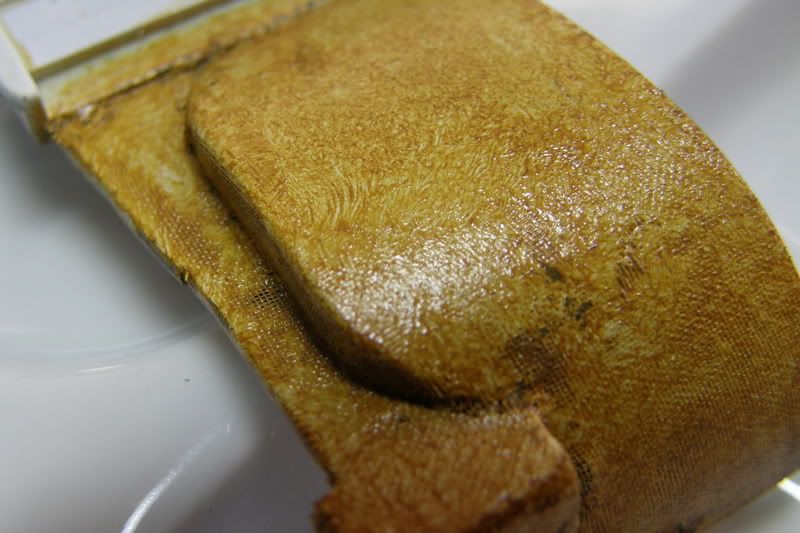 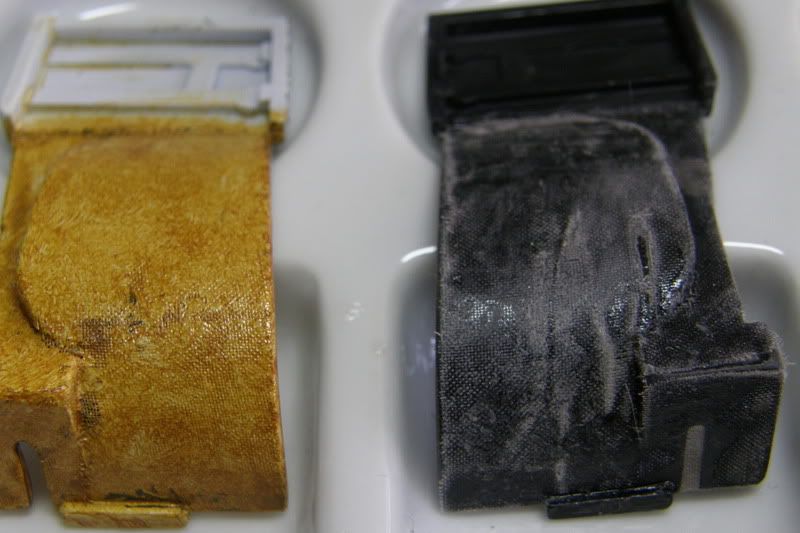  Then after more research I noticed this car had black wheelarches. So I used Matt-Black from Zero Paints. This worked very well since the paint is thin. I had to spray several layers. I stopped when the brownish paint still shined trough the black paint. 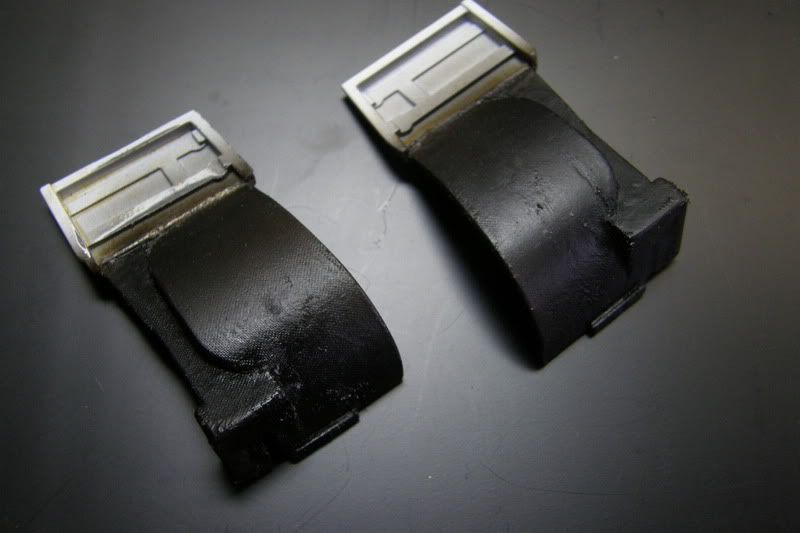 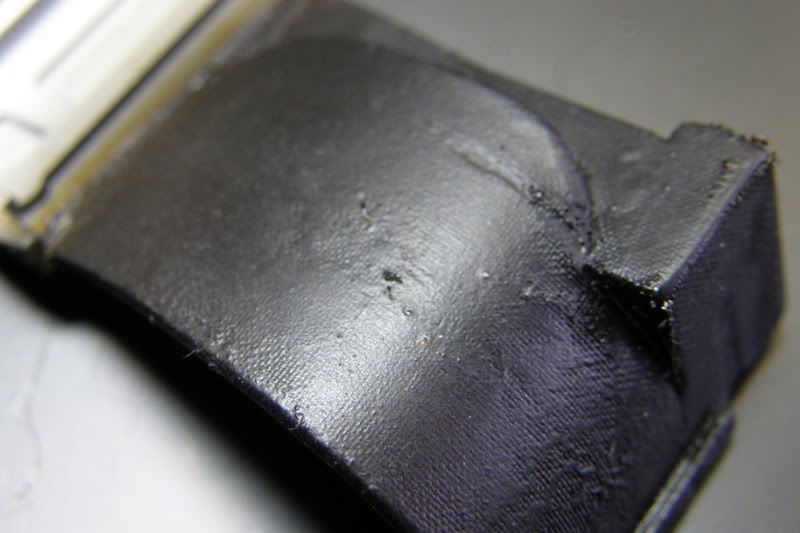 Sprayed the top dashboard with Tenco Scale Fabric to give a nice texture. 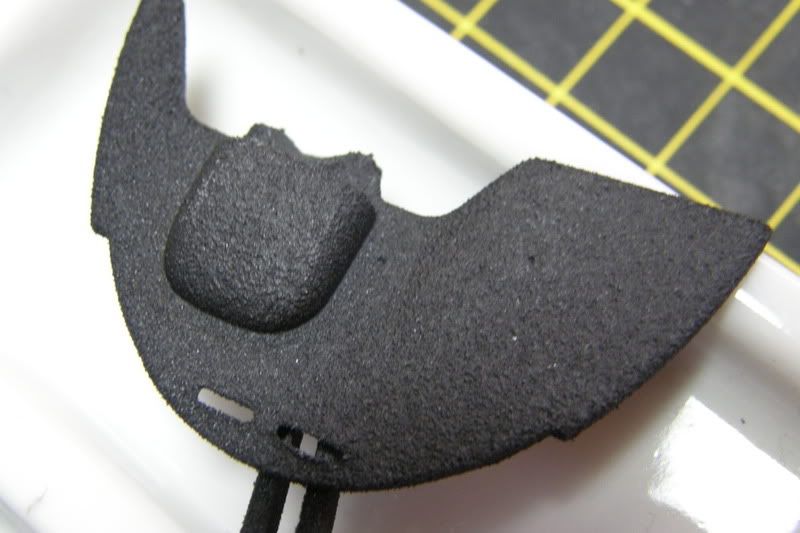 I started building the underside of the dashboard with all the switches and offcourse the perforated ignitionkey. I also sprayed Tenco on the underdide.  Used the PE part from studio 27. 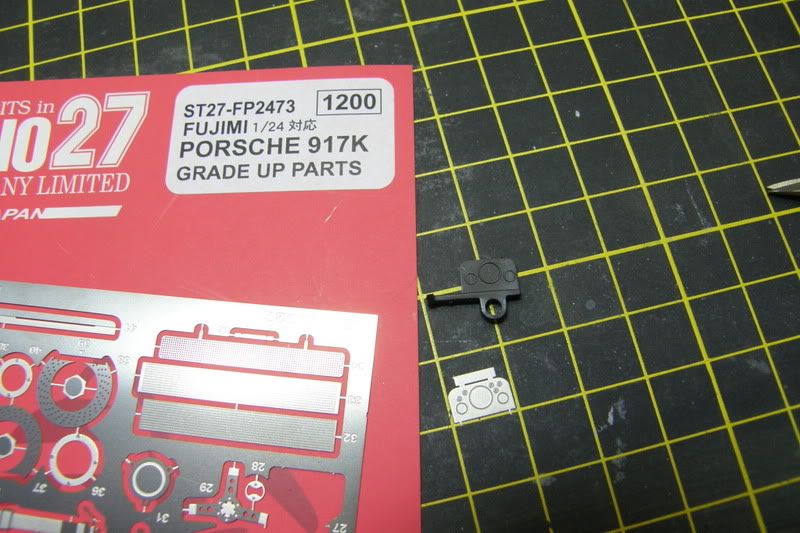 Drilled small holes for the switches. 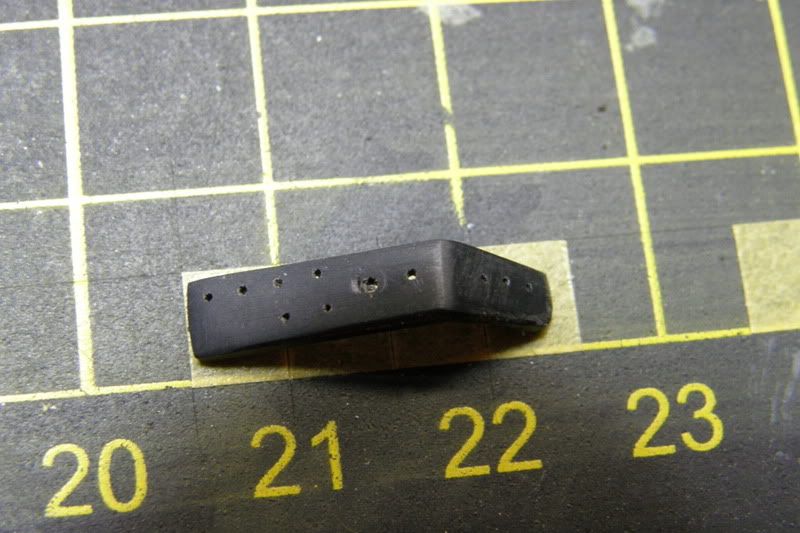 Remade the plastic part on the steeringcolumn with injectionneedles. 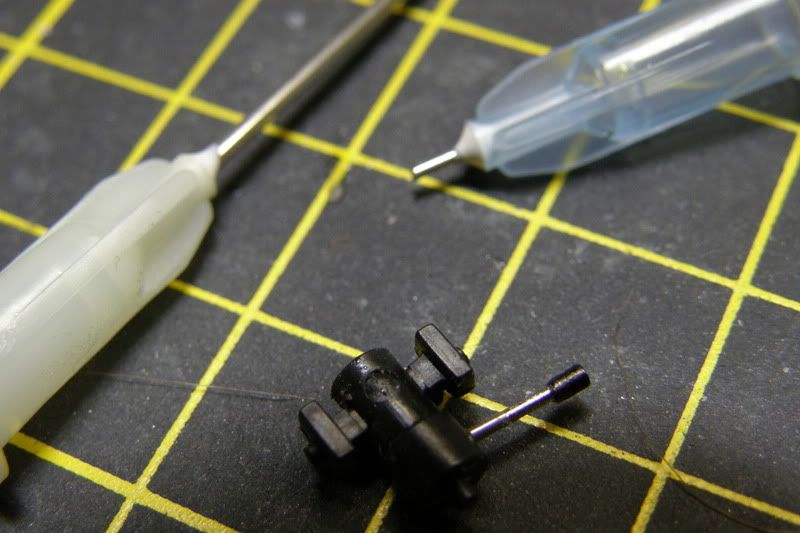 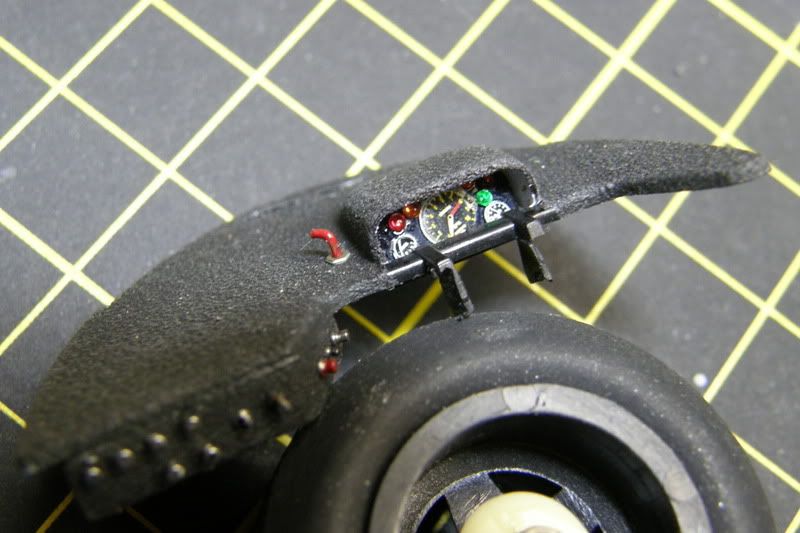 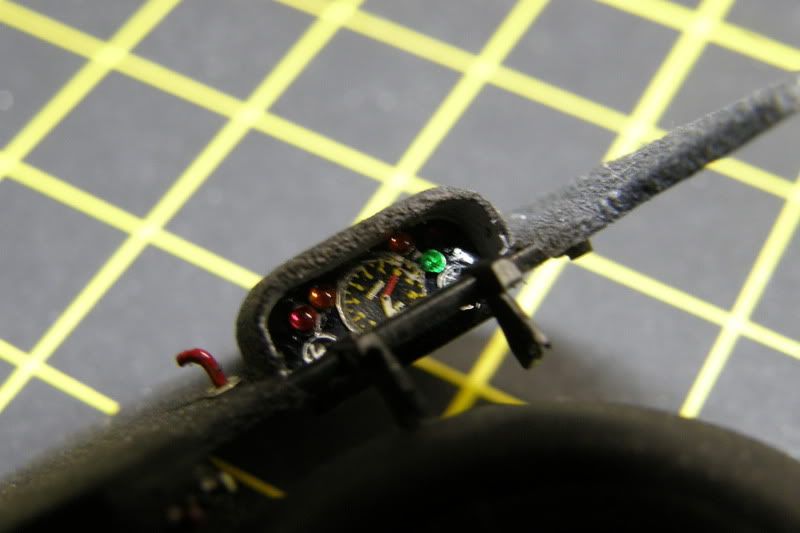 The finished dashboard, with the key hehehe. 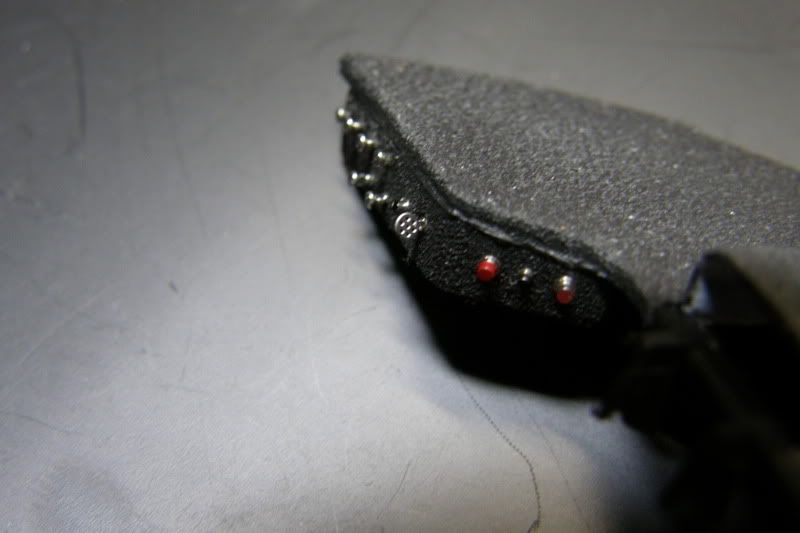 I build a new oiltank from plasticcard. 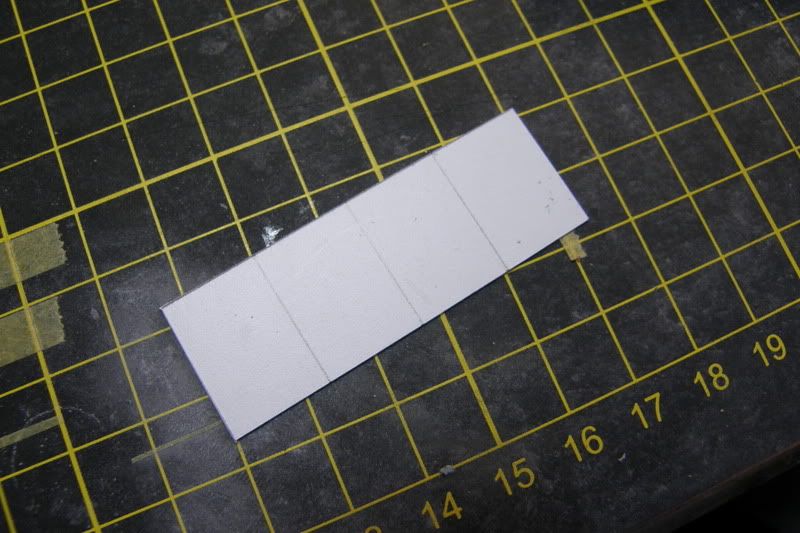 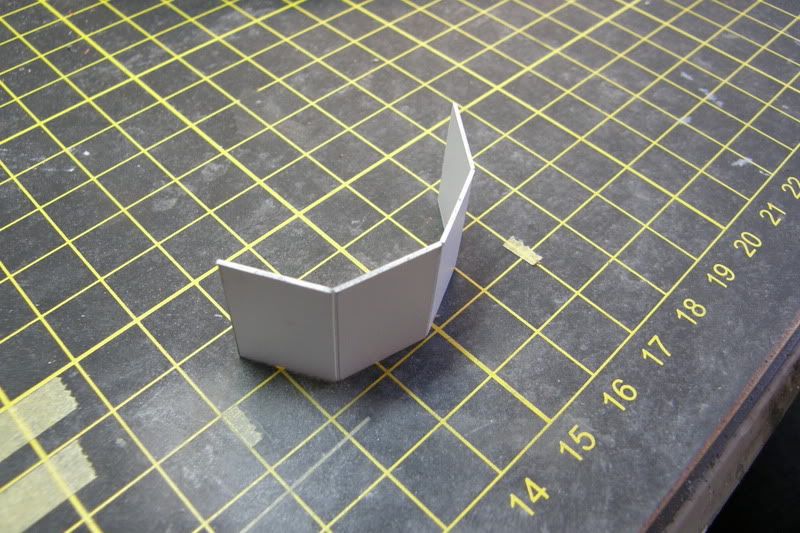 Dryfitting the new oiltank. 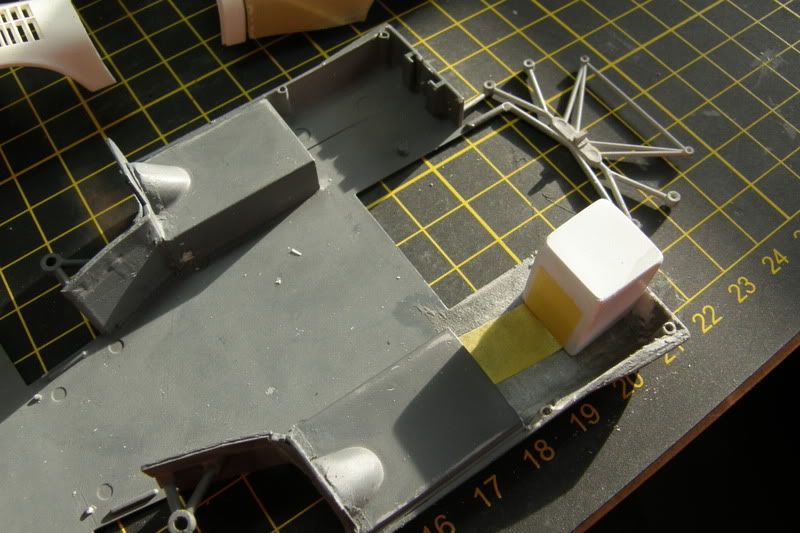 The place where the oiltank is gonna sit is made rough with glued on tissuepaper. 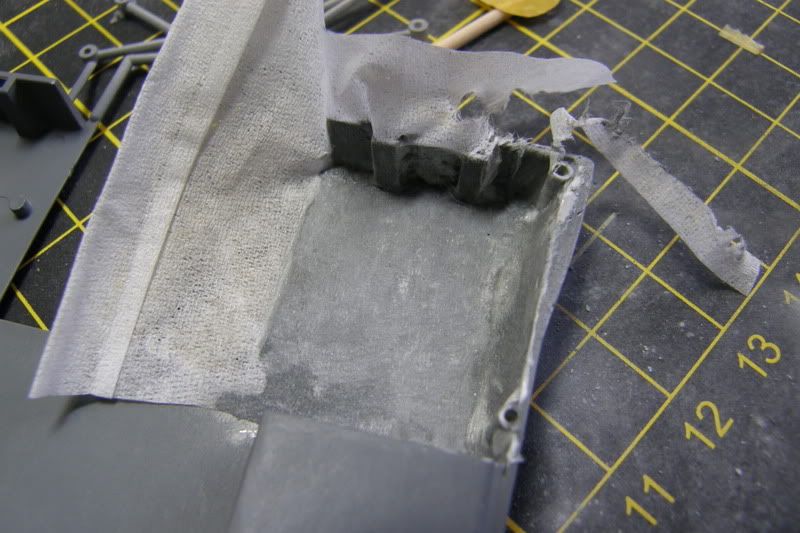 The other side (right) has an aluminum plate with some rivets. To make the holes straight I used this handy tool. Just role on the plastic and it leaves small dents wich are drilled out. 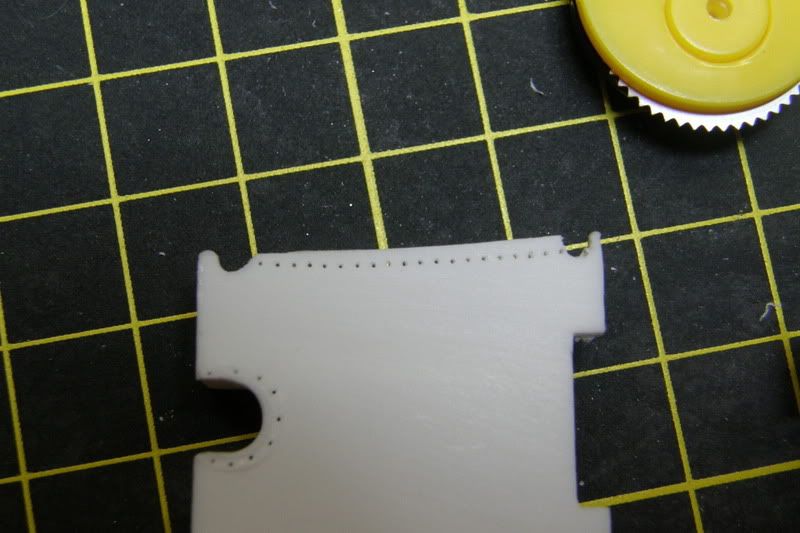 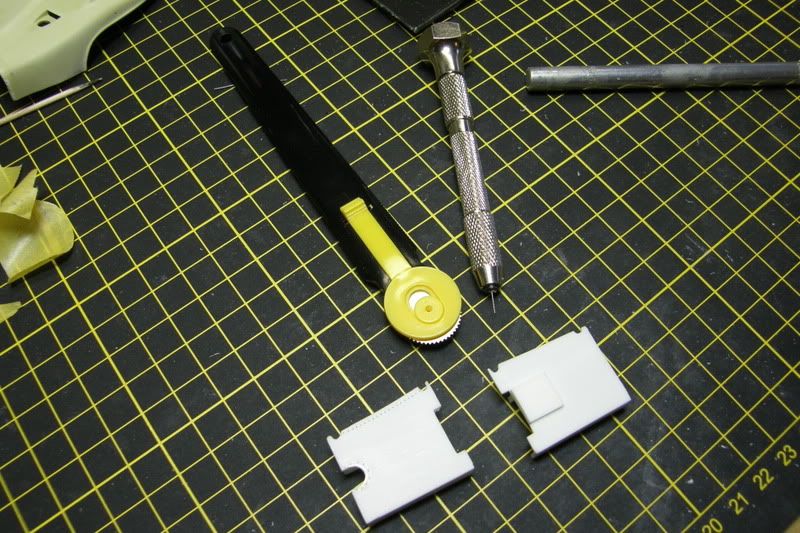 The footrest has some texture wich I replicated with use of the foly inside a pack of cigarettes. 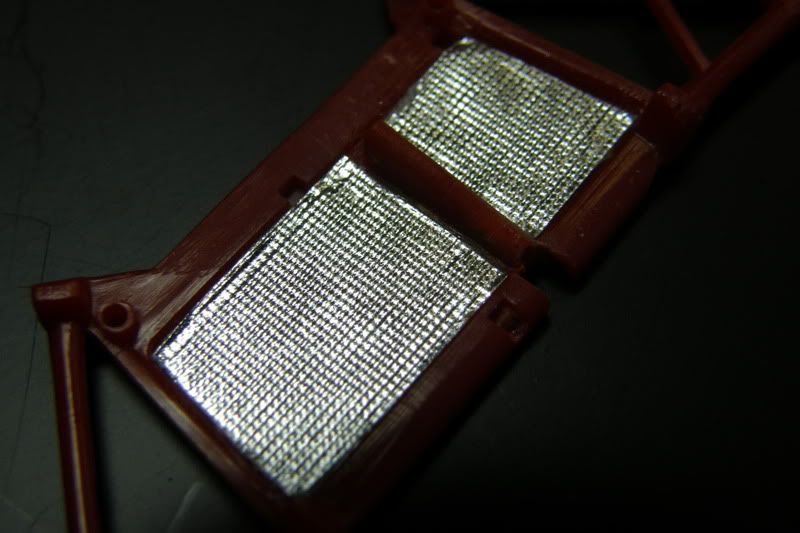 Painted it and give a little drybrush to give a used look. 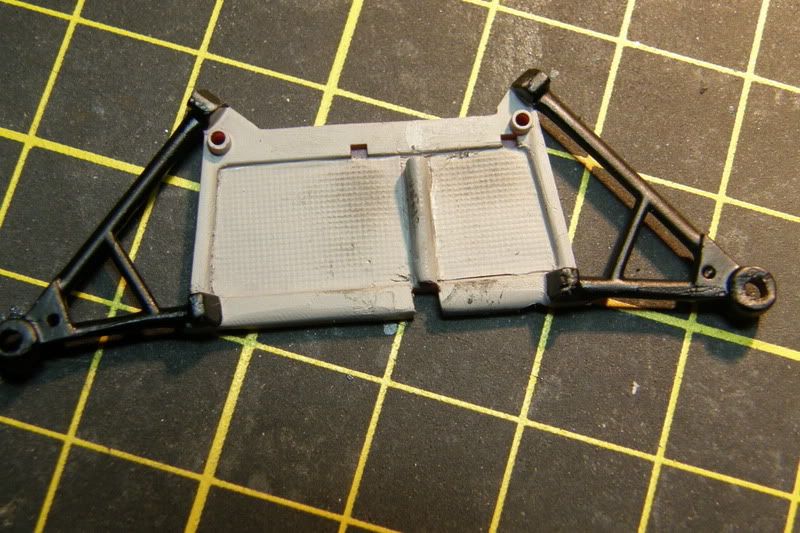 For the pedals I used the wonderful set from Renaissance. This is how I build them together. 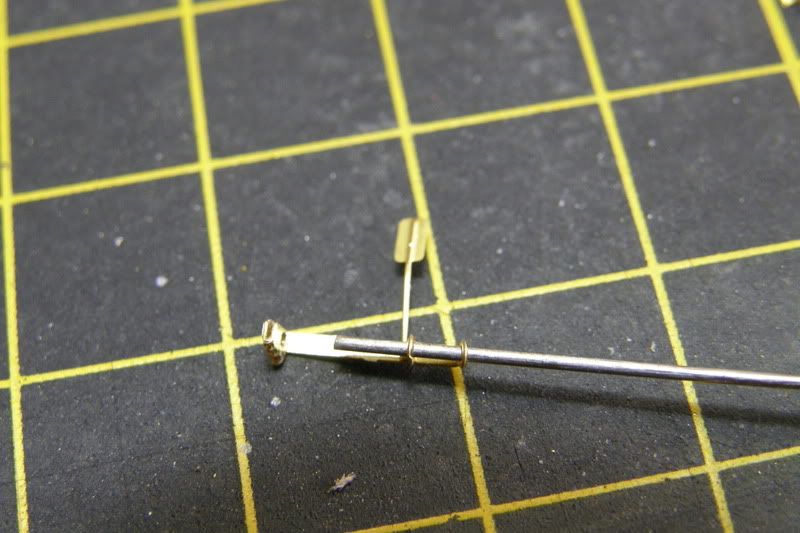 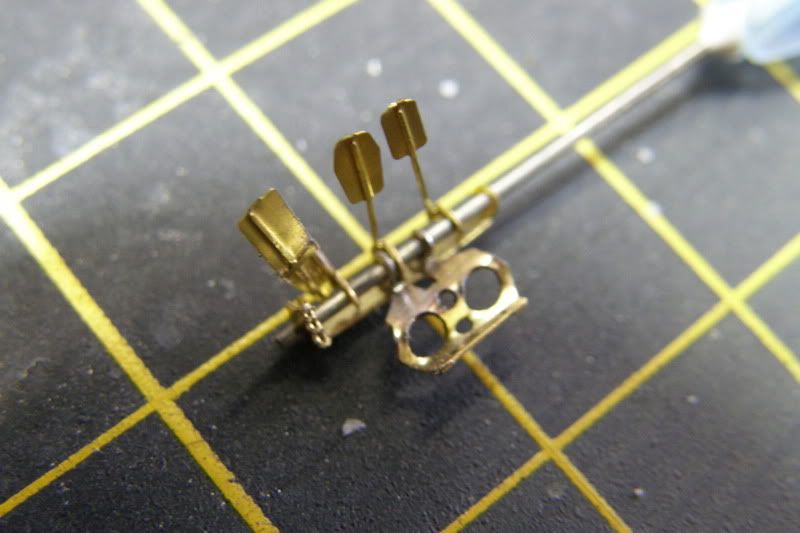 More soon, I promice. Eric
|
| The Following User Says Thank You to ewestra For This Useful Post: | ||
Lee Yoder (12-12-2011)
| ||
|
#60
12-05-2011, 09:12 AM
|
||||
|
||||
|
Re: Porsche 917K Le Mans 1971
Amazing!!
|
|
|
POST REPLY TO THIS THREAD |
 |
| Thread Tools | |
|
|


 Porsche Event Laren?


