

|
| Search | Car Forums | Gallery | Articles | Helper | Air Dried Dog Food | IgorSushko.com | Corporate |
|
| Latest | 0 Rplys |
|
|||||||
| WIP - Motorsports Post topics for any "Work In Process" motorsports vehicles in this sub-forum. |
 |
 Show Printable Version | Show Printable Version |  Email this Page | Email this Page |  Subscribe to this Thread
|
|
|
Thread Tools |
|
|
#1 | |
|
AF Newbie
Join Date: Jul 2009
Location: NA
Posts: 12
Thanks: 1
Thanked 0 Times in 0 Posts
|
Subaru wrc 1998 body shell tamiya
Hello to all,
I've watched car WIP posts on AF for years and now i finally decide to start my first model. I want to try and build the car as realistic as possible but since I've got no lathe machine or other advanced tools, for now i just try to modify the body shell with hand tools and some plastic plates from Tamiya. As I've never built a model kit before, please point out to me if I make any mistakes when or, if there is a better way, modifying the model. That will help me a lot. Thanks in advance. And if you have got some close up rally car picture, interiors, chassis, other components,etc, please post it. Thanks. The objective is to make it like this in the pictures. body shell front 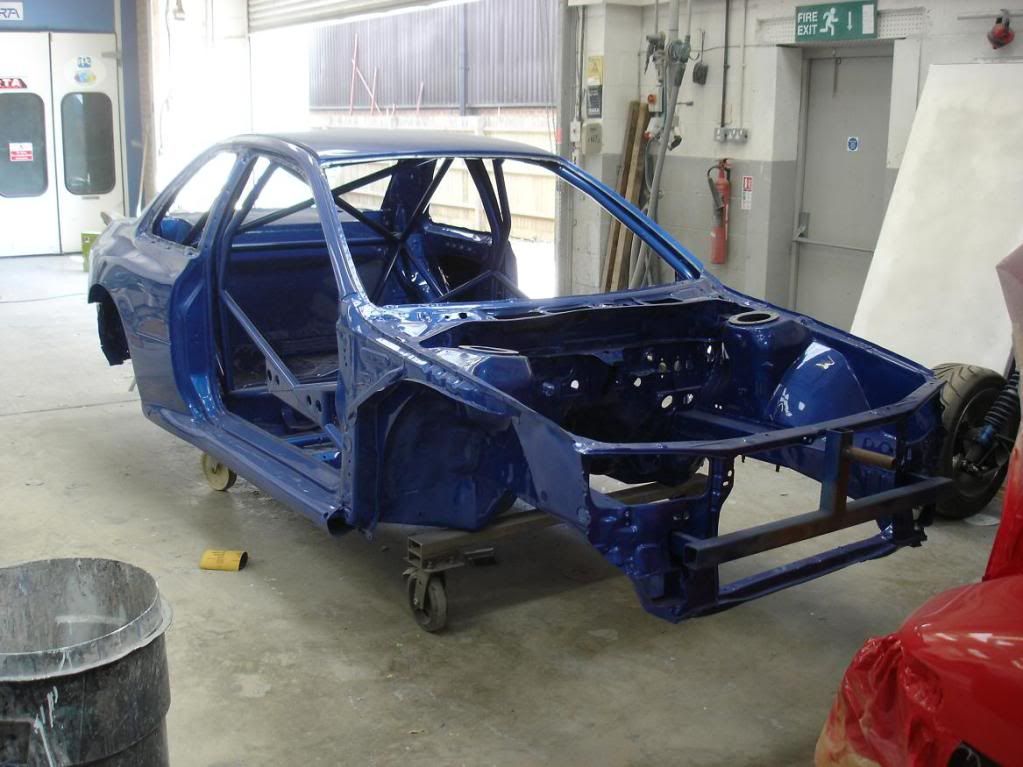 body shell rear 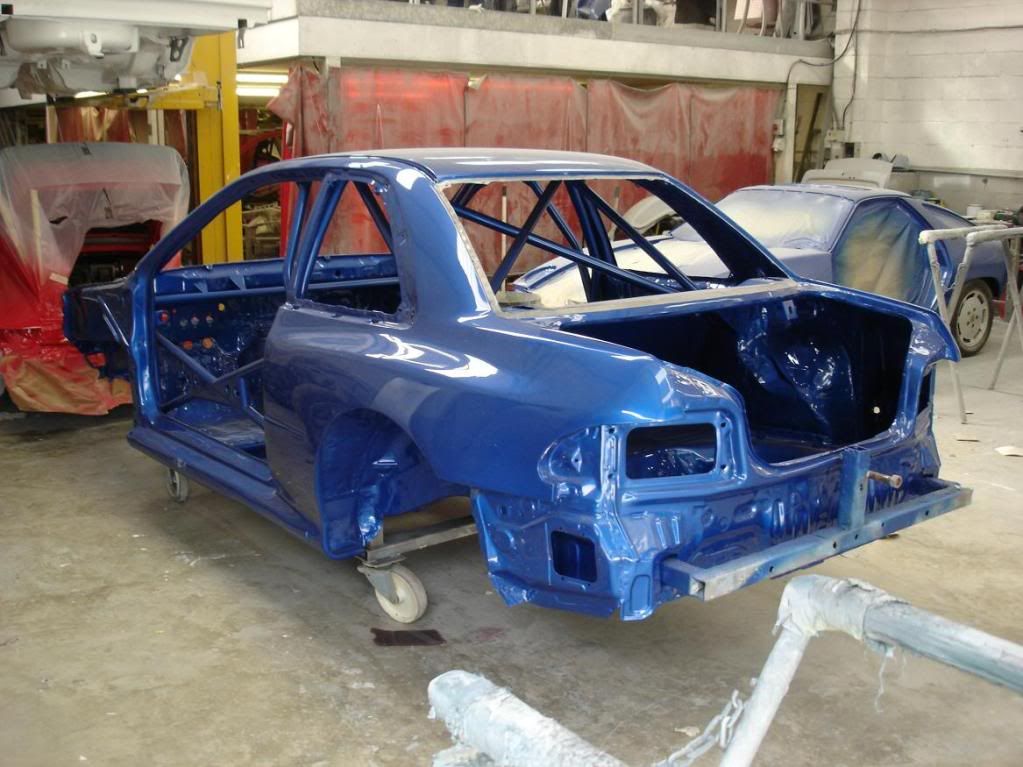 And by the way, the photos I'm gonna take will be by an old web camera which will hurt your eyes probably. So take a short brake after seeing each one. I've spent the whole afternoon just managed to file the left side and front left wheel well. first i use a scriber to cut the side (a) 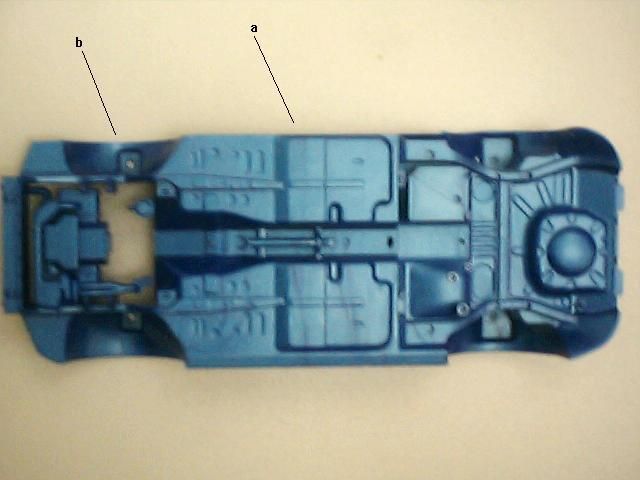 and file it up to the outter edge of the door under frame (c) using #400 tamiya sandpaper (is there a better way to remove unnecessary parts?). 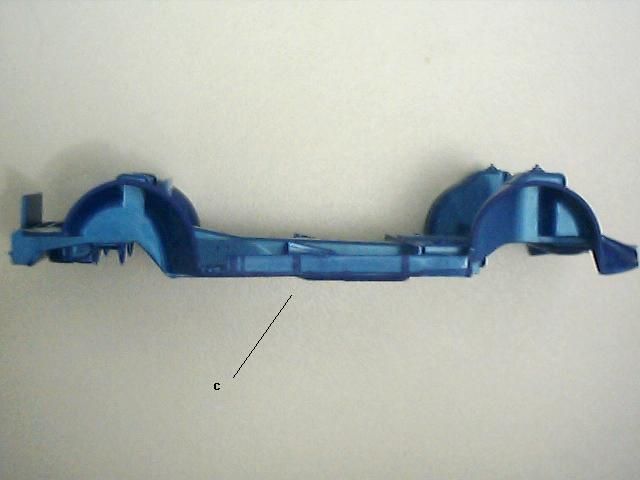 for the front left wheel well, i cut it a little bit with a craft knife and then stick the sandpaper to a steel ruler and align it to the side under door frame to file the wheel well (b). finally, after about 5 hours (i really cannot believe), the wheel well and side door frame are aligned (d). 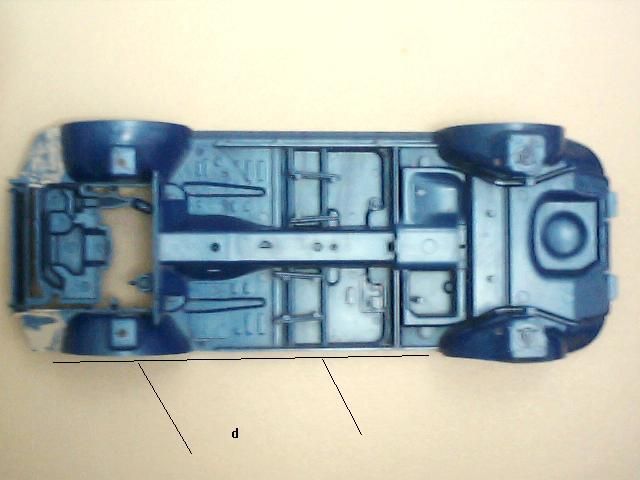 cut engine bonnet with back of craft knife (a) cut roof with back of craft knife (b) 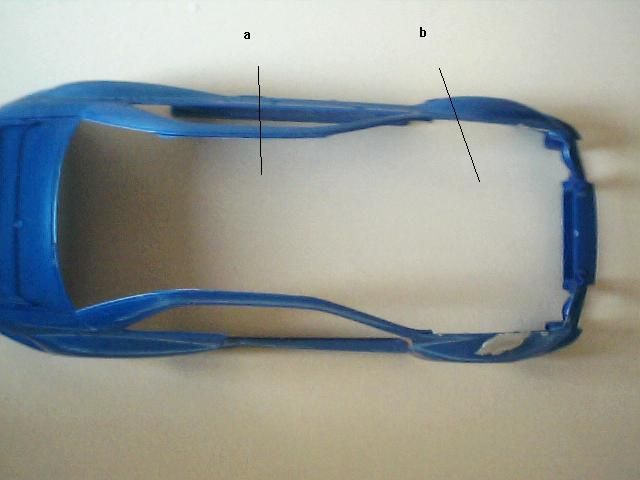 cut right door by drilling holes on edge of door panels and file with #400 and #800 sandpaper (c) 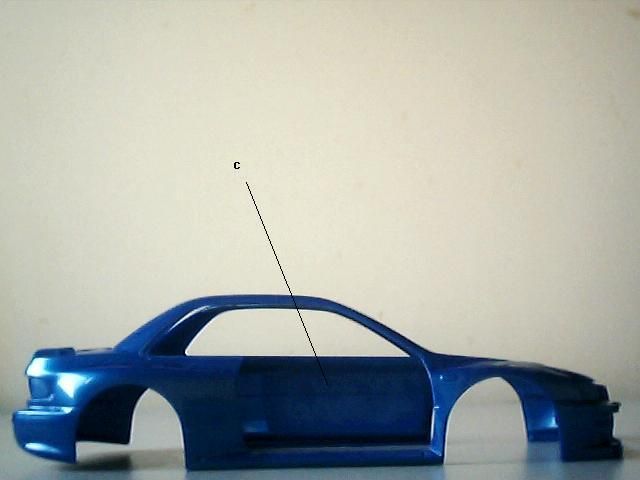 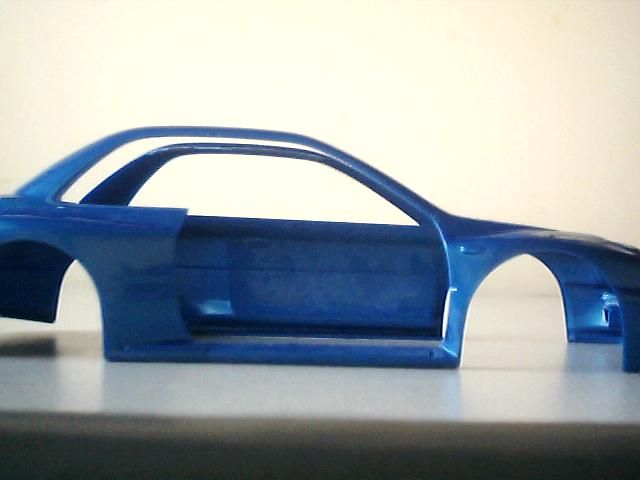 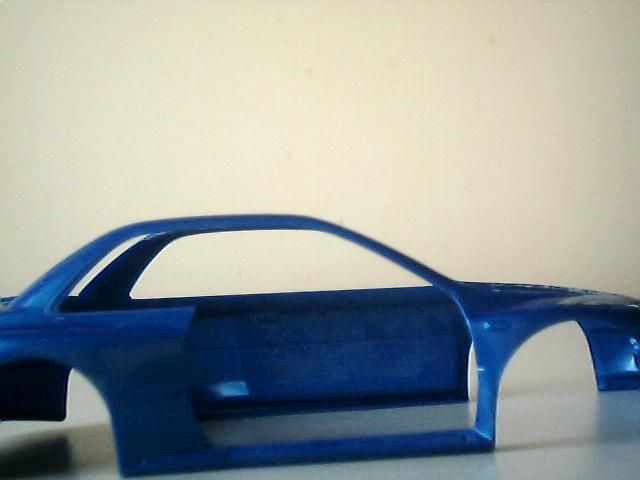  just cut the trunk panel with drill, side cutter and saw, not sanded yet (a) (b) 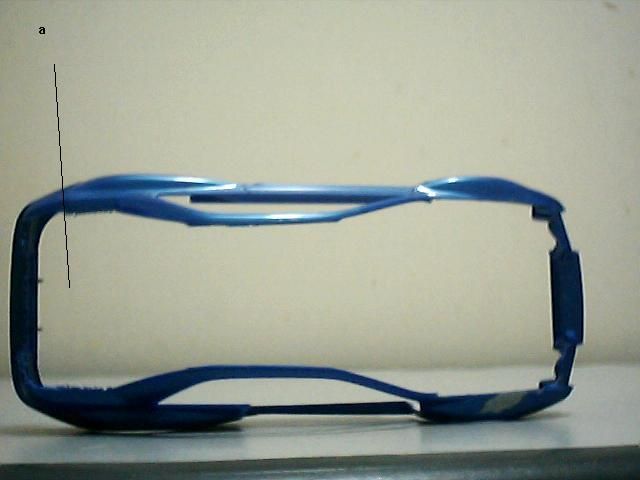 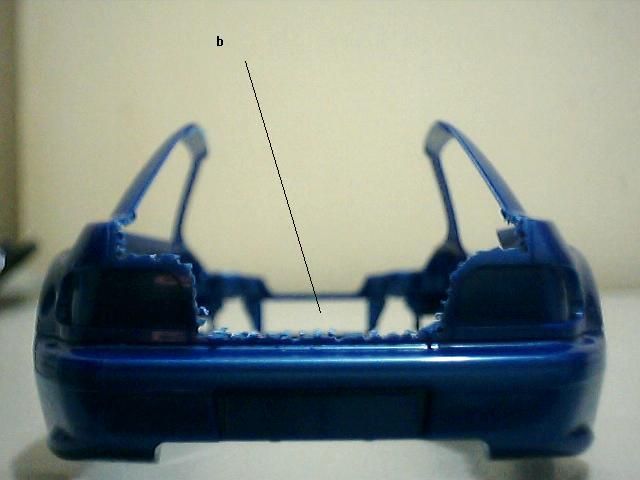 cut left door with drill and side cutter, not sanded 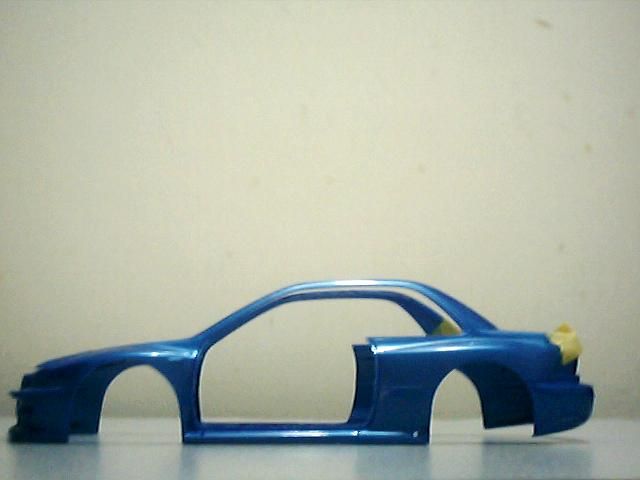 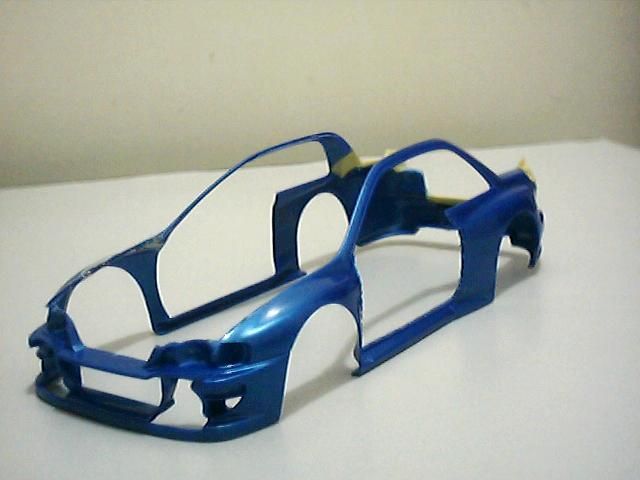 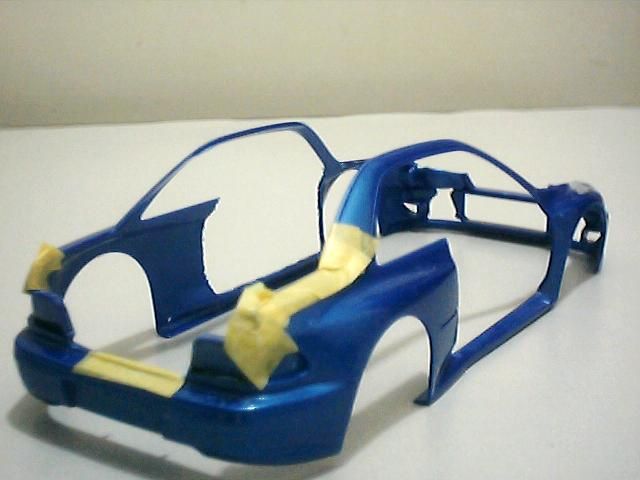 left door frame sanded  weather seal on left side of roof sanded off (a) (b)   remove weather strip of rear left window by sandpaper #400 and #800 (d) notice the mark (c), that's where the B pillar will locate, not gonna sand it off for now.  Last edited by frankqq; 10-26-2012 at 10:41 AM. |
|
|
|

|
|
|
#2 | |
|
AF Enthusiast
Join Date: Jun 2005
Location: north-eastern France
Posts: 2,959
Thanks: 15
Thanked 148 Times in 147 Posts
|
Re: Subaru wrc 1998 body shell tamiya
Ok I can see the pic now.
this pic shows the nude WRC body shell, so I don't really see what you aim to do in terms of modifications as the rally cars plastic kits made by brands are of course already modified compared to street cars to be accurate as much as possible to the racing versions. I probably have misunderstood something in your question but I don't see what to say, if you intend to build a rally car just buy a rally car kit and you wouldn't have to modificate anything on the body, being able to concentrate on details. I may have pics from these years WRC but need to take a look at my books, haven't much on the computer. |
|
|
|

|
|
|
#3 | |
|
AF Enthusiast
Join Date: Jun 2005
Location: north-eastern France
Posts: 2,959
Thanks: 15
Thanked 148 Times in 147 Posts
|
Re: Subaru wrc 1998 body shell tamiya
Ok Ok as said in PM I think I now understand.
You want to build the nude body frame. nice ambitious project but great original model expected for sure. I think someone will be able to point you to the Evo racer model someone shows here the building process from copper and soldering, but I can't remember myself builder or thread names, you may use it as inspiration. EDIT: suddenly remembered the good key word, here is the link to the thread I mentioend: http://www.automotiveforums.com/vbul...d.php?t=954617 |
|
|
|

|
|
|
#4 | ||
|
AF Newbie
Thread starter
Join Date: Jul 2009
Location: NA
Posts: 12
Thanks: 1
Thanked 0 Times in 0 Posts
|
Re: Subaru wrc 1998 body shell tamiya
Quote:
 yes him! i WAS inspired by him, mike@af, who built the Time Attack/Circuit Racer Mitsubishi Evo V. http://www.automotiveforums.com/vbul...d.php?t=954617 and another guy hakkfan with WIP:Jeff Gordon's '06 Superman/Pepsi Monte Carlo. http://www.automotiveforums.com/vbul...d.php?t=922989 i was so astonished to see what can be built. those are so realistic. |
||
|
|

|
|
|
#5 | |
|
AF Enthusiast
Join Date: Jun 2005
Location: north-eastern France
Posts: 2,959
Thanks: 15
Thanked 148 Times in 147 Posts
|
Re: Subaru wrc 1998 body shell tamiya
Oh yes you're right, those Nascar builds we were used to see are simply inbelievable and very inspiring !
|
|
|
|

|
|
|
#6 | |
|
AF Newbie
Thread starter
Join Date: Jul 2009
Location: NA
Posts: 12
Thanks: 1
Thanked 0 Times in 0 Posts
|
Re: Subaru wrc 1998 body shell tamiya
exactly! until then i never thought it would be possible to make the suspension and steering system functional for a 1/24 scale kit. those screws and nuts are so small.
|
|
|
|

|
|
|
#7 | |
|
AF Newbie
Thread starter
Join Date: Jul 2009
Location: NA
Posts: 12
Thanks: 1
Thanked 0 Times in 0 Posts
|
Re: Subaru wrc 1998 body shell tamiya
NEED HELP!
1 are there any other ways to cut panels? i found a little damage to both side of where i cut with craft knife (.38mm) and i tried another way using 0.2mm drill bit, that was quite ok without any damage to both sides of panels but it costs me a drill bit after i drilled 8 holes. is it because i didn't use the drill right to broke the drill bit or its just impracticable to do it this way? 2 please tell me how to use putty. i have 2 kinds of putty, 'tamiya putty basic type' and 'tamiya epoxy putty smooth surface'. With what tool should i apply it to the surface? How much should i apply it when for example if there is a scratch by knife or a hole by a drill bit? How long should i wait before i can file it? thanks |
|
|
|

|
|
|
#8 | |
|
ItaloSvensk
Join Date: Mar 2009
Location: Marstrand
Posts: 3,383
Thanks: 1,077
Thanked 296 Times in 270 Posts
|
Re: Subaru wrc 1998 body shell tamiya
why did u cut also roof? it is a main part of all bodyshells...also the racing chassis u posted in first pics still have it on.
__________________
Paolo - LoveGT40 Modelworks website www.alsoldatino.com my YT channel : https://www.youtube.com/channel/UCIp..._as=subscriber FB: https://www.facebook.com/alsoldatino |
|
|
|

|
|
|
#9 | |
|
AF Newbie
Thread starter
Join Date: Jul 2009
Location: NA
Posts: 12
Thanks: 1
Thanked 0 Times in 0 Posts
|
Re: Subaru wrc 1998 body shell tamiya
because there will be 2 bars between a pillar and c pillar respectively supporting the roof. it'll be easy to fit them on with the roof out of sight and it'll be easier to fit in weather seal along the seam between roof and sides. also, easier to do all sort of other measurement later on
Last edited by frankqq; 10-26-2012 at 09:44 AM. |
|
|
|

|
|
|
#10 |
|
AF Fanatic
|
Re: Subaru wrc 1998 body shell tamiya
|
|
|

|
|
|
#11 | ||
|
AF Newbie
Thread starter
Join Date: Jul 2009
Location: NA
Posts: 12
Thanks: 1
Thanked 0 Times in 0 Posts
|
Re: Subaru wrc 1998 body shell tamiya
Quote:
|
||
|
|

|
|
|
#12 | |
|
AF Newbie
Thread starter
Join Date: Jul 2009
Location: NA
Posts: 12
Thanks: 1
Thanked 0 Times in 0 Posts
|
Re: Subaru wrc 1998 body shell tamiya
i found a fantastic site with hundreds of detailed photos of subaru wrc in different years
http://forums.nasioc.com/forums/show....php?t=1769332 saving image as... now |
|
|
|

|
|
 |
POST REPLY TO THIS THREAD |
 |
|
|