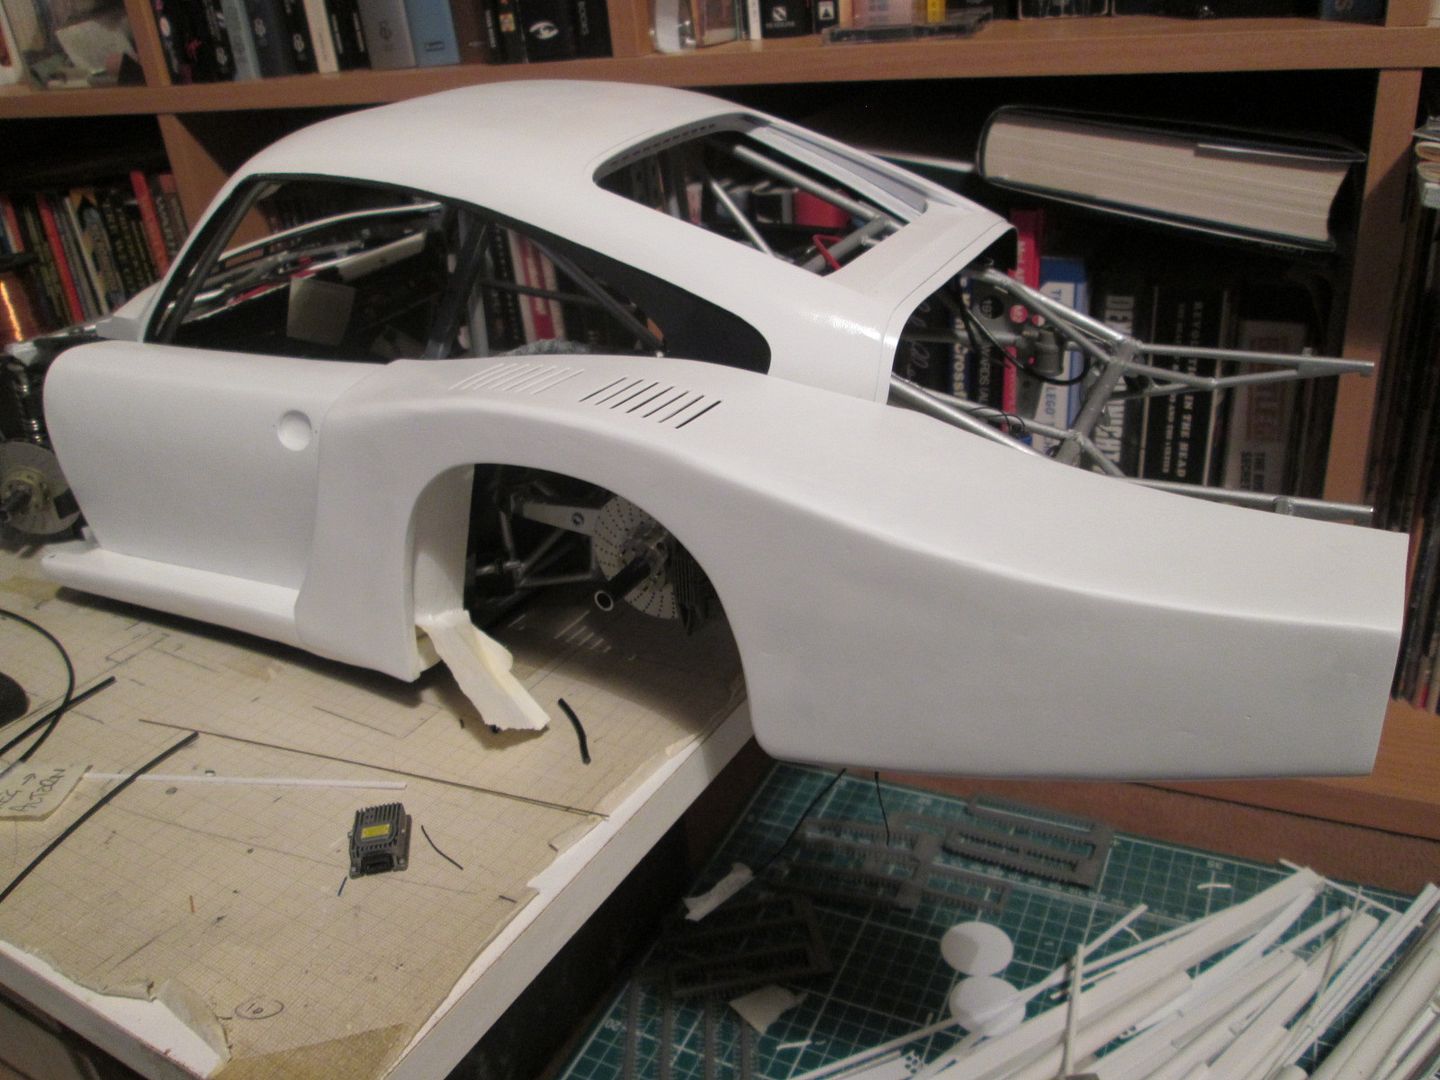
Yup, paint! "About bl**dy time", I hear you all say...
Unfortunately, the paintwork isn't the main focus of this update. It is progressing nicely, but doesn't look massively different to the photo from the previous post! I reckon one final coat of white and it will be there, and I'm going to be spraying my test piece with Martini colours this week, so there will be more on this next time. For now, here's a photo from last week after I gave in to temptation:
The big push recently has been getting the wheel rims sorted out. Just before the Easter weekend I spent a couple of evenings building up the outer rim edges with various layers of 0.4 and 0.5mm strip - so much easier than trying cut thin hoops from sheet with the compass cutter. After this I started the job of cutting and fitting a total of 72 fins to the aerodynamic wheel covers:

This is one of the fronts with 16 fins. The fins were cut from 0.75mm strip, using a template piece to make life easier. The small lengths of 2mm angle were added for reinforcement, and some final fettling was required to get a suitable fit into the wheelrim. The rears were much the same, except with 20 fins per side (a slightly different shape, of course).
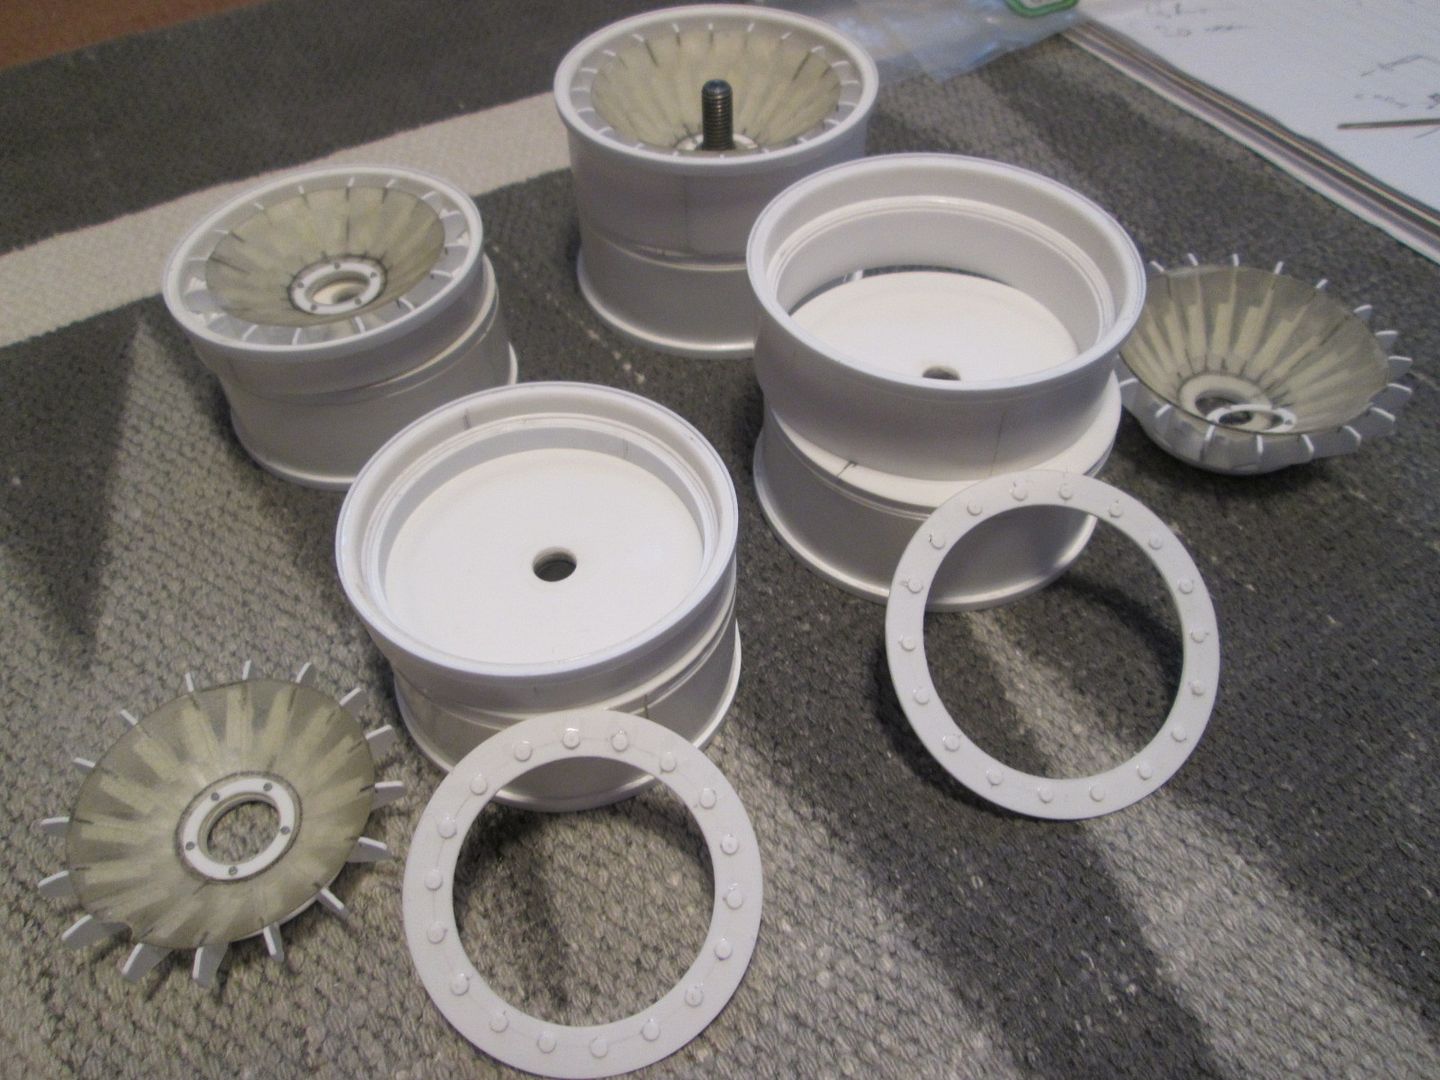
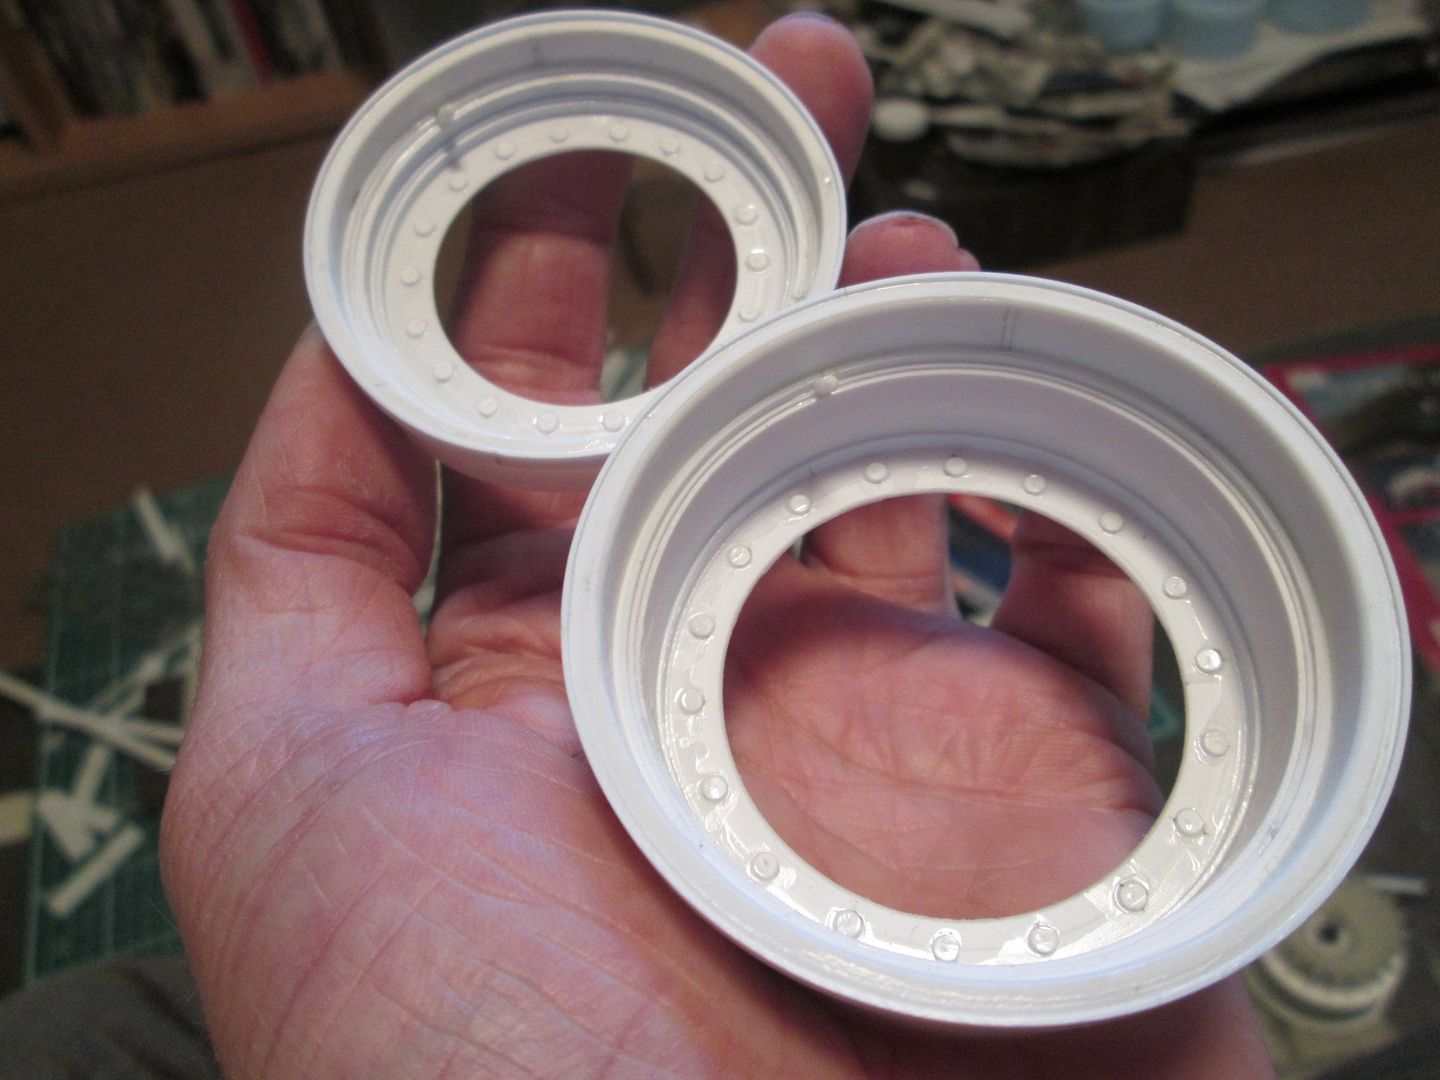
I adjusted the height of the cover within the wheel by fitting a couple of styrene discs beneath, allowing the wheelnut to be recessed into it. Each one also has a small ring with nut-detailing which will be glued in place after final painting. You can also see where I've added more strip around the inside of the rims to get a more realistic cross-section.
Here's a detail shot - the tyre valves were added last night:
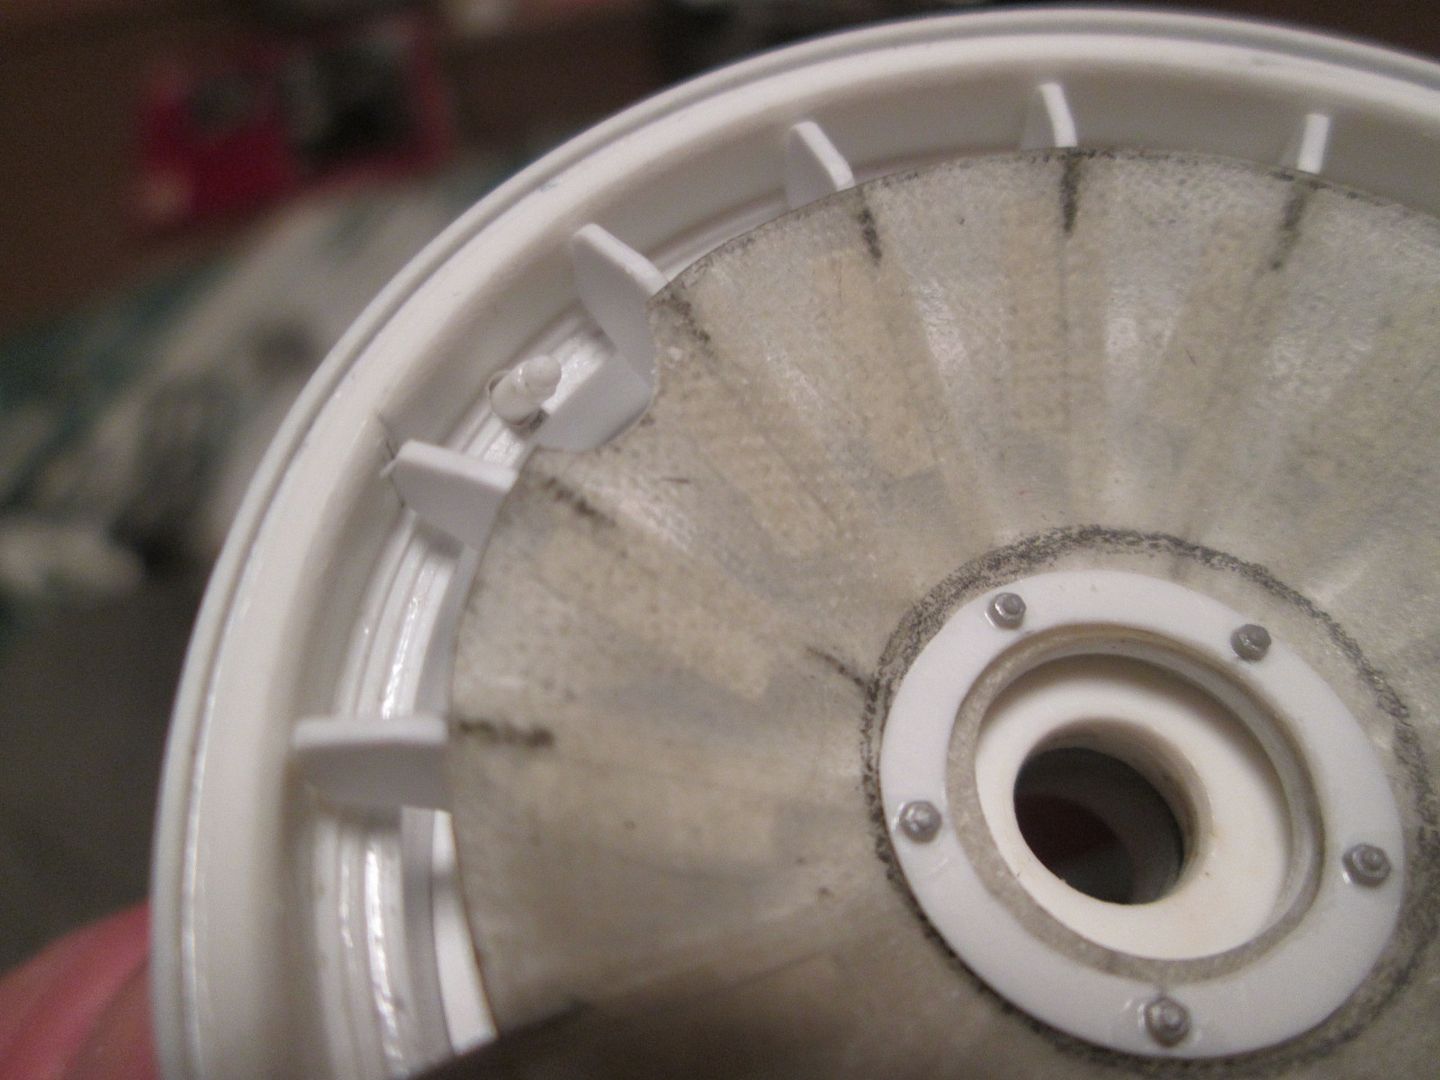
This final photo is me just adding more detail which will barely be seen. The inner rings with the 2mm discs mirror the similar detailing on the inside of the rims, although the wheel covers will do a good job of hiding it all from view. Another styrene strip or two covers the join.
So, all four rims are now ready for painting and final assembly. I also need to re-make the tyres but that's a job I'm tempted to leave until I can get all the bodywork onto the car, just in case of final adjustments to the sizes.
What's next? Finish the white exterior spraying of the door skins and rear wing panels. Finish the mirrors. Paint some Martini test-stripes. Start adding some filler to the main nose section and front door extension panels. Paint the wheel covers? Start looking for more logos to use for decals, etc...or try scanning the 1:24 Tamiya sheet...
Still lots to be done...but getting there!
SB