Happy New Year!
Although I spent a fair bit of time modelling during the Christmas holidays, I wasn't able to make a big leap forwards - mainly because I'm still being careful about what gets glued in and when! Most of what I've been doing has been preparation for either fitting the fuel tank, etc, into the nose, or for getting the cockpit relatively complete before the roof goes on.
First up, having added a few extra details to the headlight surrounds, I made the two small indicator lights and marker lights:
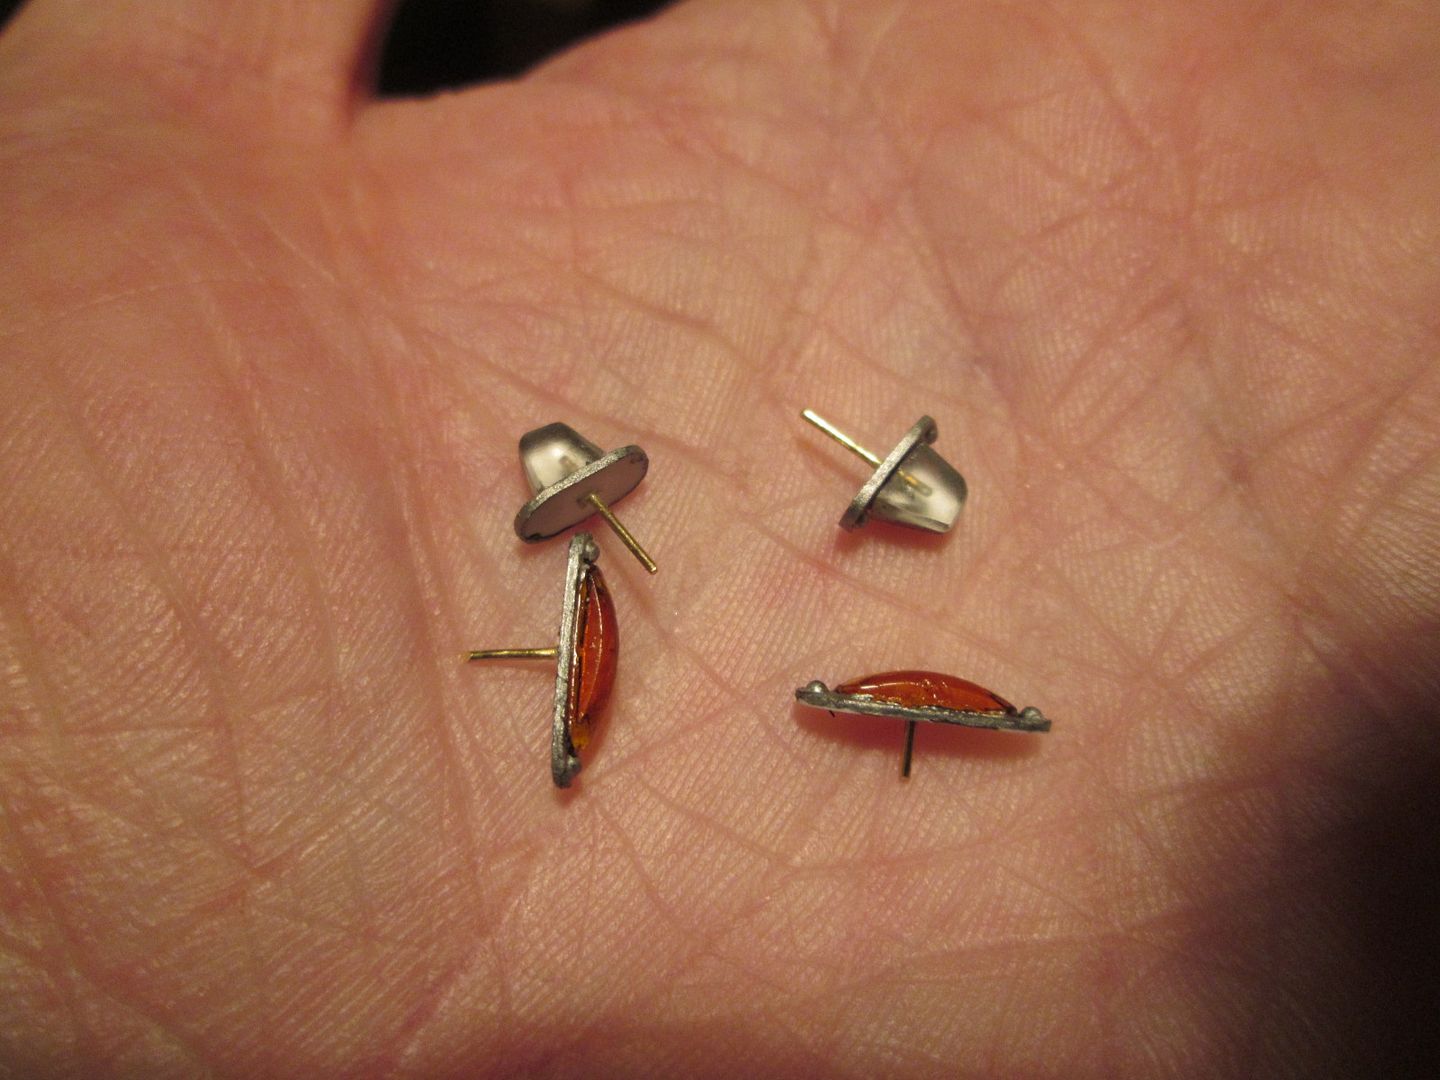
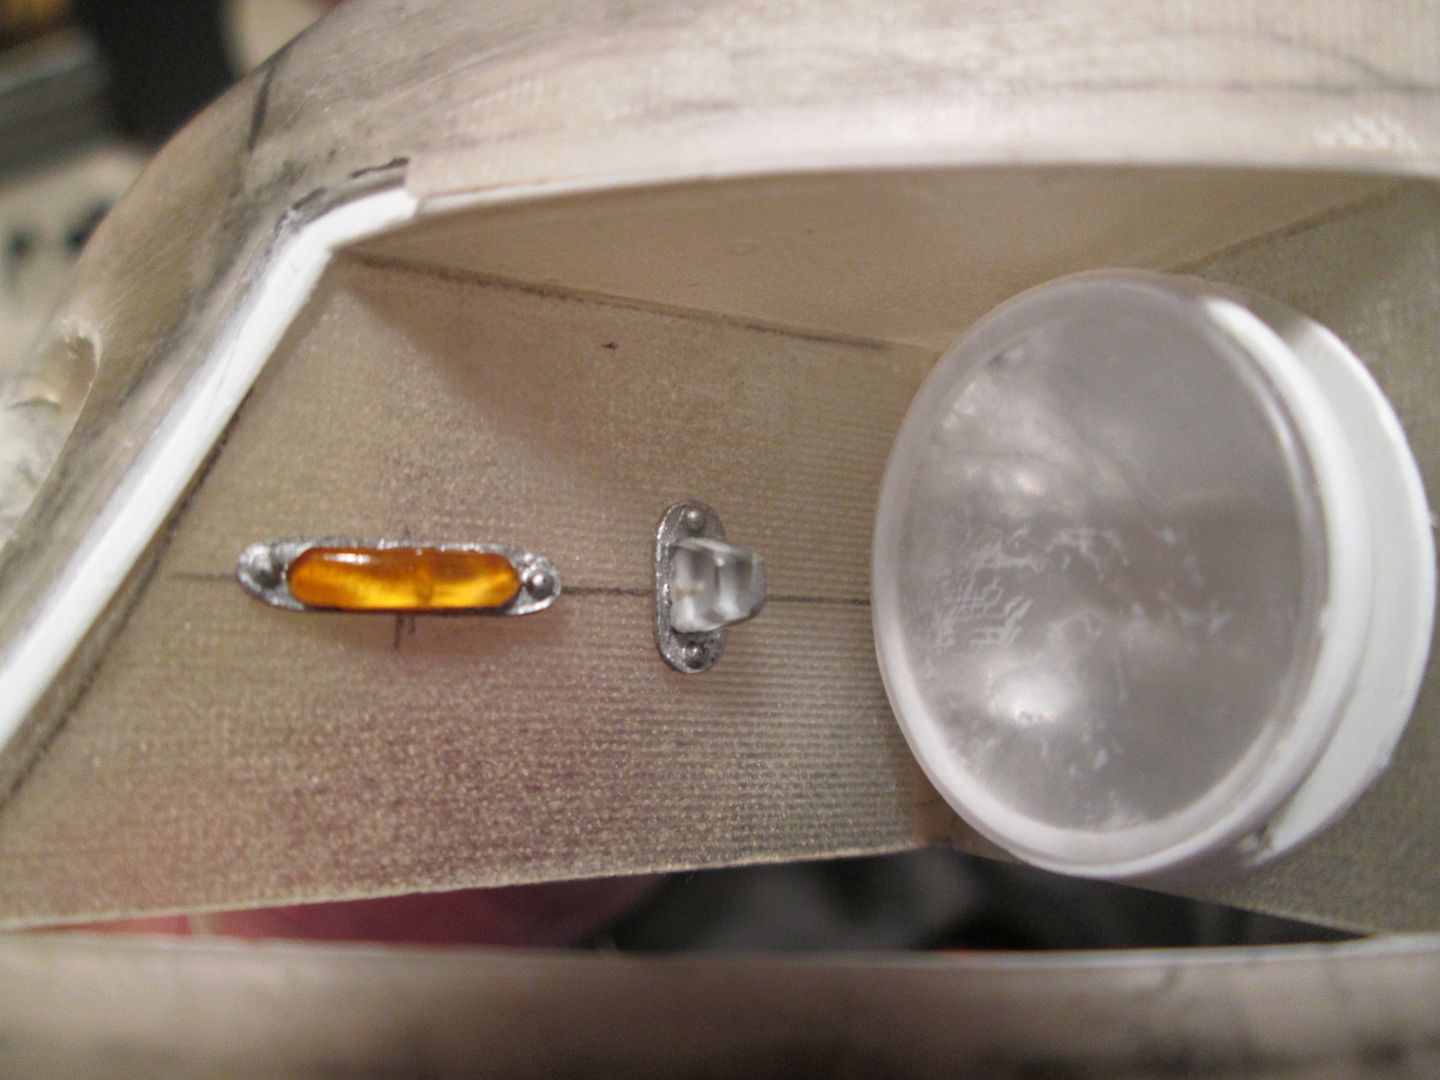
Very fiddly to make, but I think they'll look fine once the bodywork is painted. For now they're just pinned in place. For the indicators I cut each one from a thin disc of the 15mm clear acrylic rod, then rounded-off the ends with a file. A couple of coats of Tamiya clear orange, and job done. The clear marker lights were cut from the remains of the disc but needed a bit more filing to shape. The backing plates are strip styrene, with 'Wave Option' rivet detailing.
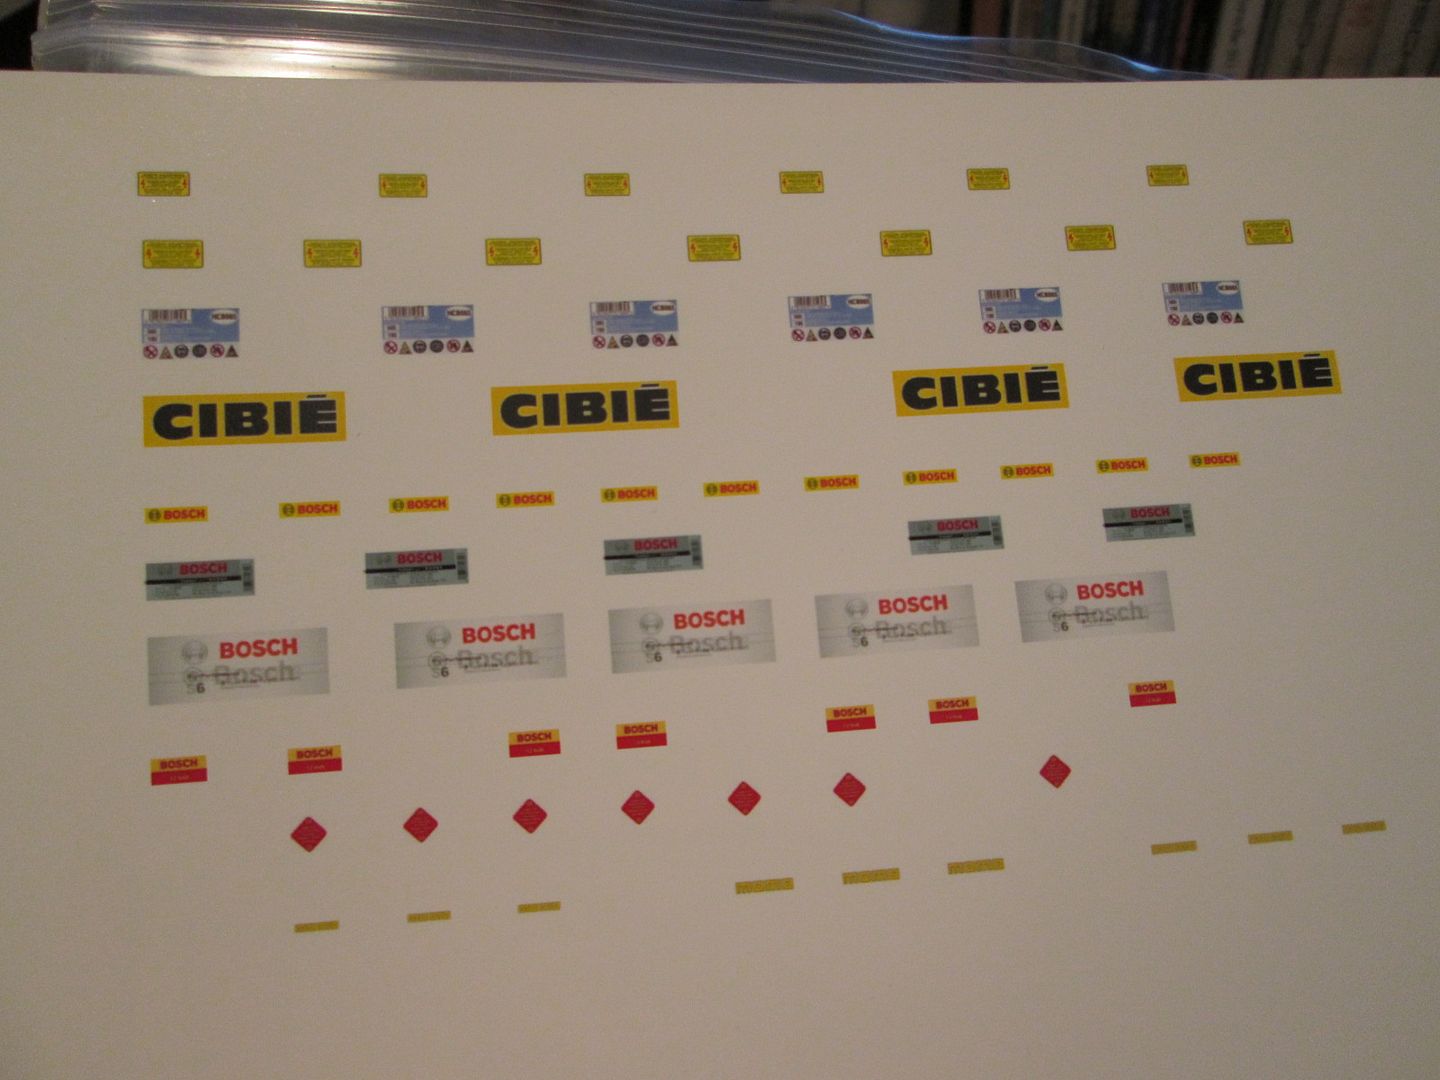
One thing I definitely wanted to do during the holidays was to sort out some of the decals required for a few of the electrical parts. I spent a couple of hours trawling online for suitable logos, etc, then spent a bit of time cleaning them up and checking the sizes. The end result was half a sheet of logos, most of which will hopefully not be required...
Here's the starter motor, ignition boxes and coil:
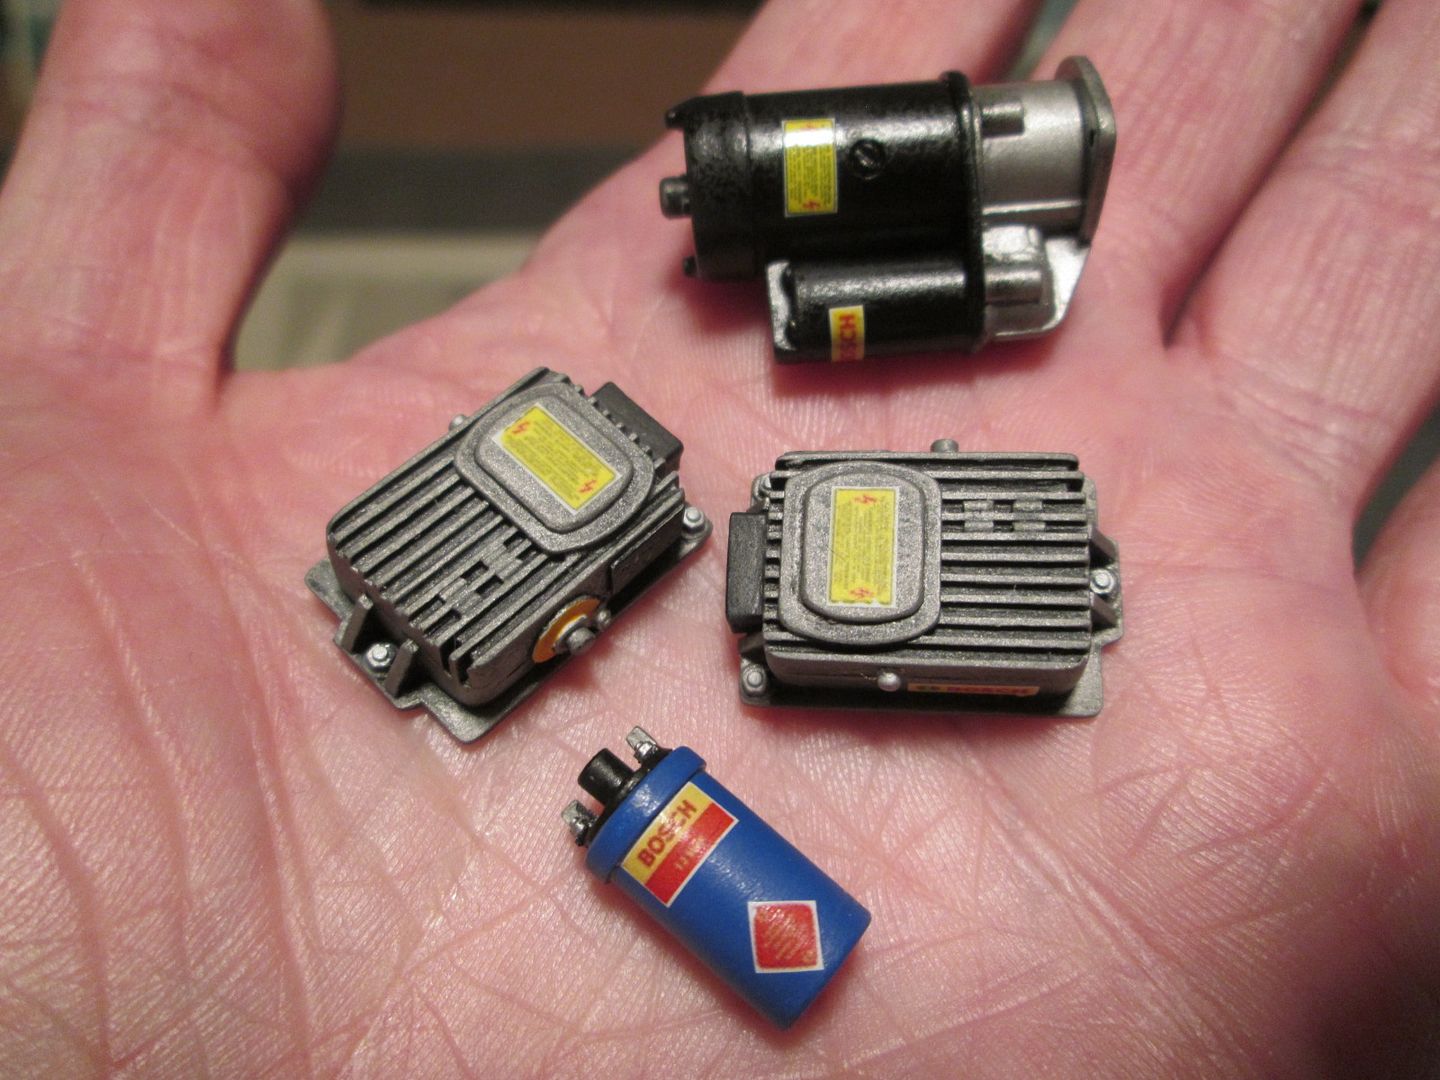
...and the battery:
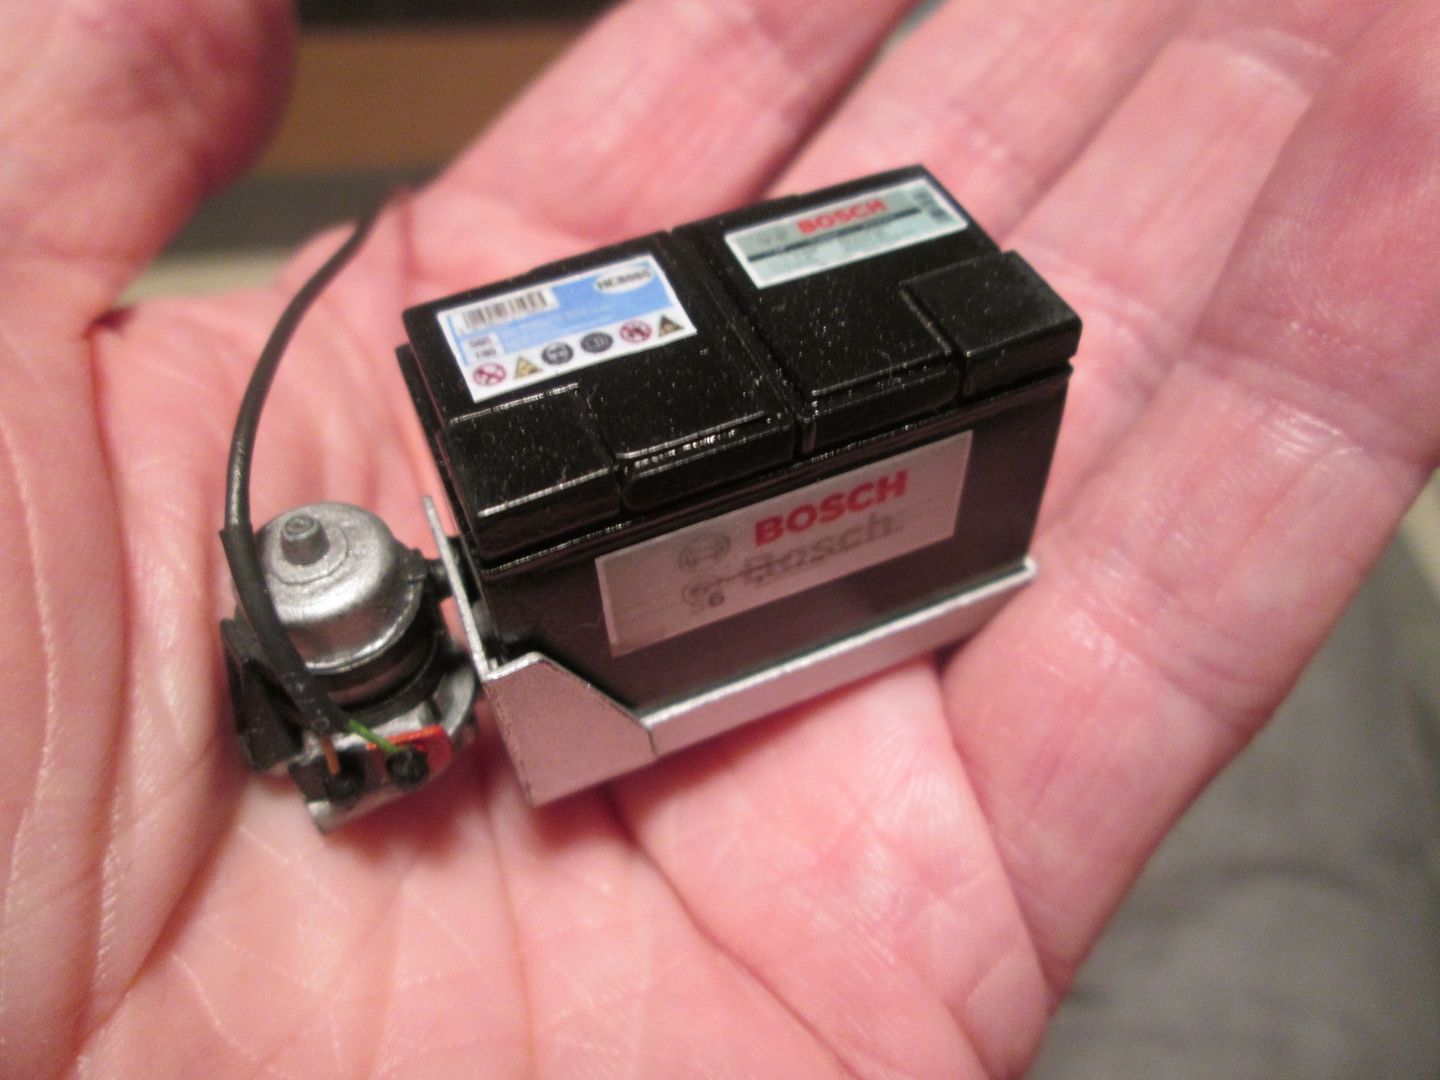
I'm particularly pleased with the battery - although it's buried down in the nose of the car, the decals stop it looking like just a black box. While I was at it, I sorted the wiring for the fuel pump, ready for installation. The coil needed a bit of work to finish the top detailing, and the ali mounting strap (not shown) has been primed and re-painted. Each part has been re-varnished afterwards to give the decals extra protection.
Most of the rest of the work has been in the cockpit. The last couple of photos hopefully give a feel of what I've been doing:
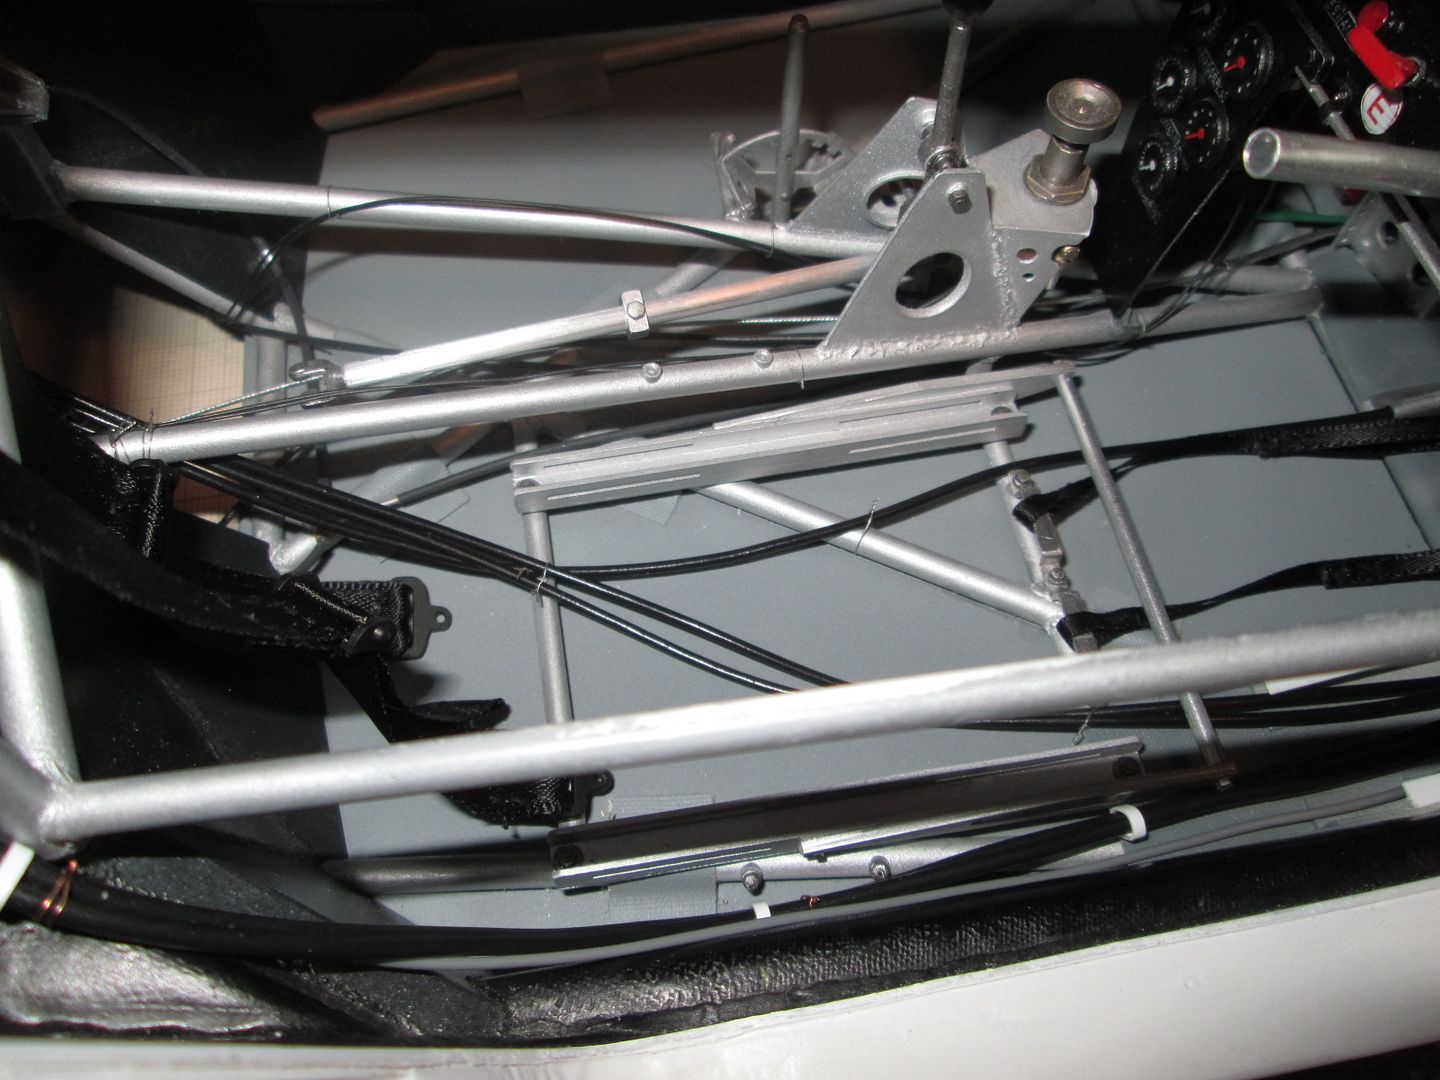
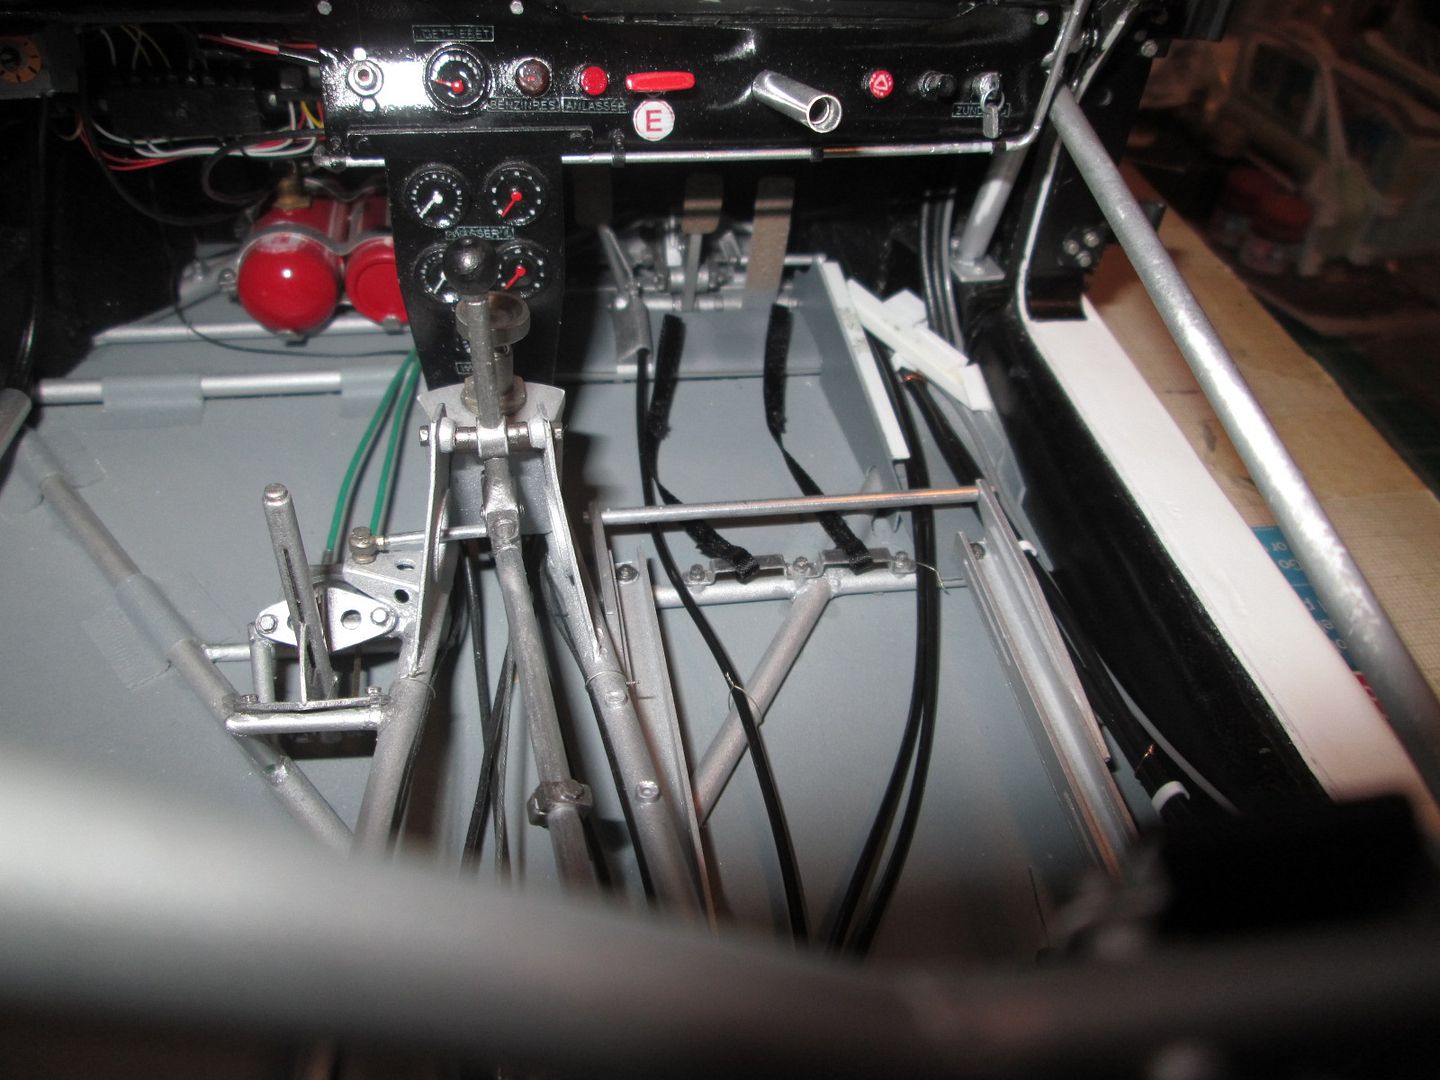
The wiring running down the left-hand side of the cockpit from the dashboard has been matched up with the appropriate pieces coming from the engine bay, with a length of ali tube used as protective conduit. This might be changed. I've drilled some extra holes through the rear firewall to pass a few of the cables through, rather than forcing everything through the holes for the water pipes.
The fuel lines down the right-hand side have been strapped together and are ready to be fixed in place. There's also a thin grey wire there which will be used for the air-jack plumbing - I've also made the fittings for the top of each jack.
I've made four pins which will be used to fix the seat frame to the mounting channels, and re-made the handle which connects the two adjusters each side. The clutch line and two throttle cables (one spare!) have been fitted and wired into place around the chassis tubes. Before I fit the seat to the frame, and the frame to the mounting channels, I've added the shoulder straps and crotch straps - the lap straps will be threaded through the seat before final assembly.
What else? The four door hinges have been fitted, glued, pinned and detailed with hex nuts. The gear lever is now glued in, although it is still free to move so I can connect it to the gearbox. At the front, I've played around with the colouring of the oil tank a little to get away from the 'flat aluminium' finish, and added a small bit of detailing to the fuel collector tank as the level sender. I've made some extra bits of wiring for the three smaller fuel pumps, and started assembling the wash-bottle pump. As usual, it's at this point that I remember I don't have photos for a lot of this stuff, but you'll see it next time.
So, I'm nearly at the stage where I can start fitting the various bits into the nose - getting the decals on the battery was the main obstacle here. But...do I fit the fuel tank, then the battery tray, or battery first then the fuel tank? Do I connect the wiring before or after? What about the pipework for the fuel system? Don't forget the trackrods need to be fitted into the steering rack while it's still accessible! As always, this is what soaks up so much of the time - trying to get the correct assembly sequence. We're nearly there, though...
More next time.
SB