Outstanding, everyone - thanks again!
I tried to post this one last week before going to Le Mans, but the forum was acting-up a bit. Now I'm back and have the rest of the day off, I'll do the update.
Seriously, lots of great suggestions there - and several different ways of (hopefully) getting the desired effect. Before leaving for France I picked up a few more supplies locally:
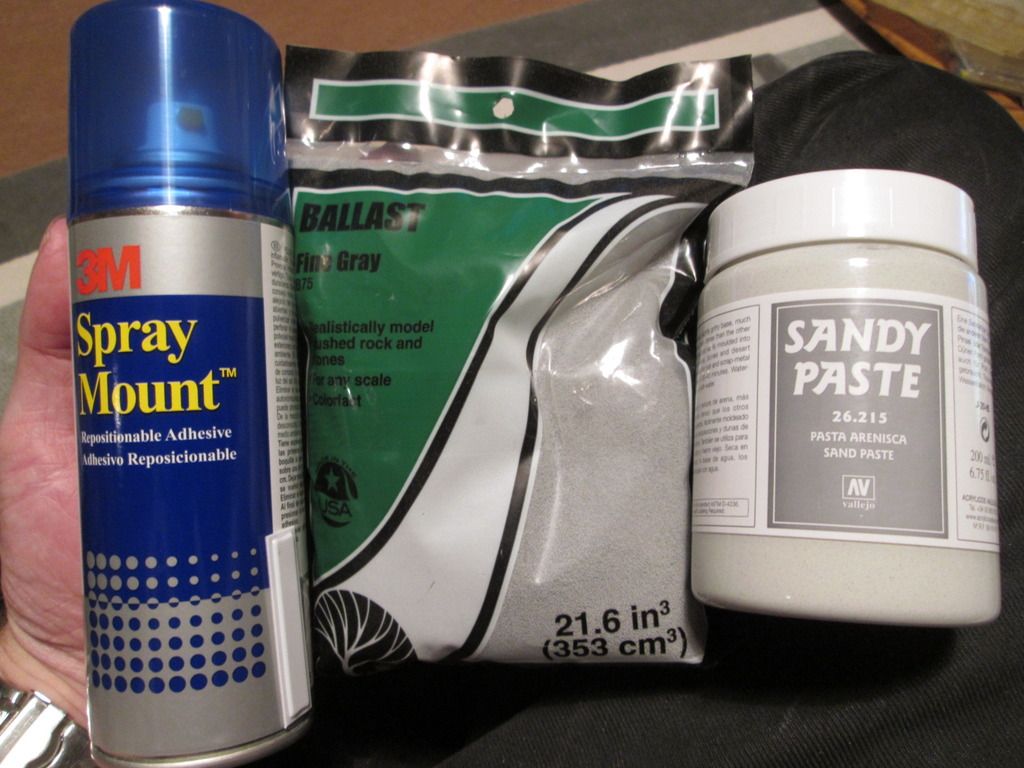
A new can of 3M spray-mount, some fine ballast from Woodland Scenics, and a pot of 'Sandy Paste' from Acrylicos Vallejo. I made up some more test-pieces - the new can of spray-mount certainly
sprayed better than the old one I had used earlier, but didn't produce enough texture for the dry-brushing to pick out. It didn't stick too well, either - I did this batch of tests using the new fine ballast, and it simply rubs off at the lightest touch. Okay - I could try spraying something on afterwards to seal it in place, but I'm not overly optimistic...
On the other hand, the new fine ballast does work well with PVA glue - see below, left. The 'Sandy Paste' is, as the name suggests, a fine sandy paste which can be painted-on as required - see below, right:
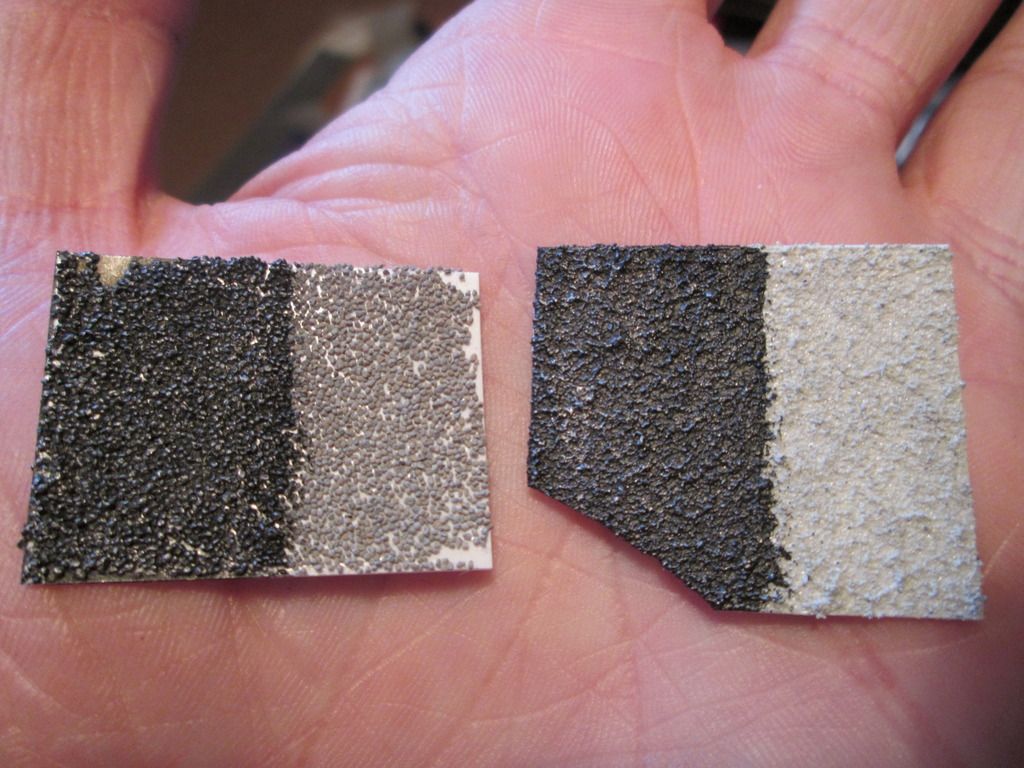
Right now I'm most excited by the sandy paste - I stippled it onto the test piece of styrene but wasn't impressed by the coverage at first. However I think the first coat gave the next coats something better to 'key' to, and after three applications I had the finish you see here. I'm going to try giving it a light sanding-down to remove any obvious high spots, but even as shown I think it will work.
Overall, this has been a useful exercise for me - those of you who have followed my recent projects will probably agree that although I might try various ways of making the parts, I don't experiment with textures too much. This doesn't mean I'm going to be texturing everything in sight, but I'm certainly thinking about how I can use some of these ideas on other parts - brake calipers, perhaps, maybe some of the turbo parts? We'll see.
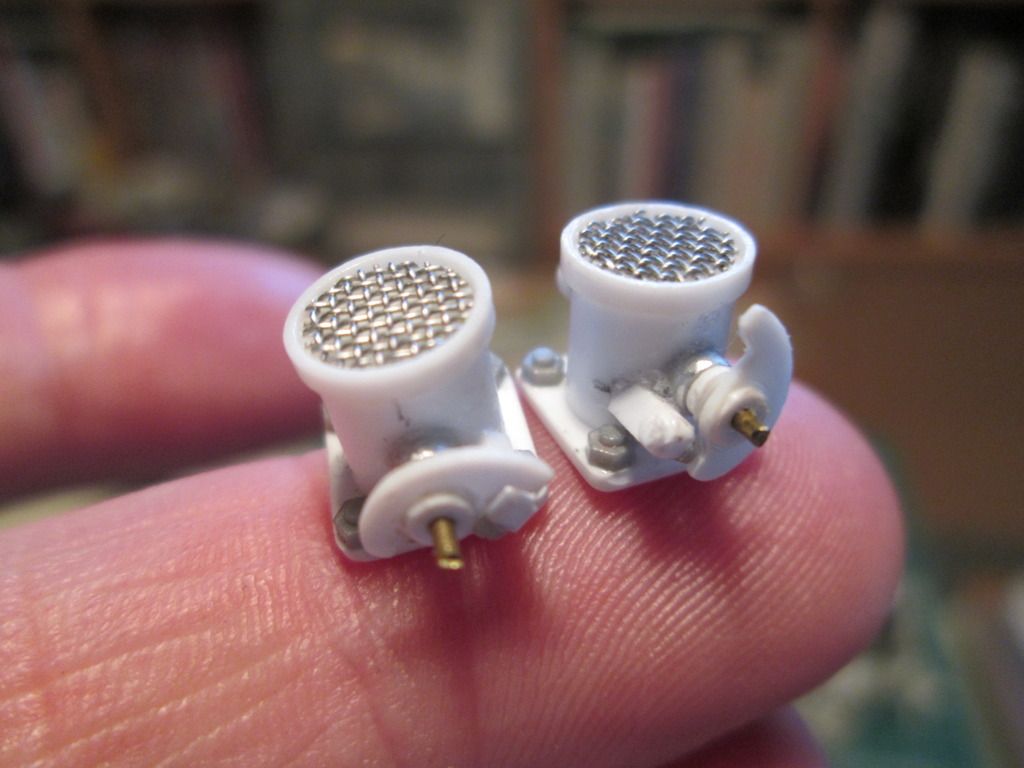
Okay - now for a little tidying-up. Next, here's a close-up of the two little unknown intercooler valve-things, with some extra detailing added:
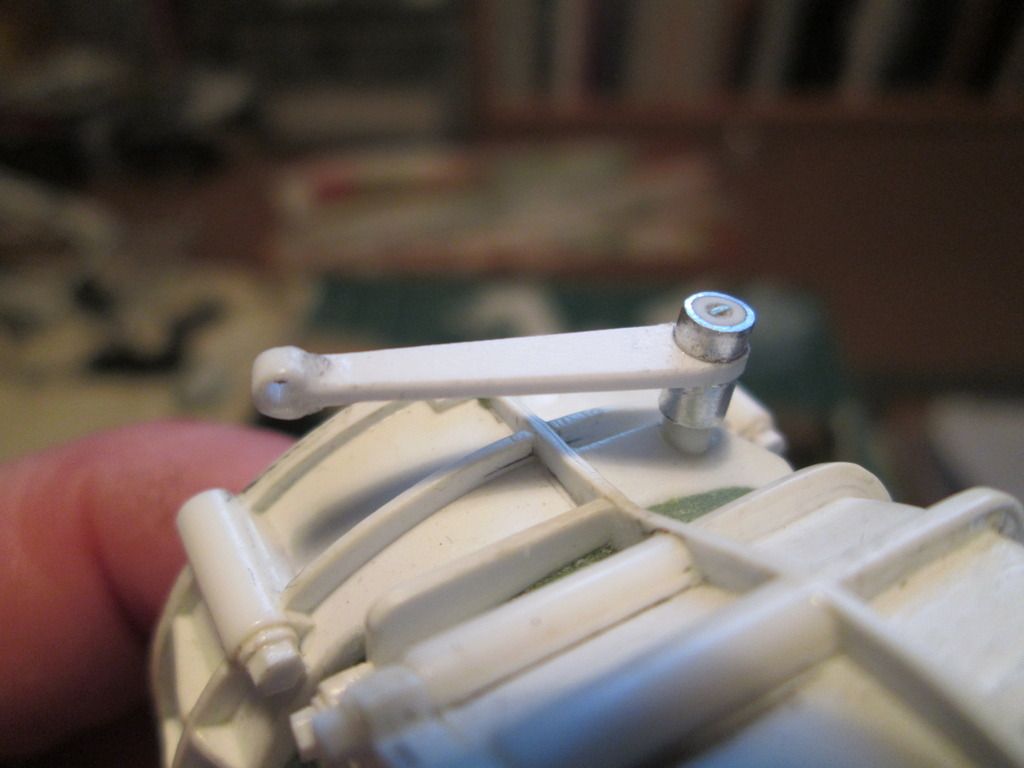
Finally made the clutch lever for the gearbox, too:
The other major project of the last couple of weeks has been back in the cockpit, working on the pedal-box area. In the photo below you can see I've added a large footrest which is pinned to a bracket on the floor, and will eventually be glued to a larger bracket hanging from below the front firewall. Getting this upper bracket right was a major pain - I couldn't do it with the parts in place, so I had to position everything, mark-up, dis-assemble, re-position using the marks, glue, then re-re-assemble to check the fit! Of course, it took maybe three or four attempts to get this done to my satisfaction...
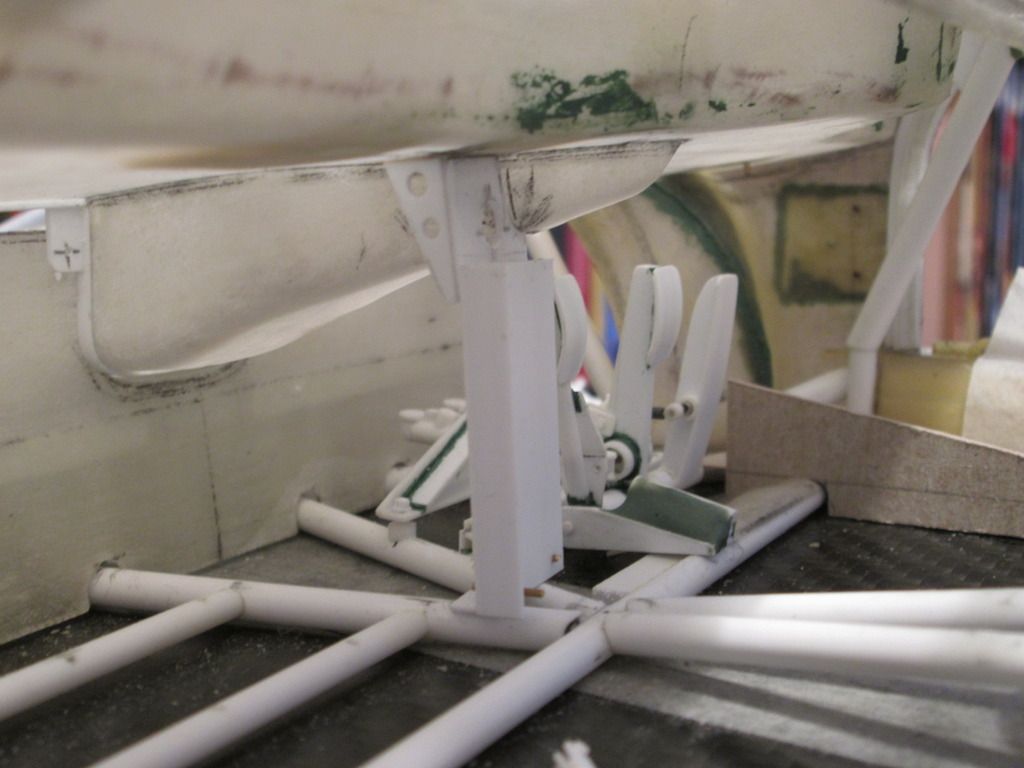
To the right of the footrest you can see the stay which supports the end of the pedal assembly and also shrouds the clutch cable. Either side of this there will be small fibreglass panels to give the driver somewhere to put his feet. Further right you can see a vertical cardboard panel - this is the start of a section which will eventually run down the right-hand side back to the seat, and which covers the throttle cable and also shrouds some of the pipework from the nose of the car as it runs through the cockpit. Not too many photo references for this, unfortunately, so I'm making it as best I can to fit the layout.
Here's the same area a little later:
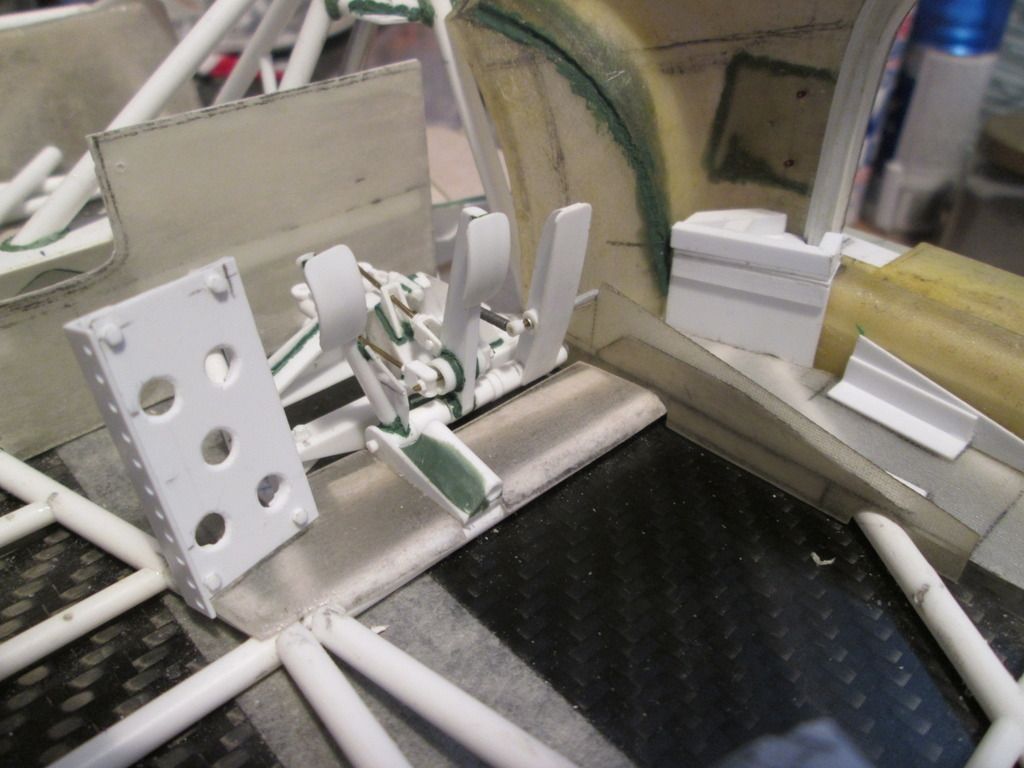
The footrest has been drilled and holed as per some of the reference photos, and the fibreglass floor panels have been trimmed into place. The cardboard pattern for the throttle cable cover has been replaced with one made from fibreglass, and I'm now working on making the top cover panel for this.
In the corner where the door pillar meets the sill opening there's a white styrene construction. This is the start of the final lower mounting point for the main roll-cage structure - there's one on the other side, too. The actual joint is at the base of this structure, but I'll be disguising this and adding false mounting plates on top to match the real car. It should all be clear after the next update, honest!
That's it for now. I'll post some of my LM photos once I've had a look at them - the Friday on-track display this year wasn't as good as in previous years, unfortunately, so there wasn't too much to shoot from a modelling point of view. No chance of doing any painting in the pitlane again, either: never seen so many people around the place! Managed to pick-up a nice 1:43 1977-winning 936 for the collection, too, and spent a while checking out the (Amalgam?) 1:8 Audi and Matra in the Spark shop - 3500 Euros, though...
SB