Hmm...where have the last few weeks gone?
I've been saving all sorts of things for this update - it's not a case of lack of progress, it's more that I've been making progress in several directions at once! First up, continuing with the rear bodywork support frames:
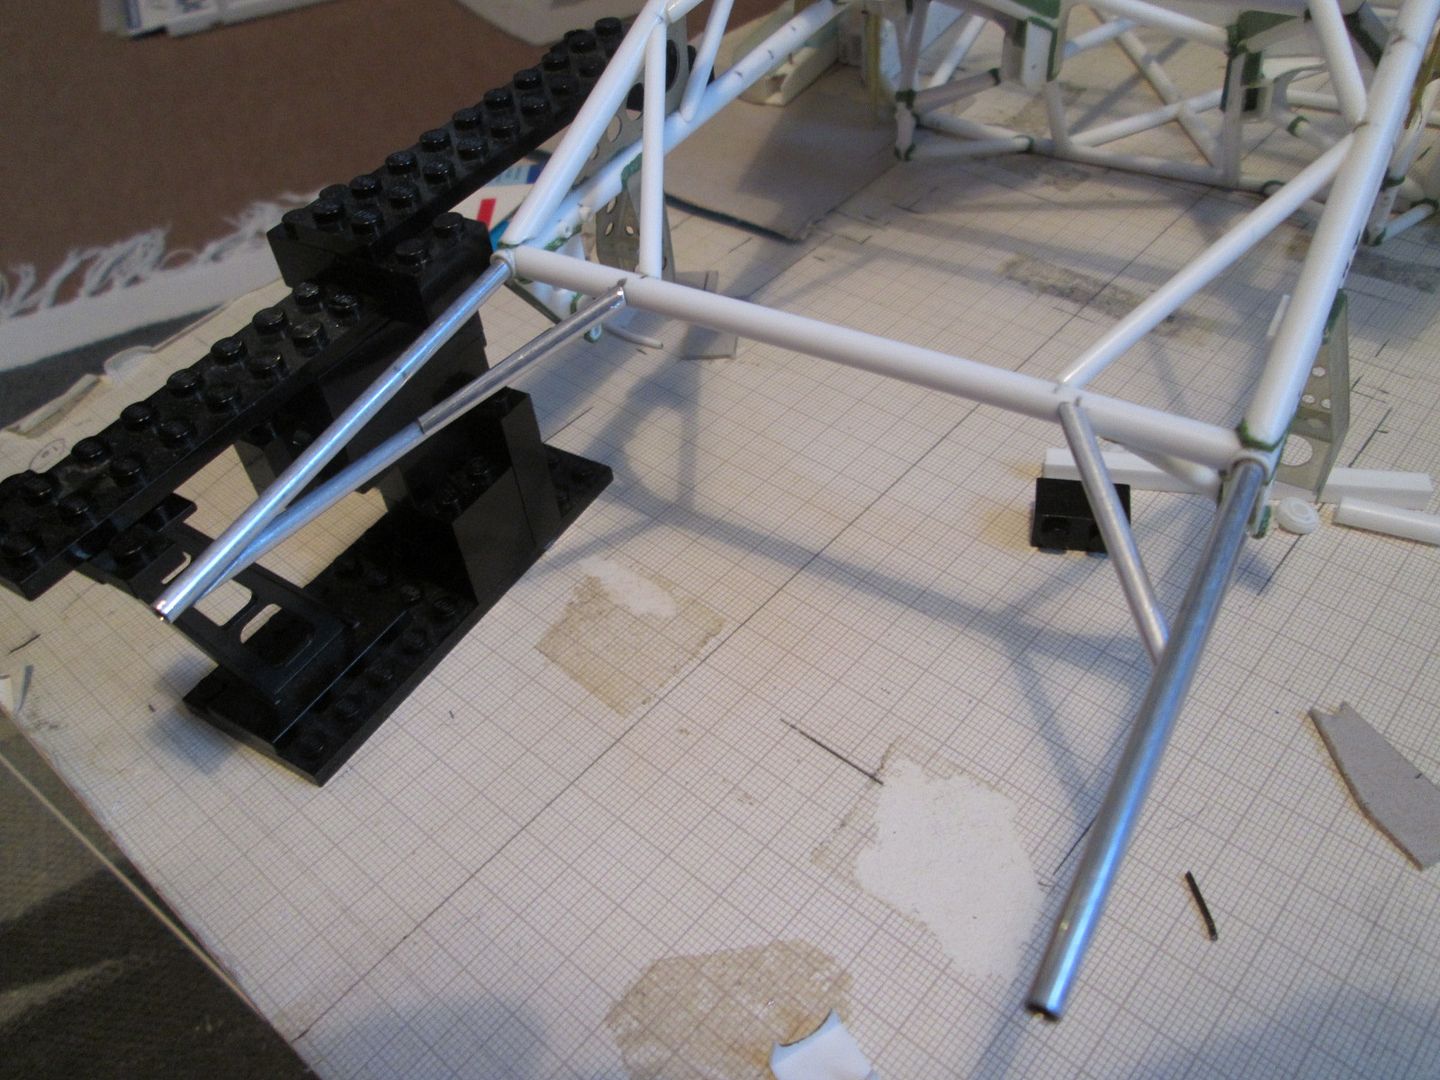
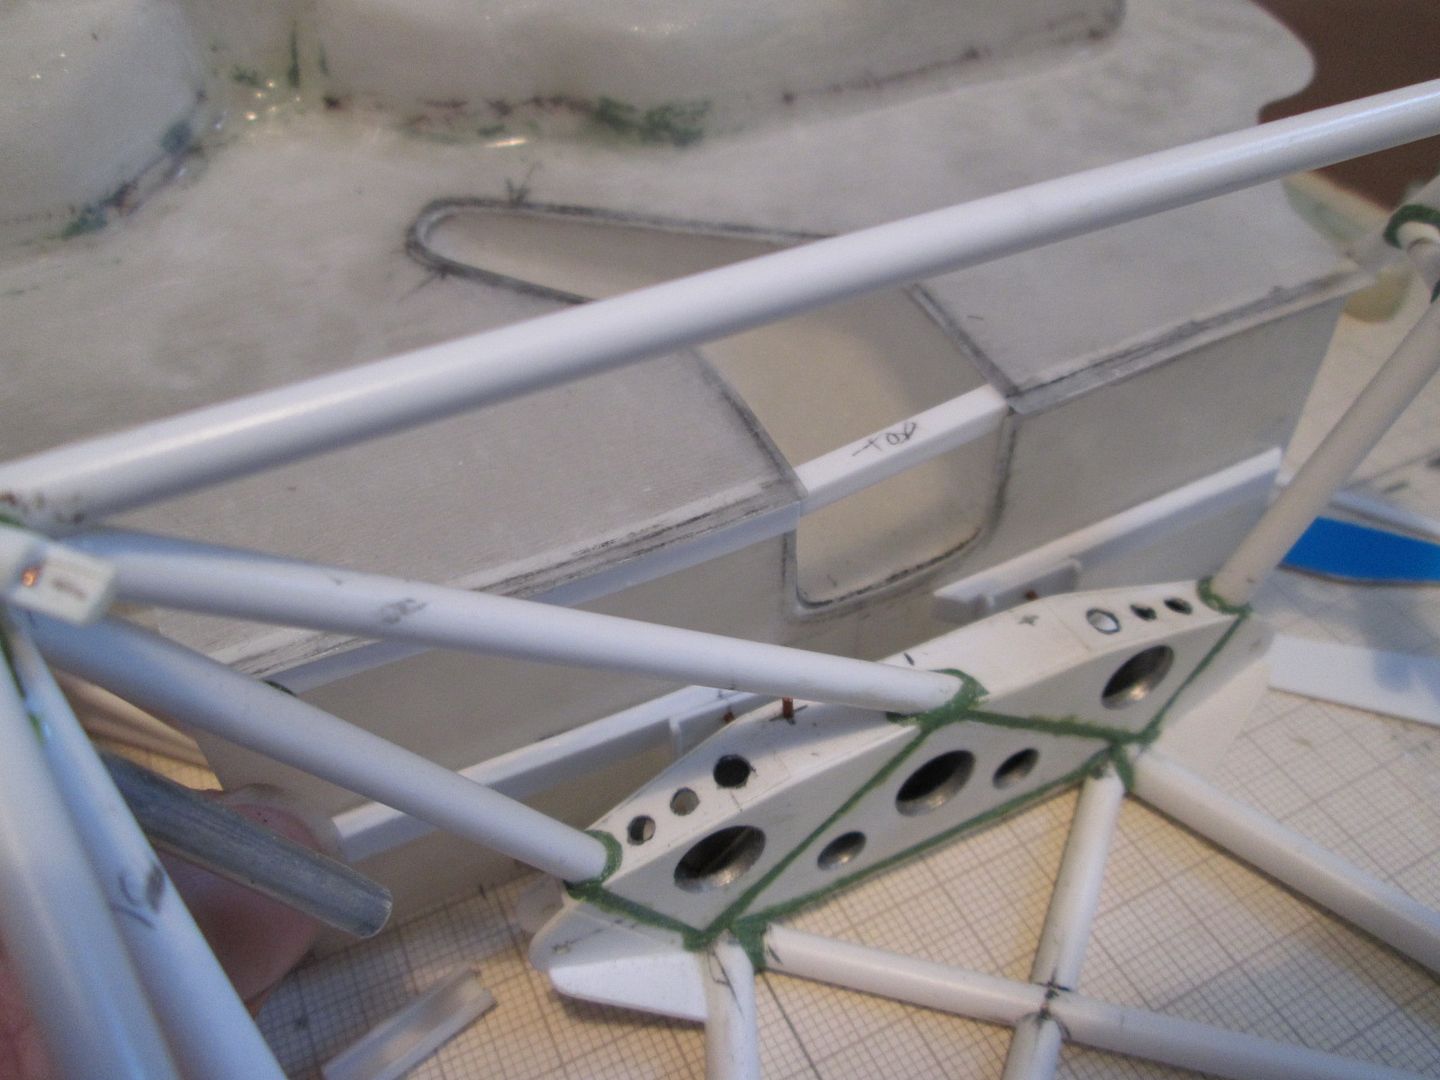
The small diagonal tubes were particularly awkward - it didn't help that I wanted to pin both ends. As usual, the Lego helped to keep things in line.
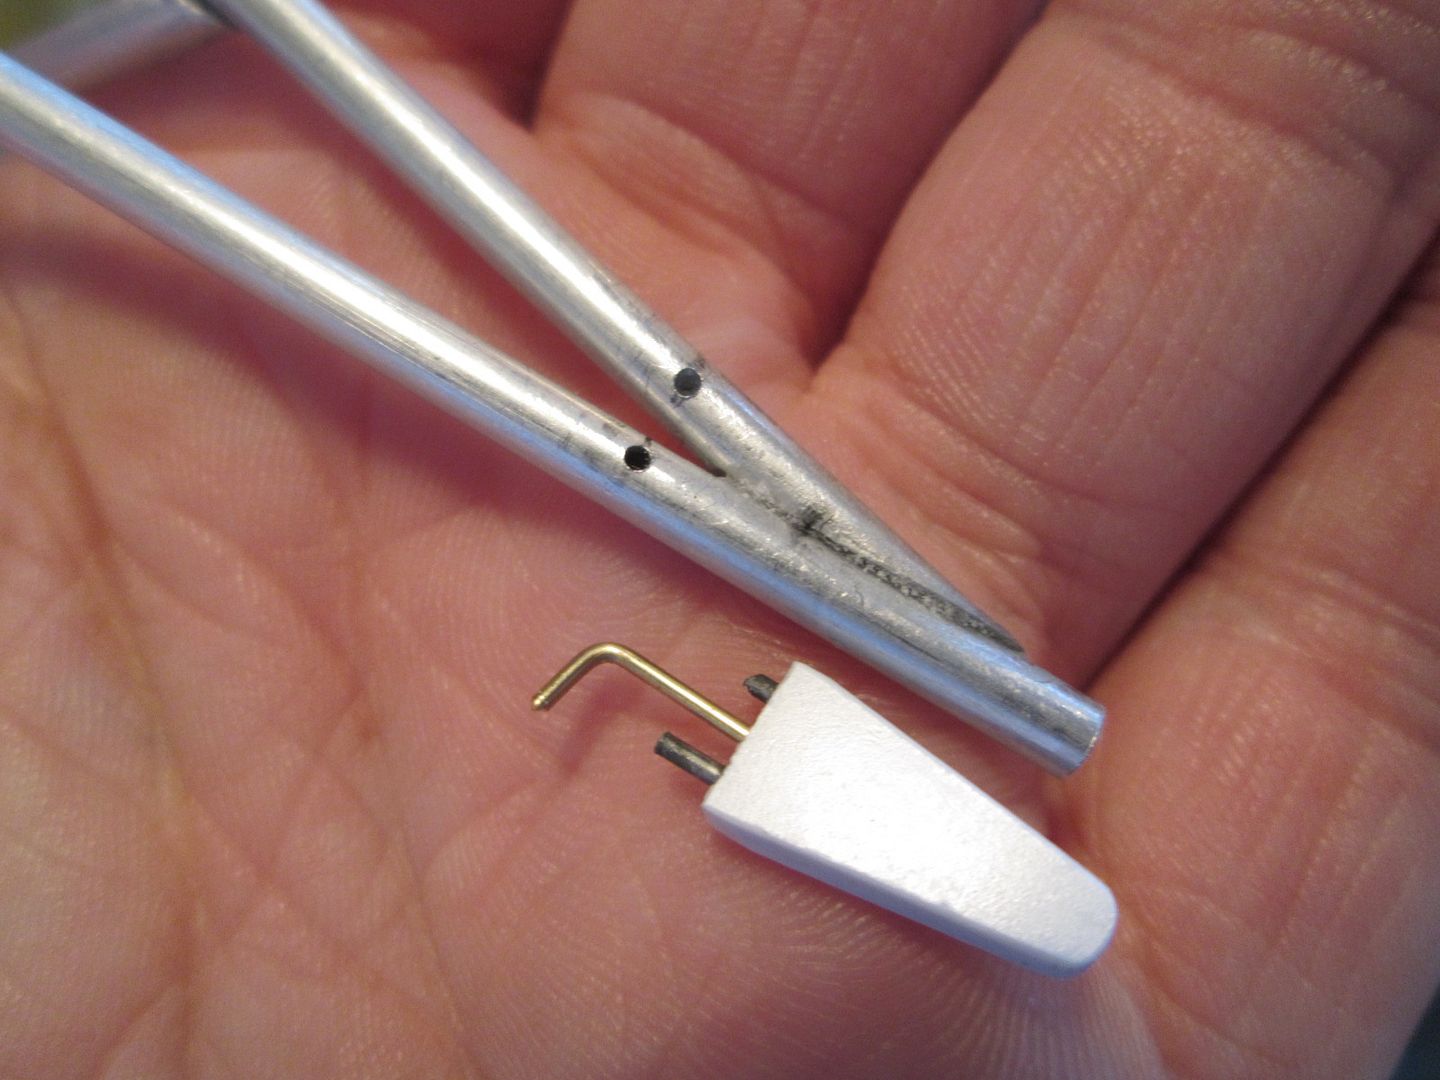
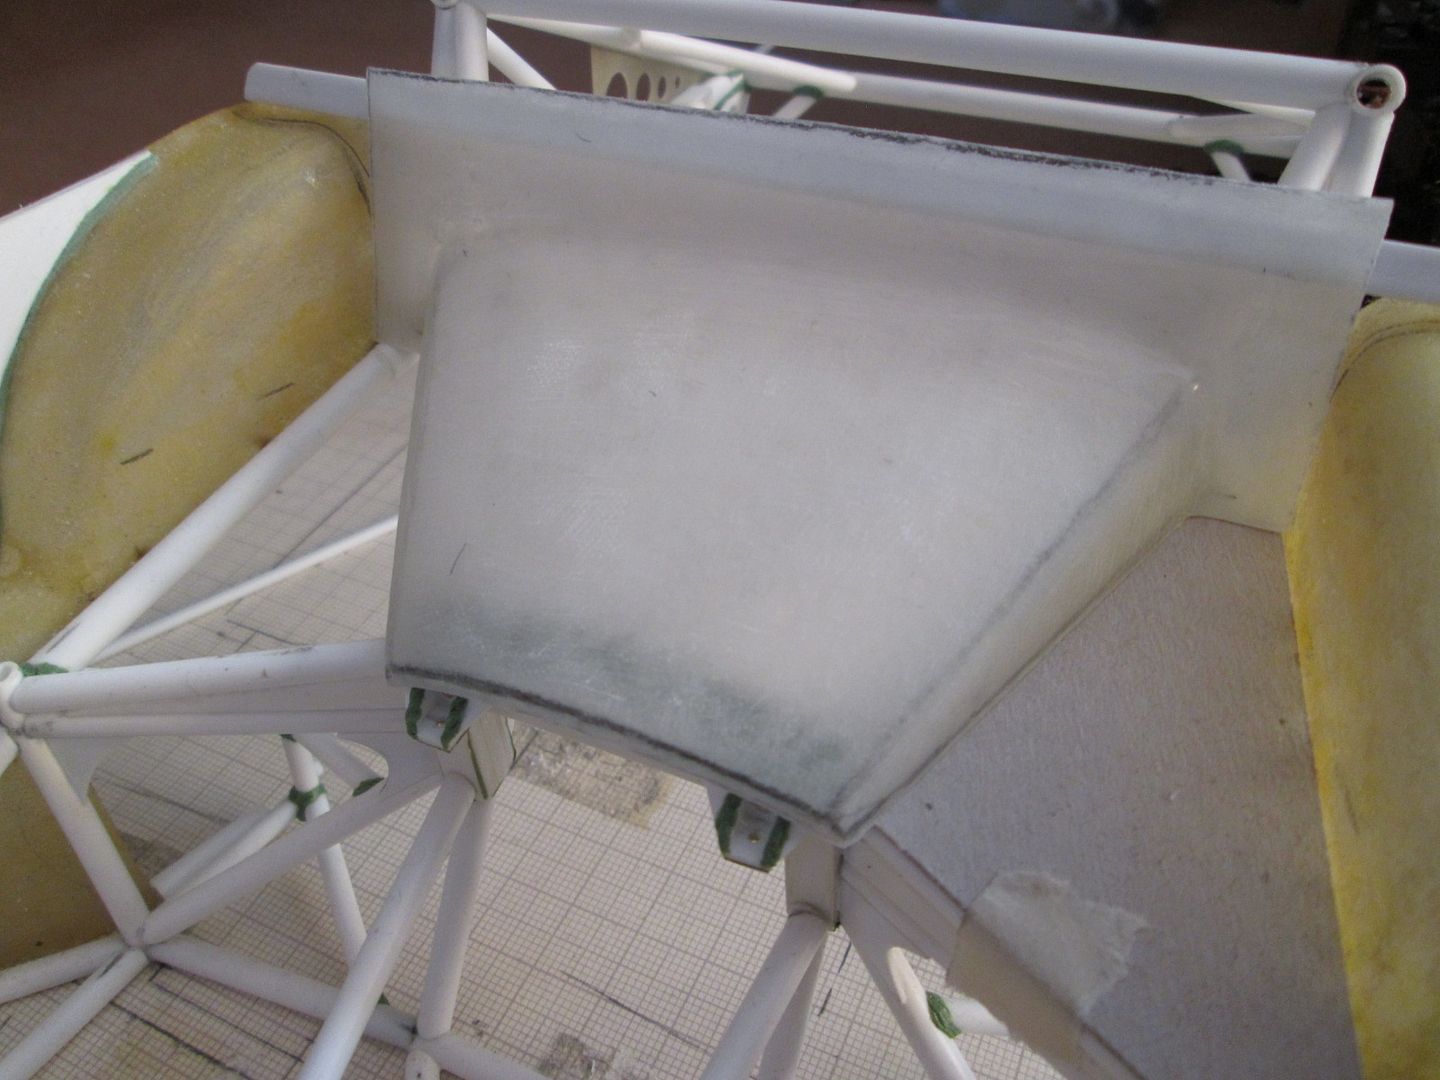
Next, there are two small 'ears' which support the back end of the two outer wing panels. These were cut from solid styrene, with two drillings to pin them into the main ali tubes, and a third L-shaped pin to help anchor them in place:
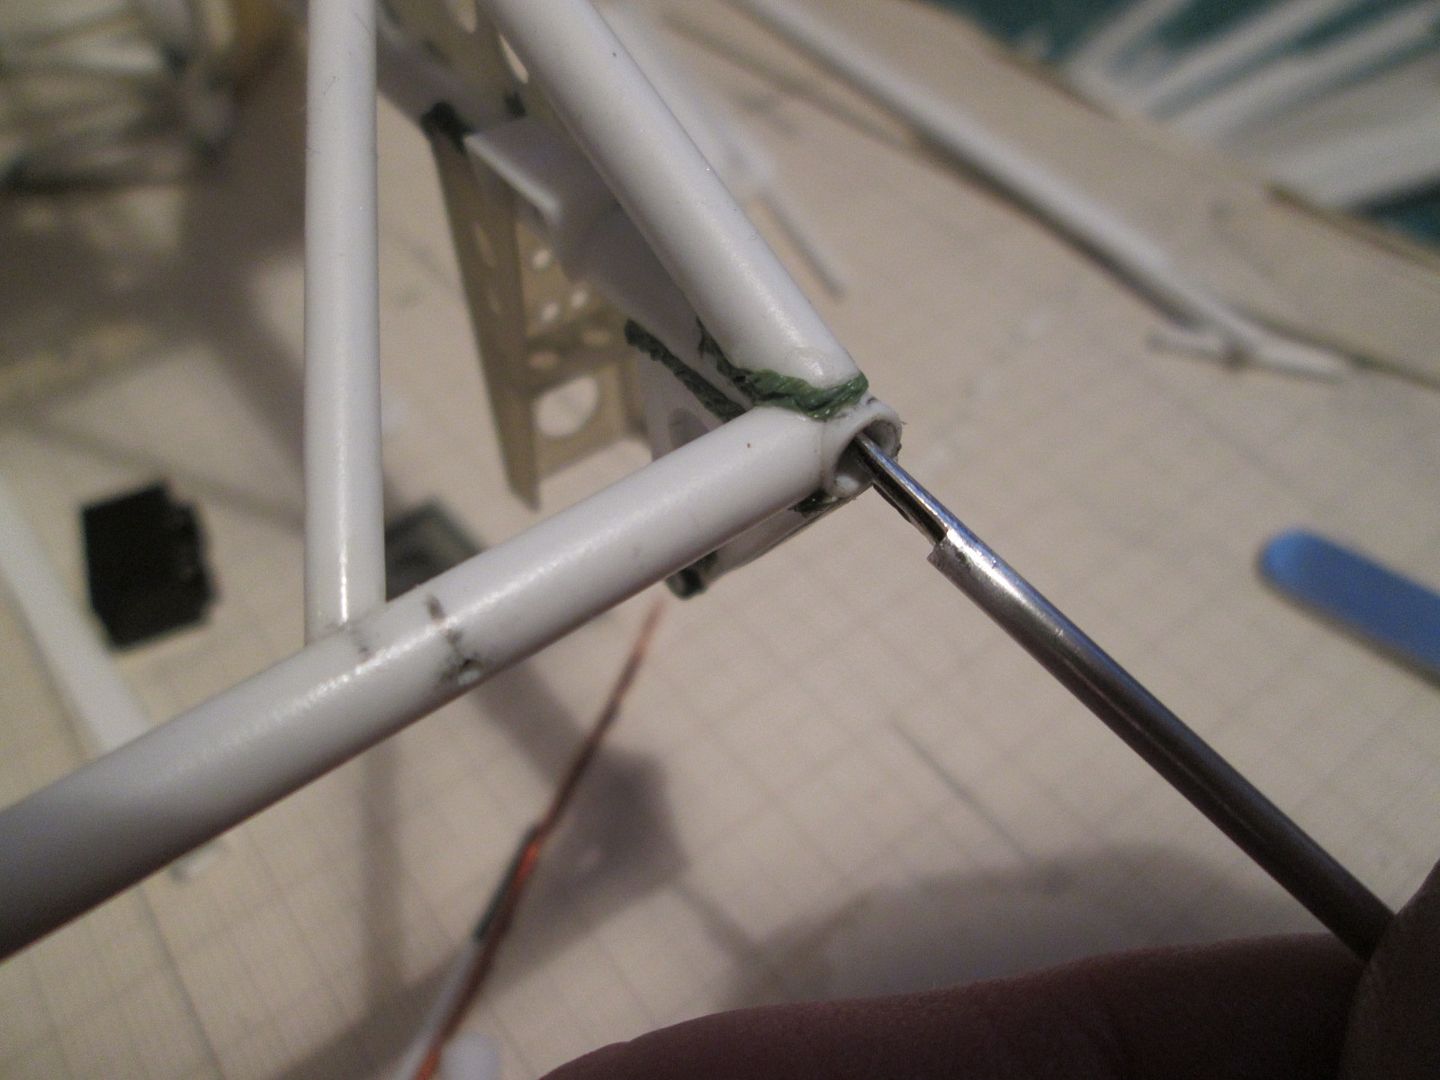
The tricky part with these frames was how to secure them to the back of the chassis, to cope with the weight of the bodywork. Although I had added ali (or was it brass?) tubing inside the main styrene chassis tubes for strength a long time ago, this tube was pierced in several places where I'd pinned other tubes and brackets in place - so I couldn't sleeve the bodywork frame too far inside. To improve the situation, I filed the ends:
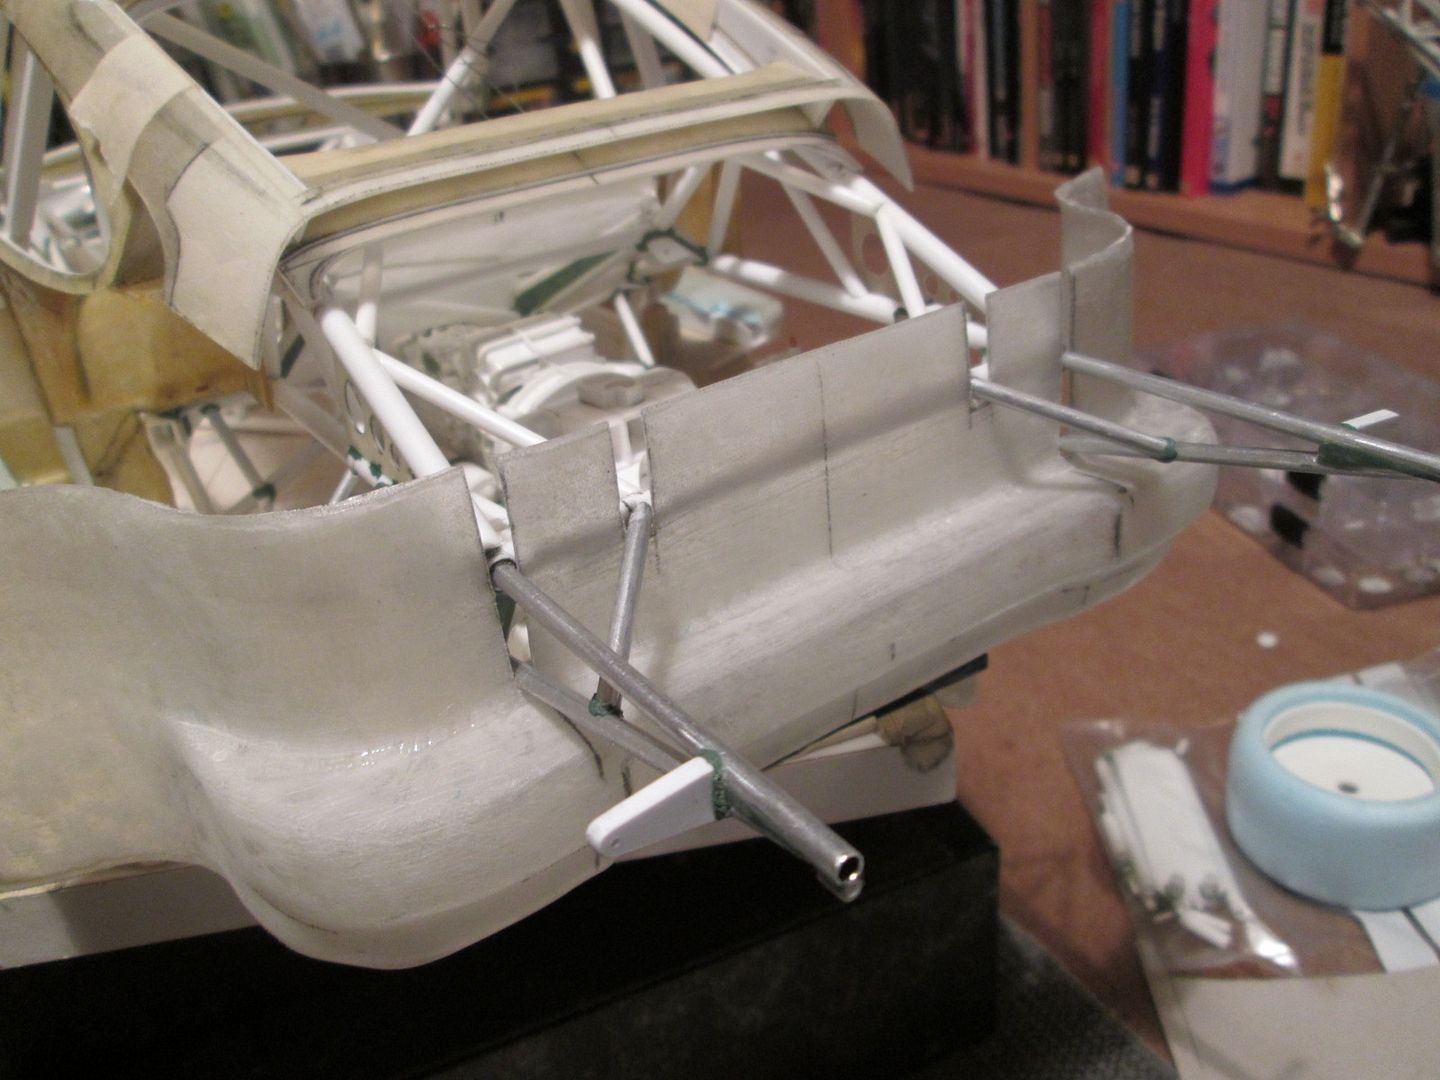
Here's the frames in place:
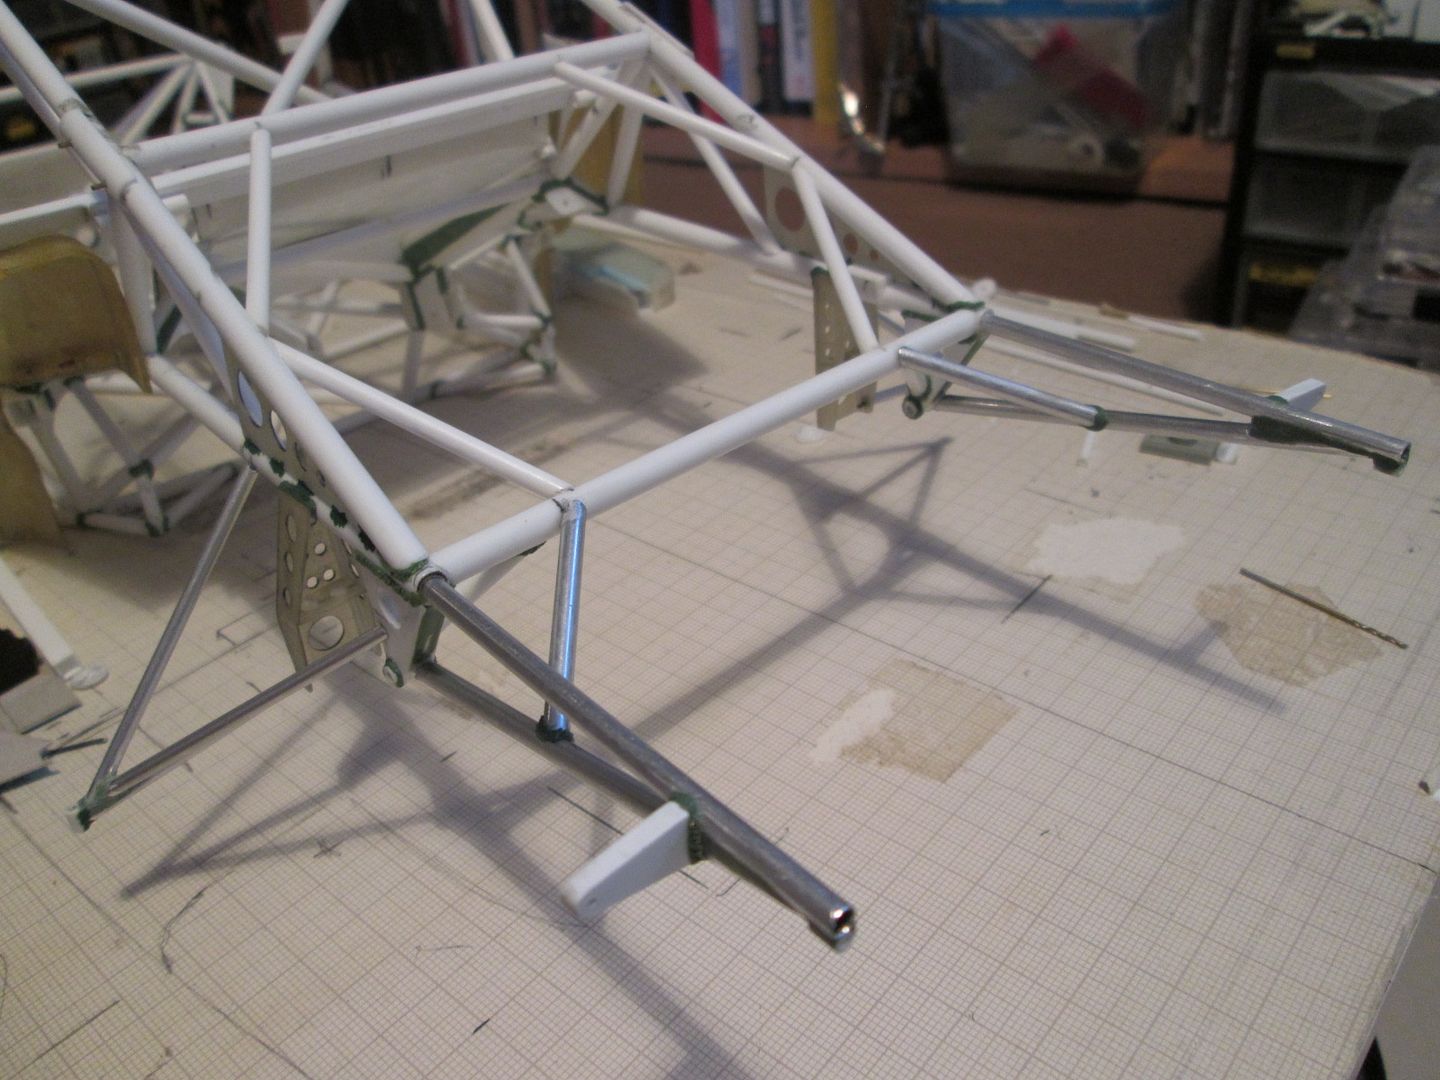
I've greenstuffed some of the joints already, including the two styrene 'ears' - the small L-shaped pin is buried inside. There's a couple of extra small details still to come, but these frames are now a permanent fixture. With the other small ali outrigger frames added too, there's suddenly a lot going on back there.
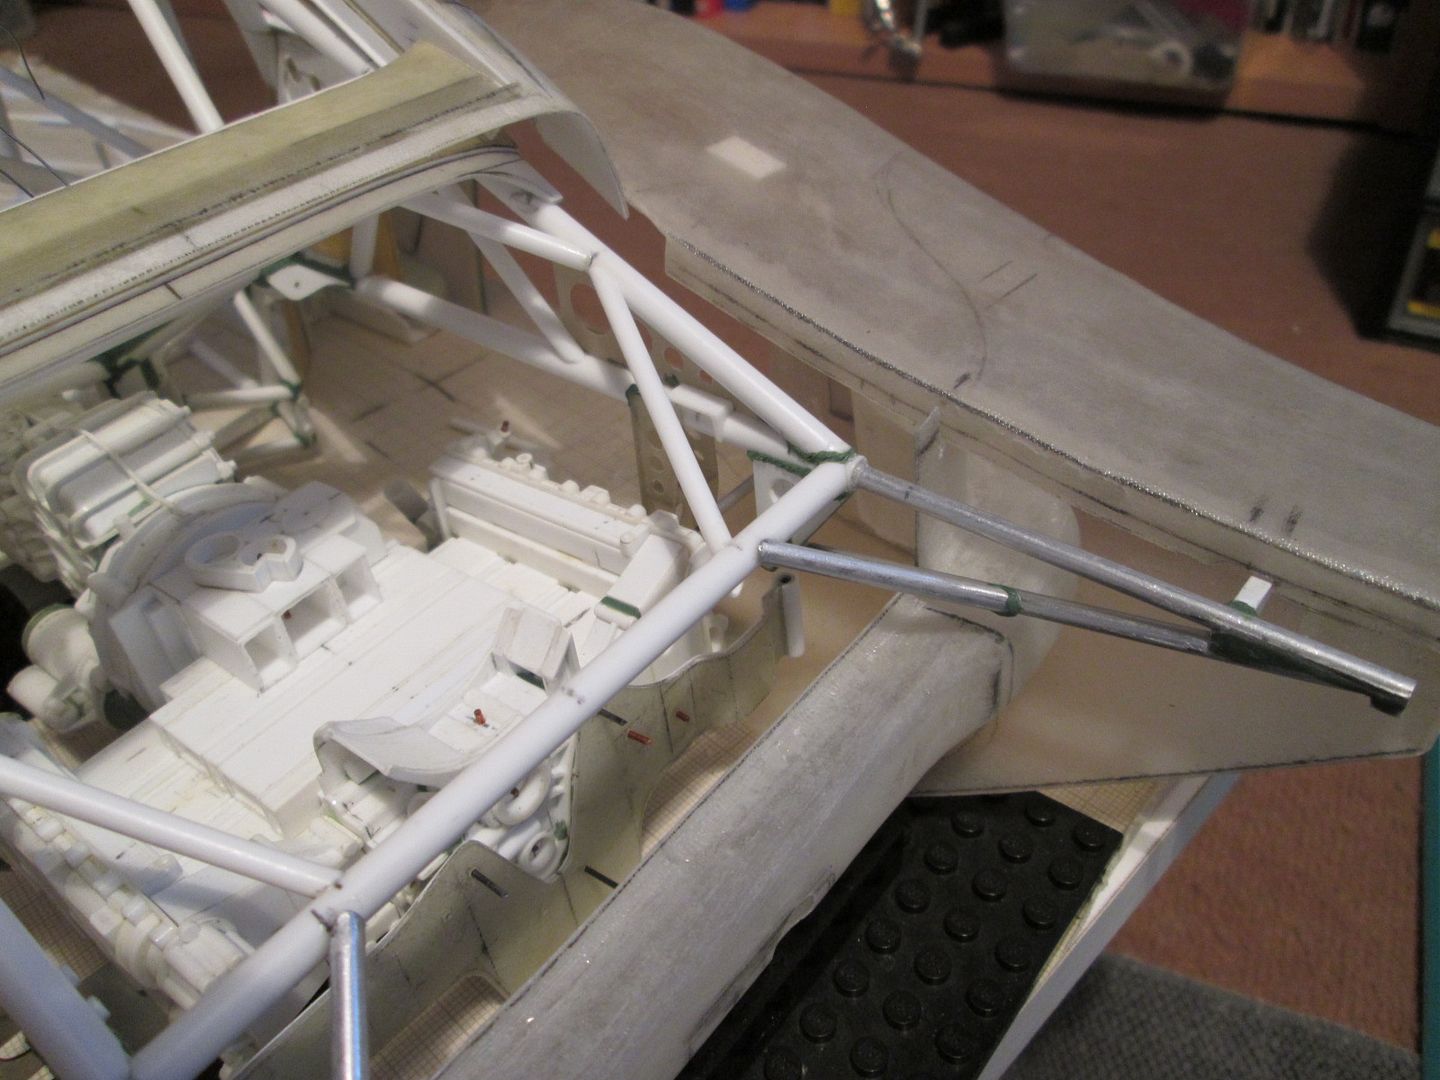
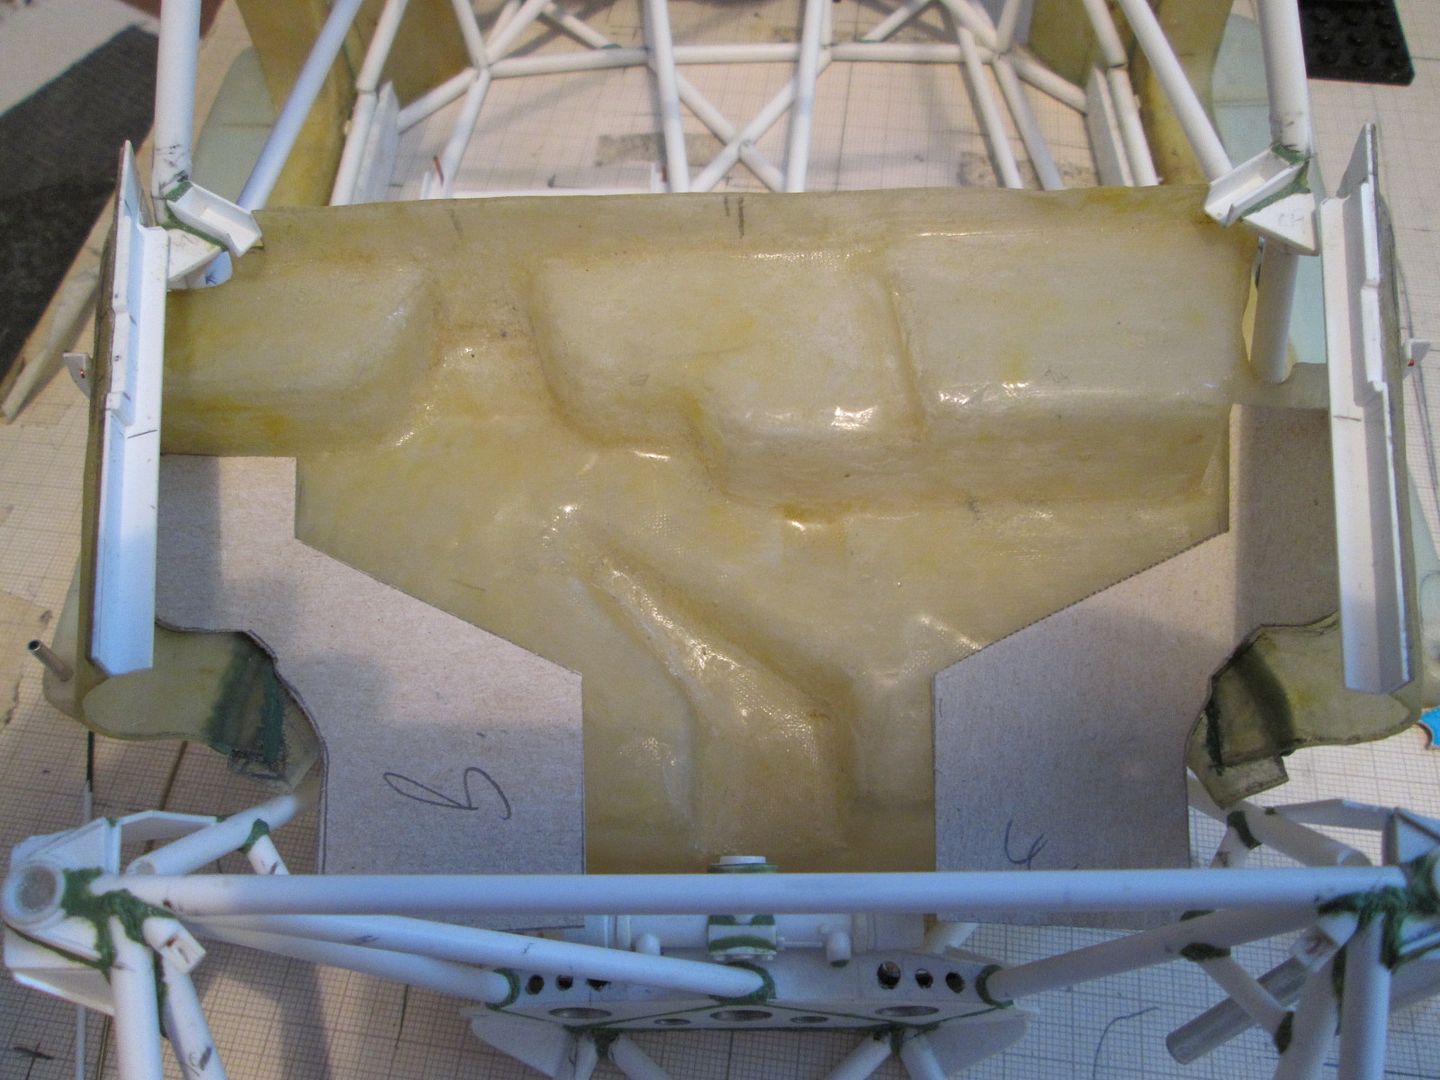
Moving on, here's the interior cover panel for the gearbox after an initial trimming and fitting session:
The fun part will be getting it to fit around the tubes of the main roof structure - more on this next time.
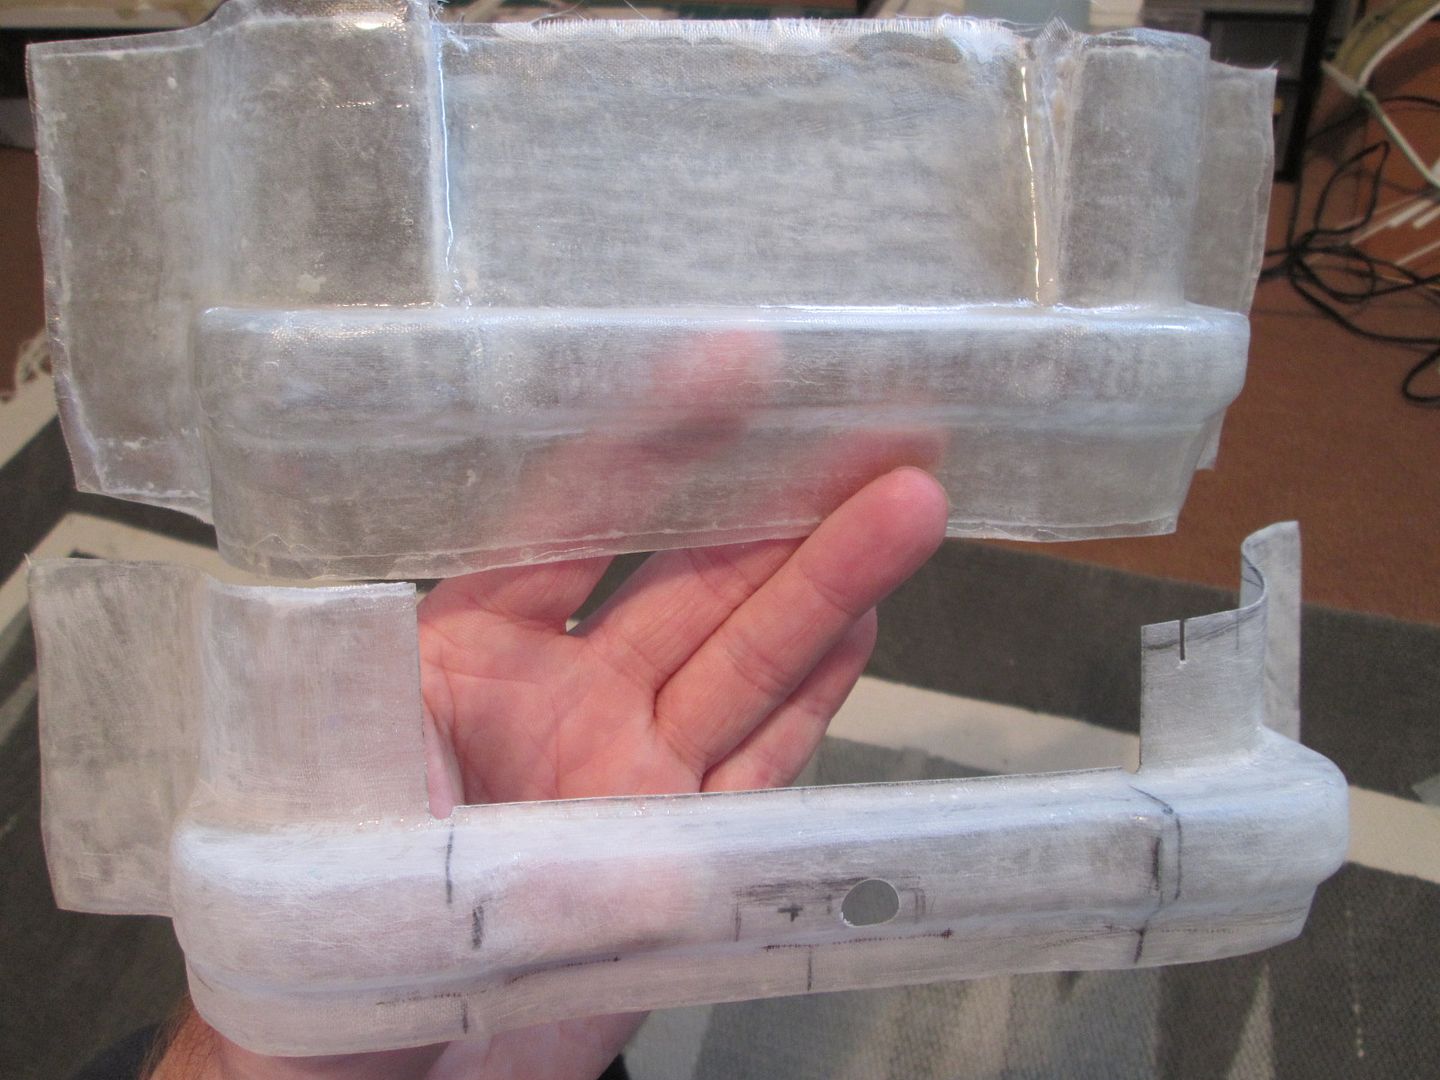
With the tail support frames fixed I could start trimming the main bumper section:
I wanted to keep the bumper in one piece for as long as possible, although in time it will be cut into three. It soon became clear that a mk2 version would be required - I needed a little extra material on the top and bottom edges to get a better fit with the outer wing panels, the centre section needed 'adjusting' to give me clearance for the turbo units, and the exhaust would need altering to get the hole in the right place! Other than that, it was fine...
You can see above where I've had to pull the bumper away from the main chassis frame - I've got to get the turbo assembly tucked away under there eventually. You also get an idea of how the outer section of the bumper will be added to the wing panel / fender.
So, last week was another fibreglassing session, starting with the mk2 bumper (with angled centre section):
...rear wing mainplane:
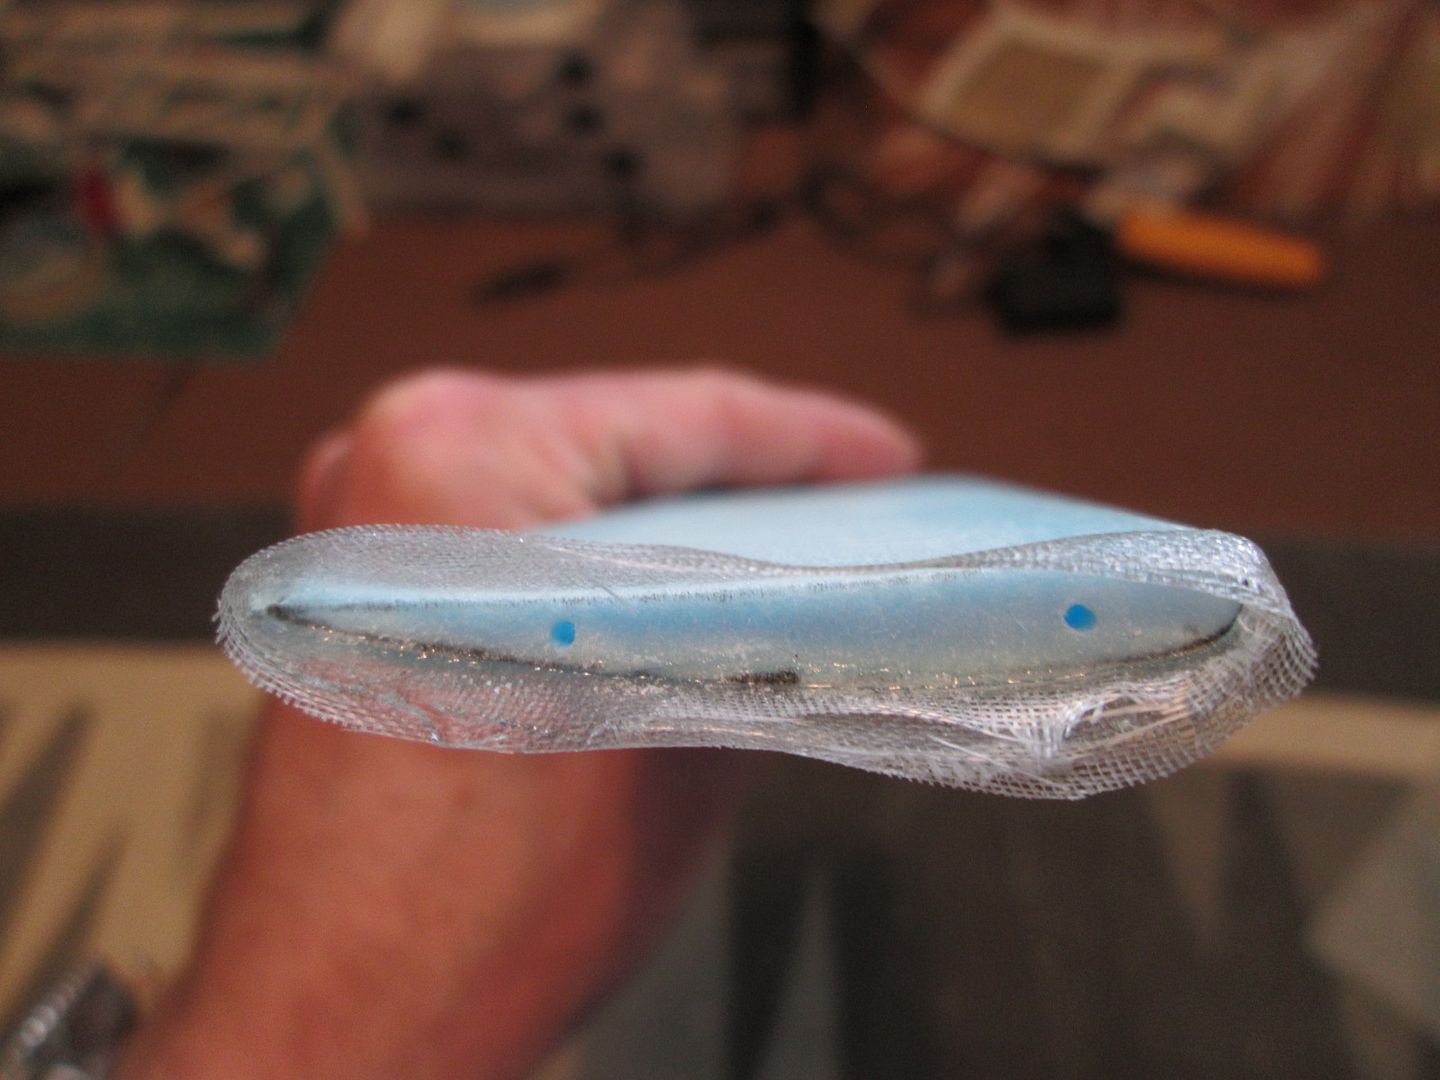
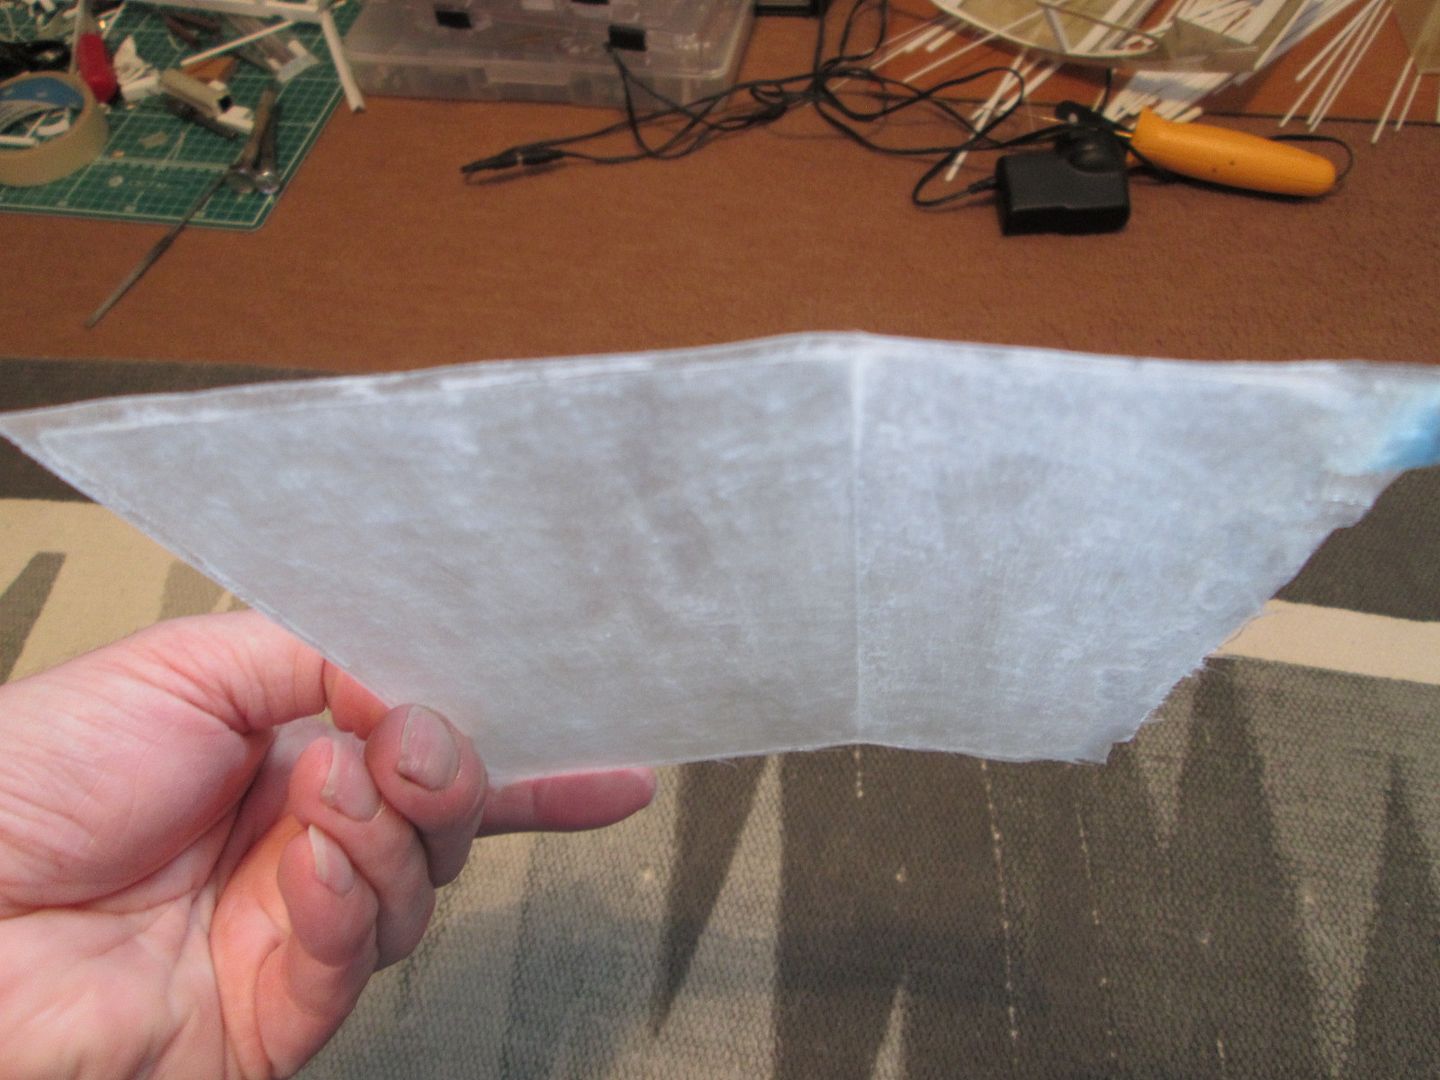
...and a folded panel for the endplates:
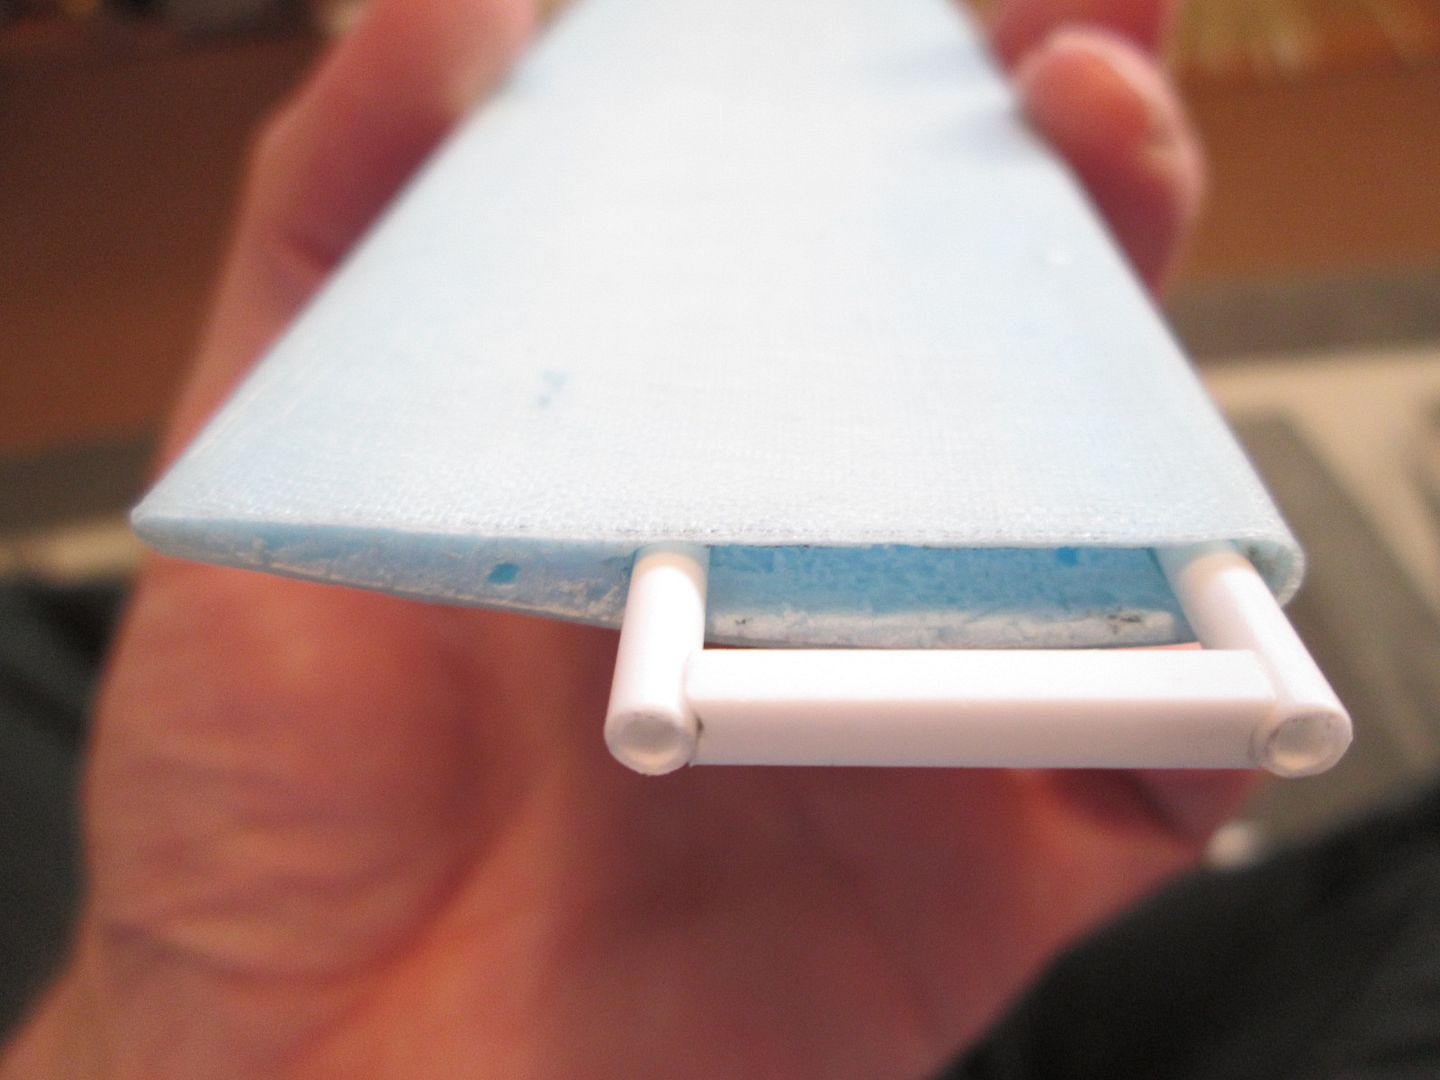
The foam core was wrapped in fibreglass cloth with no release agent - it wasn't coming out. Three layers of cloth, and that was that - a light, stiff wing plane. Keeping the foam core in place would present one obvious problem - how to glue the end plates? My solution was to drill two 1/8" holes into the end, then add a styrene 'plug' to which the end plate can be glued:
Finally, in amongst all this I've been fitting the mk3 front bulkhead. I used the mk2 version as a reference and fiddled with cardboard templates to improve the fit with the outer wing panels:
By the time of this final photo I'd added the channel for the steering column, some styrene detailing on the lower vertical section of the panel, and you can just see two small brackets down the bottom which are for 'bolting' the tube frame chassis to what's left of the 911 bodyshell:
So, plenty of progress and more to come. I hope to get more done with the rear wing this week, and will continue detailing the front bulkhead. A return to the cockpit and dashboard is looming, but I suspect that will be a job for my holiday later this month.
Have a good week,
SB