Some updated progress.
Quote:
Originally Posted by kopek

Mind you, I think the Police only had Bicycles in those days!
A caption for your last photo, ''better put the wheels on Love, I'm nearly down''..
|

Actually.......


Now I want to build one of THOSE!


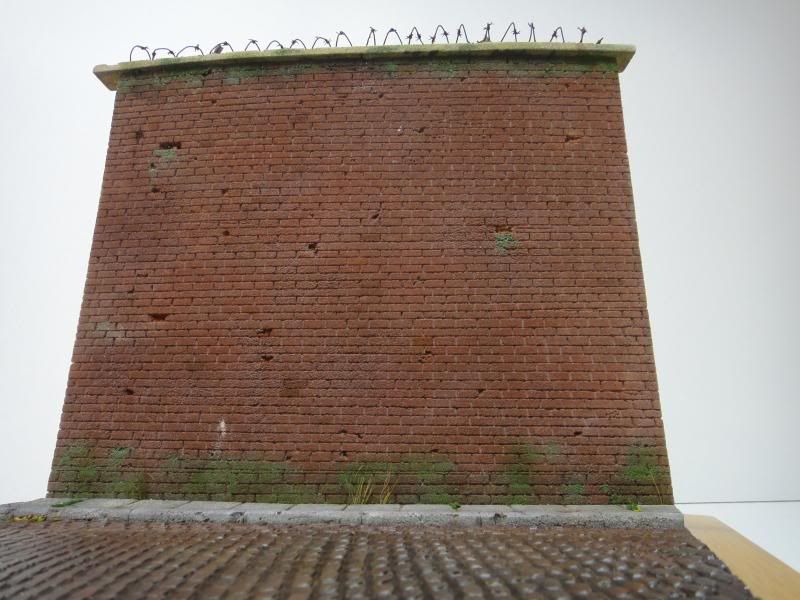
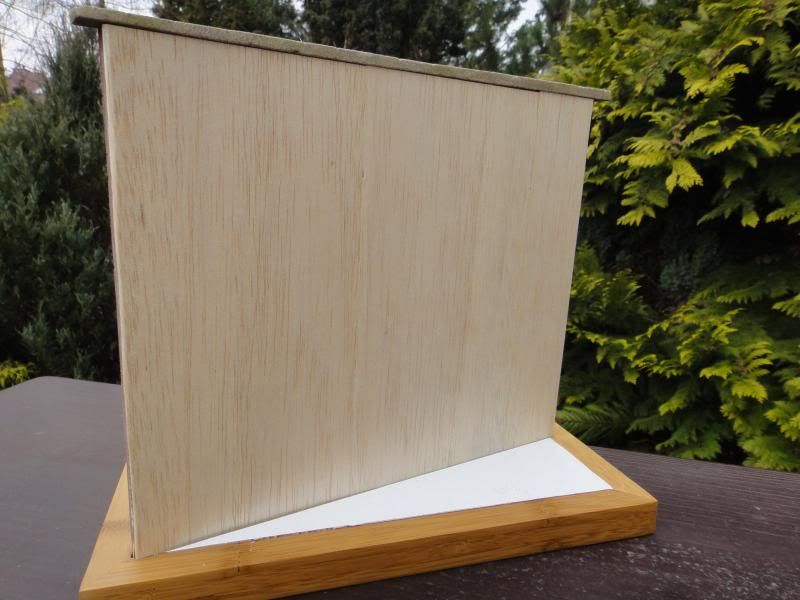
The base has been progressing with painting. This is the first time if have worked with the kapa-line board so I did some testing to see what worked/what didnt etc.
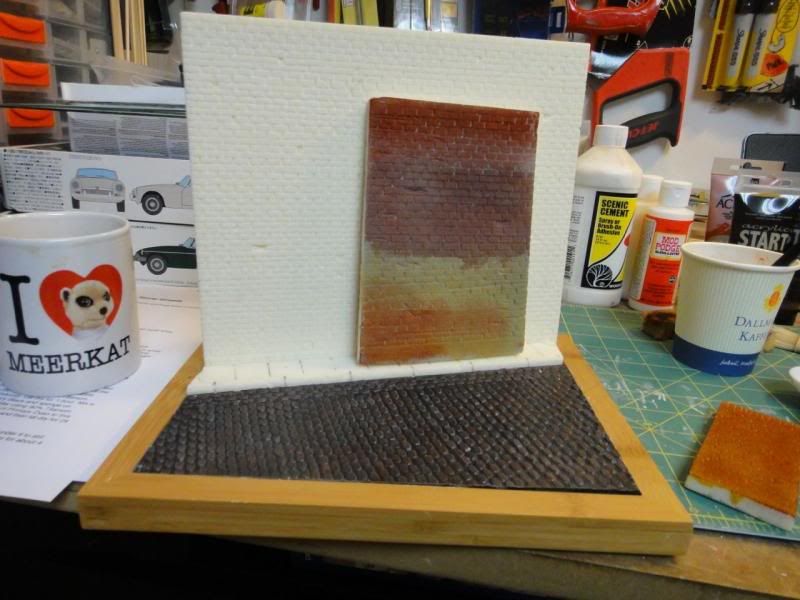
In the end primed the foam with Tamiya Grey Primer and used tubes of acrylic paint.
The sett-paved street was primed in black and then various shades of acrylic were hashed on and applied with a sponge. MIG pigments were washed over it (some say not enough

)

I gradually built up the weathering on the wall with different tones of the base colours, picked out individual bricks, added stains with MIG washes and made some moss with chinchilla sand, white glue and acrylic paint.

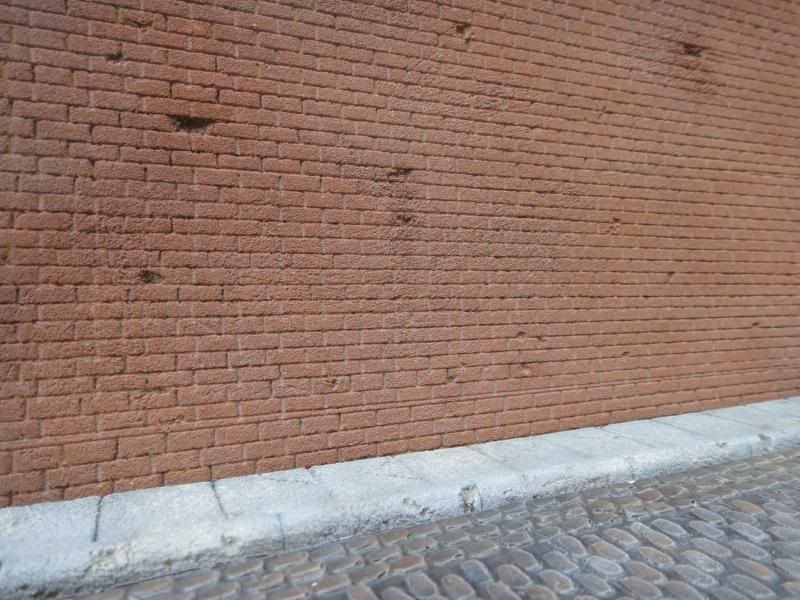
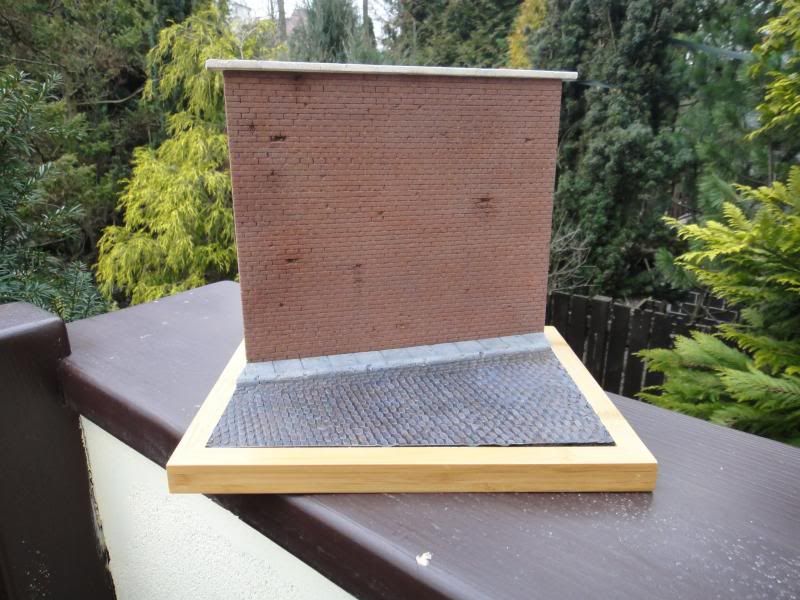
Getting close to finished
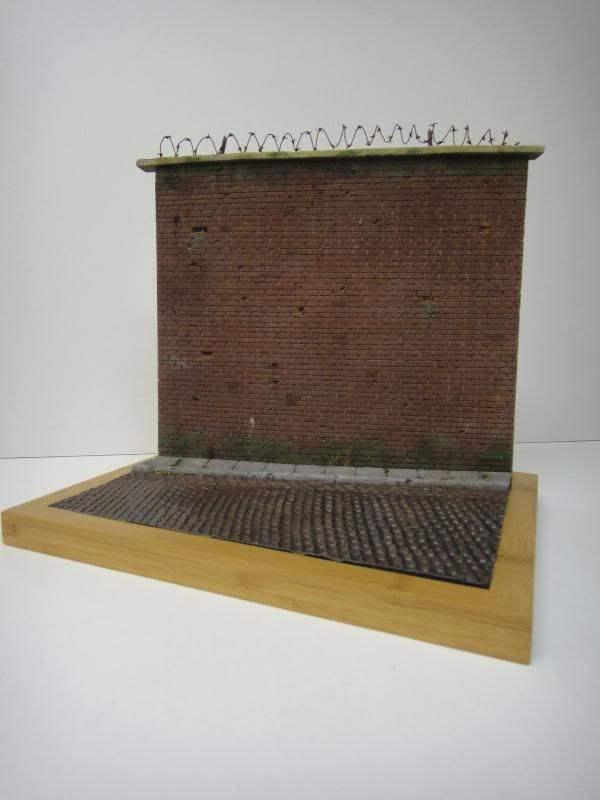
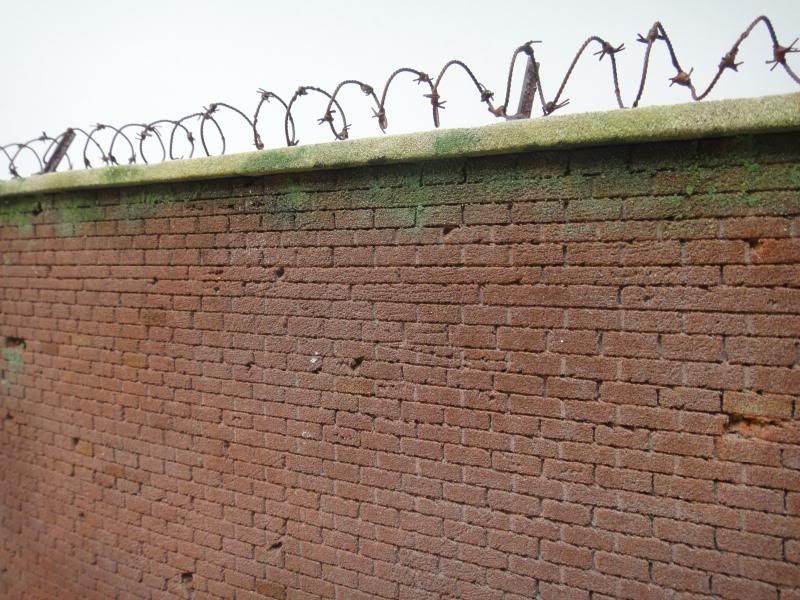
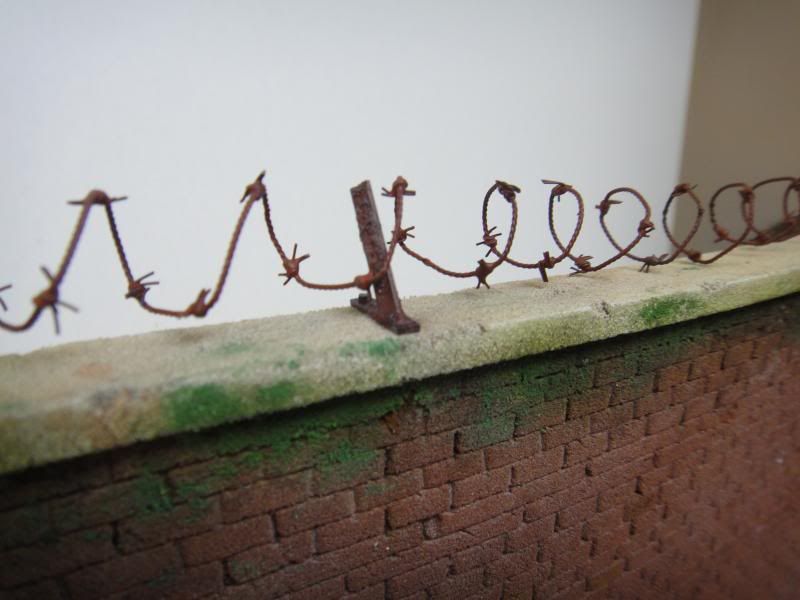
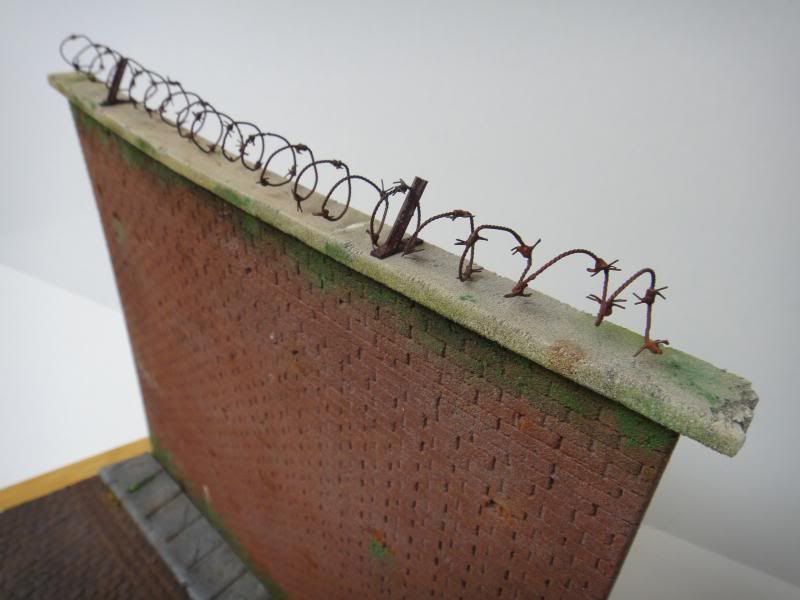
I made some barbed wire out of twisted wire and coated it with Rustall.
Styrene rod was used to make the supports for the barbed wire and it was aged with baking soda/CA glue, Rustall and MIG pigments.
Finishing touches/rust stains will be added once the barbed wire is fixed in place - but that wont happen until the figure and bed sheet escape rope are ready.
The wall was finished off from behind with some thin sheets of balsa wood whichmay be stained later.
(BTW this was f**k-up nr 2. The balsa strips warped from the moisture in the PVA glue and now the whole wall has a slight curve to it

)
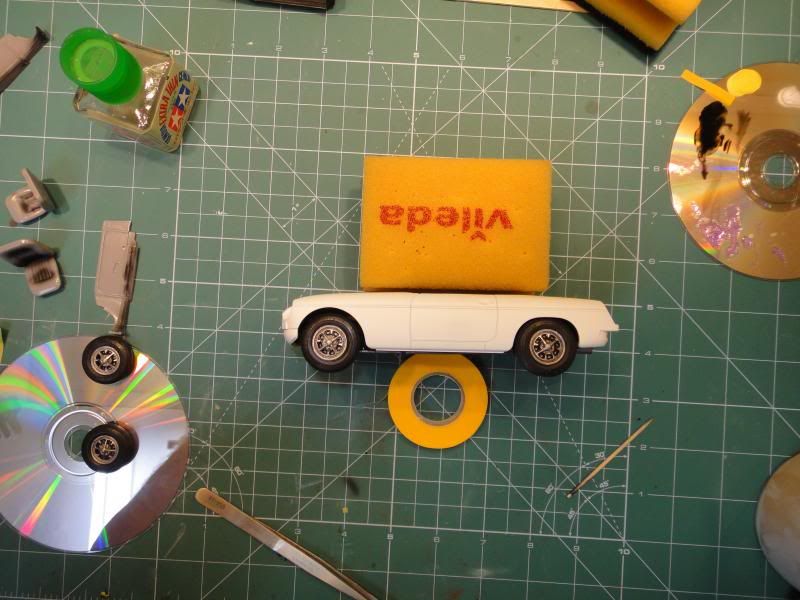
Multi-media masking for the wheels. A combination of blue-tac, Humbrol Maskol and Tamiya tape. Then Tamiya gloss black X1 (?) was airbrushed onto the centres.
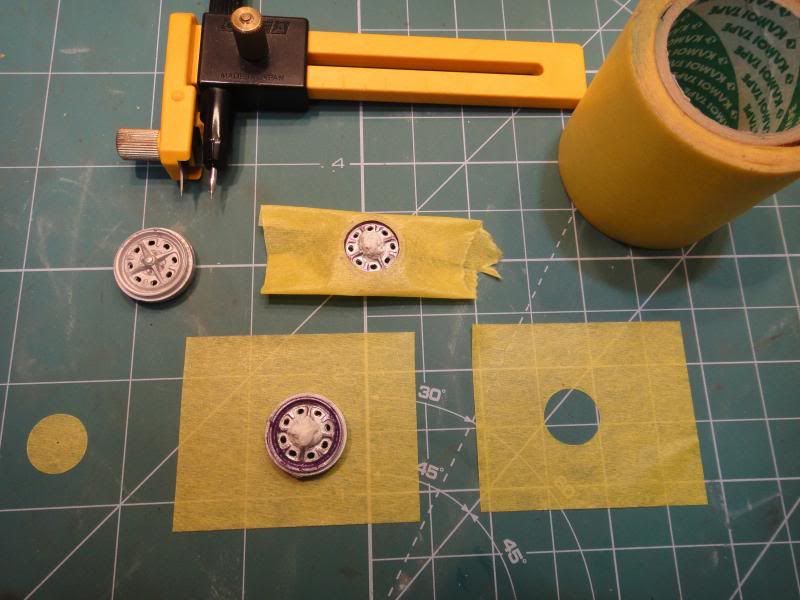
They were tidied up with a scalpel blade and a 00 brush and then a wash of oil paints was applied..
(Warning: purists should NOT read the next part

)
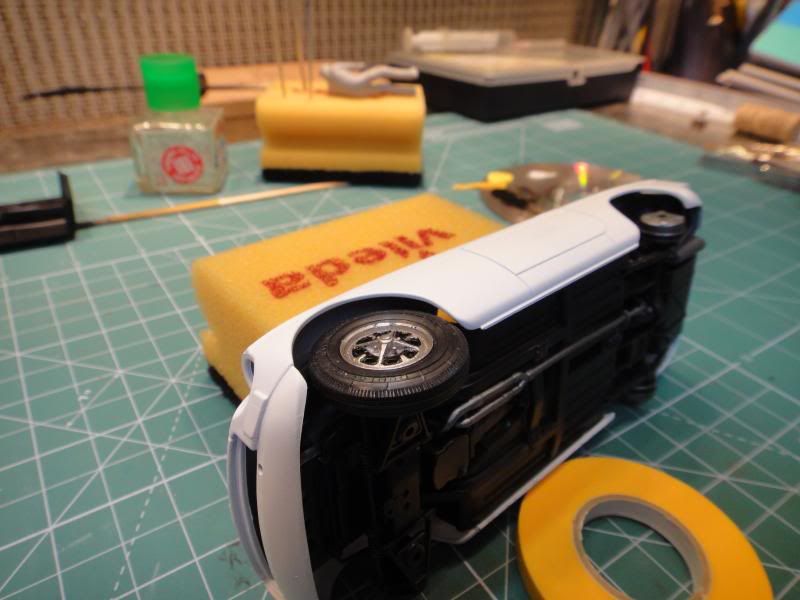
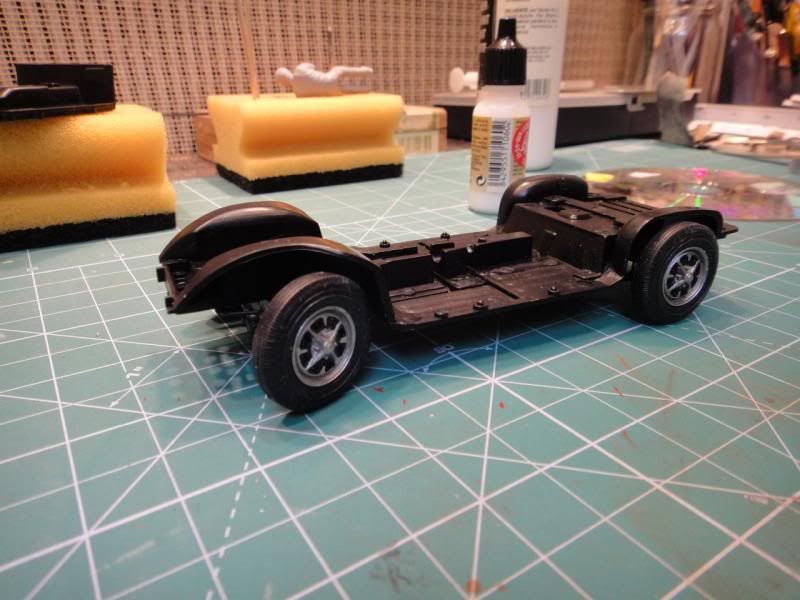
I worked on the white metal wheels. To make my life easier, I used the great cheat and rather than spend hours reworking the stubs to fit the Aoshima kit and vice versa, I simple ground the wheels stubs down
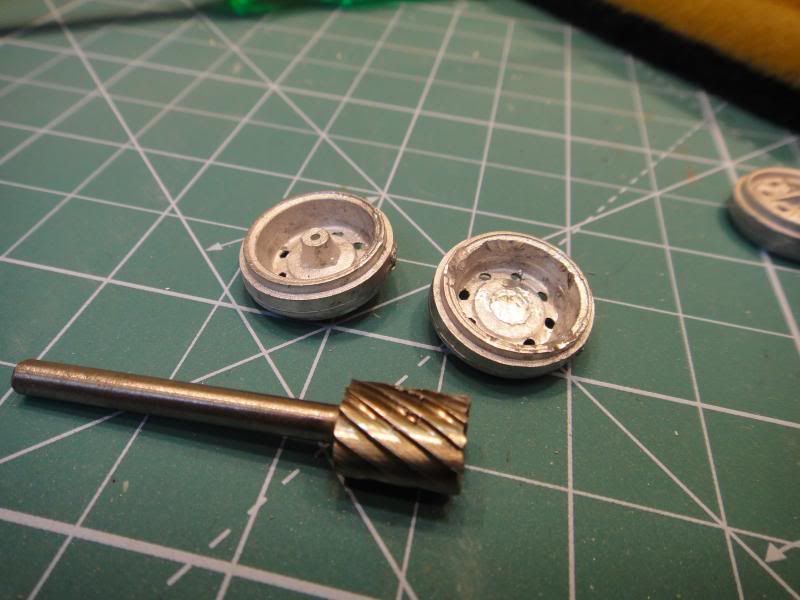
and then attached discs of styrene with 5min epoxy. These discs can then be glued simply directly onto the plastic kit wheel hubs.
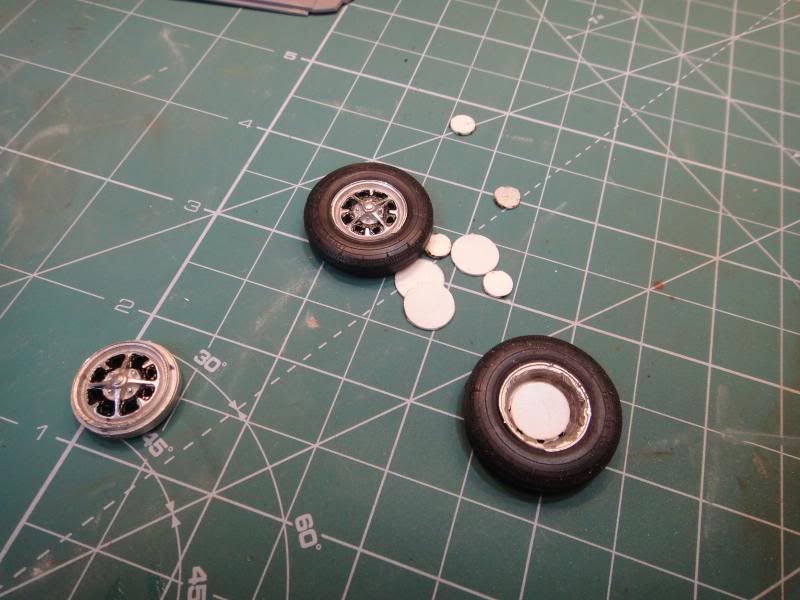
Additional discs of various thickness of styrene can be used as necessary to adjust the track width. This system is quick, painless and allows virtually infinite adjustment of ride height and stance .
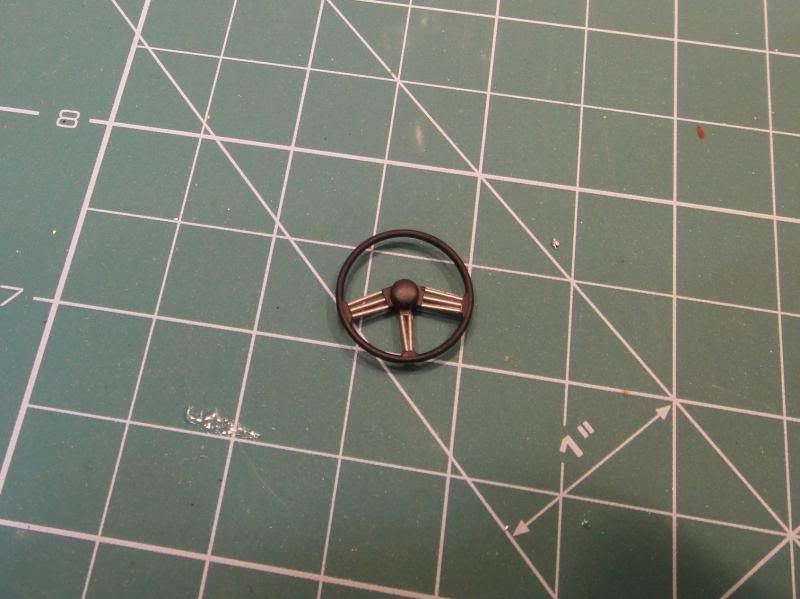
Steering wheel painted, masked and painted
Thanks for looking

..