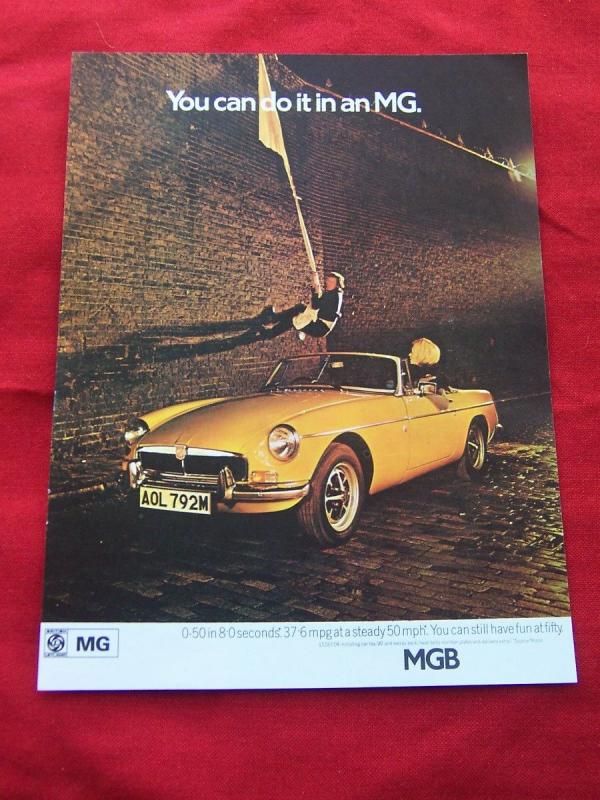
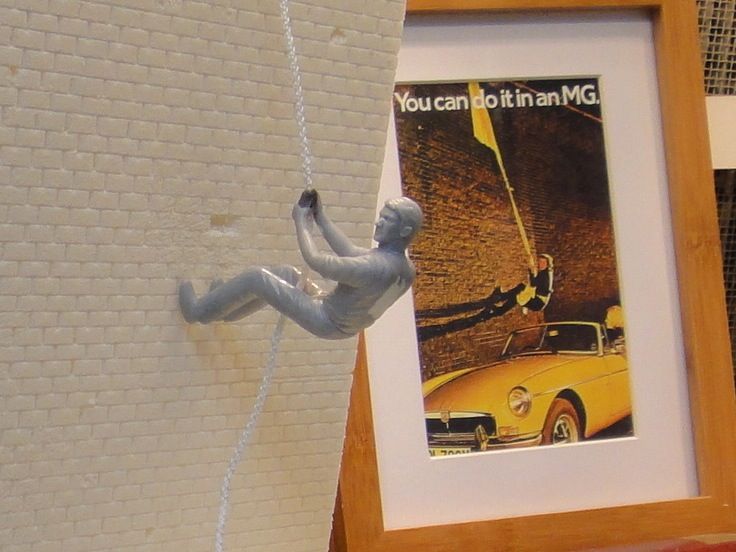
This will be my first build in 4 or 5 years and was inspired by this 1970s magazine ad that I have hanging on the wall of my garage.
This was an ad that was run in the UK in 1974 and was a tongue-in-cheek reference to the fact that an escapee from Wormwood Scrubs prison in London allegedly made his getaway in an MGB.
As you can see, they felt that it fitted perfectly with the You can do it in an MG campaign

I like to have some kind of setting for my builds and this seemed like a simple but interesting project.
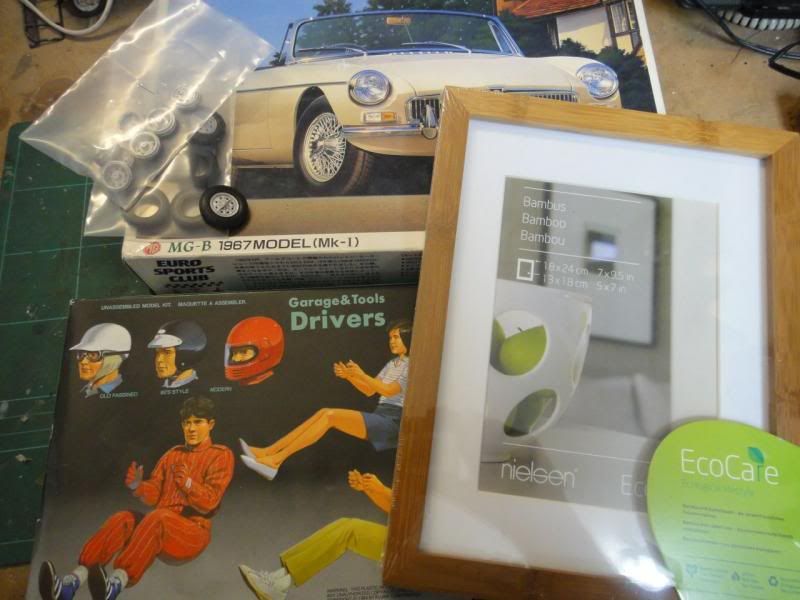
I am using the Aoshima MGB kit, some white metal Rostyle wheels to replace the wire wheels in the kit, a cheap picture frame for the base and will be adapting/modifying some of the Fujimi Drivers set figures.
I hope that the car will be the relatively easy part of the project so I am starting with the diorama first.
The first thing I tackled was the cobbled or to be more more technically correct - the setted street.
I decided to replicate this by making a plaster cast of a pattern in Plasticine. I did a test piece to see if this was feasible and to practice making a pattern.
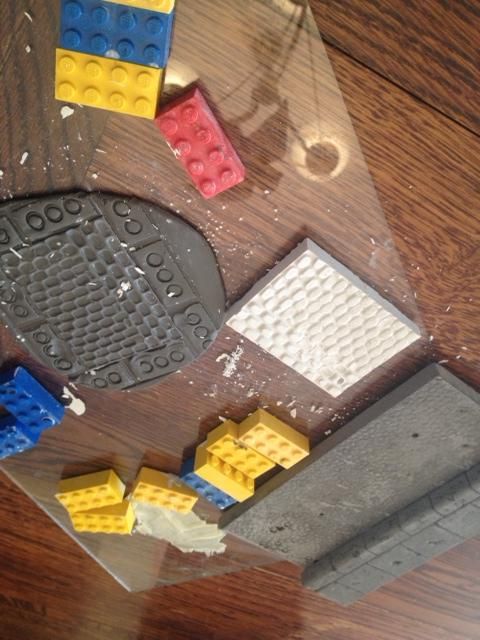
I was quite happy with the results so I went full scale. I rolled out some plasticine, cut it to the approximate shape and size and then punched the pattern into it with the ends of bamboo chopsticks that had been sanded to the desired shape and size.
The formwork was made with strips of styrene. Everything was lightly dusted with talcum powder to act as a release agent and the plaster poured.
I couldnt resist adding a little memento for posterity into the back

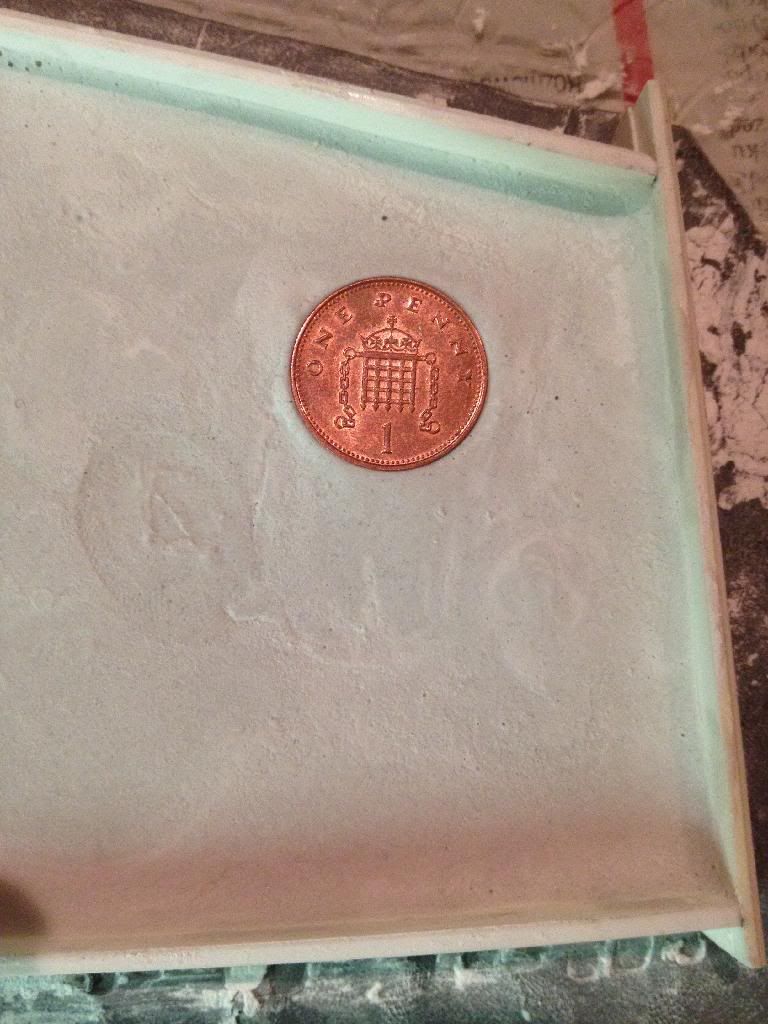
F**k-up nr. 1: I made the noobie casting mistake of forgetting that when you make a cast, you get the mirror image of your mold. Duh!
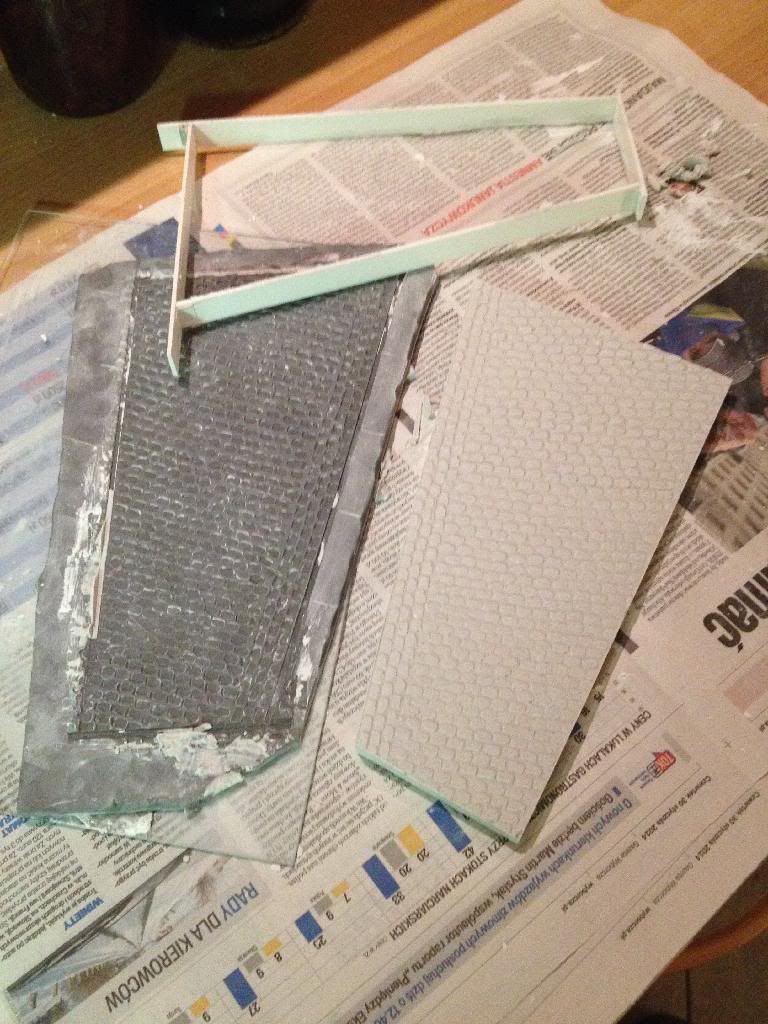
I had to re-punch the mold in the mirror image of what I wanted and cast again. Fortunatley the formwork could just be flipped over. The upside of all this was that the new mold had an improved pattern


Also, thanks to the talcum powder, I was able to use the mold several times to make copies so that I had spares to allow for any breakages and to try different painting options.
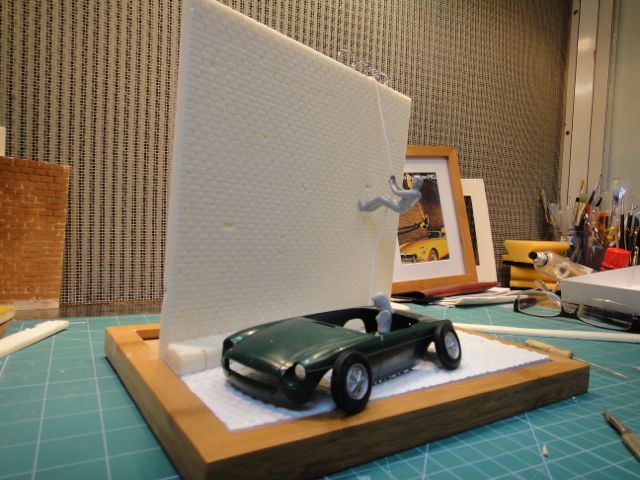
To make the brick wall, I toyed with 2 possible solutions: dry walling stripped of its paper backing and foam core mounting board also stripped of its paper backing.
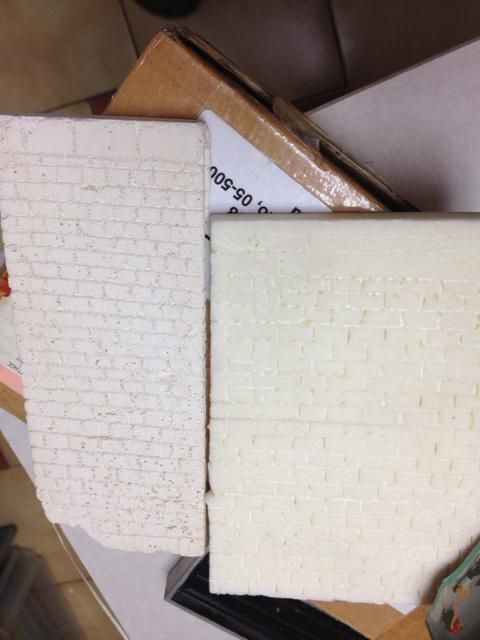
Initially I thought that the dry walling would be perfect but it turned out that the plaster is VERY weak without the paper backing and snapped very easily. The choice was made to go with the Kapa-line foam board. This has a polyurethane core that holds impressions and score lines very well and doesnt bounce back.
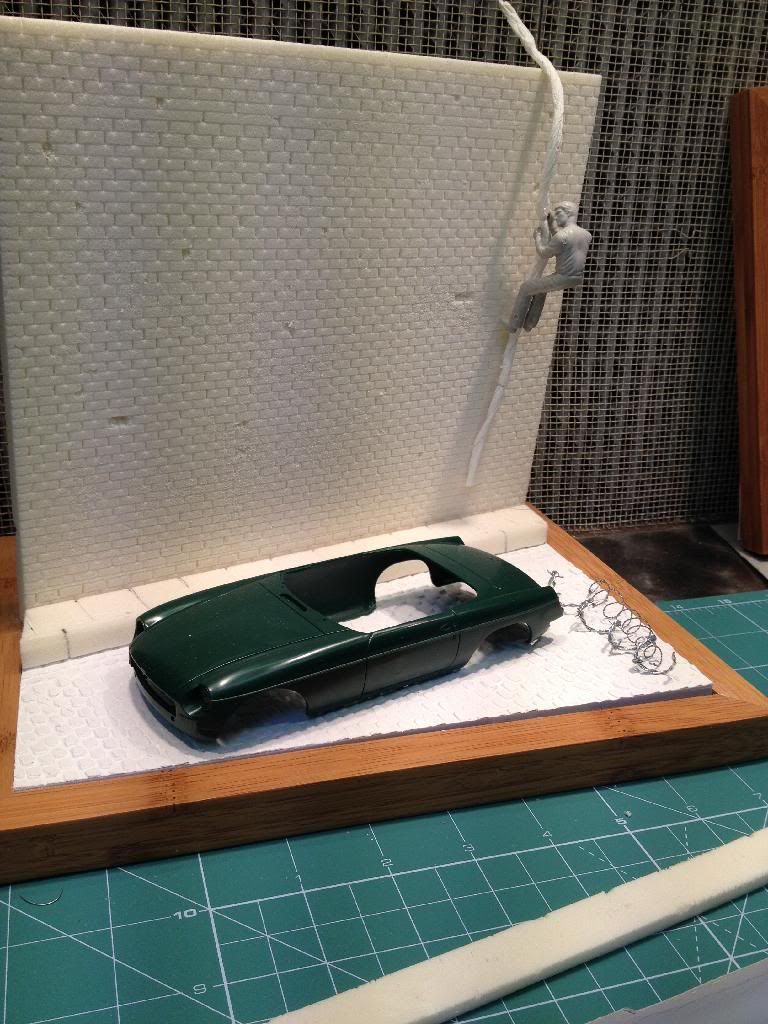
I cut out and scored the wall, pavement and curb. This was weathered and battered a bit with a scalpel blade and wire brush. Some bricks were pushed in or crumbled out.
One of the Fujimi drivers was modified with epoxy putty and a heat gun to get the arms into a better position. I made some barbed wire to top the wall.
Thanks for looking in
