Thanks Mike - much appreciated.
...Hello everyone,
Lots to write about tonight - the no-post last weekend was not due to lack of progress!
Firstly, the new tools arrived - another set of hole-saws (closed, this time) and an adjustable cutter:
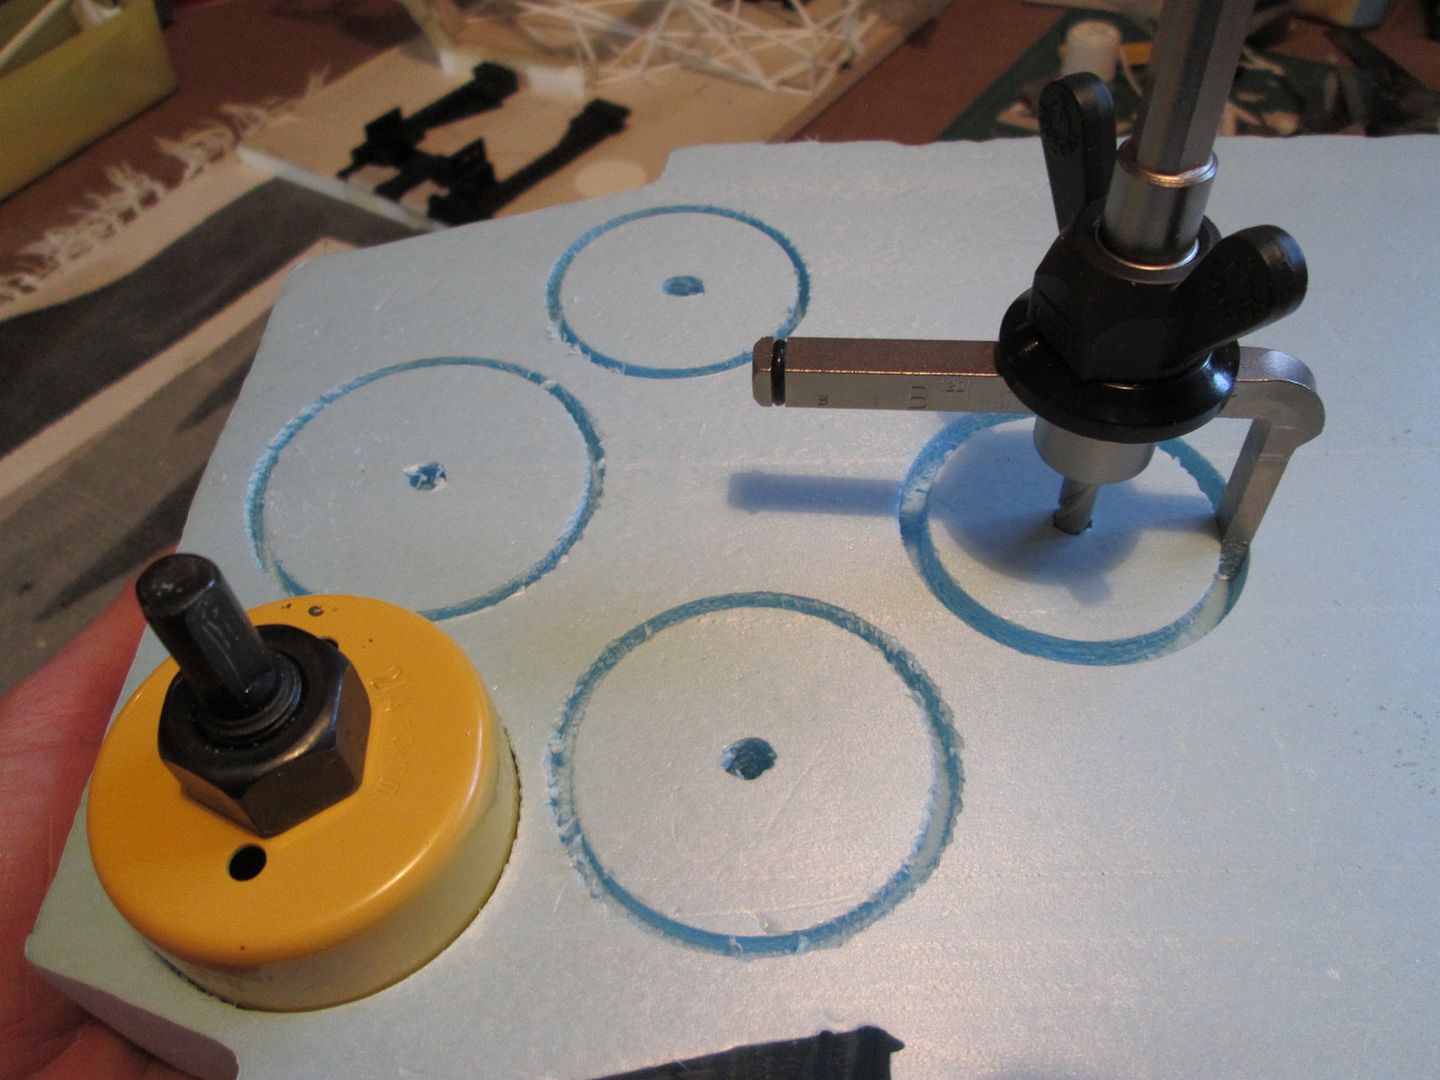
The hole-saws give me seven more sizes to play with - and the design means they will drill through the 50mm foam from one side (although I'll have to stop part-way through to remove the centre core, then continue). The adjustable cutter makes holes from 40mm diameter through to 120mm, so really it's the only tool I should need.
I drilled a selection of test-holes to get an idea of the actual sizes produced - the new yellow cutters produced holes 1mm larger in diameter than their nominal size, so that's better than the old ones. I've done some measurements and scalings for the rims, and it looks like a couple of these will do what I require.
Regarding the rims, I was happily thinking I would be making another set of the regular 5-spoke design as used on many of the 70's racing Porsches, when I realised that these were not necessarily correct. The 935-78 ran at Le Mans with cooling hub-caps fitted, so you don't actually see what type of rim is behind them; however, at Silverstone the car ran at least part of the time with the front rims uncovered...

...which reveals a split-rim similar to those used on many of the standard 935's (BBS, right?). So, would Porsche have used a combination of 5-spoke and split-rims depending on whether or not they wanted to use the hub-caps, or would the split-rim be the standard-fit? Logically, I'm assuming they used the BBS full-time, so this is what I'll be making...
Before getting the rear suspension underway I spent an evening making some cardboard test-panels for the rear bulkhead. In time this will all be re-made using fibreglass, but I wanted to get a feel for how it looked - it's a bit rough, but the concept works:

Next up, the rear trailing arms. I used tracings over the original drawings to get the basic layout, then set-to with the styrene to make a prototype:
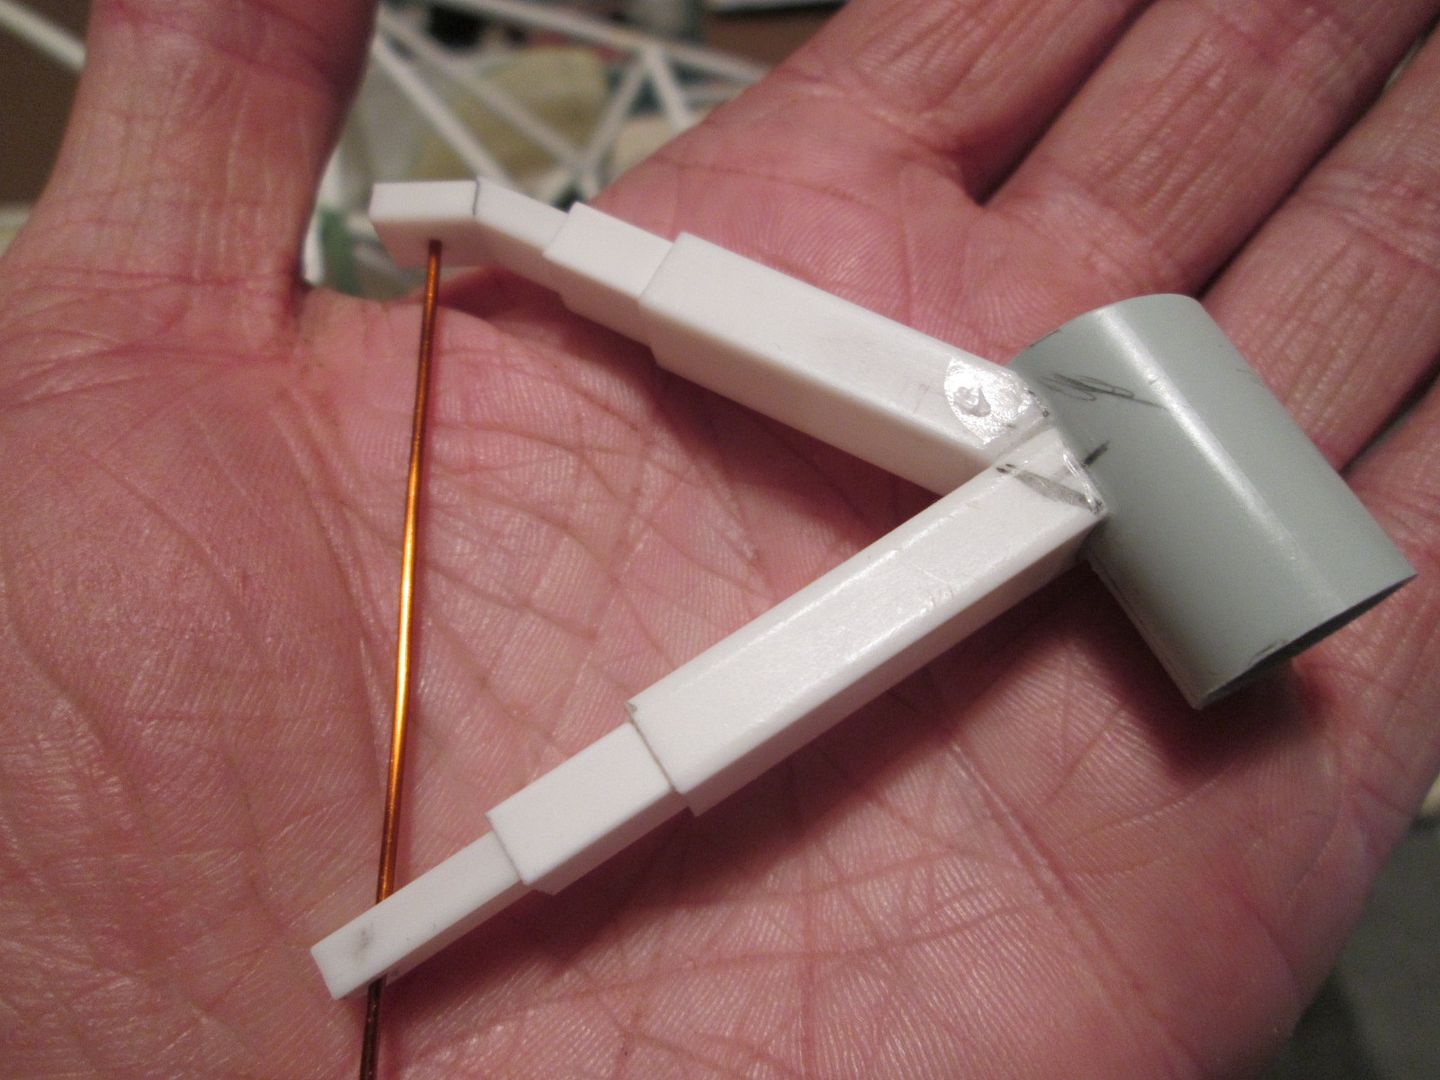
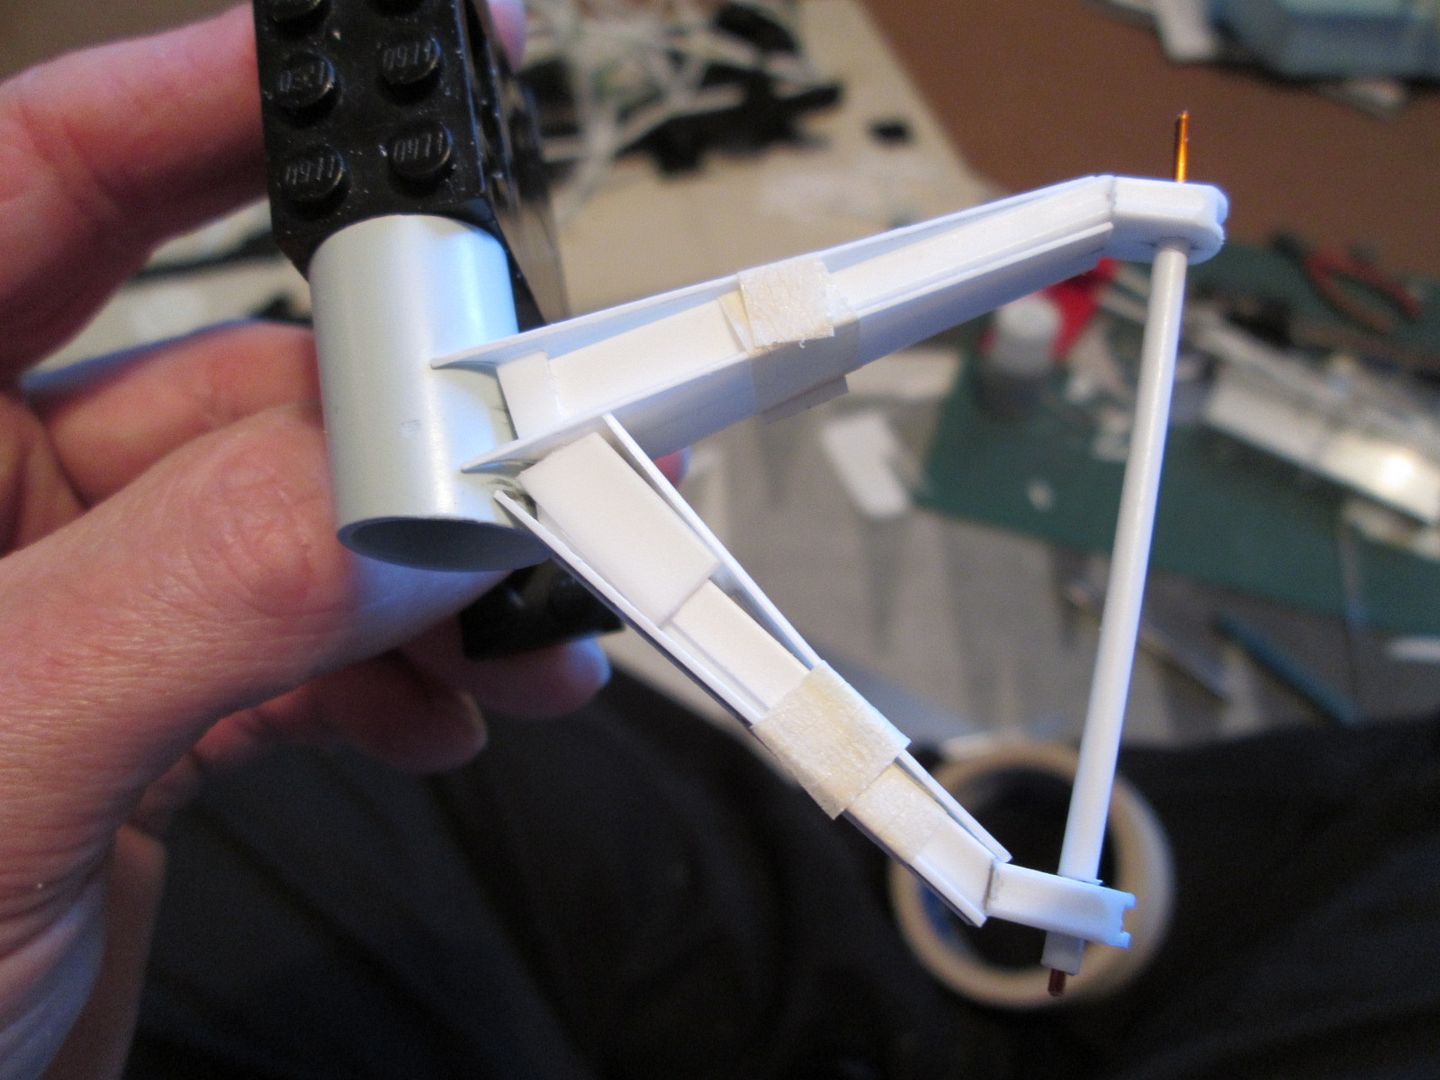
I modified the positioning and angle of the forward pivots to suit, and made another Lego fixture to hold everything in place whilst I was working:

This keeps the hub tube at ride-height with zero toe-in and zero castor, which will make life much simpler. One of the trailing arms
should have an adjustable front pick-up, but in the interest of strength over accuracy I'm making them as one-piece (as on the Carrera RSR Turbo).
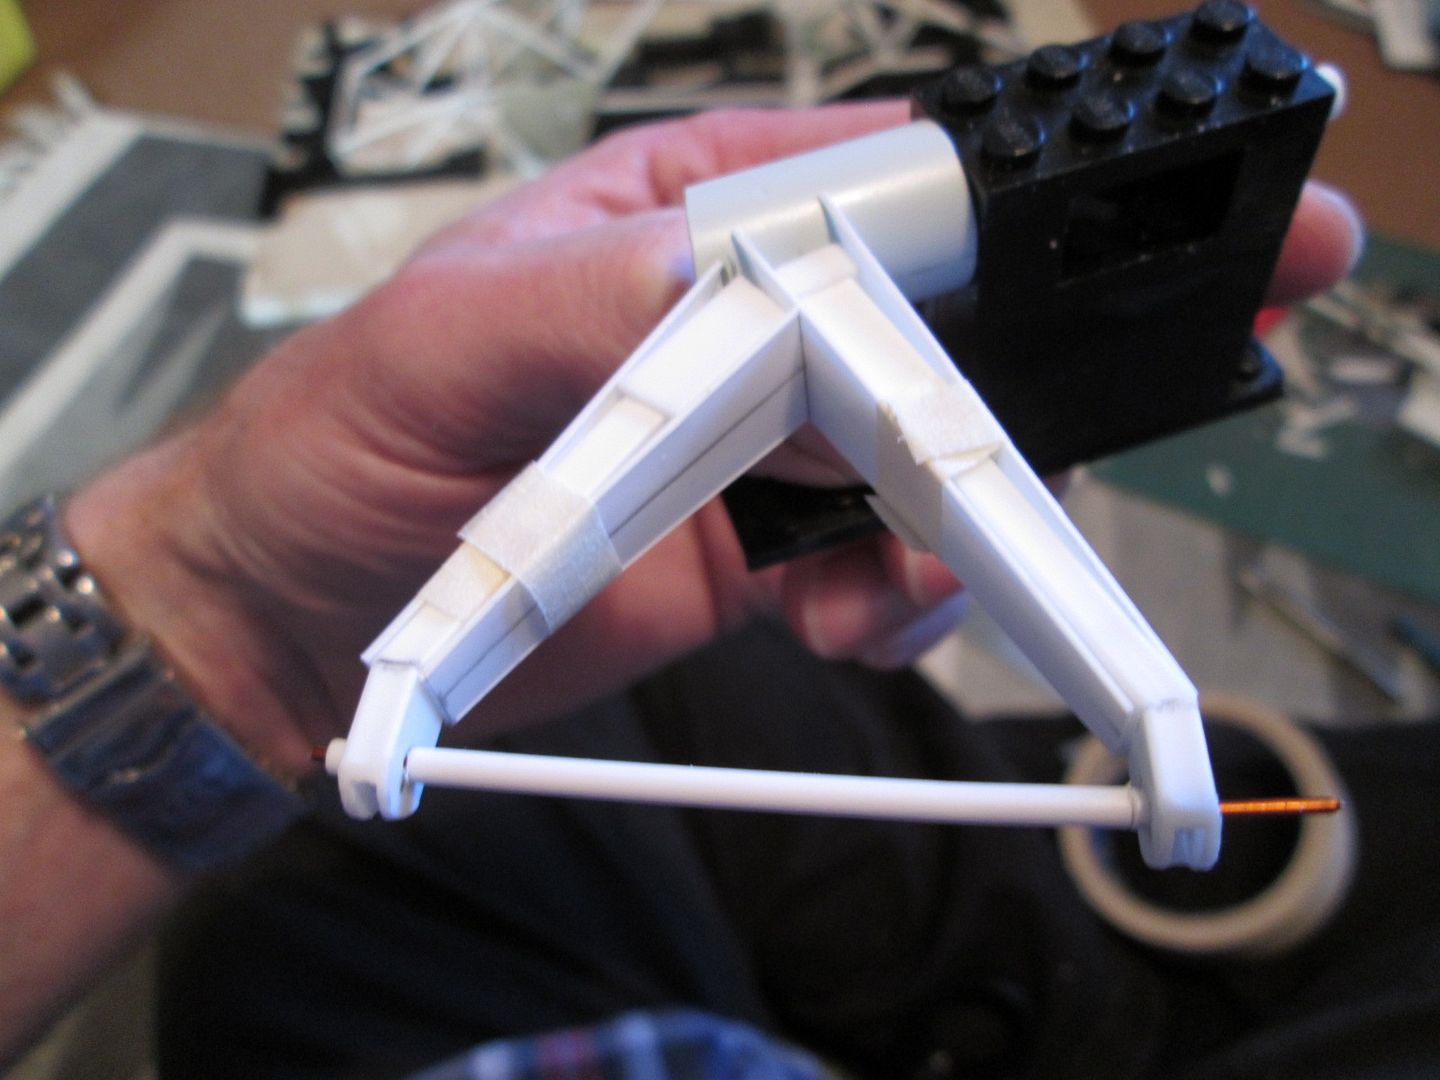
So, now to start on the actual parts. The core to each trailing arm is made from 1/8" x 1/4" box, double-pinned at each end to the hub-tube and the pick-up:

Keeping these joints strong is critical - it's not like the chassis where I can simply run lengths of brass or ali tube inside the framework. These pins are a natural tight fit inside the styrene anyway, so when everything is glued together it should be strong enough.
Here's the basic arm on the chassis:

To get the final shape I'll be covering the core structure with a mixture of panelling and greenstuff:
None of this is actually glued together yet - I wanted to keep the first arm in kit-form until I knew it would work, then use it as the pattern for the other side. Since taking these shots earlier today I've been busy making the second set of components, so one of tomorrow's jobs will be to start assembly. Then I can start playing around with the mountings to the chassis - hopefully a straight-forward job. The extra work to add the damper mountings, caliper lugs, etc, will follow in time - the plan for now is simply to get the axles in the right place.
So, that's what I've been busy with for the last couple of weeks. I'll probably get one more 2012 update posted next weekend - maybe with some front suspension and wheel components to show...
Whatever you're all doing in the next few days, have a good time!
All the best,
SB