Starting with installing the belts to the B-pillar.
Safety is a priority. Not screwing around with seatbelts. I want this thing to be as strong or stronger than stock.
first step is to remove the '90 B-pillar covers and see what we got.
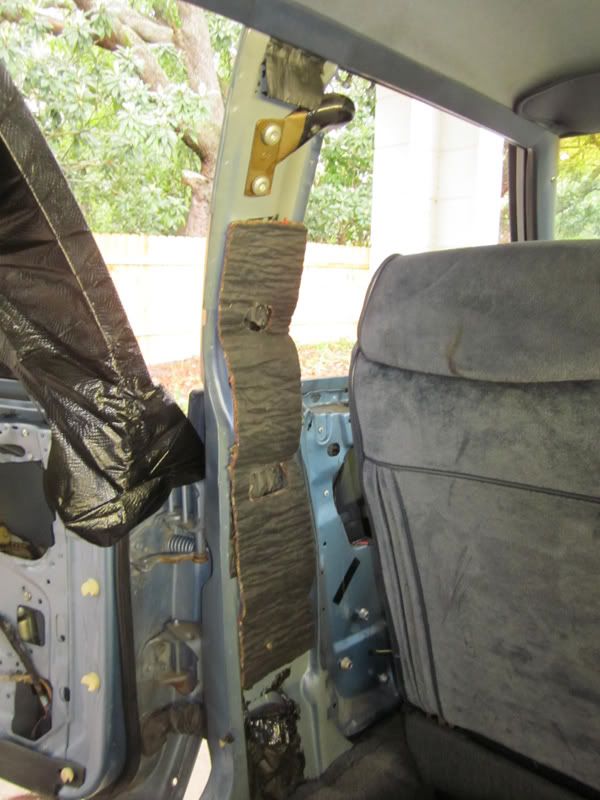
Was hoping for a direct bolt on, not so lucky. The inner panel has been stamped differently for this setup.
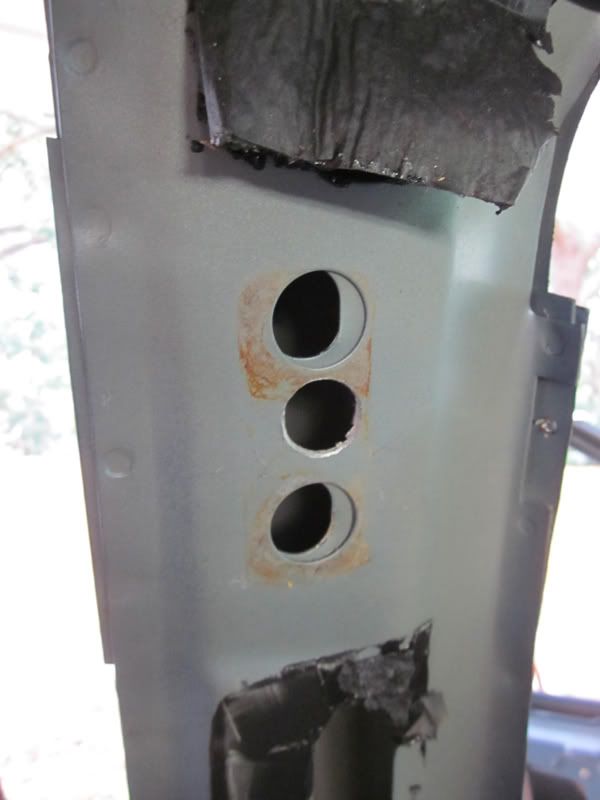
On top, the door-belt catch is mounted with 2 holes, neither in the position I need, and the bottom section has holes missing that are needed to mount the spool. Drilling is in order. The black sticky stuff is a mess. Careful of the carpet if you're saving it.
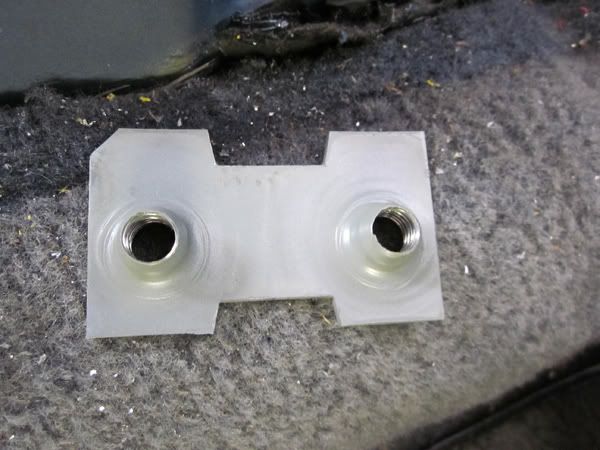
Once I removed the catch with the torx, a metal backing plate fell to the bottom, I'm saving it for later.
Top hole drilled with 3/4" hole saw, low speed. Located the correct position using the 84 pillar cover. I used a fridge magnet while I was cutting to keep shavings from going everywhere and becoming future rust nuggets.
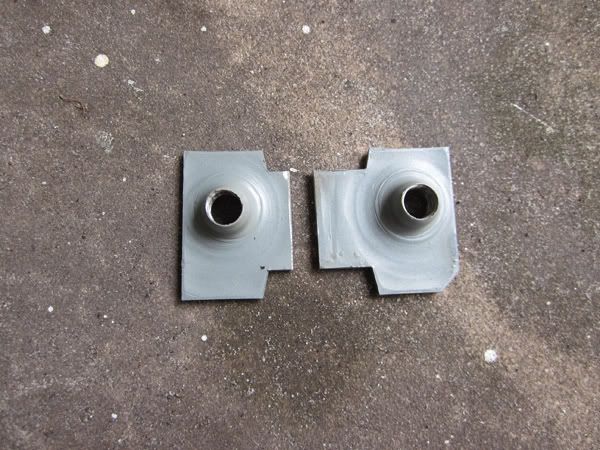
I cut the existing backing plate in half so I can use it for the spool mount as well.
Now a problem... locating the top hole was easy because I had the cover. However, I have no way to locate the missing holes for the spool. Looking at pics of the '84 dissasembly wasn't much help. Never really shot the interior of the pillars. I ran across a picture i could enlarge enough for a start. Enjoy the donor Caprice carnage.
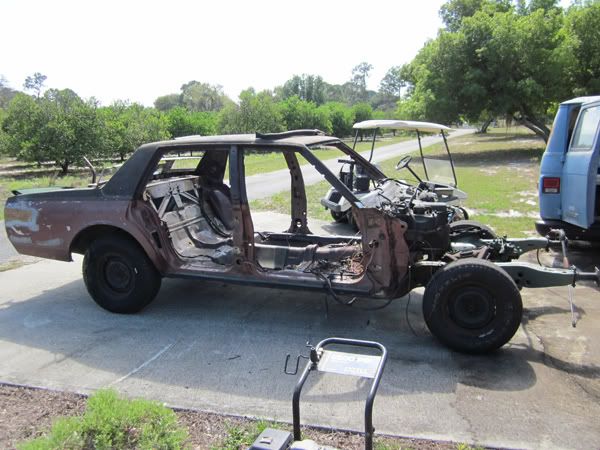
From that I was able to get this:
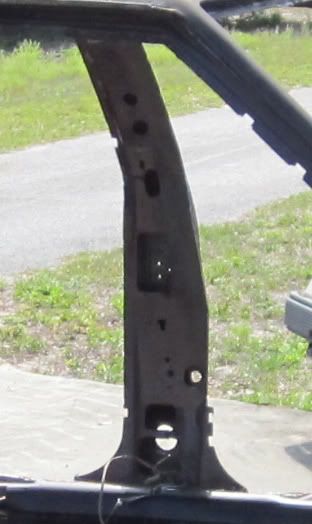
Measuring the width of the pillar I had in the driveway, I came up with a crude scale for the pic. and highlighted the holes I needed.
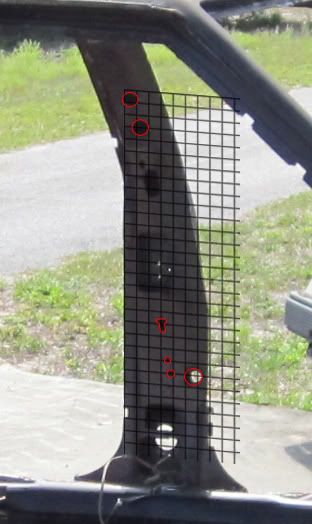
Between that and measuring the spool itself I felt I had a good shot at getting it right.
First how the spool fits in the pocket from the back. It has a bit of a rearward sweep to it. Not exactly vertical.
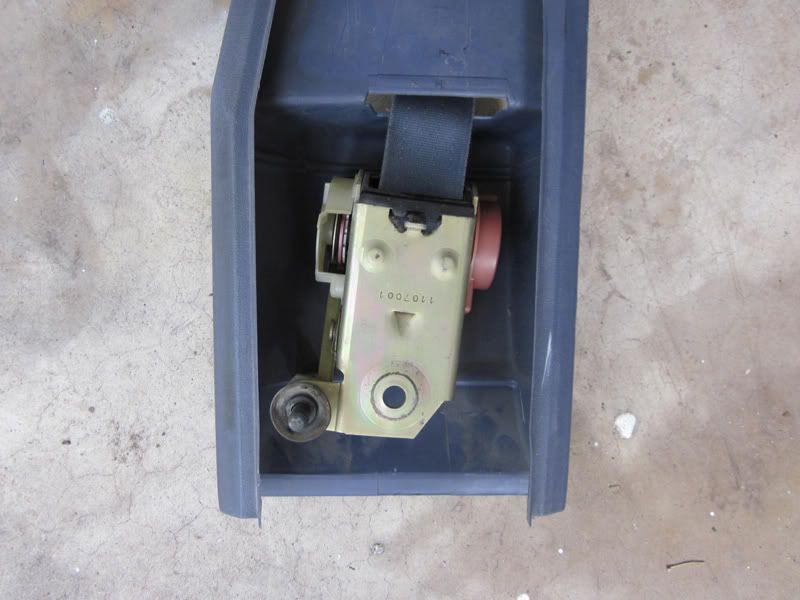
Determined that the lowermost center hole was already in position. From that I measured and marked the spool and my pillar for the door release and spool hanger.
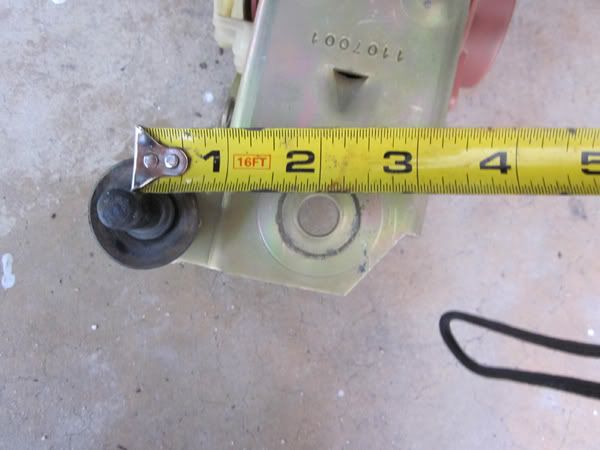
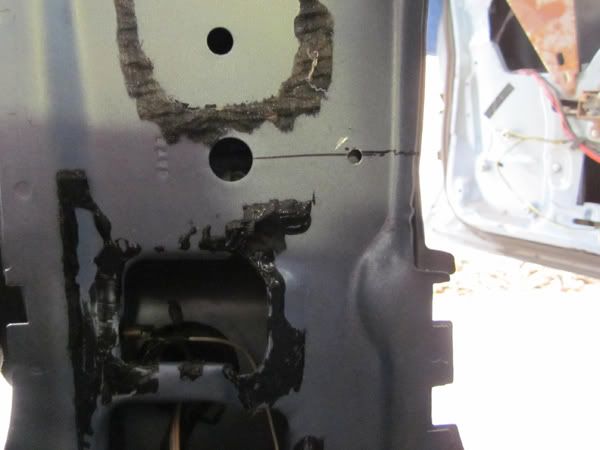
For the spool 3 holes are needed. The T-shaped spool hanger, the bolt, and the door release.
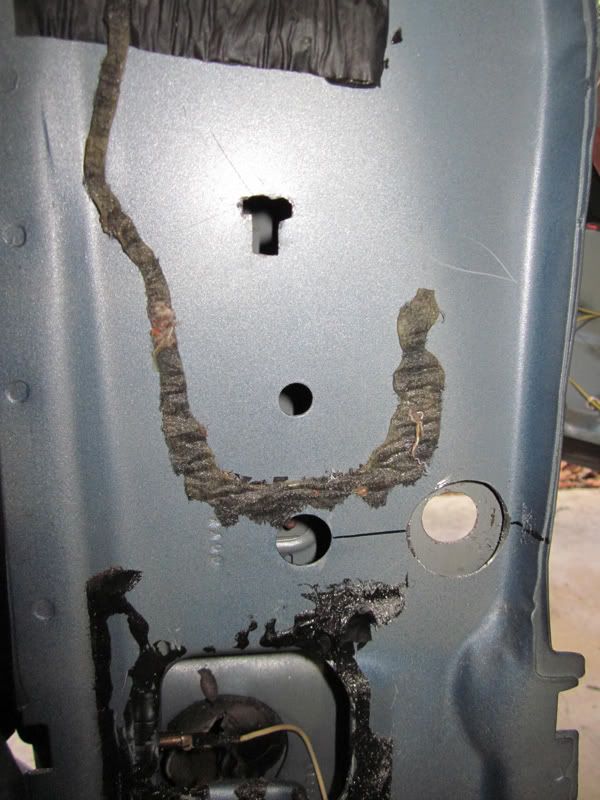
The door release is tricky because it has to line up on the flat spot exactly below the latch on the door.
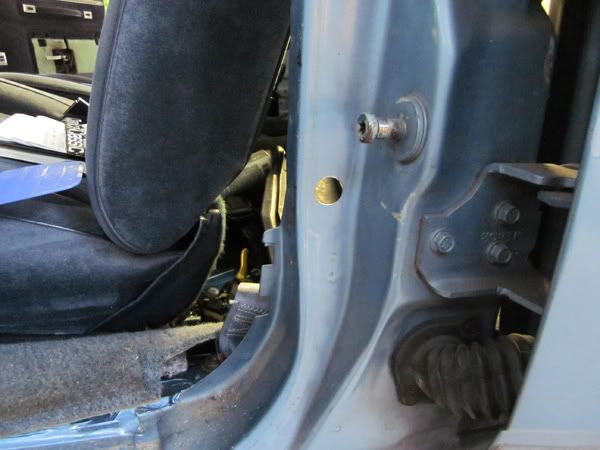
Aside from that the door release is actually 2 holes, one on the outside sheet metal, and a larger one (1-3/8") on the inside sheet metal. This is so the weather plunger on the spool release can sit flush on the outside sheet metal.
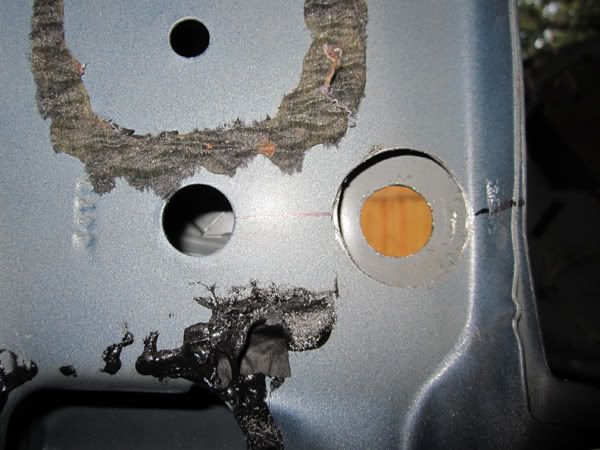
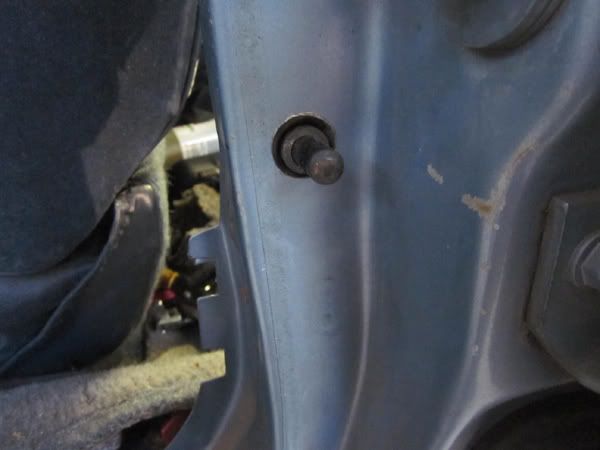
Test fit. This is where my other half of that backing plate comes in. I had to use vise grips to keep it from spinning until the bolt was tight.
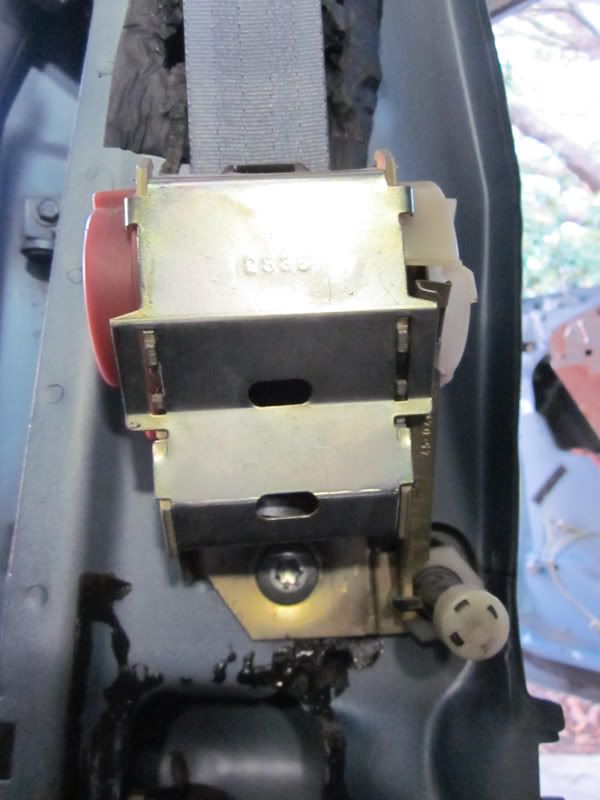
Back to the top. After priming my holes, I used some of the black sticky stuff to hold the backing plate in place behind the metal.
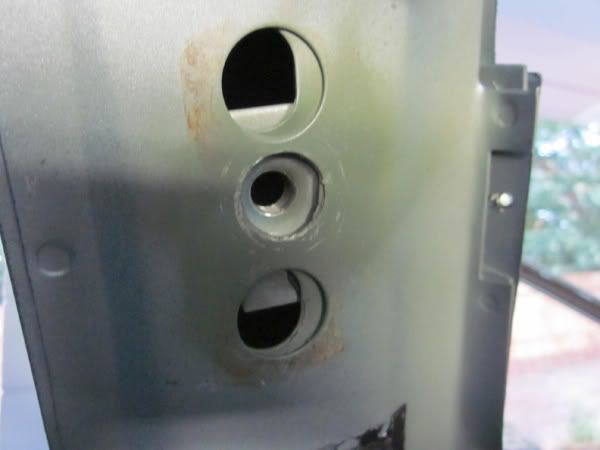
I used a 7/16" large thick grade 8 washer to reinforce the bolt. This is the bolt you need from the donor belts.
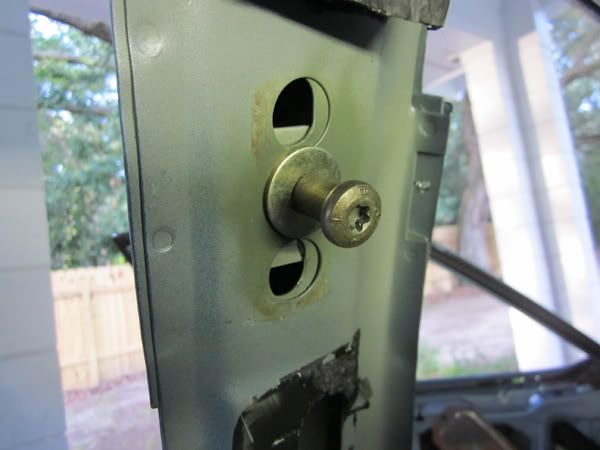
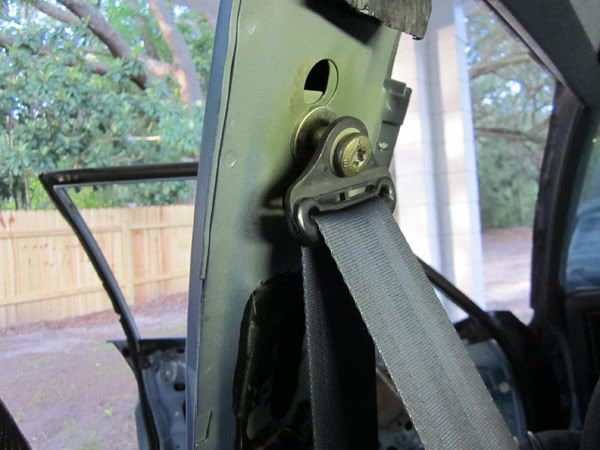
It has the smooth shank that takes the upper belt loop.
What about the floor mount? Chevy kindly left that under the carpet for '90. Bolt included.
Put it all back together for the final time. Order is important.
- Loop belt through the pillar covers
- Attach the floor mount
- Attach the lower pillar cover
- Hang the spool and attach with loc-tite
- Attach the upper pillar cover
- Put bolt through upper loop and mount to pillar with loc-tite
Now you have 2 seatbelts. On to the door...