Hi guys,
It's been either 5 or 6 months since I last made a bike as I've lost motivation on making bikes when I couldn't complete the Honda RS250RW Team Scot and I tried to make the Repsol Honda RS250RW but as I've completed the engine, I kind of tidy up the work place on Chinese New Year which is somewhere in January I think as it was long ago. Since then, I didn't touch on the bike modelling.
Then, a hobby shop in my place is holding a gathering middle this month & I thought of showing some of my works to the folks there (though this shop specializes in selling Gundams and not much of Revell military air unit products & also, the guys in my place do not do bike nor car modelling). That was my motivation on trying to work on this bike.
But anyway, I placed the Repsol Honda RS250RW box on top of the cupboard & took the Honda NSR250 box, I started to work on it last week. Not too sure what are your opinion on my work so far but anyway, here are the photos of my work so far along with description. Man, looks like my opening remark is way too long.


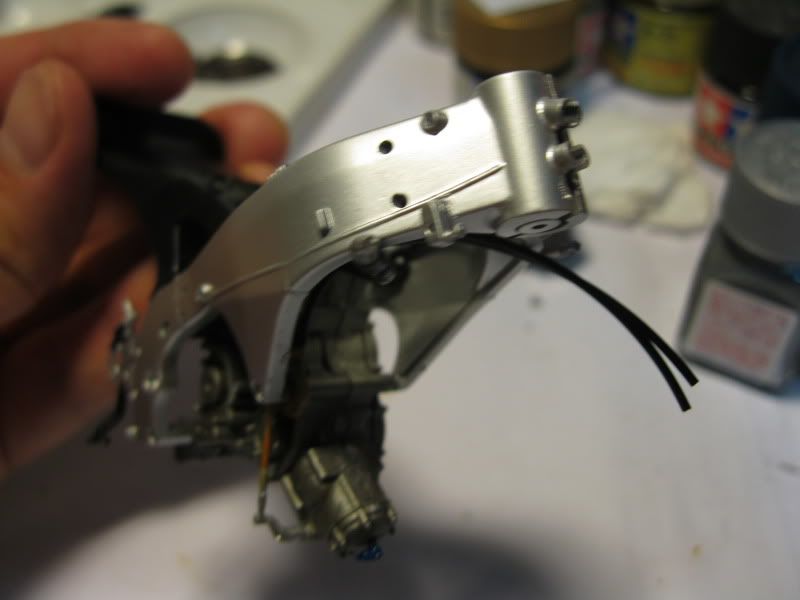
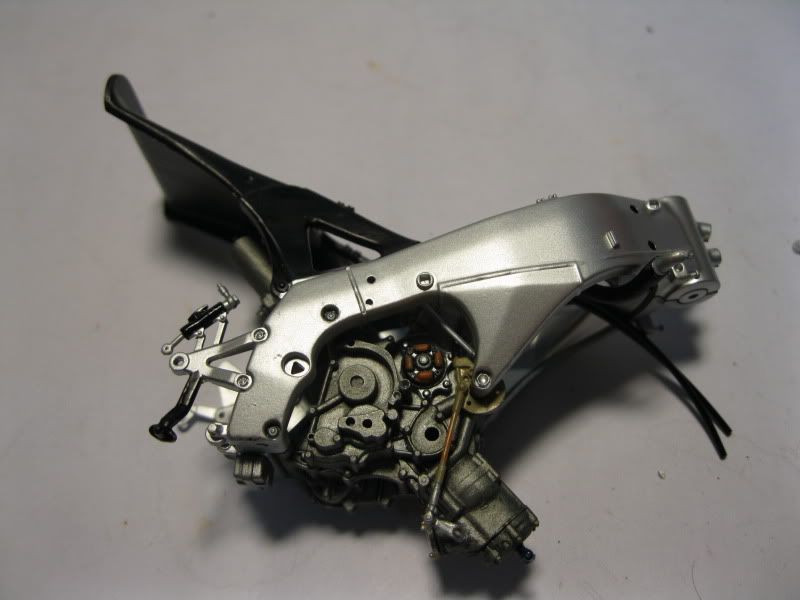
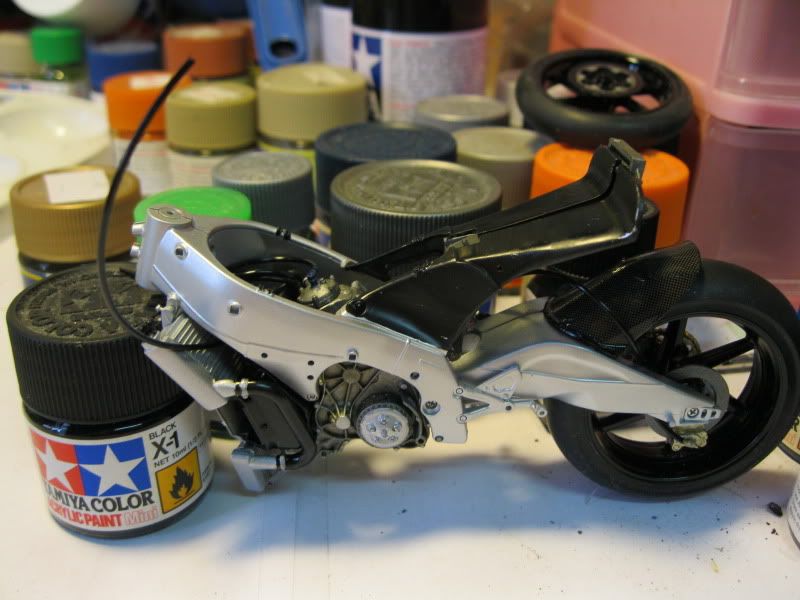
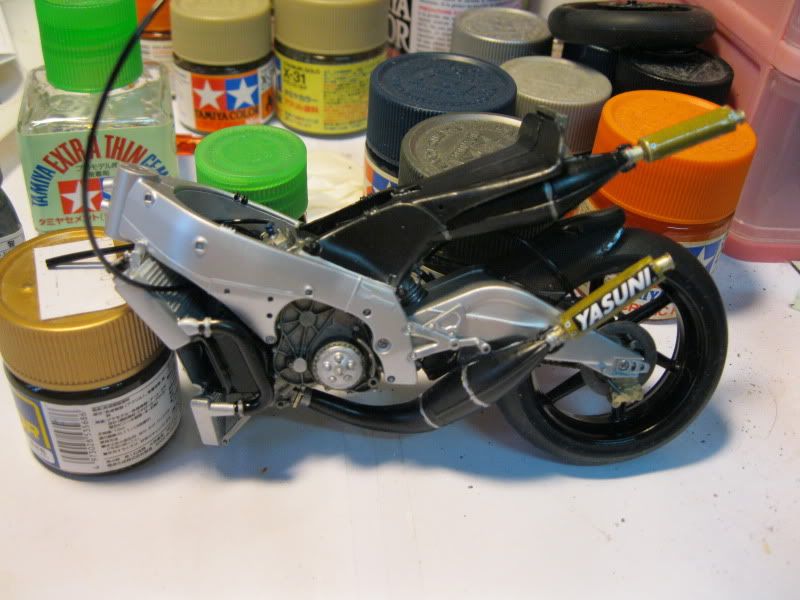
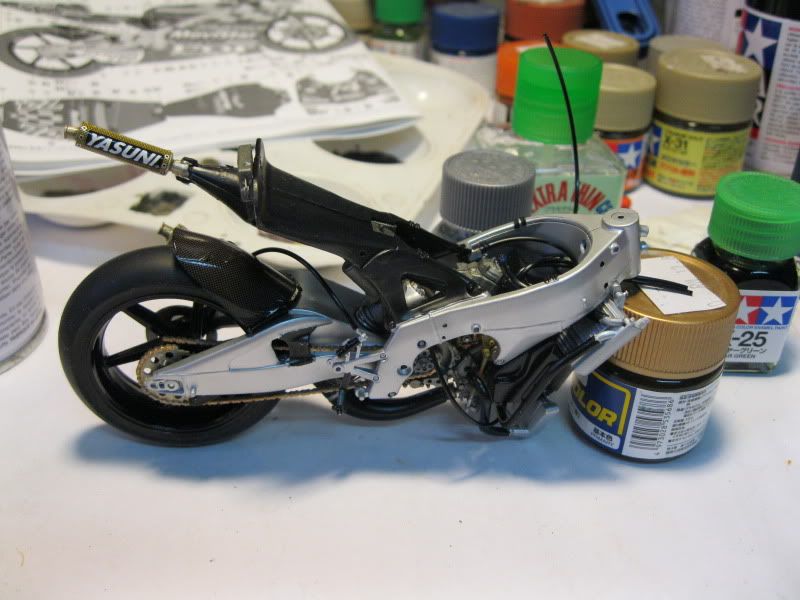
The frame along with the engine attached. I used X-56 metallic grey as I used the same idea of making the RC211V back then. Not sure if it's correct or not. Feedback would be really appreciated. For both the frame & swing arm (photos below), I used TS-30 silver leaf. I primed them first then I sprayed them using the colour I've mentioned before.
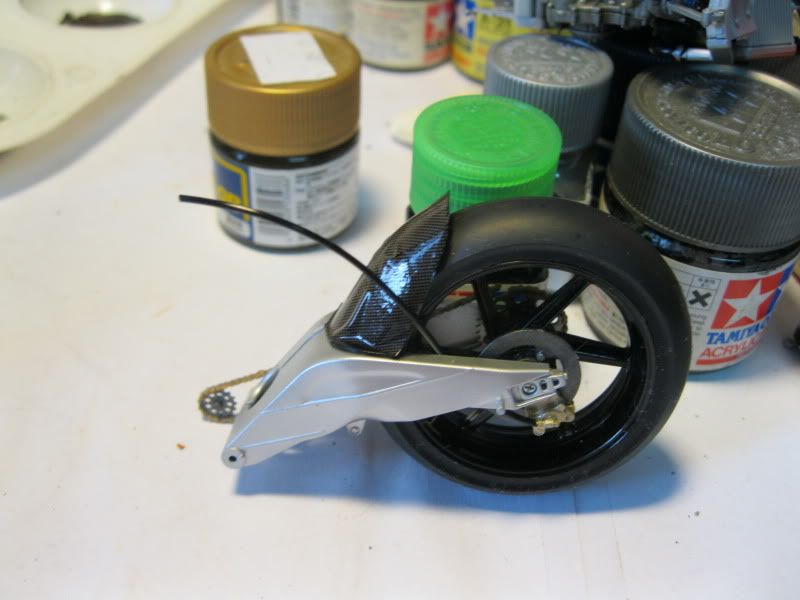
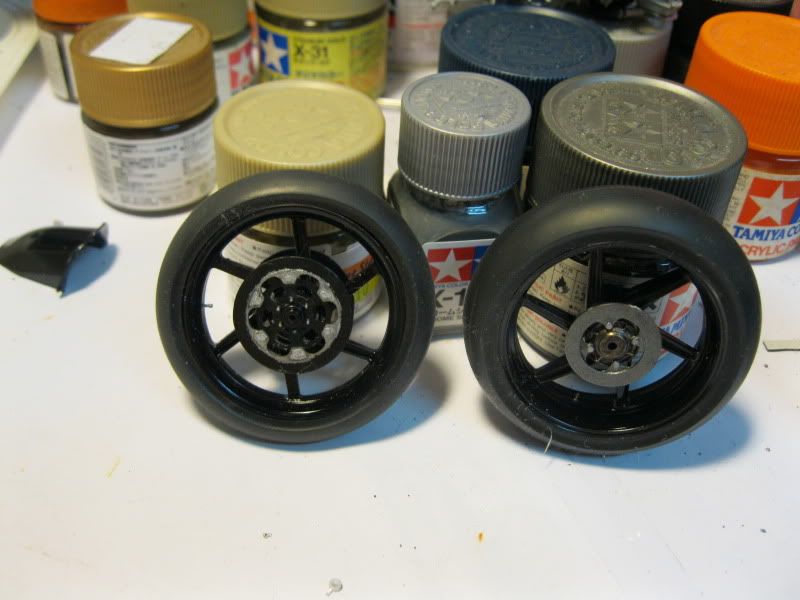
Here are the photos of the swing arm & the tyres. I sprayed TS-14 on the wheels & I patch it up by using X-1 black to cover up the white parts where there's space & ain't easy to spray through the spaces especially I don't use the air spray devices. I had the same concern as the RS250RW previously when I was making this as I find the screw couldn't even reach to the other side of the swing arm (probably it was me after all). But then, I could screw the tyre to the other side of the swing arm. That was my happiest moment at that time & felt more motivated than ever.
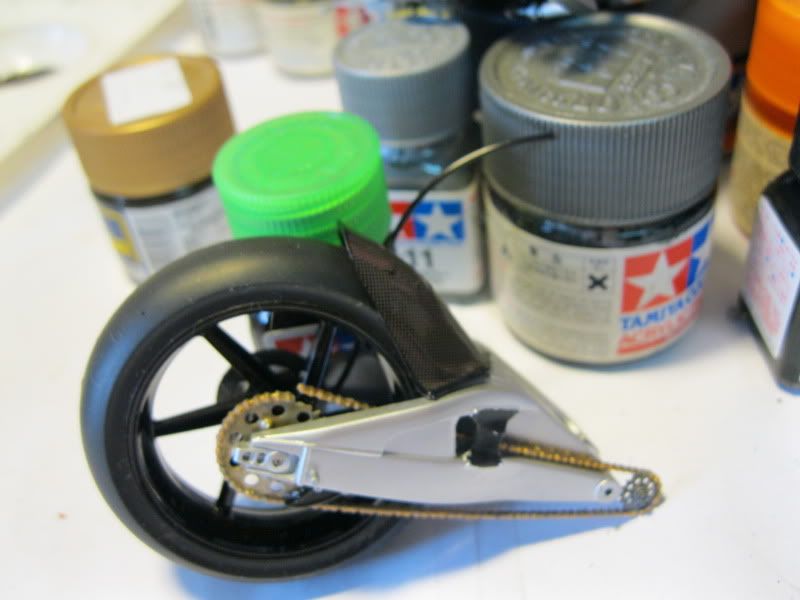
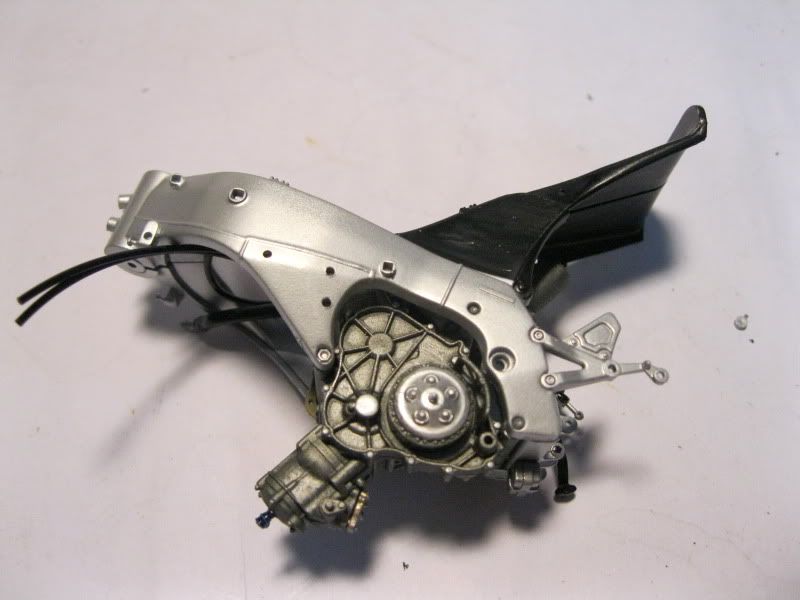
The photos of the swing arm attached to the frame. Quite pleased that I could screw it to the other side.
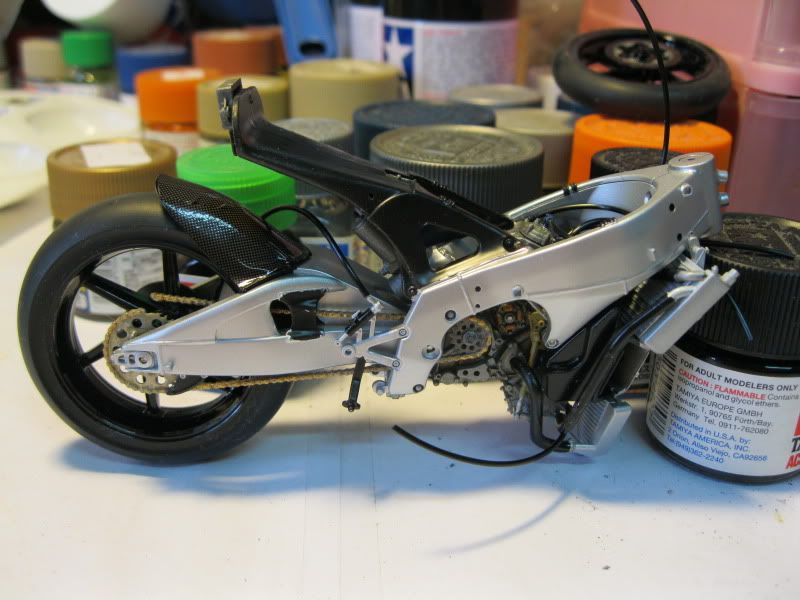
This part here was a little pain here but somehow but still not convincing to me, when I was building the absorber spring & trying to attach it with the swing arm. Probably it was me as the alignment is a little off but I can placed it properly. For the exhaust I paint it with X-11. X-18 & X-31. I placed the decals on the exhaust early before the bike is completed as I could foresee that I would have some difficulty on placing decals with the parts being attached once the bike is completed.
This is as far as I have done. I would continue on working tomorrow as it's still a public holiday in my state here. Whee!

As I've said again, feedback would be very appreciated & thanks for viewing.
Adrian