Okay - with that vote of confidence I'll continue!
Before I finally glued the rear frame together, I took the decision to reduce the height slightly - by about 3.5mm. The angles of some of the tubes just weren't matching up with what I could see in the photos, and it was going to annoy me if I didn't do something about it! So, I trimmed the lower verticals beneath the gearbox frame, re-drilled the holes in the outer corner verticals, and shortened the long forward tubes through the cockpit:
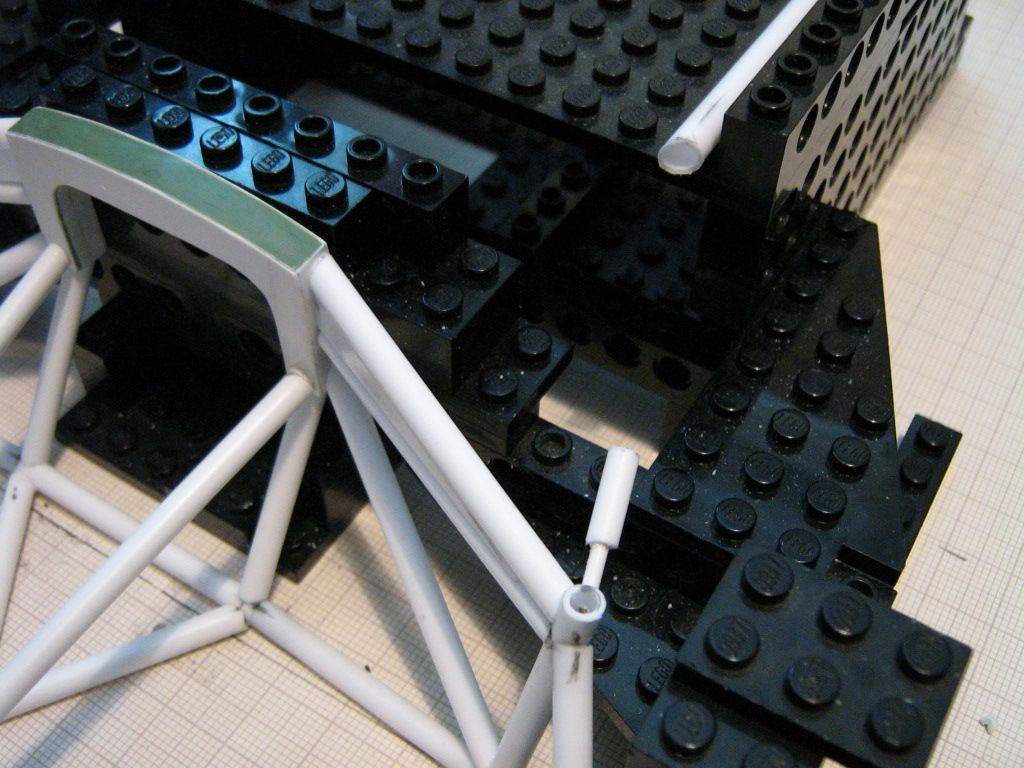
Next job was to attach the reinforced sills and the diagonals to connect these to the rear frame, and add the extra upper tubes:
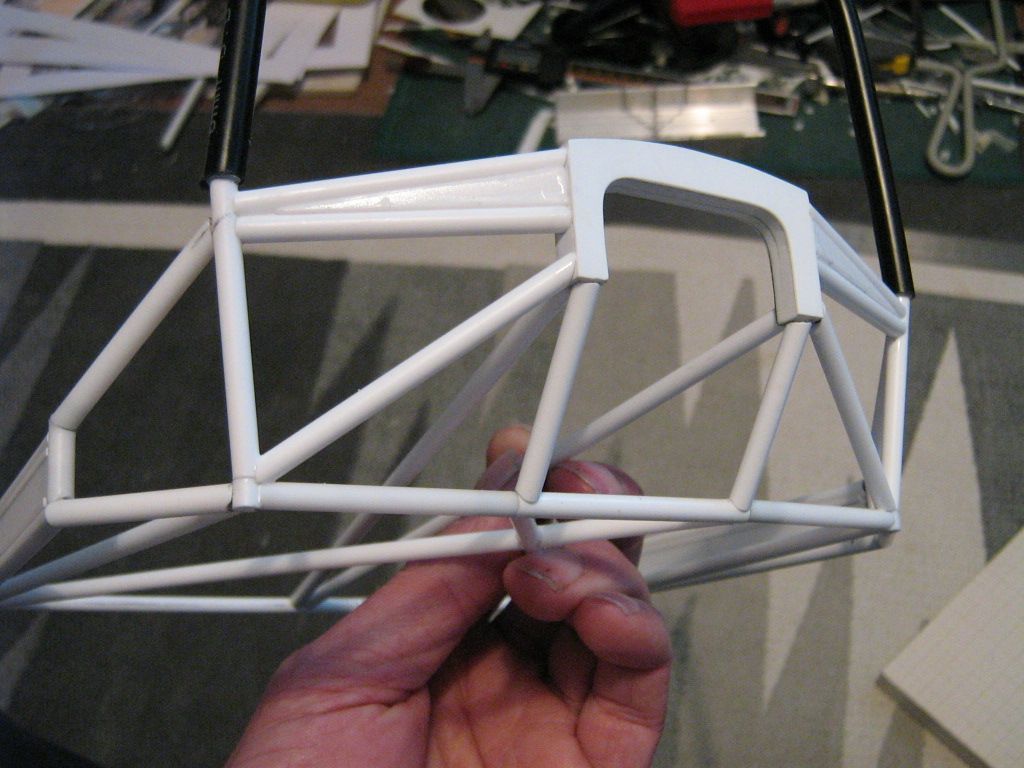
The extra upper tubes aren't pinned at either end, but there's a wedge of 1/4" x 1/8" section to provide a firm anchor to the lower tubes (plus plenty of glue, of course). Later there will either be a thin skin of styrene sheet wrapped over both tubes, or a layer of greenstuff to achieve a similar effect. The main reason for not trying to pin these was that I still have other parts of the frame and suspension pick-ups to add, and I wanted to be sure I wouldn't compromise
their pinning.
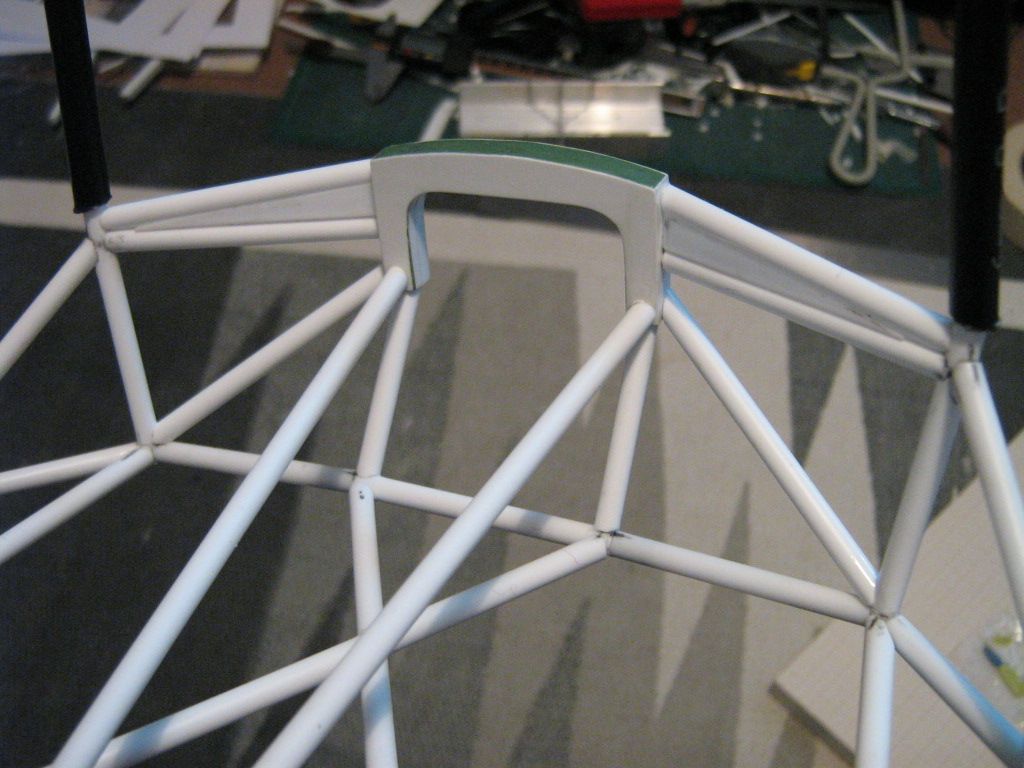
In this shot you can see I've added the sills and also bent a new rear roll-hoop. I've used the fire-extinguisher piping again as it's just so good for this job - the internal diameter is just right for reinforcing the joints, too. The outer diameter is 6mm, so I don't think it is particularly out-of-scale, either. Once all the tubes are in place I'll use some greenstuff the soften the transition from one tube spec to the other. I won't glue this hoop just yet, but I need it there while I'm working on the engine bay...
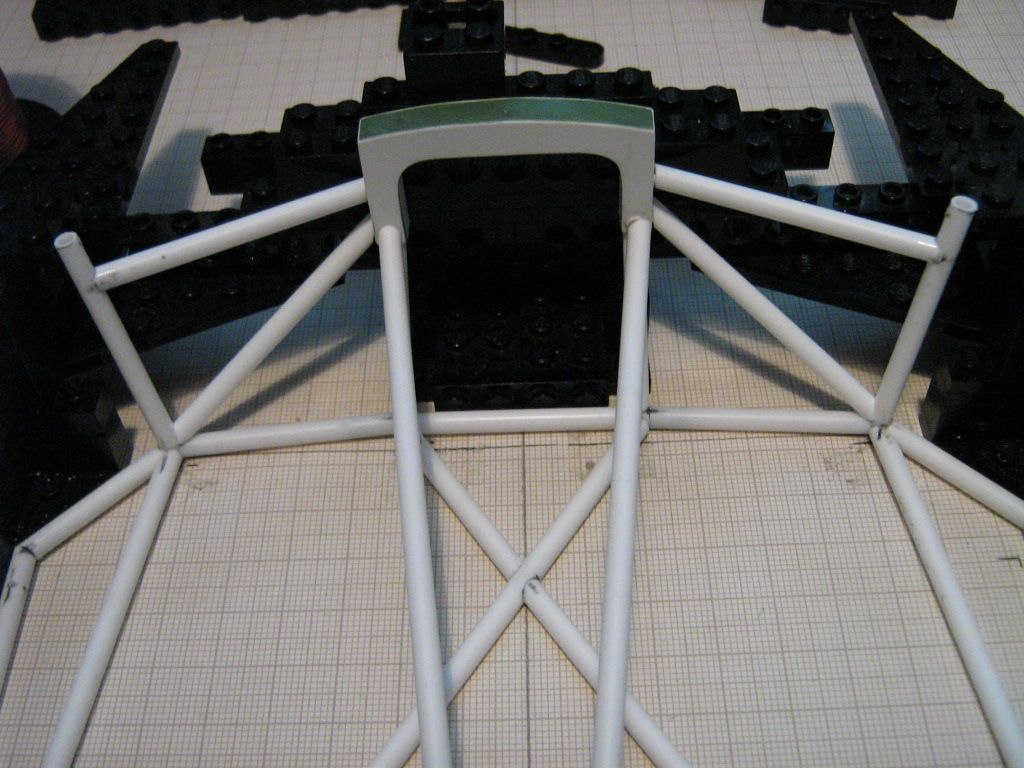
In these last two photos I've started on the rear frame, re-using the lego support from before. I remembered to reduce the height, too, as the mk1 frame was actually too high in this area! The first three tubes I've cut are all in the larger 4.8mm styrene, rather than the 4mm used elsewhere. The shorter piece across the back of the frame is reinforced with a length of 1/8" ali tube, with 3/32" tubes inside this to pin it all together. Once the engine and gearbox are fitted (oh...maybe sometime next year?!) there will be a lot of weight hanging off this frame...
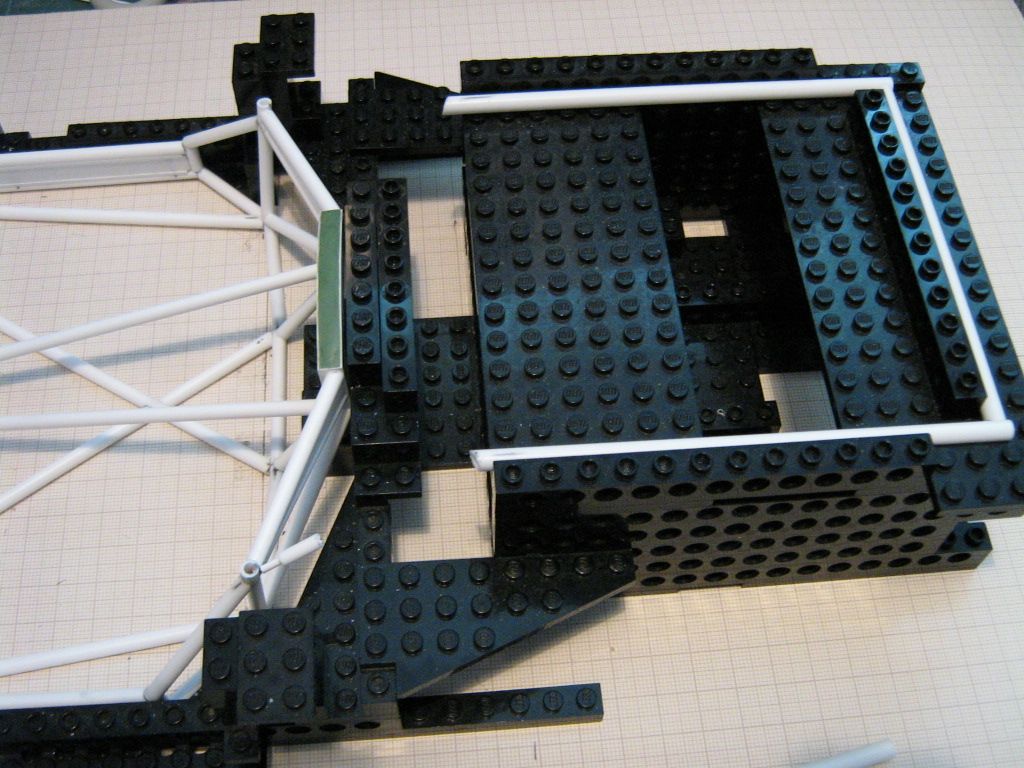
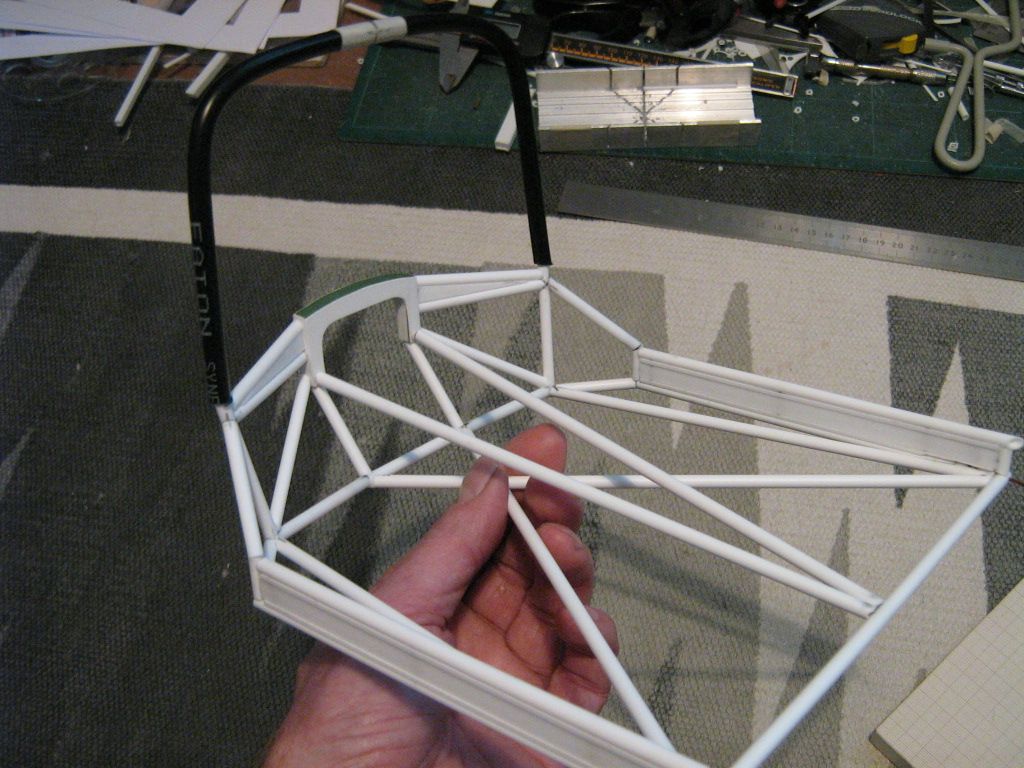
I've started working on the angled tubes to connect the two parts of the frame together, as you can see above. These are never easy as there's all sorts of angled joints going on at each end - lots of filing, checking, and re-checking. It'll take a while to get them all done, but I'm not on a deadline.
So, that's where I am now. I'm hoping to make some good progress this week, especially as there's a three-day weekend coming up. There's the Spa WEC race to listen to on Saturday, and the Snetterton 6 hours on Sunday, so plenty of motorsport to provide the background music to my modelling. Scarily, we're only now seven weeks from Le Mans again - but I don't think I'll be taking my modelling with me this year!
Have a good week,
SB