...oh yes, back in action! I can't wriggle out of this one now - my friends and colleagues at work know what I'm building, and you guys too - I'll never hear the end of it if I quit the project. My only worry is that you're going to find it boring following the early stages as I build the chassis (again) - if so, feel free to skip forward a few pages!
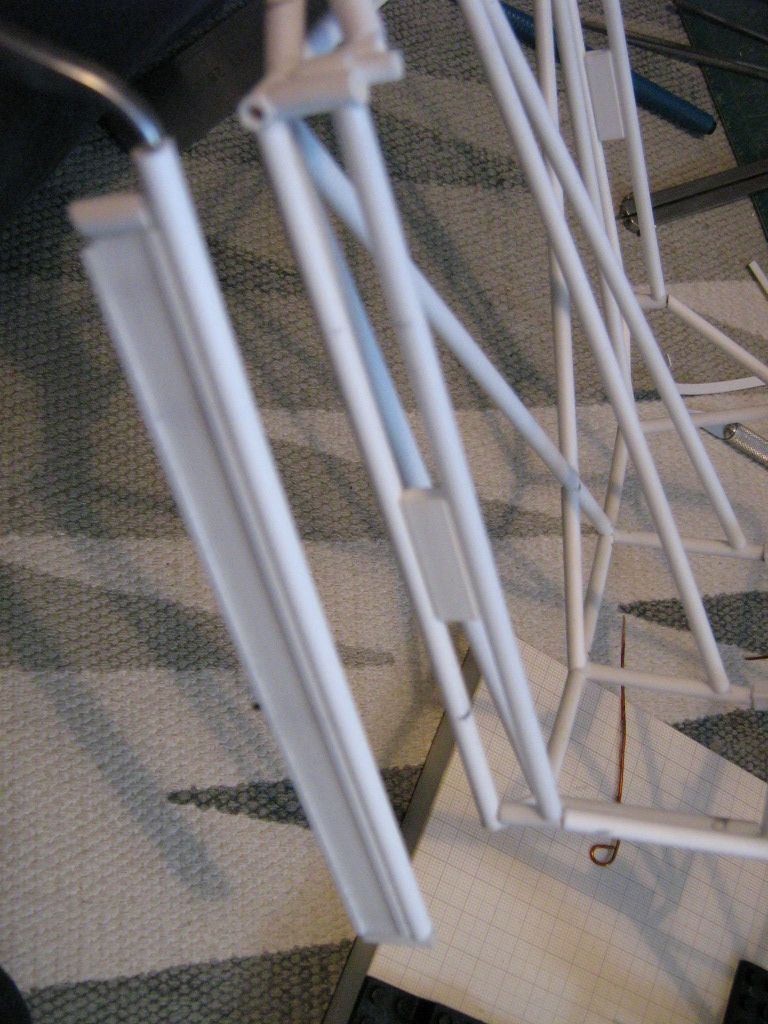
Anyway, hello again. It's a straight pick-up from where I finished last week - I spent a couple of evenings adding the tubes coming off the gearbox frame:
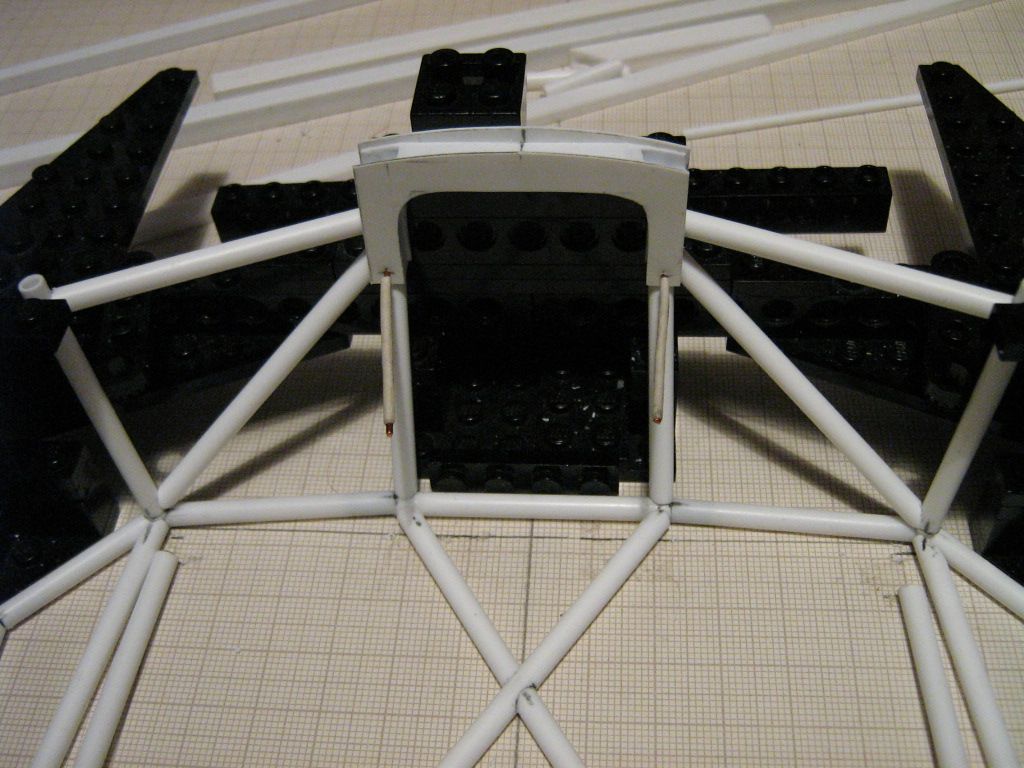
The only joints that are not pinned are the lower ends of the two diagonals - but there's still some small gussets to add at the top, and the whole lot will be panelled-over later, so this is not such a concern.
I'm not going to add the gearbox or wishbone pick-ups just yet, so the next job was to fill the gaps on the frame, starting with the curved underside:
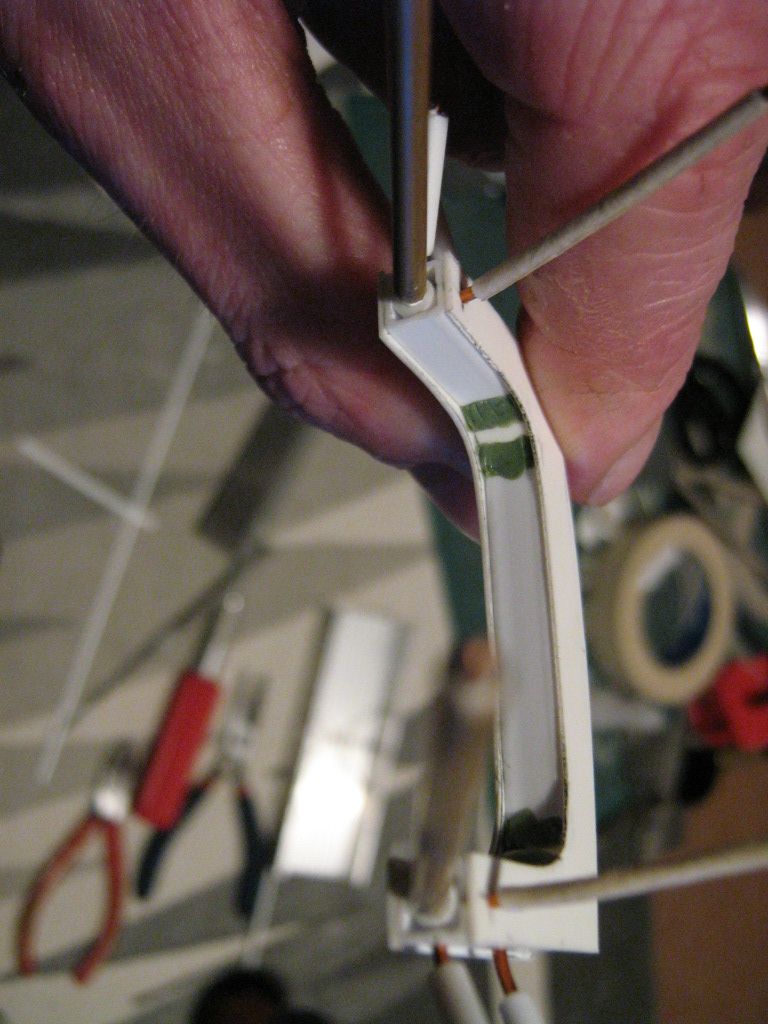
A little greenstuff was pushed into the corners, then 0.4mm strip was added over the top:

The pins for connecting the lower chassis tubes were glued in place, then more strip and greenstuff added to fill in the top:
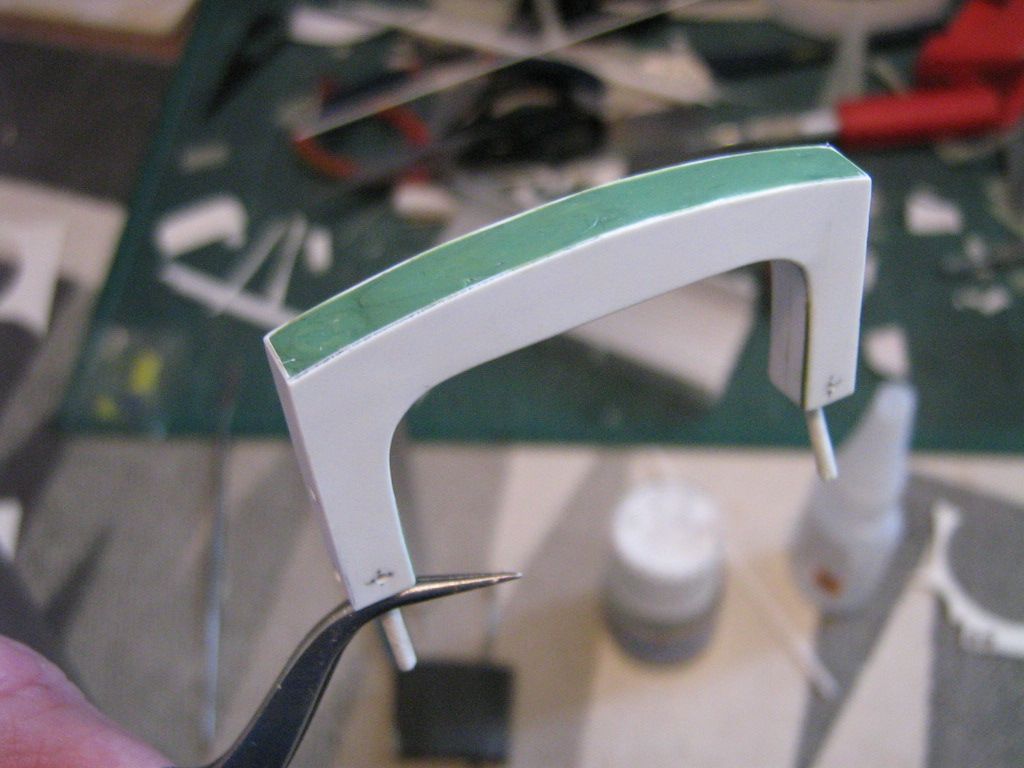
Once the greenstuff has hardened properly I'll give it all a once-over with the file and some fine abrasive paper to take the edges off. There may also be some weld-detail to add...
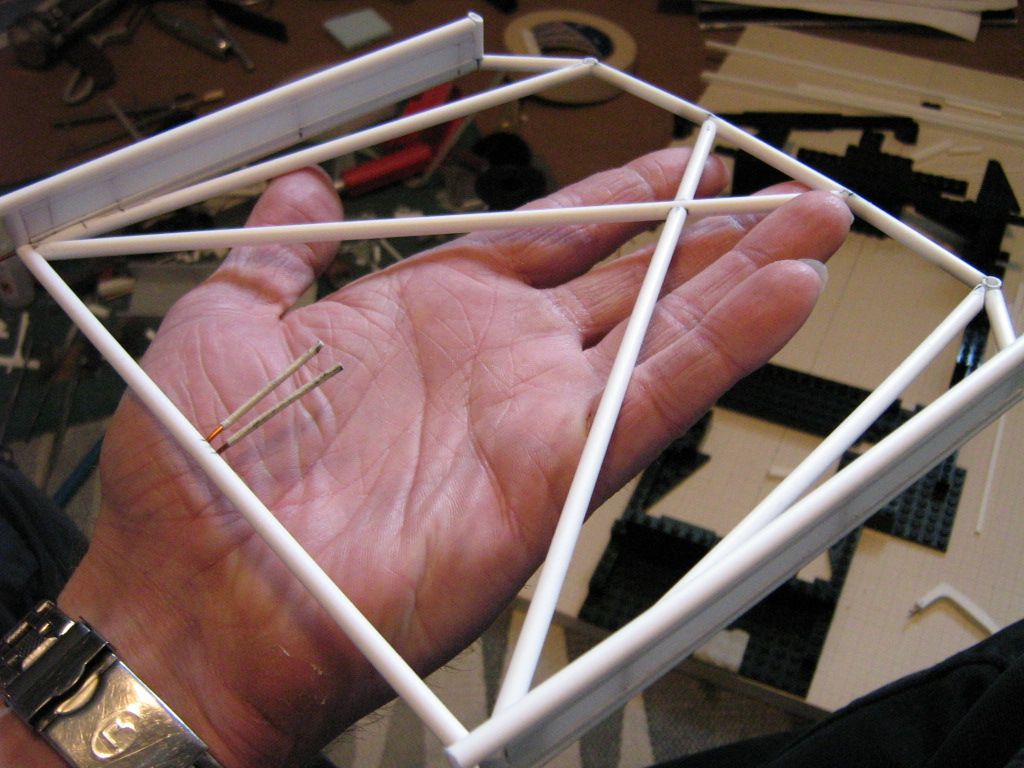
The other big project for this week has been the two reinforced sills:
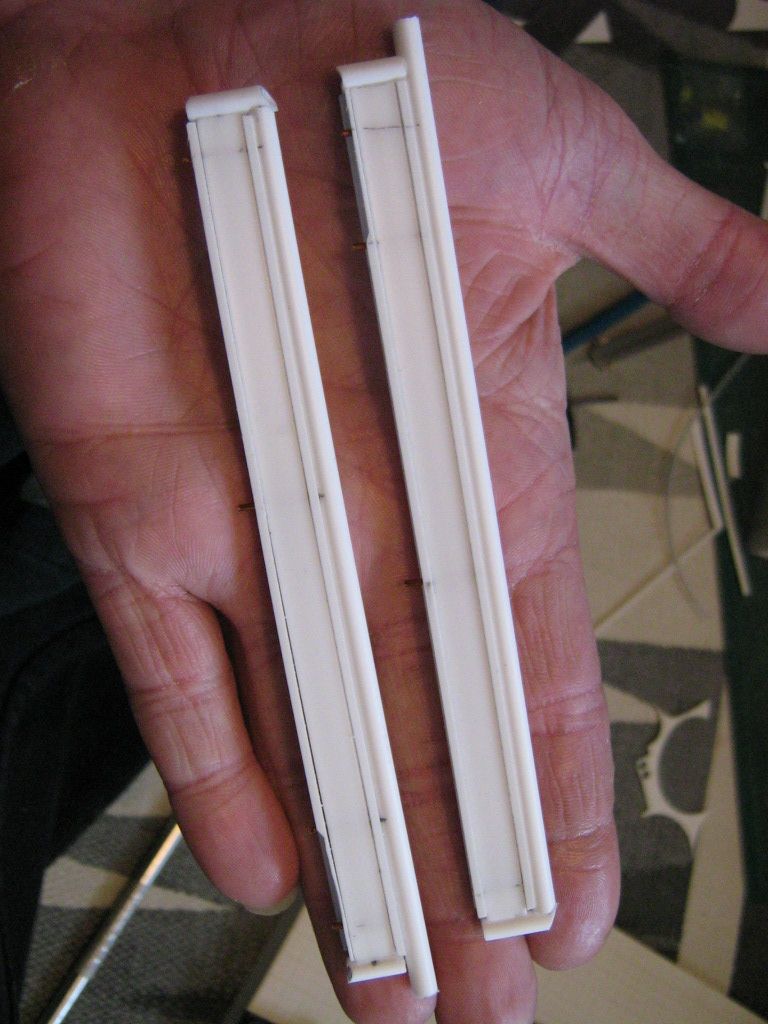
They're not glued yet, but despite appearances they've both taken quite a lot of time to get right. The core is a length of 1/4" x 1/8" box section, with 4mm channels added top and bottom - these locate nicely with the 4mm tubes used for the chassis rails:

There are three pins running through all the main parts for reinforcement, and to plug the assembly into the lower chassis. At each end there are short vertical tubes to connect with the front and rear frames - again, these are pinned for strength. I'll have to be careful when gluing everything together to make sure I don't get any distortion - they're supposed to strengthen the chassis, not turn it into a banana!
Here's a comparison with the mk1 chassis:
Not the greatest photo, but you get the idea.
...and fitted to the mk2 version:
The front ends need a little work, but I'm leaving that until I get further with the footwell section of the chassis. Remember that you won't see any of this once the body is fitted - it's all hidden by the fibreglass structure. I've adjusted the rear verticals too, to improve the fit with the diagonals which will be added later on.
So, it's coming along. The goal for this week is to slowly glue it all together - which will probably require a little adjustment of some of the tubes as I go through it. Then I can start on the engine bay and the roof structure - maybe using the extinguisher tubing again, maybe not.
All the best,
SB