So, thrilled that AMT (Round-2) is re-releasing a repaired Gremlin kit, I ran as fast as I could to my LHS to get one. The kits hit the shelves on Friday but when I got there at midafternoon Saturday, they were already sold out! They had even sold through their next shipment so I had to wait until yesterday to get mine. The guy at my shop says they can't keep hold of them, and I believe it. I expect to be seeing swamp of these on AF and probably any other forums that anyone goes to, at shows and in magazines. That's cool with me, but I guess here is just another one for the big Gremlin pile. Blubaja said he would make one with me but I don't know how far along he is or if he will post up any WIP pics.
I'm pretty excited to build it, a kit of a really neat car, and since it's not my normal fare, I don't have any detail up kits or special tricks or even feel the need to apply them to this car. I originally intended to do this kit 100% box stock but I just couldn't. For example, I can't stand the factory seats so even though they are correct I will be replacing them with some leftover seats from the Revell '69 Camaro. In any case, this will be a quicky, hopefully done by next Tuesday. Realizing that I hadn't built anything in 2011 really got me in the mood to build something - to
just build something!
So, on with it:
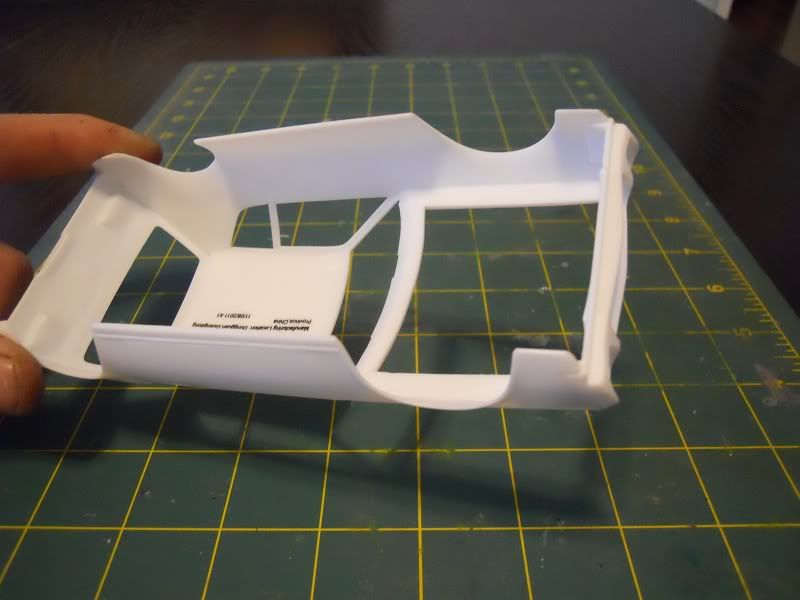
The first thing I did was thin the wheel arches. You probably can't tell in the photo, unfortunately. I started doing this on model imports so the wheels can sit a little flusher (I'm not all hellaflush but I do think that the closer it is, the better it tends to look), but it's kinda become standard for everything. It's kind of how bigger wheels and lower suspension looks better on a model than being exactly right, thinner wheel arches do, too.
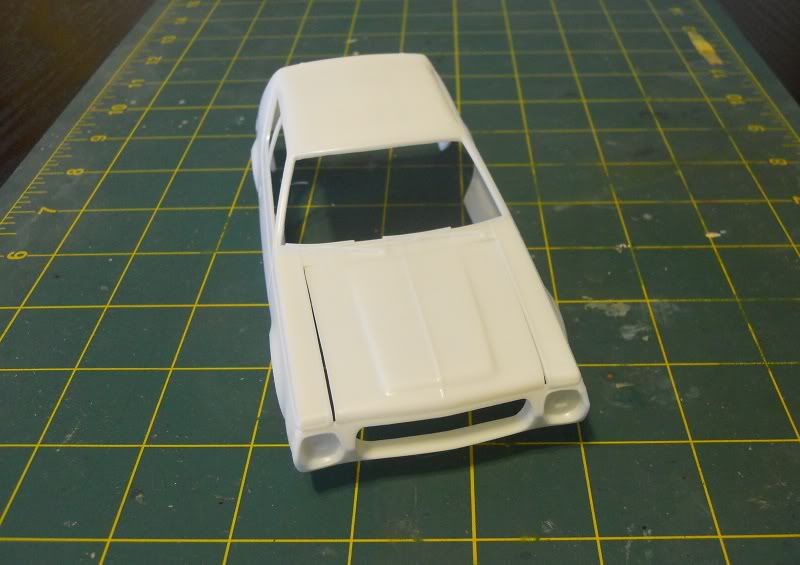
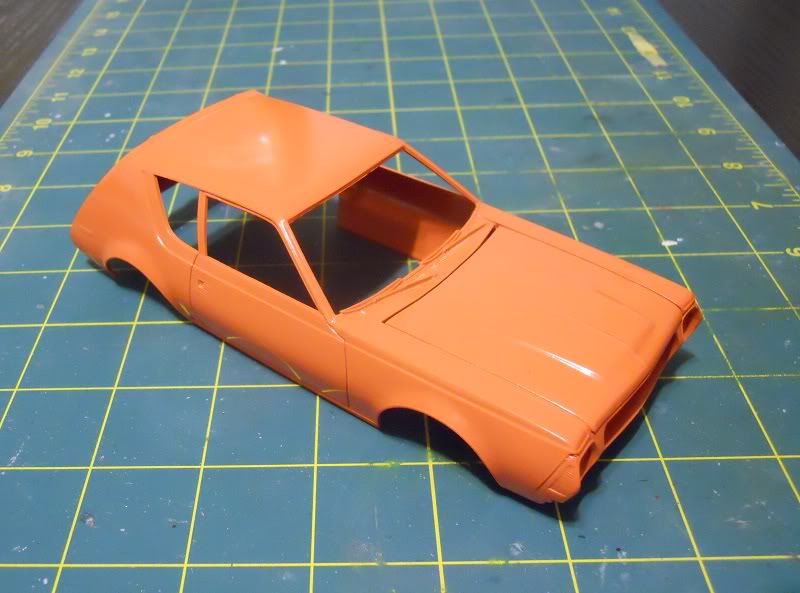
I also opened the front grill area (more on that later) before gluing on the front facia. The hood fits properly when you pull the body out of the box, but when you glue the facia on you end up pushing the fenders further apart, and there is a really ugly gap toward the front of the hood that needs to be filled.
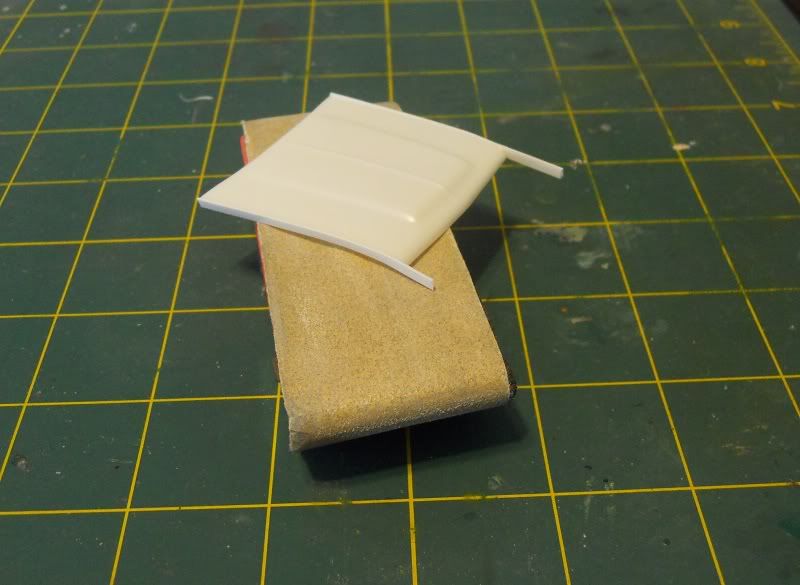
Not a new trick by any means, I know it's been documented here plenty. I glued a strip of plastic down each side of the hood, and trimmed them to almost length. Then I sanded the sides of the hood until it fit. You definitely need some sort of a sanding block to do this! I was lucky, the plastic strip I added was just the right thickness so I just had to sand the rear edge completely away and leave it full thickness at the front; a good guideline.
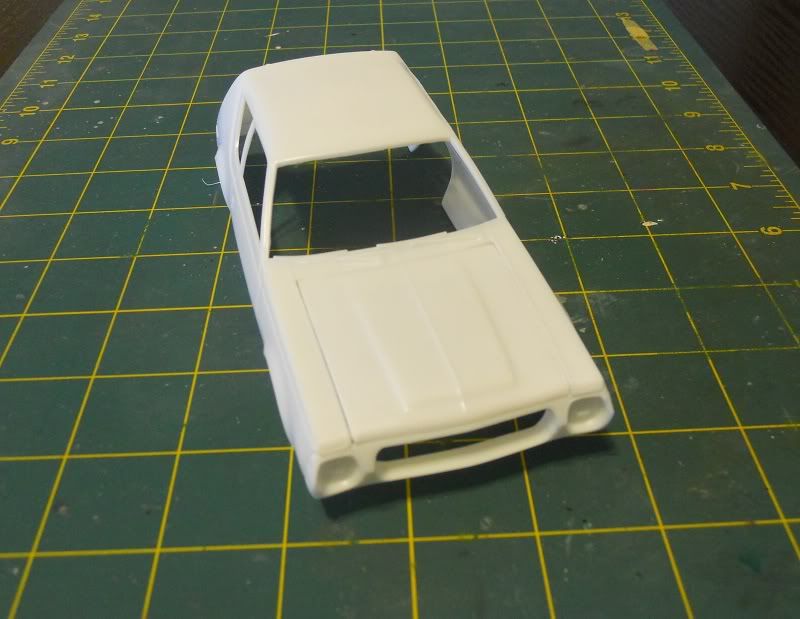
Much mo betta. I realize that the hood is now probably wider at the front than the rear, and to avoid that I could have used any number of other techniques but this was fastest. So about that opened grill area...
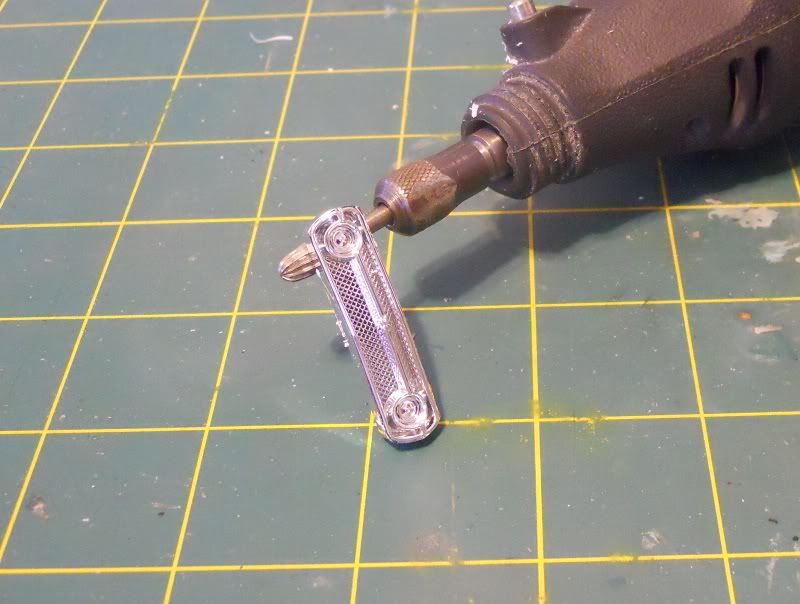
I intend to remove almost all the chrome on this car so there was nothing marrying me to the grill as AMT molded it (though, looking at that picture, it looks really good!). So, like I did on my '69 Camaro, I used this grinding bit to remove a
lot of material from the back of the chrome grill. The Dremel tends to be a big hammer for a small problem so I just ground it until I got close.
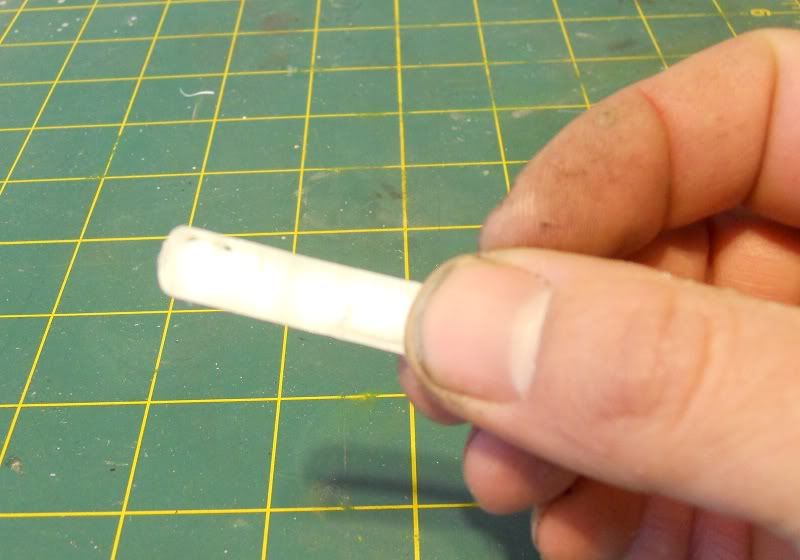
This picture is probably worthless, but the idea is that you can just start to see the chrome plating from the backside of the plastic, meaning I'm close, time to file from here! No pics yet, but I finished most of the cleaning before dunking the chrome grill and bumpers in a bleach solution to remove the chrome entirely. I will have pics once it's cleaned up and ready for paint.
Meanwhile I painted the body:
I really wanted to do the car in heavy metal flake rootbeer with a gold or yellow stripe, but the kit decals do not have gold or yellow stripes. I imagine someone down the line will make all the colors of the rainbow (Google image search shows pretty much anything imaginable) so maybe some other time. So, Tamiya Orange from the rattle can with the black stripe is what I'm doing. I heated the can up and the paint went down super smooth, but it was probably a little too heated and it sprayed way too fast and I didn't get the mist coats I wanted, so some of the gray primer is visible. That's ok, I will polish out any blemishes and add another coat or two tomorrow.
Last comment for the night: Wow, I had forgotten how terrible fitment was on these old AMT kits! I struggle when there are no positive locators for assembly; I have no idea where the dash goes!

Anyway, I'm not really griping, this is fun so far and it will make a neat model for the shelf.
Thanks y'all and let me know any comments or criticisms!