Time to continue! But before I do...some responses to your kind comments:
Quote:
|
I don't suppose you want to make a paper template outlining the belly pan modifications and diffuser and post them to the internet in a PDF 1:1 scale?
|
I will do this after I make the final assembly of one of the cars, just to be sure everything is OK.
Quote:
|
The photos of the orange car, can you see, is different in the rear to the model of Carrera. It´s similar to the Fujimi model.
|
You are right. The Carrera body is perfect for the blue car. The orange car has a different engine cover and tail lights. I am planning to adapt the Fujimi parts to one of the Carrera bodies.
Quote:
|
Are you going to install the Fujimi headlights and covers on the Carrera body...? The clear parts from the slot body is rather terrible
|
Thanks Robi! The Fujimi headlight covers are too big for the Carrera body. I am planning to do some modifications to the Carrera pieces to make them look a little better. I think is either that or making new thermoformed pieces.
Quote:
|
Steve at Hiroboy has done the paint for us, he was saying that the Profile24 zero paint codes were not very acurate.
|
This is great news!! But I am a little worried after seeing the photo of the paint jars, since they look plain paints, not pearlescent. I have some close up photos of the cars and I believe the paints used in the real cars are pearlescent. After checking Zero Paints catalogue, it looks to me that Arancio Atlas Pearl or Arancio Borealis Pearl (Lamborghini colors) would be better choices for the orange car.
Well, let me show you the latest work I have done:
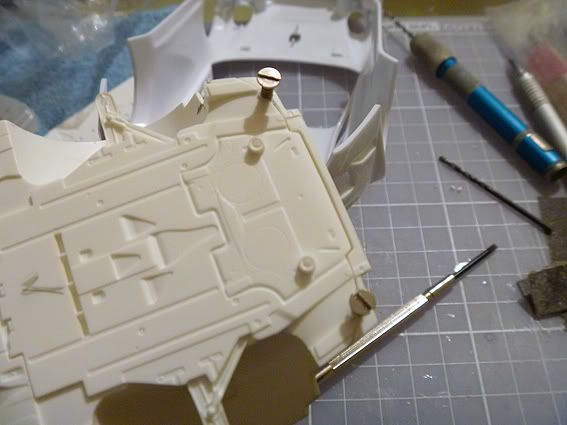
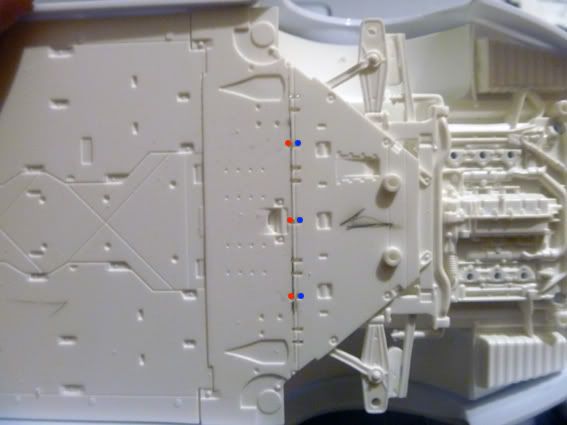
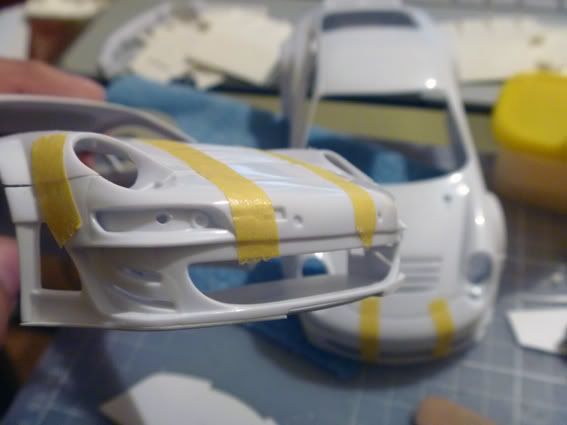
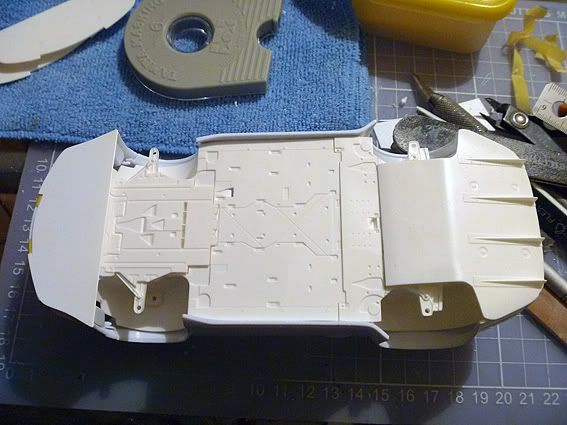
First, I opened holes to use screws to attach the body to the chassis. The screw heads will be covered by the diffusers:
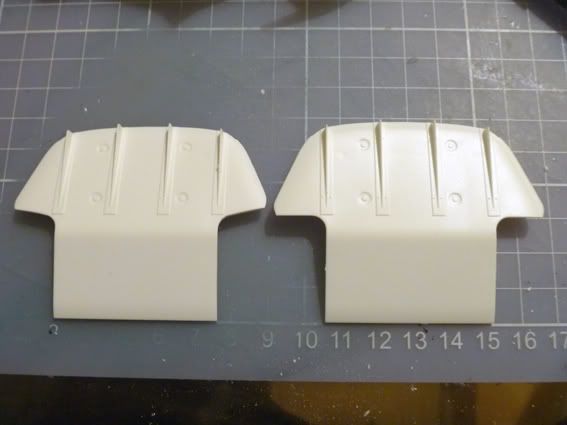
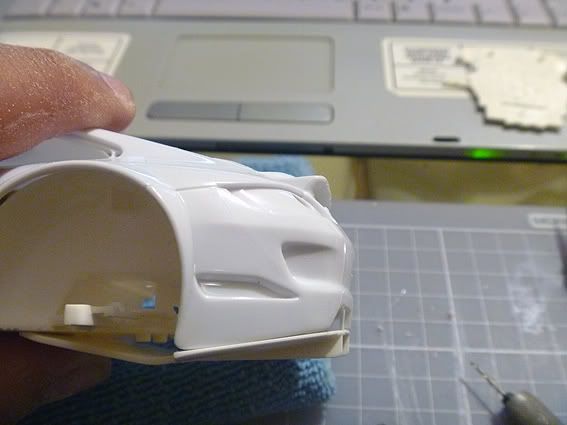
I sanded off the mounting tabs of the rear diffuser. Also, the sides must have a different angle to fit the carrera body (the right part is the original and the left part is the final result):
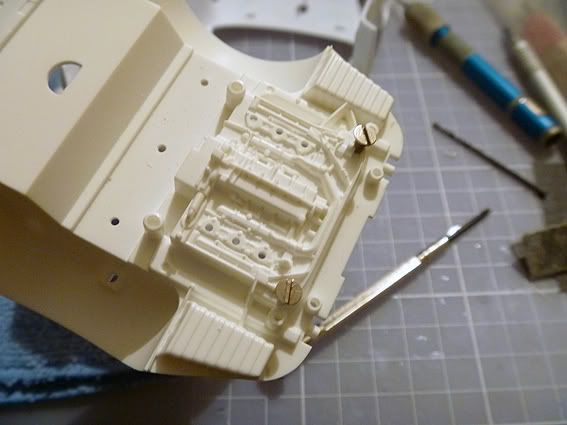
For a proper fit of the rear diffuser with the body, the mounting holes in the chassis must be moved 1 mm to the front:
This way, you get a nice, tight fit:

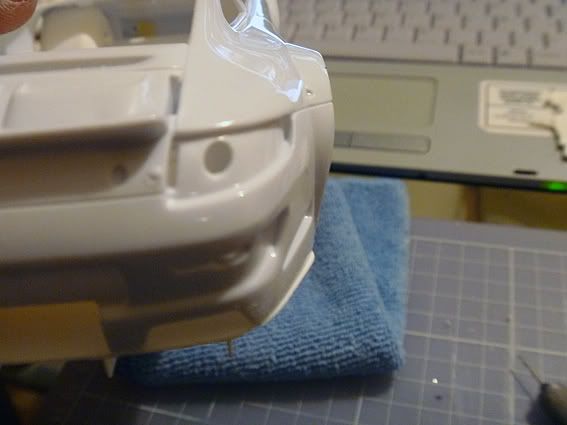
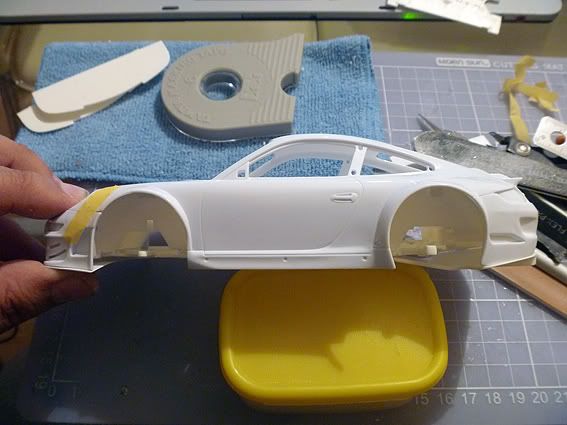
After checking my references, a little "lip" of the rear diffuser must be present in the sides after the body is installed:
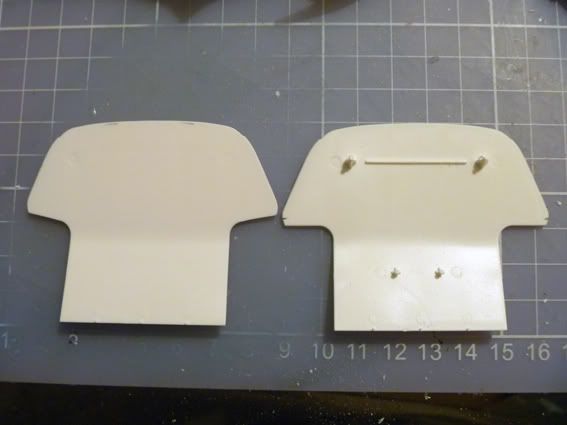
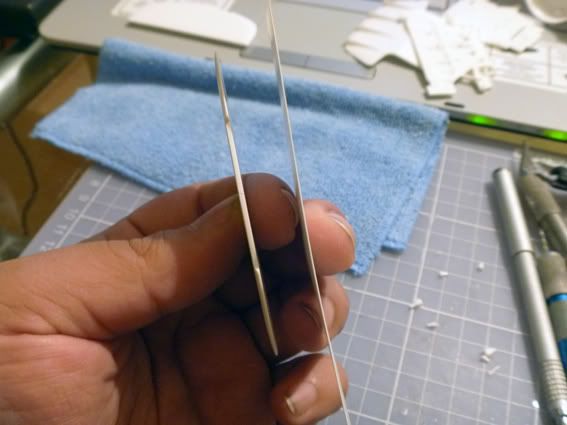
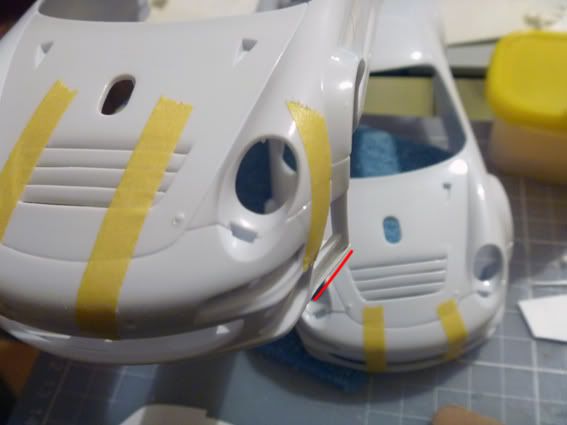
The front diffuser of the fujimi kit is very thick, and it must follow the contour of the nose of the carrera body, so used thin sheet styrene to do a new one:

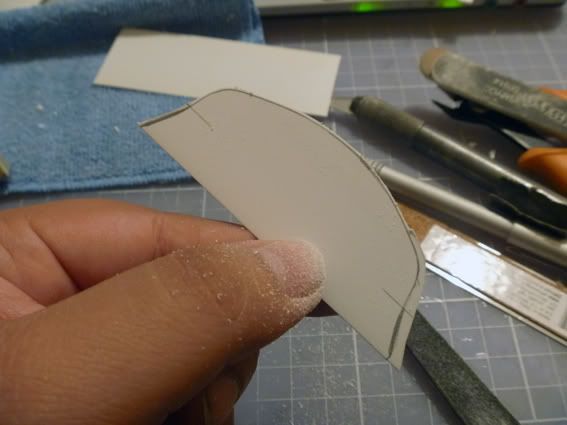
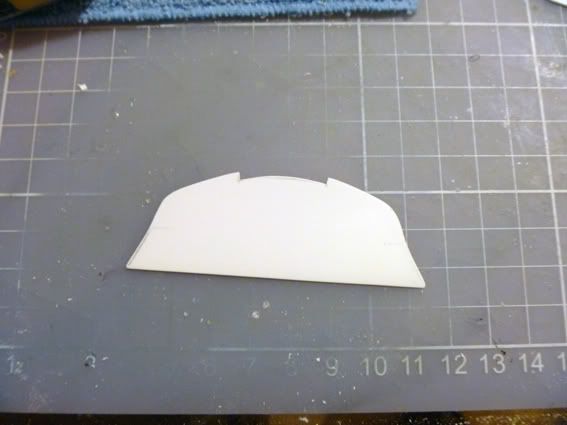
I temporary glued the diffuser to the body, so I could do some fine sanding to make the contours match:
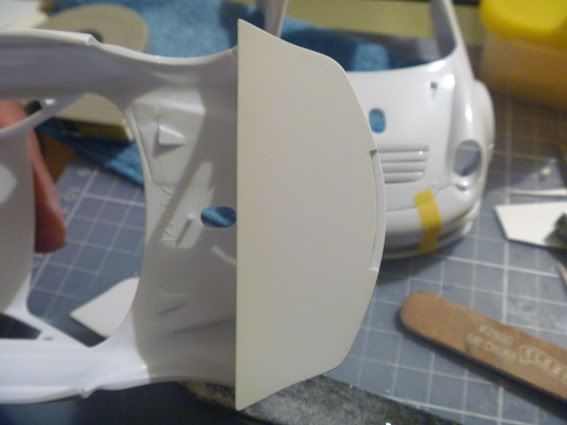
In the sides of the front diffuser, a "lip" must be present on the sides:
After all this adjustments, the chassis and diffusers fit a lot better in the carrera body:
That´s it for the moment! Next, some detailing of the chassis and suspensions! Thanks for your interest!
