Hi everyone, heres the start of a new WIP. I have been playing around with several projects since finishing my Jordan 191 and now i finally have something to show.
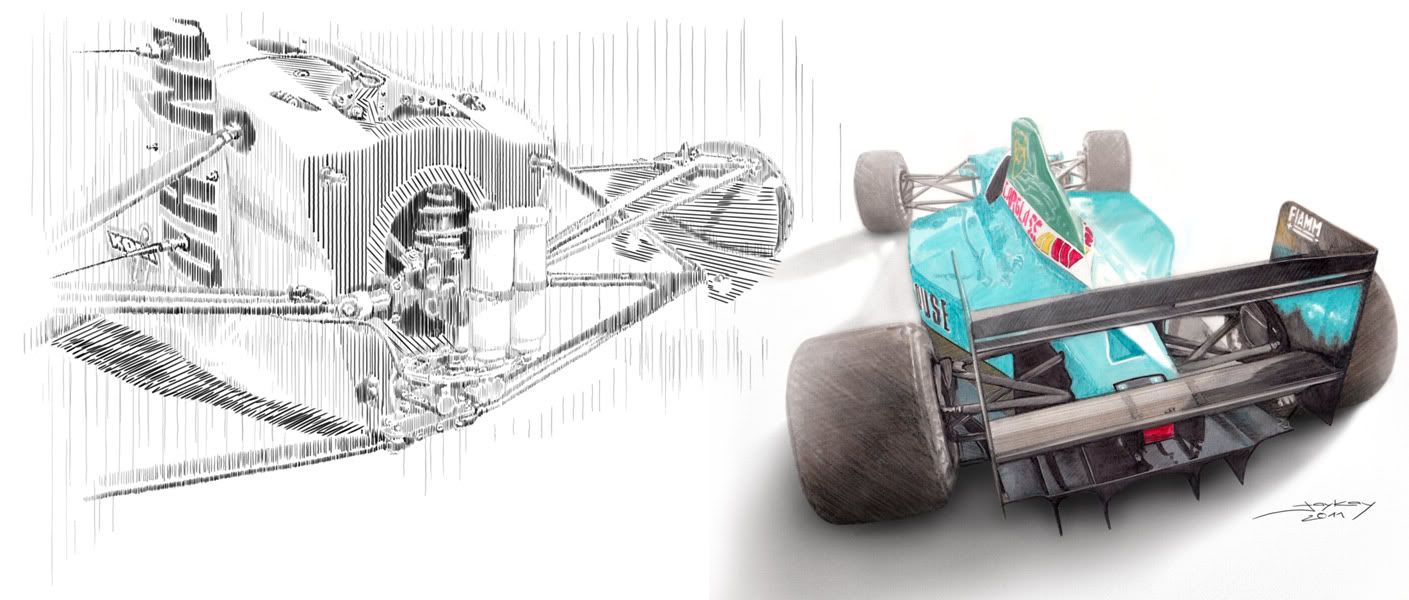
This is the 1:20 scale Leyton House March CG901B by Tamiya that most of you will know or even have.
For a long time i wasnt really interested in this kit because the car wasnt that successful ( well, compared to the Ferraris, McLarens and Williams of the time ) and the kit has been OOP for quite a while and has become a collectible of sorts.
My indifference was changed in 2009 however, when i saw the real thing at Goodwood, freshly after being restored by
http://www.dtperformanceltd.co.uk
Compared to other cars of the time this one looks even more delicate and sleek ( and I really like some of those other cars for their looks ) There are various small bits and pieces on the CG901B that look more sophisticated than the competition. Its a bit like looking at Bugattis or Millers compared to their contemporaries. Granted, that didnt make the 901B a winner but i think you can almost see its a Newey car. You can read more about the real thing in Gurneyflaps focus here:
http://www.gurneyflap.com/leytonhousecg901.html
The kit is a typical Tamiya effort of the time. Not sensational compared to current kits but a good base to start with. In many ways its the Jordan all over again. Originally i wanted to build something different after the Jordan but i changed my mind.
I wanted to try out some new techniques and the Leyton House ( and many of its afforementioned sophisticated bits ) are a very good test bed for it. I will get to that a little later :-)
At Goodwood i managed to get a good bunch of pictures of the beautifully restored car that i will use for reference and show here along with the build pictures. Despite all my picture taking i later found out that i had missed some details ( as always...). But Patrick Morgan, the owner of
dtperformance, kindly helped me out with some additional pictures, so my special thanks go to him!
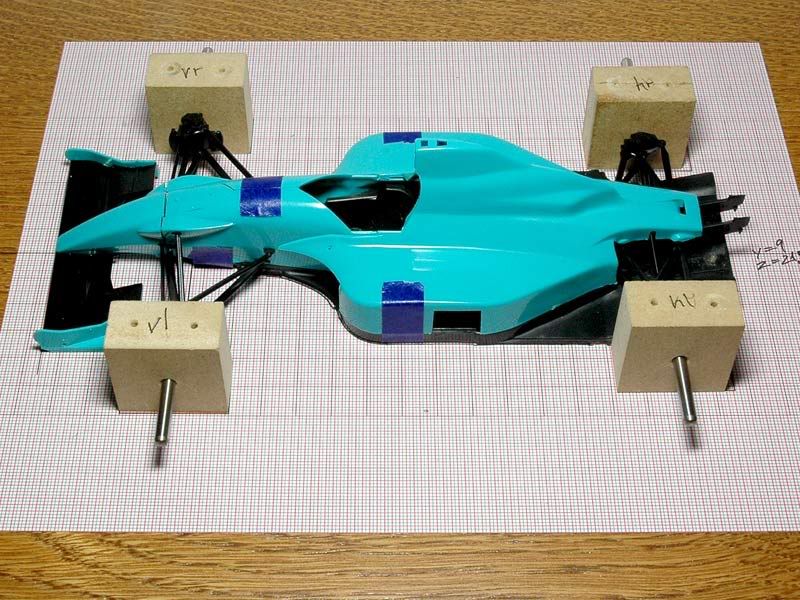
I started the build like i did with the Jordan. I sketch glued most of the parts together to make a jig for the suspension setup and to see which parts would need modifications and what would need to be replaced or scratchbuilt because it was missing entirely.
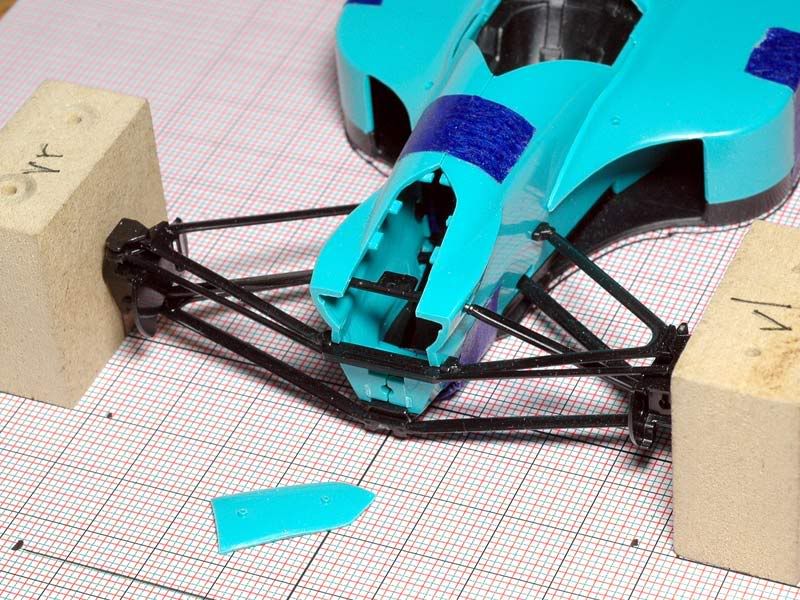
When the nosecone and top hatch are removed they reveal.....nothing :-) Same thing as with the Jordan. There will be some scratch building necessary.
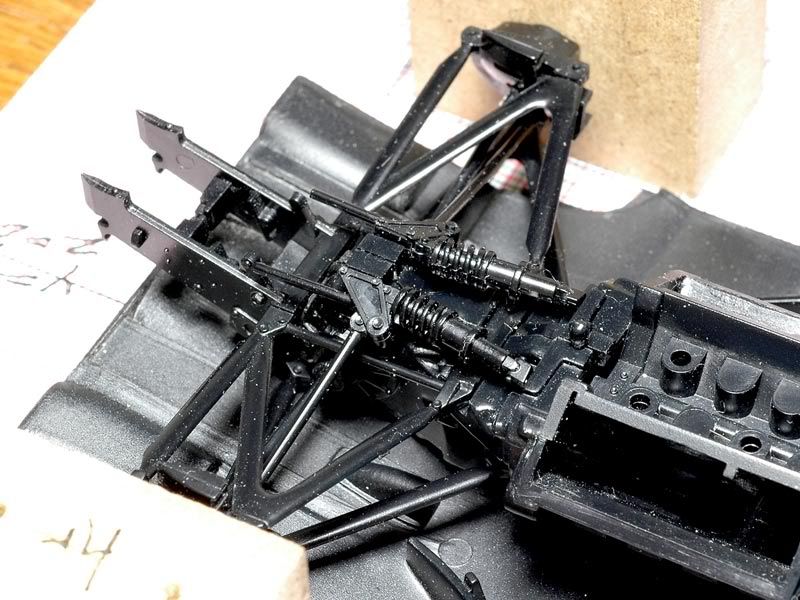
The engine bay will aslo need a lot of work. Many parts have been simplified or arent in the kit at all.
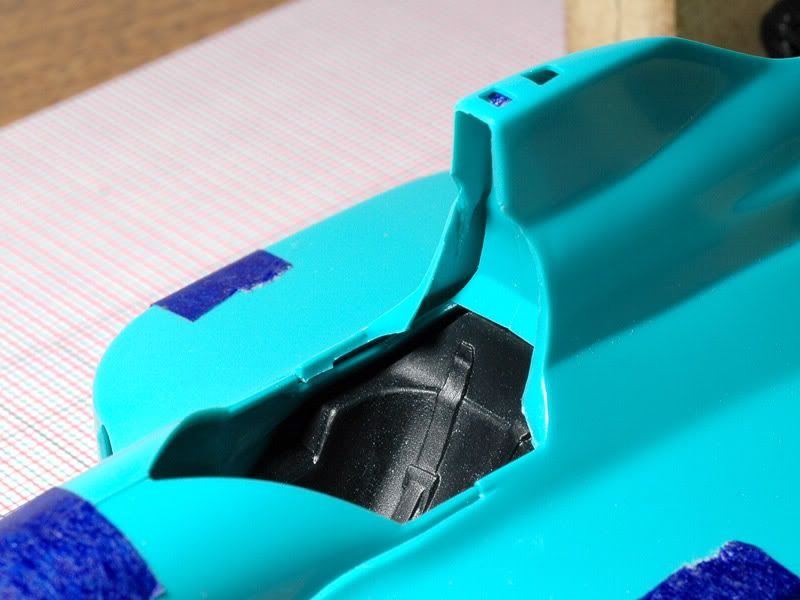
Theres one big oddity with the kit. When the engin cowling is mounted it overlaps the drivers seat massively. In reality this would literally break his neck. It looks like Tamiya was rather generous with that gap to make sure the cowling would fit on the finished build. Ill have to change that.
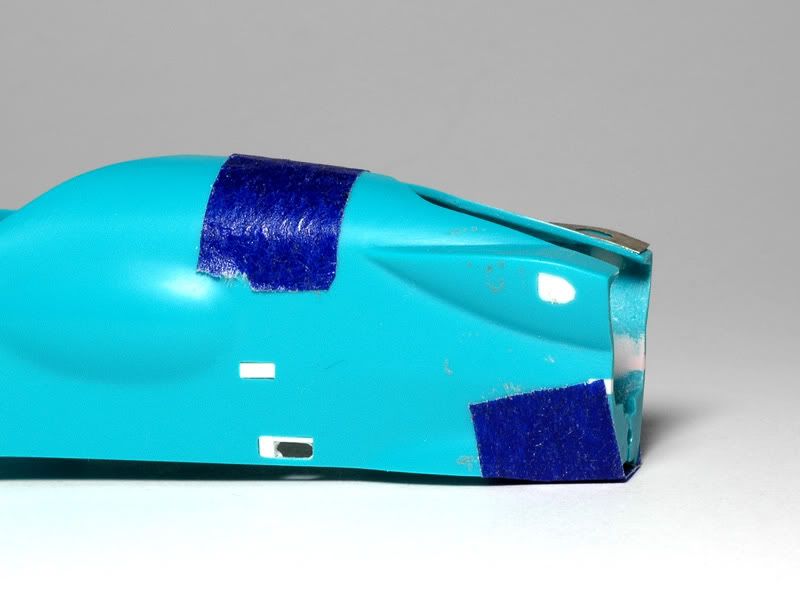
I got started with the monocoque. Before putting the halves together there are some things to do. The molded in fuel filler is a bit of a joke.
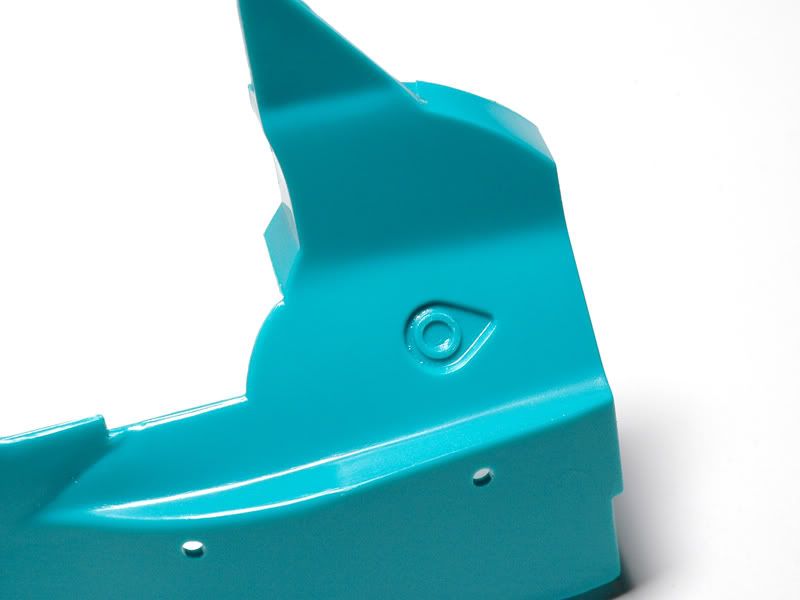
The real one is slightly more detailed :-)
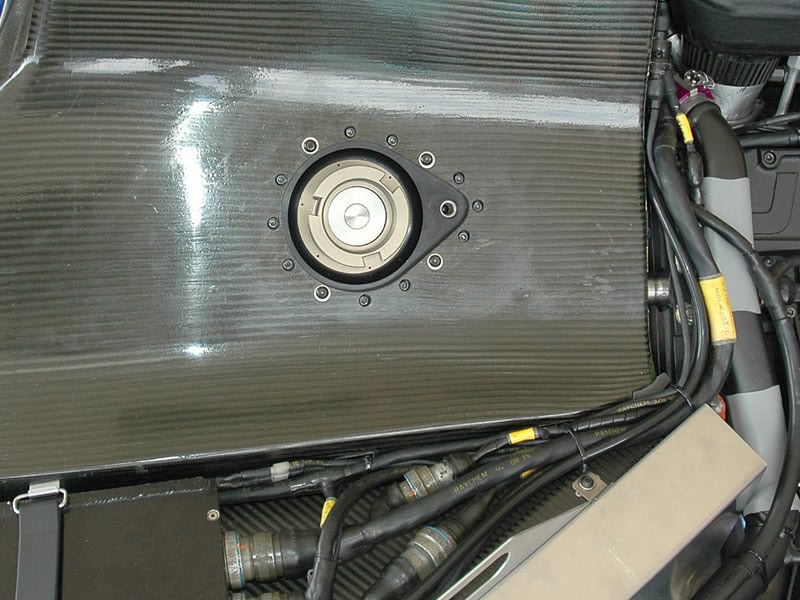
To replicate that i filed a hole in the monocoque and drilled 0,3mm holes for the surrounding bolts using a template i photoetched.
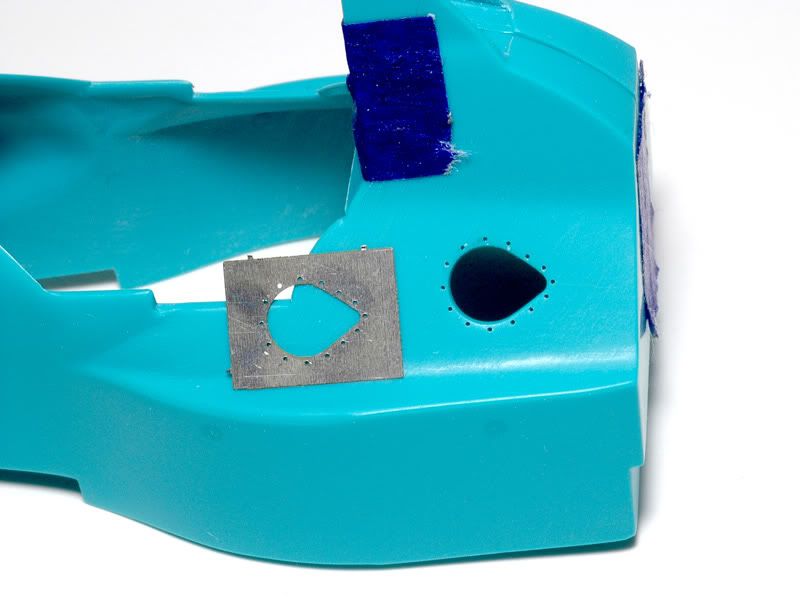
I also closed various holes for locator pins and the front suspension. Some of these wont be needed or they should be smaller or shaped differently.
So, these are the first steps. Im slowly but surely getting into this build. Progress will be slow as always but im aiming to make it at least steady :-)
Thanks for watching!