Hi again everyone, thanks for the kind words. Taken me a while to make some progress worthy of posting. To answer Doc this will be a curbside model, painting is the thing I fear most so this is what I plan to learn and inevitably make mistakes on before I move on to other things.
I'm working towards a Tamiya 1/20 Mclaren Mp4/4 build with Top studio drive shaft, antenna, and cockpit detail kit so I have a lot to learn to build that to a worthy standard having seen Jaykay's and Kimi's Mp4/4's and their Jordan 191 and MP4/6 respectively I have an idea of what to build to.
I'm currently up in arms about learning more with the my MP4/4 and then buying a 1/12 MP4/6 or buying something cheap with photo etch sets, buildiing that, and then going for the MP4/4 with the super detail kit. I just can't stand the lack of detail on the brakes for the MP4/4 I can only see the super detail kit as a realistic way of sorting it out. Doing either of those depends on how this build goes.
Anyway, back on topic here's what I've been upto so far.
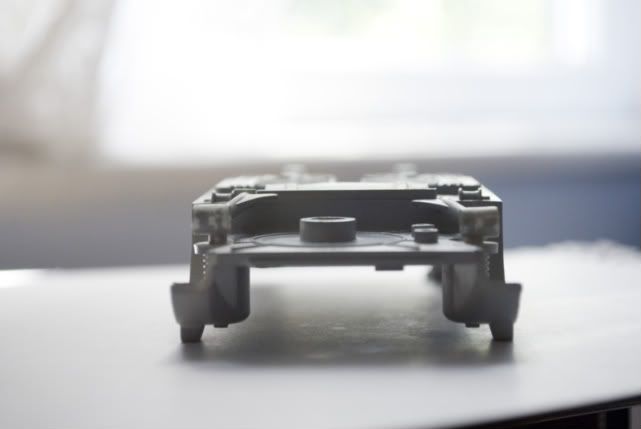
Starting off with I guess I should call it the chassis.
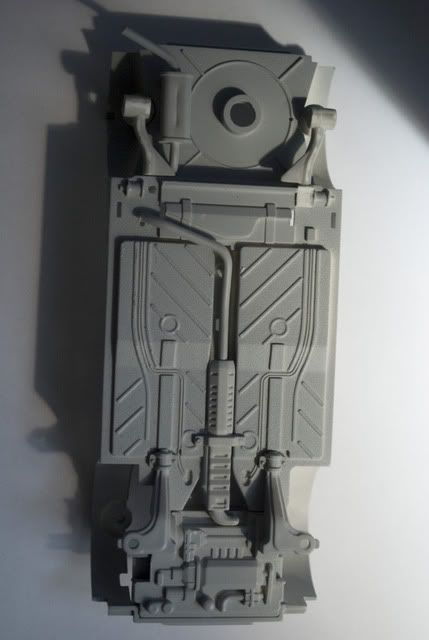
You can see the disappearing exhaust which will need sorting out, the two rear wish bones which should be a solid axle and at the front, the front wish bones and engine gearbox are all one piece as you'll see below.
This piece creates some clearence issues as the wishbones are drastically lower than they should be, they're flat on the actual car and pivot about a point no lower than the brake rotors so never come into consideration when lowering, in the kit they're a big problem.
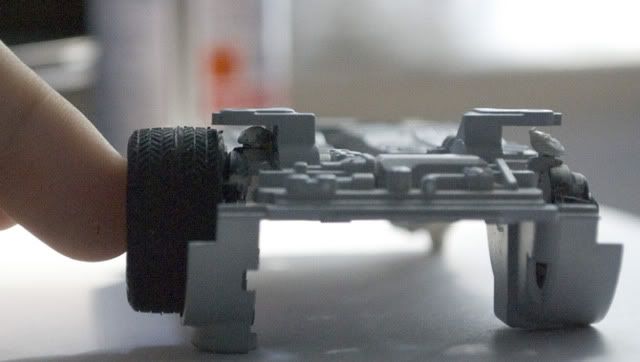
With the lowered suspension strut you can see the issue.
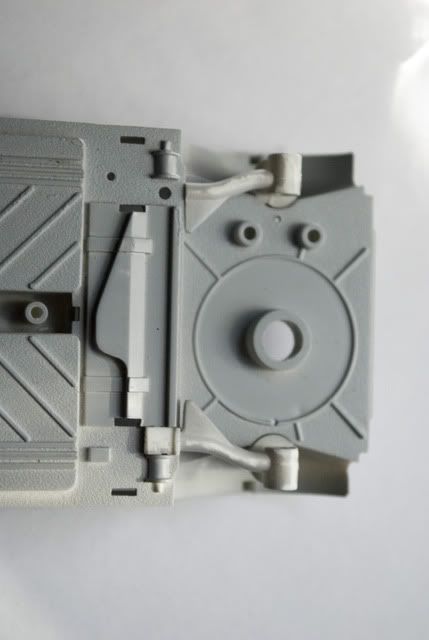
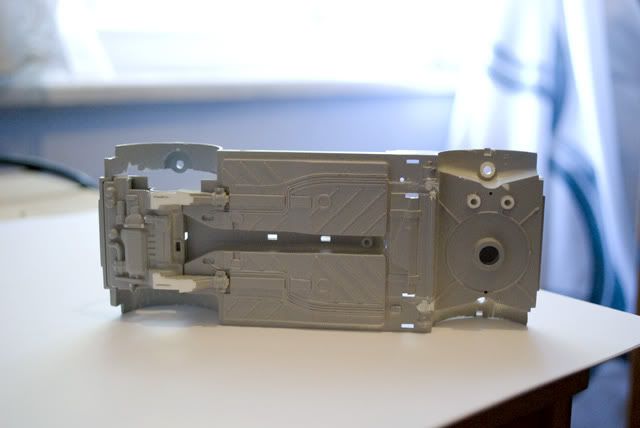
At the rear again you can see the endentation in the fuel tank even though the actual tank is similar in shape to a pillow. Don't think have the skill to remedy this so I'll leave it at that and use the endentation for a new exhaust as I can see clearence issues there too.
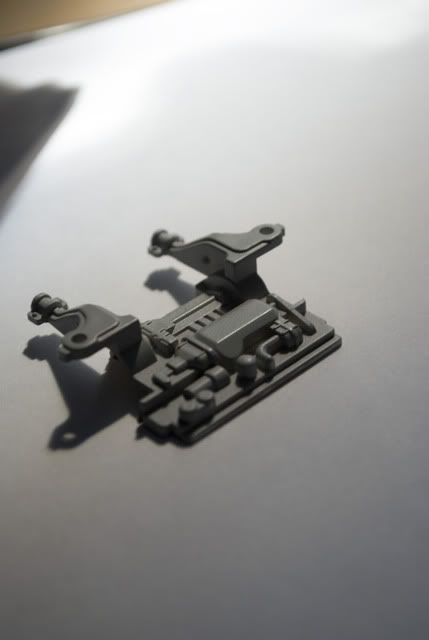
More importantly in that picture is the modified rear suspension to the top of the picture I have removed the mounting point to allow the wishbone to go lower.
This picture shows the slightly lower rear suspension achieved by sanding down the turrent mounting point and by chopping filing and cementing a small cylinder piece in between the axle and coil.
So I began filing the front wishbones down after chopping the suspension mount off the sides ready to be reattached lower down. And at the back I filled the rear suspension mounting points that will no longer be used.
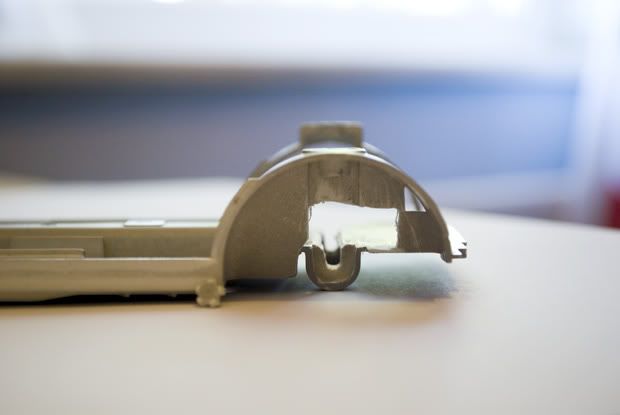
The new lower front suspension made made the requirement for a chassis notch, so it was filed roughly for now.
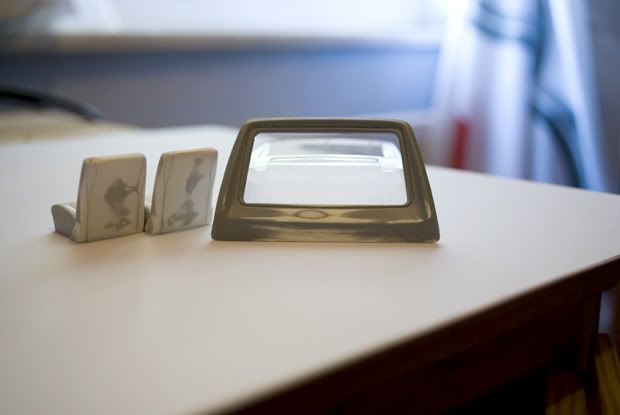
For the body the boot lid has been filled to smooth the rear wiper hole. Also the two piece seats have been puttied and sanded to remove gaps.
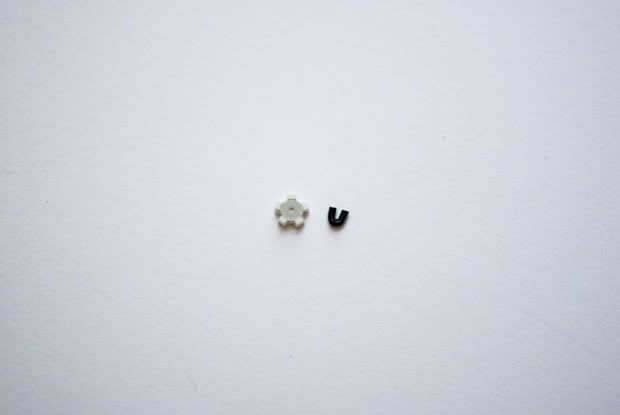
As mentioned in my first post the petrol cap has been modified down to a star cap from its circle backing plate. Astride is a tow hook made from solder wire, there will be another one to follow, no idea why I haven't made another one yet since I'm happy with the result of the first.
Now for the first bit of paint I'm not ashamed of, the body.
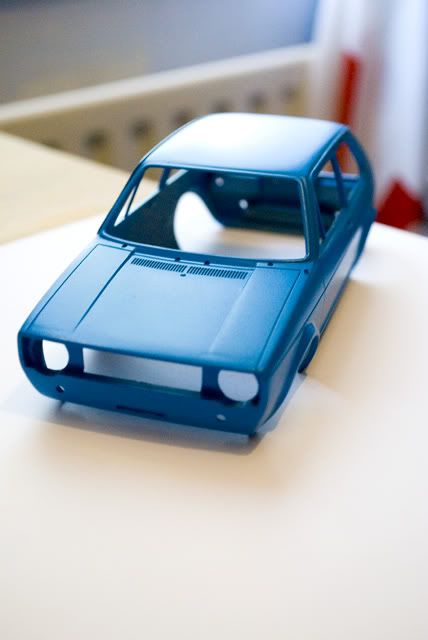
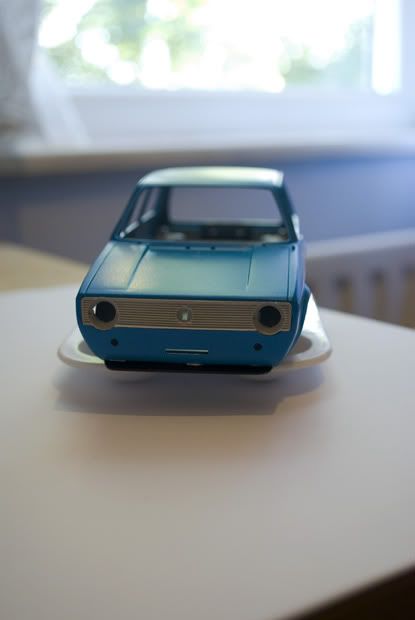
Sprayed with Tamiya TS-23 light blue. Its come out okay, there are three pin prick pitting holes on the roof and some slightly bumpy areas on the corners where I've removed reflectors and tried to carefully sand near swage lines. So overall, prep needs improvement, spraying is okay no runs, its a lovely orange peel which looks promising so have a fair idea of using light coats which I'm happy with.
I've yet to polish and see the final results so I'll reserve full judgement for now. It still has the possibility to turn out terribly

. Its worth mentioning the body has had the sunroof, side reflectors and the left (passenger) side wing mirror mounting smoothed, as well as the gaps between the grill and the body filled.
So far so good I feel for a first try, reading up seems to have payed off now just to gain experience.
I've hand brushed some parts for the interior and question the finish of the dashboard which was my first piece, might sand and attack again but I'm unsure wether this will just make it worse. The parcel shelf has a good finish not a spray finish but good enough for me the same with the duckbill splitter above. For now I'm just messing about with thinner trying to find a good thickness, and learning how quickly I need to work with the paint as it soon clumps up when resuming a stroke. Much to learn.
I'll post some more painted items in my next update, I've ordered some new wheels after milliputting one and finding it impossible to sand the ones I was putting together, and being sick of the stance with non-stretched tires, there are some new wheels with stretch in the post, I need these to continue work on the chassis.
Hope you like it so far. Sorry for all the text
.