This is possibly my first exposure to a proper sports car when I were a wee lad because one of my uncles had one in that 'lovely' bronze metallic that was all the rage back in the day.
I also had a big radio control 928 that I never had batteries for but loved all the same.
So here it is after a long time looking for it in 1:24 scale.
For those interested, this is a rebox of the Italeri kit of the same name except that kit had body parts molded all in black. For some reason, in the kit I got, the body was blue and the bumper parts were black.
If I'm correct, this kit was also reboxed in the US by Testors.
They used to come up quite regularly on ebay but these days, they seem to be getting scarcer.
First things first.
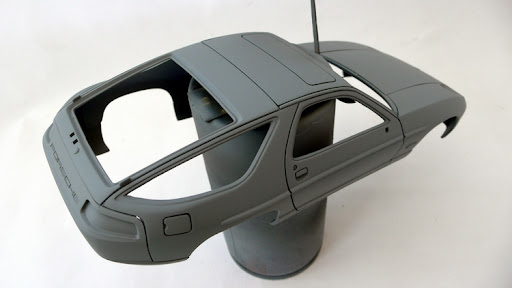
Attached front and rear bumpers to help fix a break at the rear and to check for alignment with chassis.


Body proportions look good and top down, you can see the coke bottle/narrow waist thing that they have going on.
You can also see the break in the rear here. Fixing on the bumper helps give the whole area strength.

Had to fix a badly cut part of the windscreen frame.
All I did was slowly add surface primer to fill the cut area and then when it was not quite fullt set/cured, took a sharp blade and carefully trimmed it to match. A little sanding later tidied it up.

Also had a couple of sink marks to fill in.
You can also just about see where I filled in some of the panel gap because it was a bit too wide here and uneven.

Same on the other side with panel gap.

First coat of primer.
After a good sanding all over with 2000 grit, I brushed the surface with a hog hair paint brush that's nice and stiff so it gets all of the sanding dust out of the panel gaps. Then when it's dry I gave it a decent coat of warmed primer.
Primer is Halfords Automotive Primer.

Gap here still not quite right.

Gap here is much better.

Still need to fix that join line, tidy up sink holes and that boot hatch shut line too.

Looks rough here but the fix on the window trim here hasn't been sanded yet.

Other things done.
I (over) scribed the panel gap at the lower part of the front bumper.
On the kit, this was where you had to glue so the panel line was gone altogether. I noticed afterwards in photos that the real gap in very, very fine.

I also over did the same gap at the rear bumper.
Apart from that, panel gaps are all very prominent, very even, very Porsche.

While I was at it, I also prepped and primered some other parts.
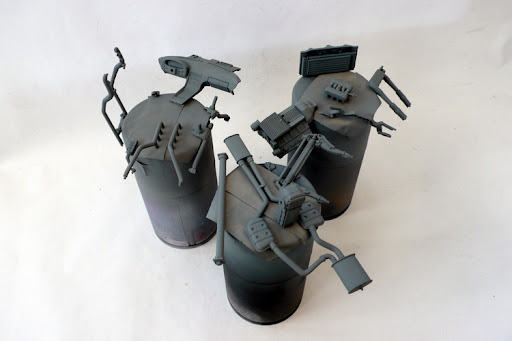
More prep.
Usually, my first coat of primer almost gets sanded all away as it's used purely as a surface filler for all of the fine scratches you get from the sanding of the bare body. With this one though, probably because of the simple surfaces, after a generally all over with 2000 grit again, I noticed there wasn't much texture in the primer and it was pretty much as flat as normally like so a lot of primer was still left.

Fixed windscreen trim.

So, I was happy enough with it to put on some proper primer.
Tamiya White Fine Surface Primer.
At this point, I had removed the bonnet as per instructions.

And after a little sanding with 2000 grit again, I took some micromesh to it to get it really flat and smooth and shiney.

Because I mention it all of the time about shiney primer, I turned off all of the lights to capture a reflection in it.
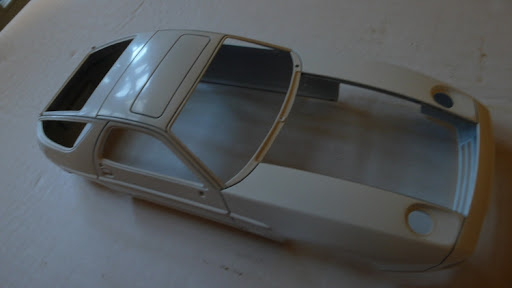
And a closer shot.

You can at this point, still see some distortion in that reflection and that the lines of the reflected image aren't that sharp. This means that it could do with at least one more seeing to with the micromesh before applying colour.
And that's it so far.
Colour has yet to be decided as I'm torn between some funky and 70s/80s or good old reliable black.