
09-06-2010, 06:53 PM
|
 |
AF Newbie
Thread starter
|
|
Join Date: May 2008
Posts: 16
Thanks: 0
Thanked 0 Times in 0 Posts
|
|
|
Re: Benetton-Ford B188 Build starting
Hello again everyone. I hope you are finding some of my pictures informative and helpful.
I mentioned at the end of my last post, that I would show you a simple tire scuffing tool I have made. I‘ve been using this thing for some time now and it works pretty well.
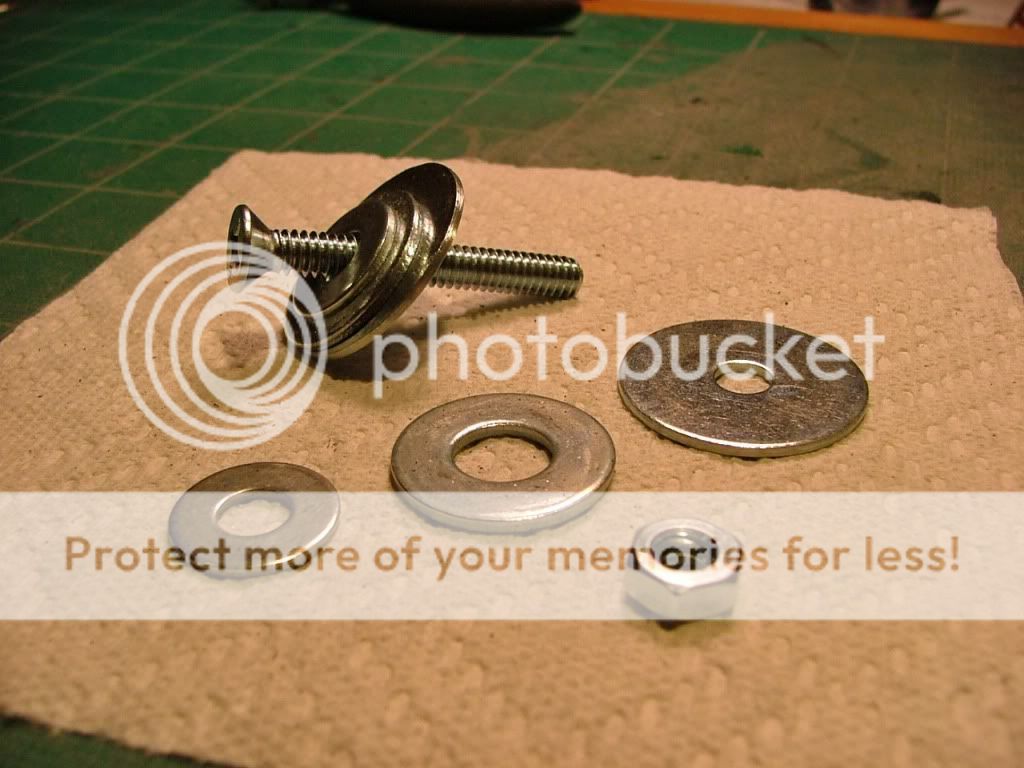
All you need is a variable speed drill and some flat washers, a bolt or screw and a hex nut.
The size of the hardware I used to make this tool is good for 1/20th and 1/24th scale tires. If you are going to scuff tires for a larger scale, 1/18th or 1/12th, then I would just scale up the hardware accordingly.
You could use Metric or American Standard hardware. I went to my local Home Depot store and bought my selection of flat washers, a hex nut, and a long screw. I took a set of Tamiya tires along with me from one of my F1 kits, so that I could pick the correct sized washers that I needed.
This is a simple screw, washer and hex nut hardware stack up, and it cost me all of a $1.50 US to make. REALLY SIMPLE and CHEAP!!
Here is what I use and the quantity:
Large flat washer, qty 2 ( rear tires, approx 1.25 outside diameter )
Medium size flat washer, qty 2, ( front tires, approx. 1.00 diameter )
Small flat washer, qty 2, ( needed to help align screw when tightened to tires)
Screw, ¼-20 x 2.00 long, qty 1, ( I used a flat head screw so it self aligns to the smaller washer )
Here is a shot of the hardware I used.
And this is another shot built up.
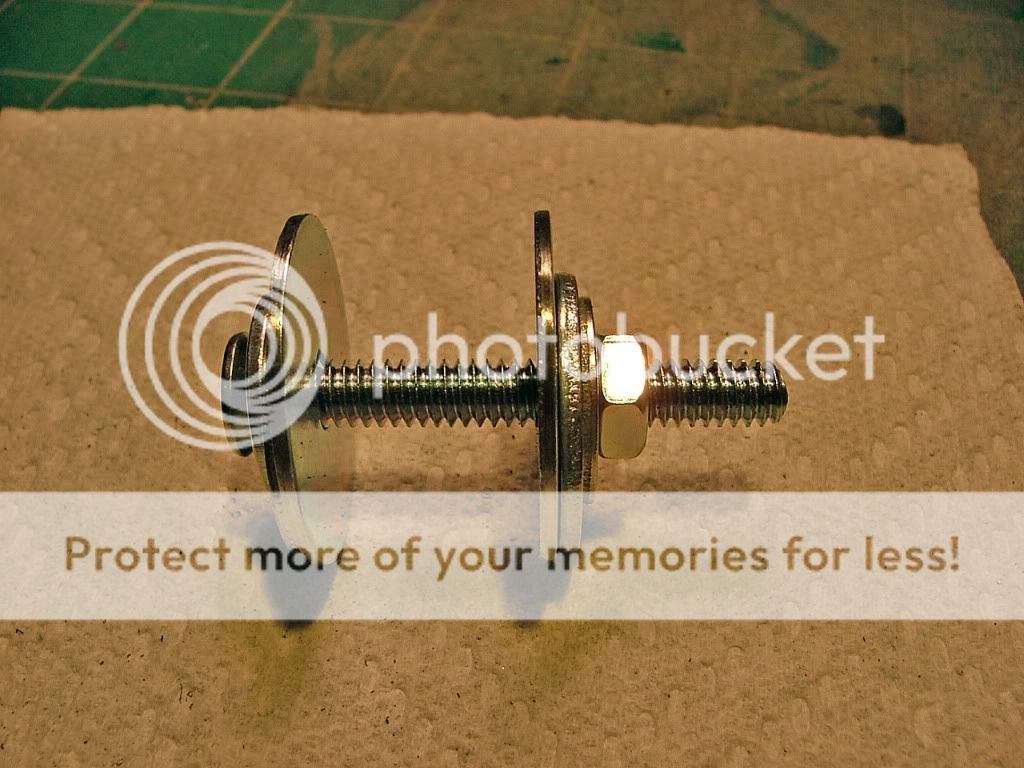
I felt the outside diameter of the washers was important because you don’t want the washer diameter to exceed the tire diameter. If the flat washer is larger than the tire you’re scuffing, it will make scuffing the “shoulders” of the tires difficult.
For that reason, you want the flat washers to be just a bit smaller than the tires. Front tires on F1 cars are smaller than the rear tires and you’ll see in the pictures what I mean by the tire and washer being close in size for scuffing.
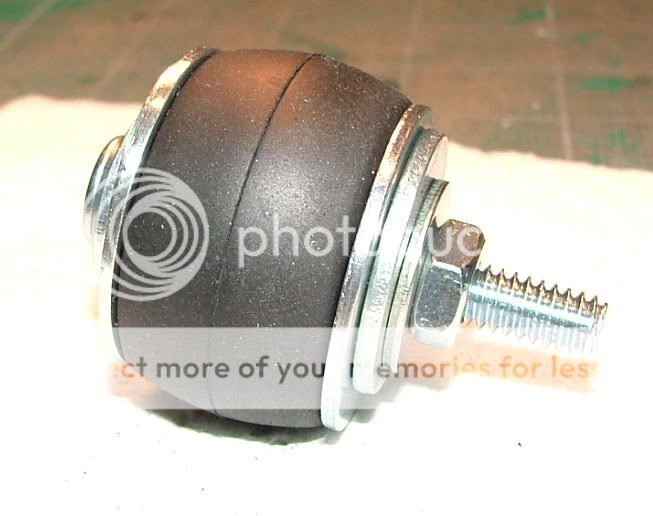
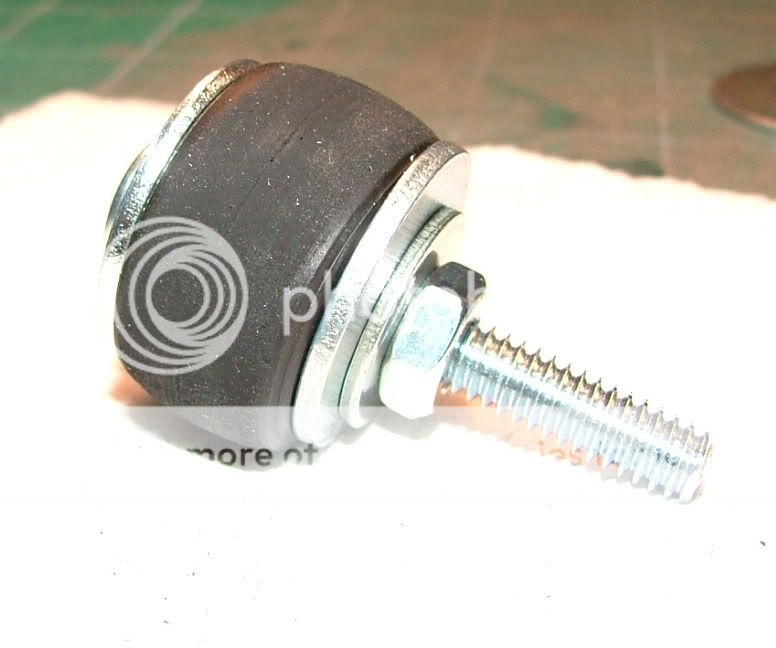
This is what the tool looks like when assembled. I don’t worry too much about trying to “center up” or “align” the tool right through the center axis of the tire.
I align the outer diameter of the washers as I tighten the hex nut. I purposely used a flat head bolt because the conical shape head, self aligns in the hole on the flat washers.
One thing I also like to do is tighten the washers just enough to “crown” the tire. This makes it easy to remove the center mold flashing line found on most tires.
It also makes it easy to roll across the entire surface of the tire and control just where you scuff, and how much you scuff.
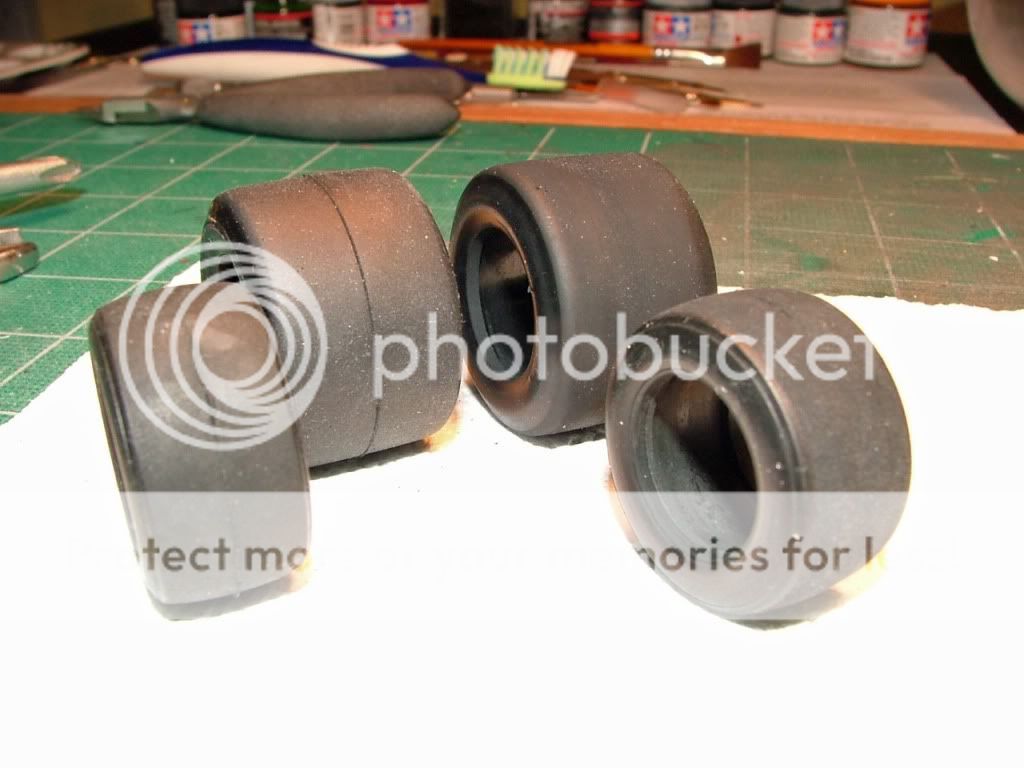
Lovely mold lines there huh? This is a rear tire.
All you need to do is chuck the tool into your drill, start rotating the tire slowly and apply your favorite sand paper. I like using a small sanding block to scuff the tire, plus, it’s a hard surface and works best for applying pressure to the tire surface.
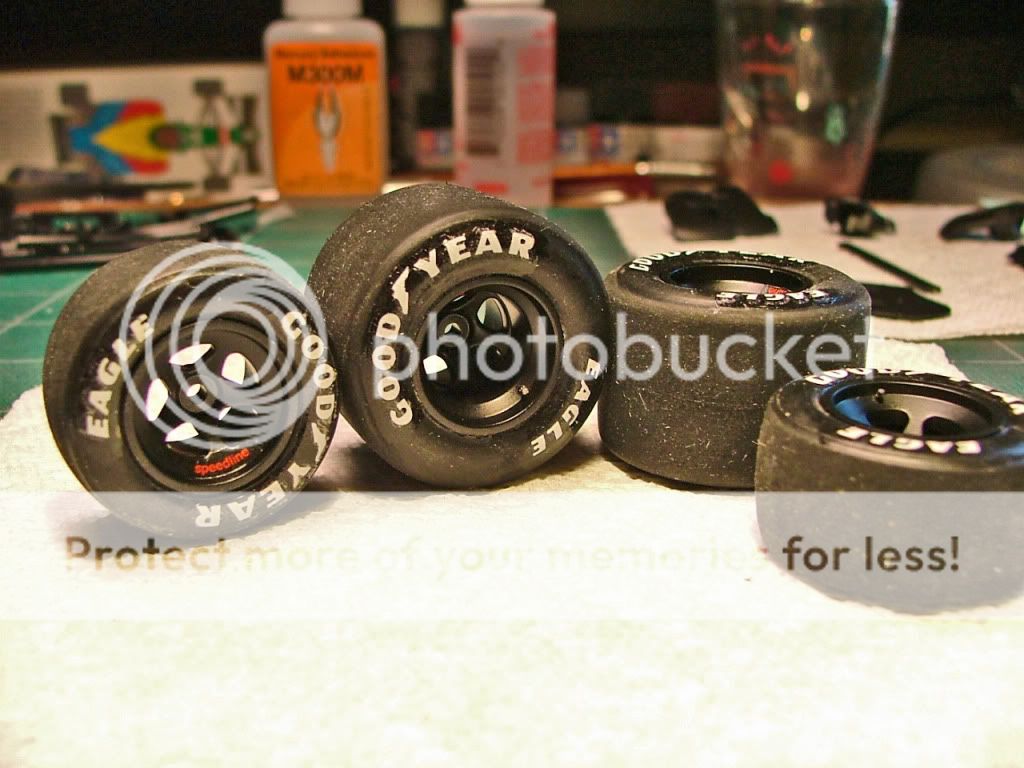
This is the after shoot. Much nicer.
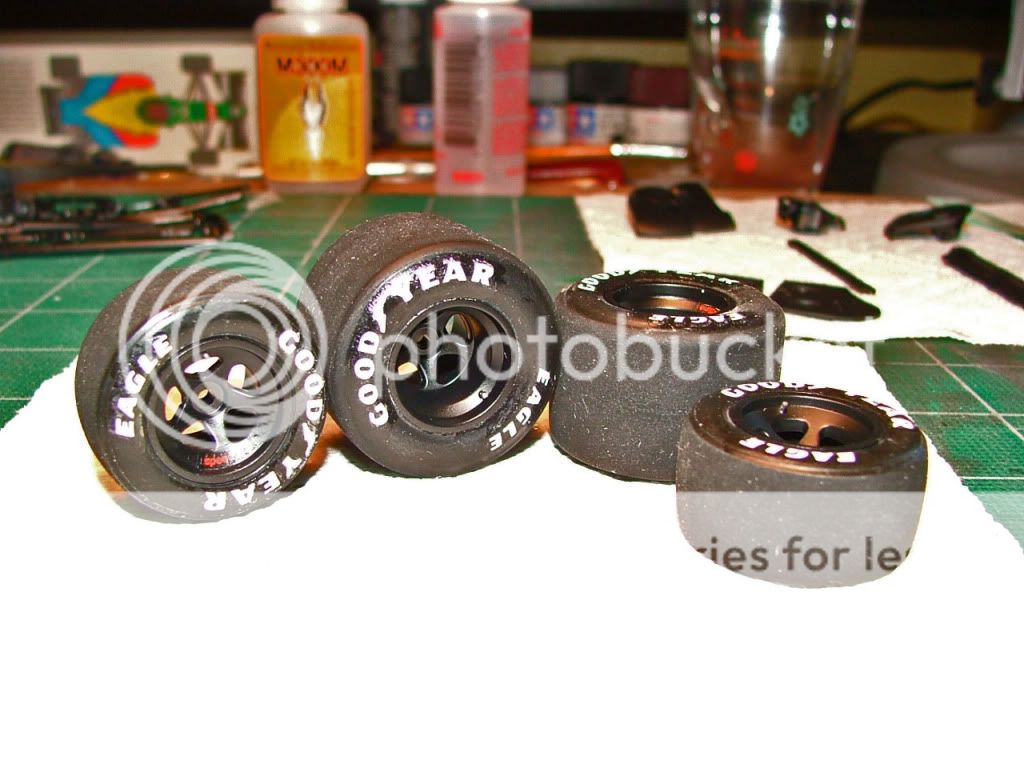
I like the Tamiya tire decals, but I don’t really like the glossy material that can be left behind after you apply them to the tire.
They look good and after I weather them a bit at final assembly, they should look a little better I bet.
And another shot.
I hope some of this info was helpful and maybe you’ll be making an El Cheap-o tire tool like I did.
My next post will show the front and rear wings built up and maybe, just maybe, the body painted. Most likely just pictures of the dang thing all taped up ready to paint. Works been a bit slow on this kit for me. I’ll be posting more soon so be on the lookout for more.
Enjoy and happy building!!
__________________
Greg Davis
Phoenix, Az. USA ----------

|