Hello AF modelers community,
Being in hollydays for 2 weeks, I'll try to share a tip I've been willing for a long time to put here, which some of you may have noticed in my (rare and unfinished

) builds.
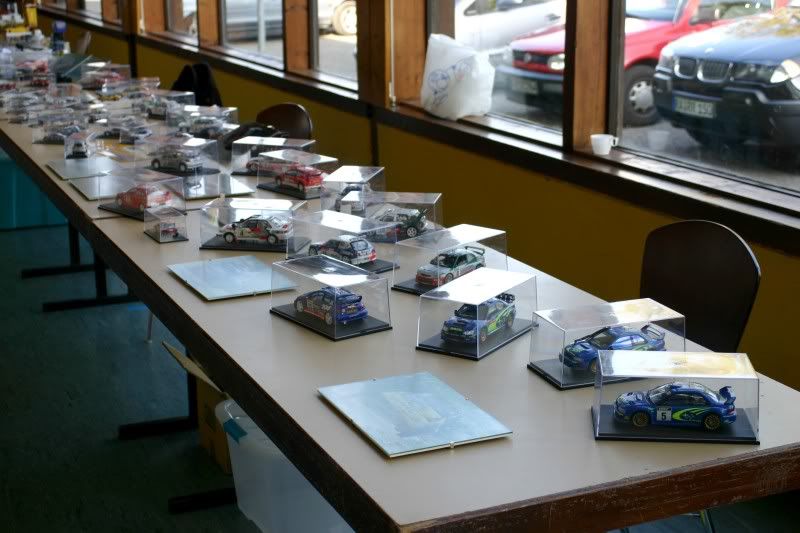
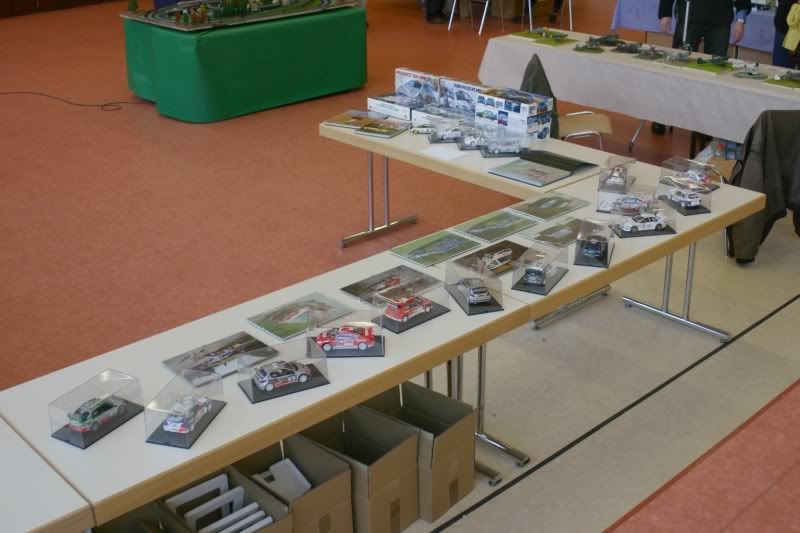
It came from a main problem when willing to enter modelling show, where having to safely bring them and once there protect them from (stupid and/or unrespectfull) people, or when simply wanting to store them free of dust or move them safely.
Since the first problems encountered in modelling show - Fed up of aerials or mirrors reglueing and so.

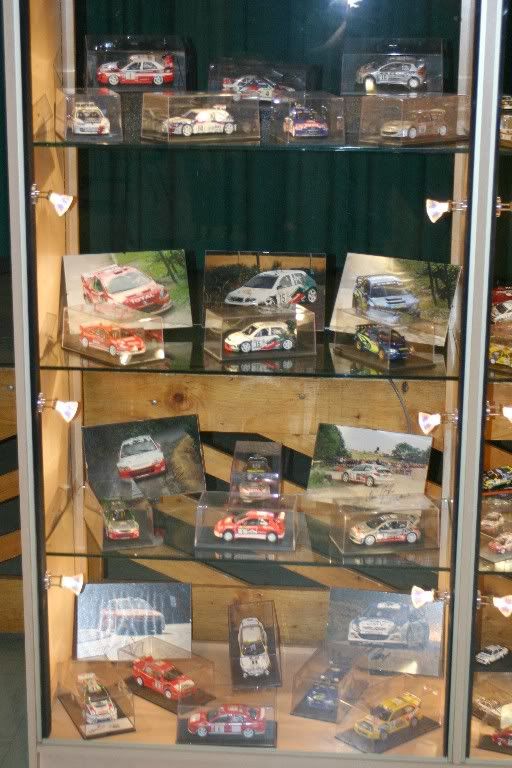
- or even at home when moving models, I bought dozens of display box, each model having to get its own box.
That was the first point.
Second one was "How to fix the model without ruining it, making fixation strong enough to move the models without dammaging the plastic or in the same time to hold in place some heavier metal models...?"
Answer came fast: screwing models to their box !

Only remaining thing then was how exactly screw them as I wanted fixation system to be the most invisible as possible.
So here is my tip. What you need is:
- of course a display box

- bolts
- nuts
- glue (a strong efficient one

)
- something to drill holes in plastic (a drill is the best, but a blade can use too)
- and of course, too, something to screw bolt in nut.
(- a pen)
and here we go:
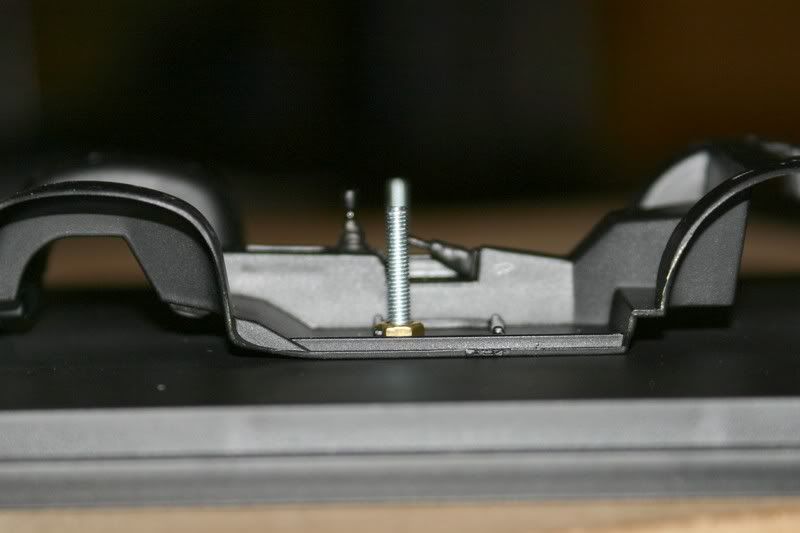
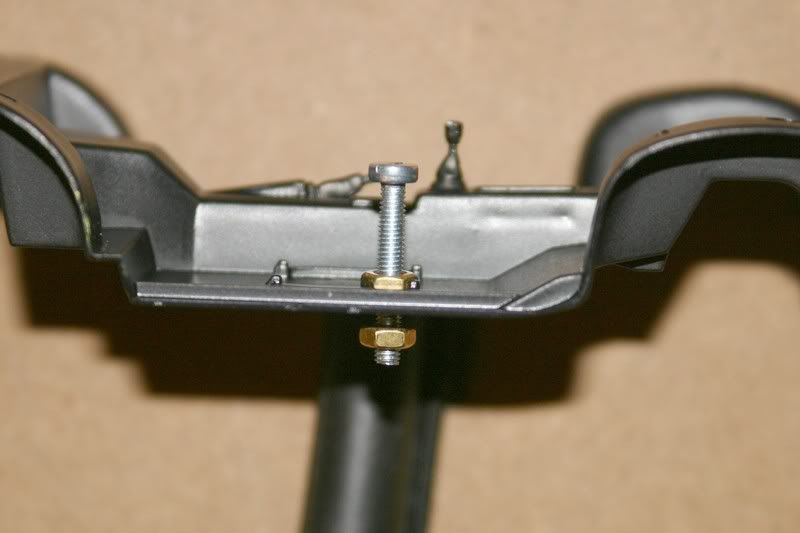
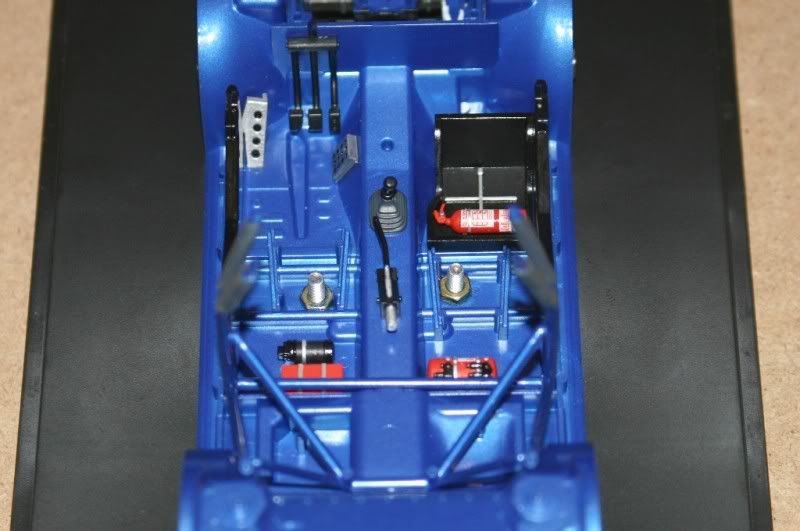
1) Firstly, I place the chassis on the base of the box, taped in the center.
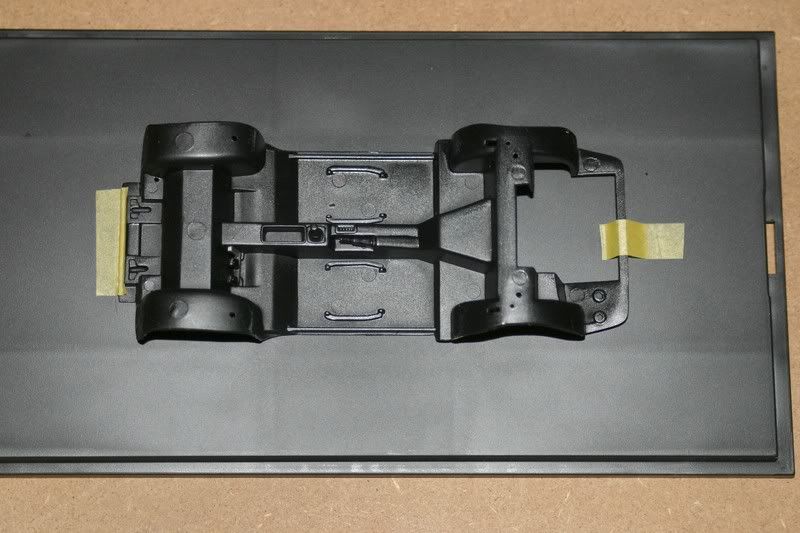
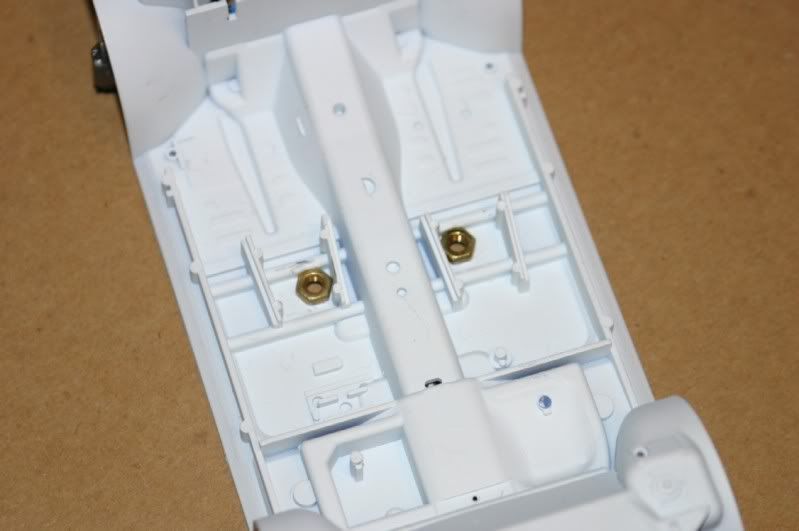
Nuts will be hidden under the seats, that's perfect as they are in the middle of the model, one on each side, what should give stability to the model.
Please notice that on some models (mostly resin ones) you have to choose to put them elsewhere, under seat place isn't free...
Then, I choose one in the front and the other in the rear of the model.
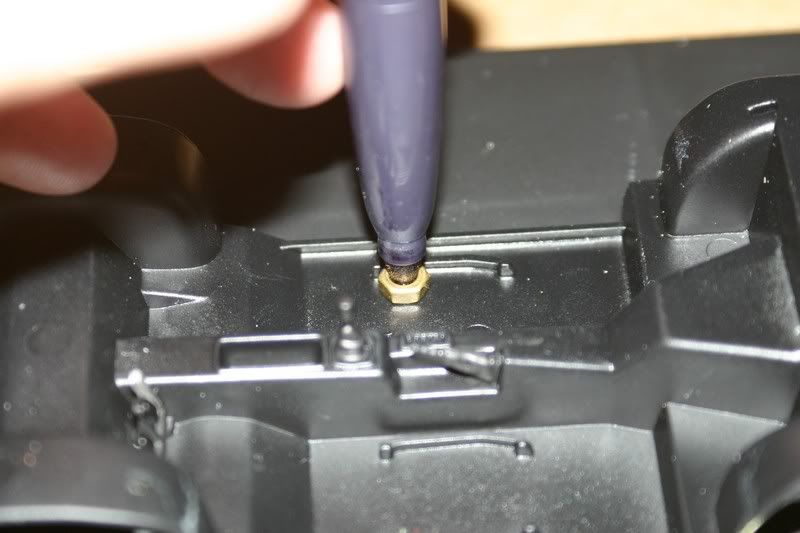
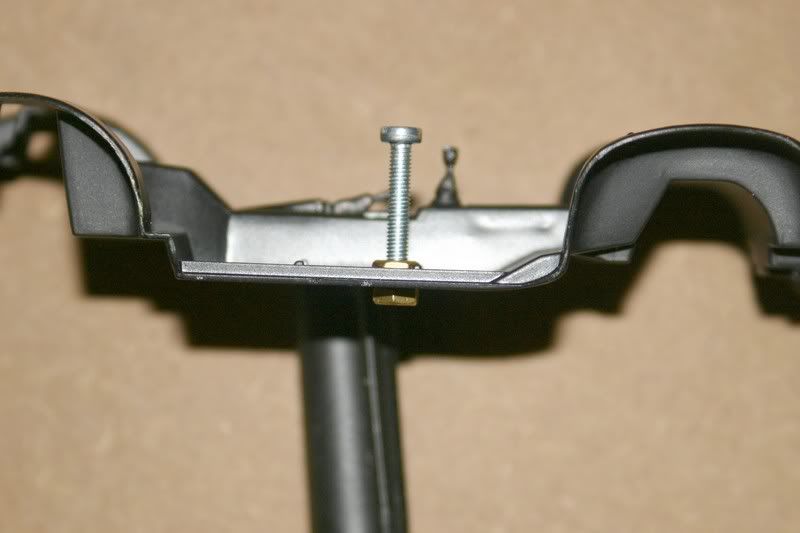
2) I choose how exactly where to put the nuts...
3) ... taking car to verify nut (and bolt through it) won't disturb seats assembling
4) I use a pen (or sometimes a blade) to mark the place where to drill through the nut.
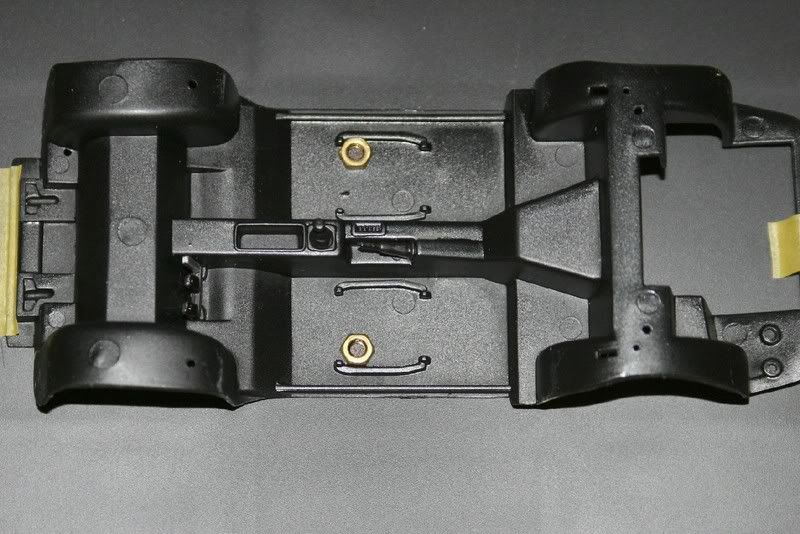
5) nuts locations are now visible...

6) ... and now need to be drilled, with drill or blade
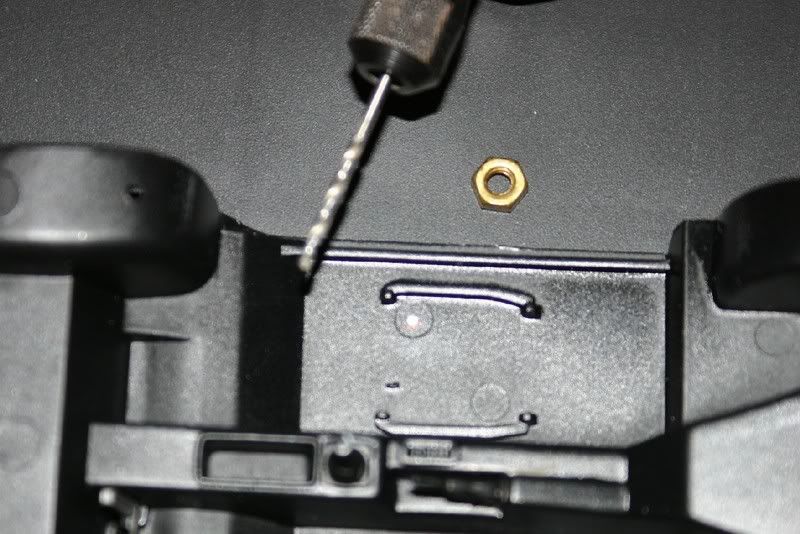
7) Of course display base is also drilled through in the same time
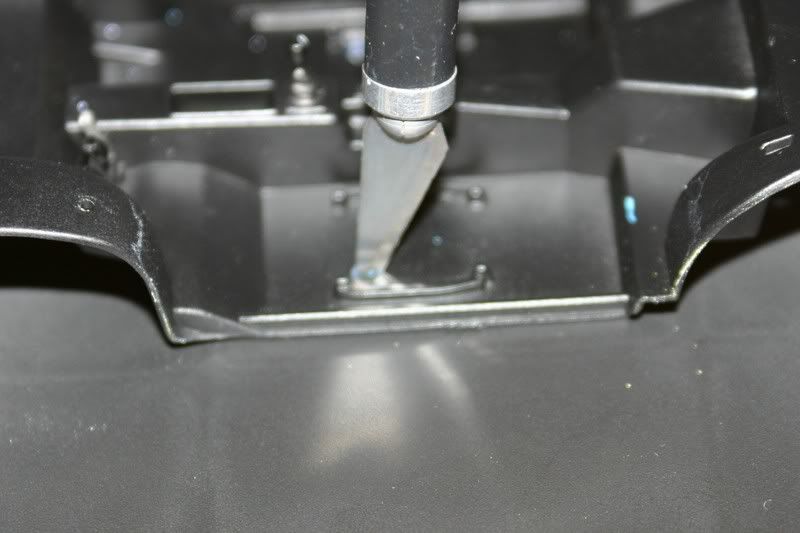
8) Verifying bolt and nut are working well together
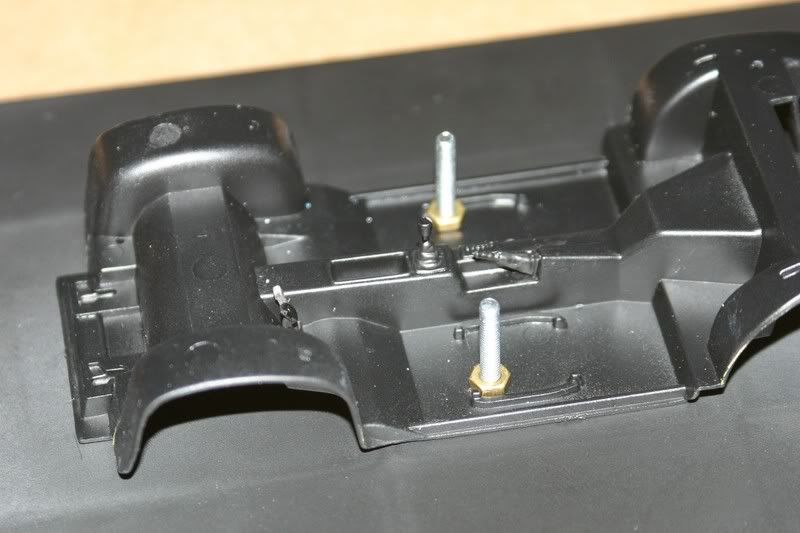
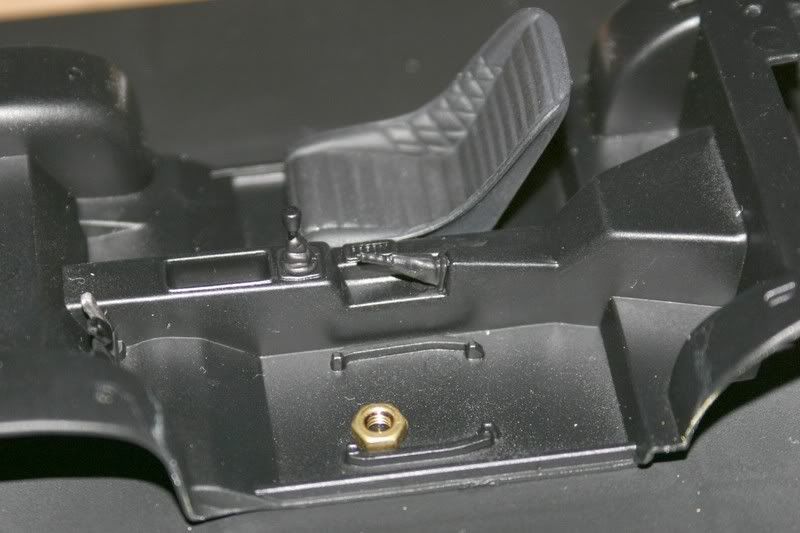
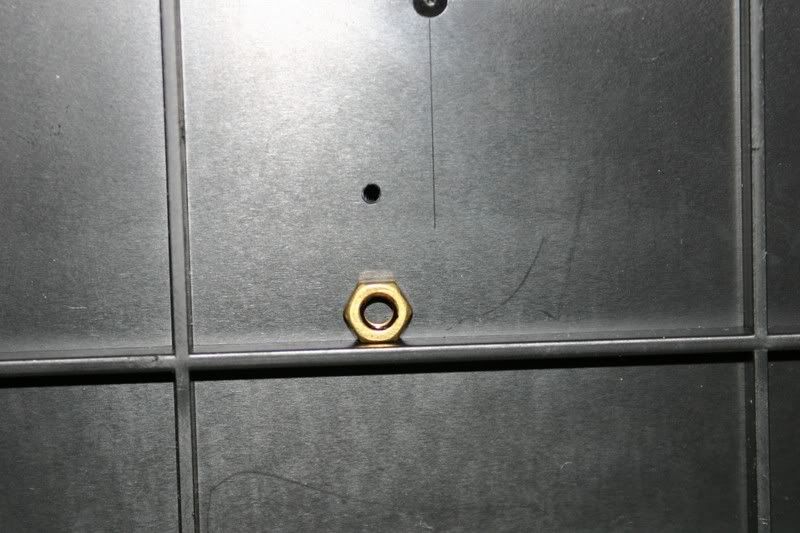
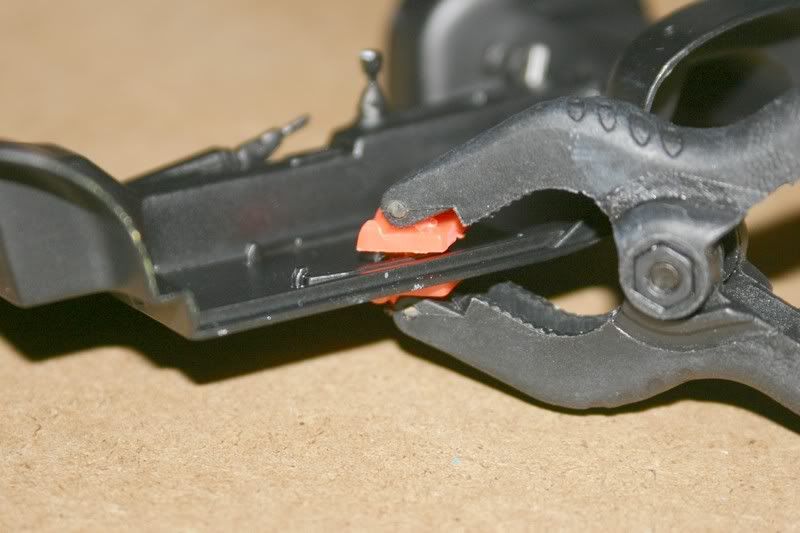
9) Next step is glueing the nut; aiming to glue it straigh in place but having to save hole from glue, I screw a nut on a bolt extremity, then put glue on nut edges, and finally use the bolt as the "nut applyer" putting it in the hole and pressing.
Then I screw it half way through the model and put another nut by the other sens.
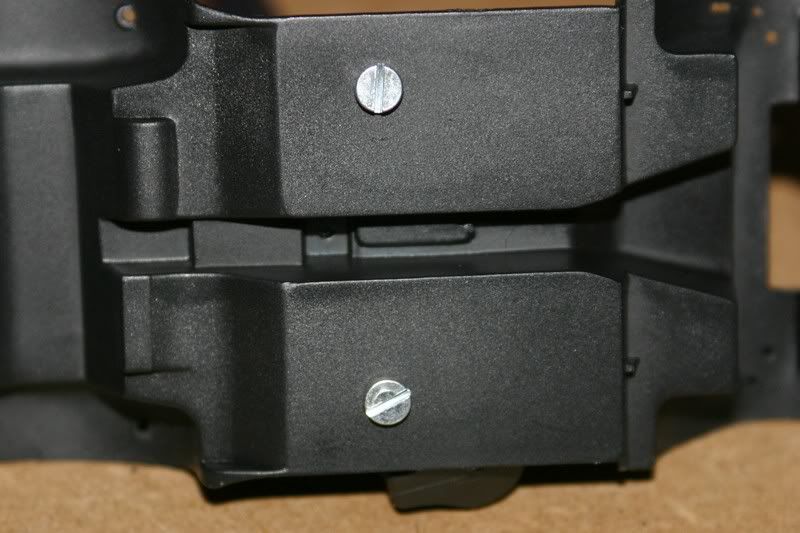
10) I screw it to press the inside nut in place as long as glue has to dry, taking care to verify before pressing hardly that the two nuts aren't glueing together with the plastic or to the bolt.
11) when "under nut" and bolt retired, I make sure everything is strongly attached, if necessary I consolidate some more glue all around the nut and press it with a grip.
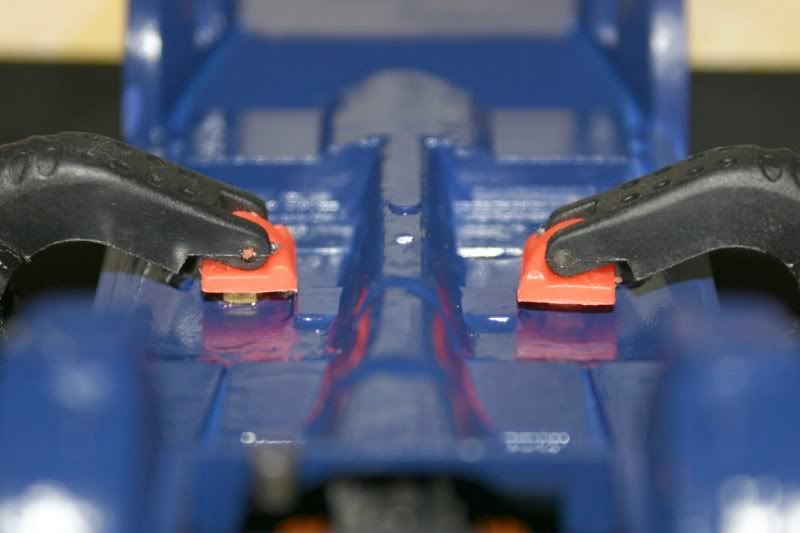
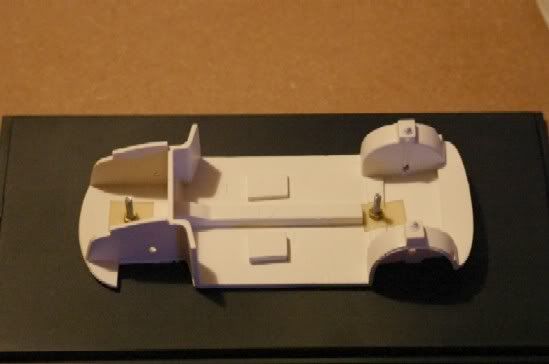
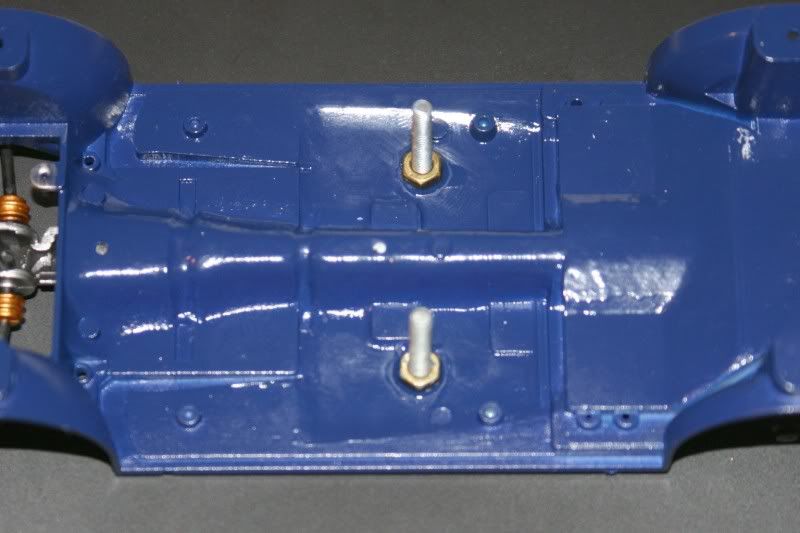
12) Now nuts are glued in place, I only still have to choose bolt lenght and verify if eveything fits well

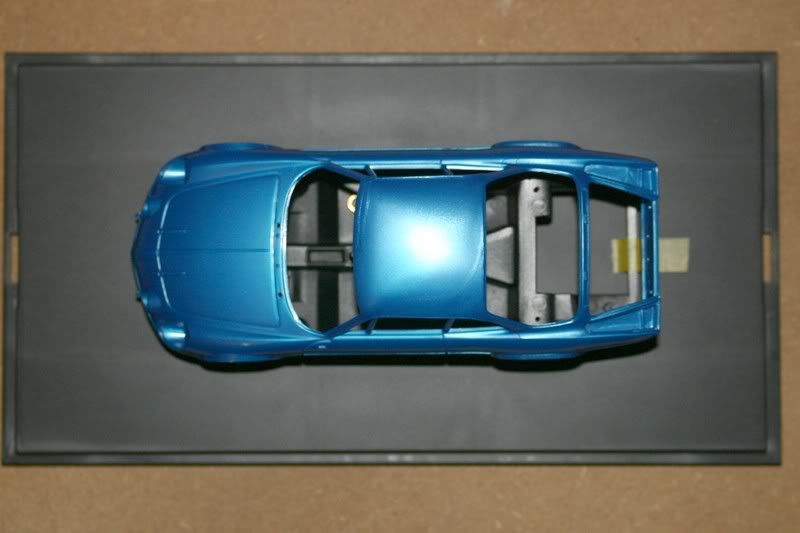
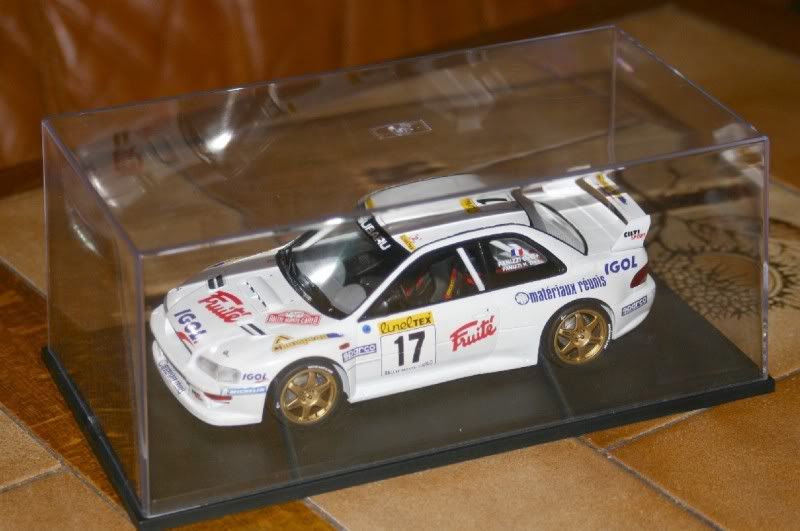
Once finished, models can be displayed, stored or moved, free from dust and protected from eventual people bad touch.
That's all !
Surely not a hard tip, maybe needing to be tried once or two but it it's how I now fix every models, and still haven't had any bad surprise when moving/storing/showing them.
Comments and suggestions welcome

(especially if something in my English isn't understandable
)