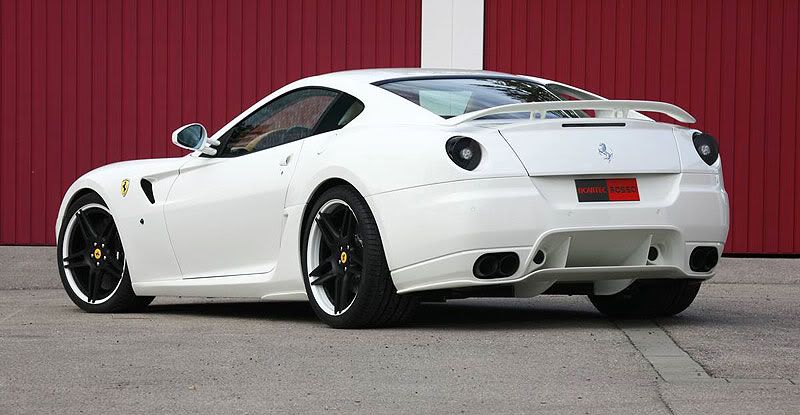
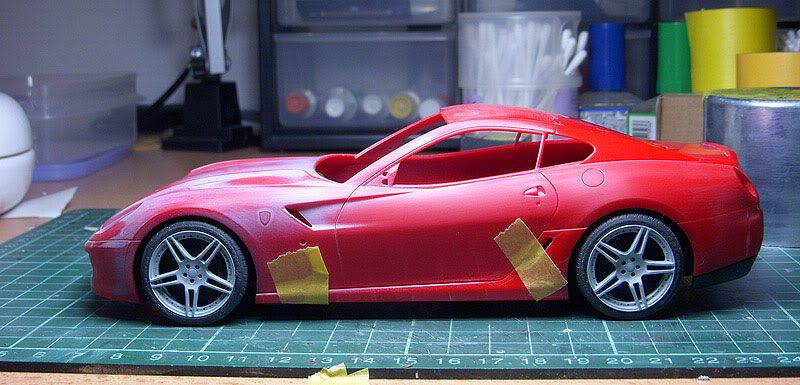
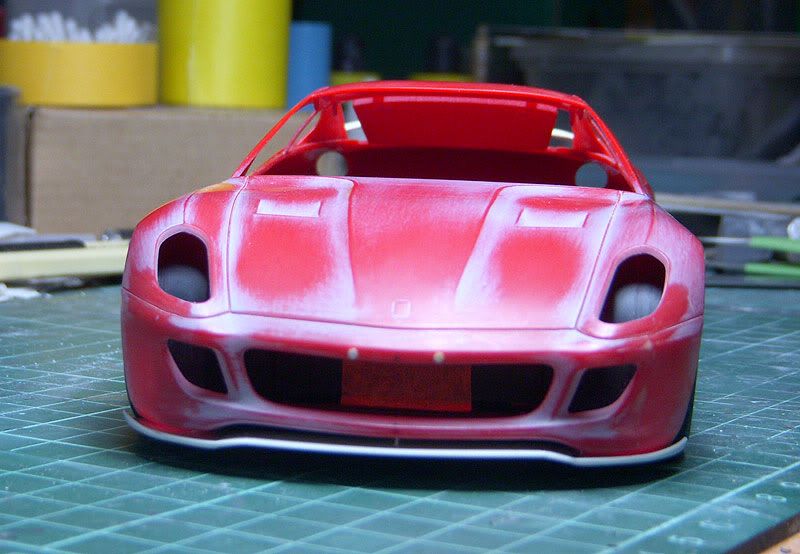
Started this after i get many inspiration from Ramon's Hamann 599, not going to be exactly, just few elements & wheels from Novitec Rosso 599


Detail & closer look at the HD's Novitec Rosso wheel
http://www.automotiveforums.com/vbul....php?t=1018012
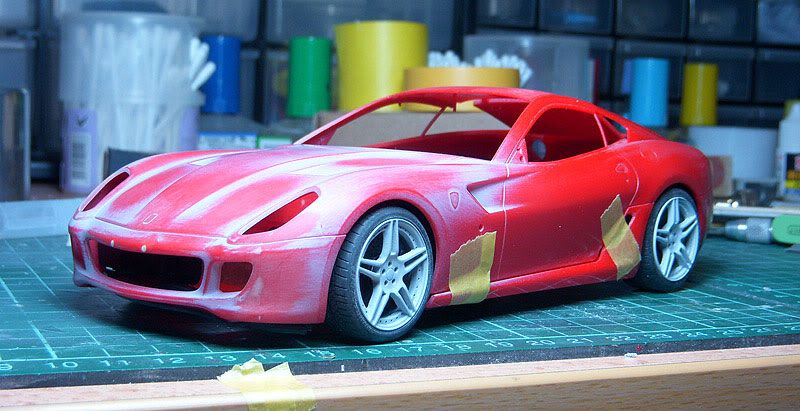
Many imperfection on the wheel, sanded, filled, sanded, filled ...boring process...


Here's the result, still require some touch up
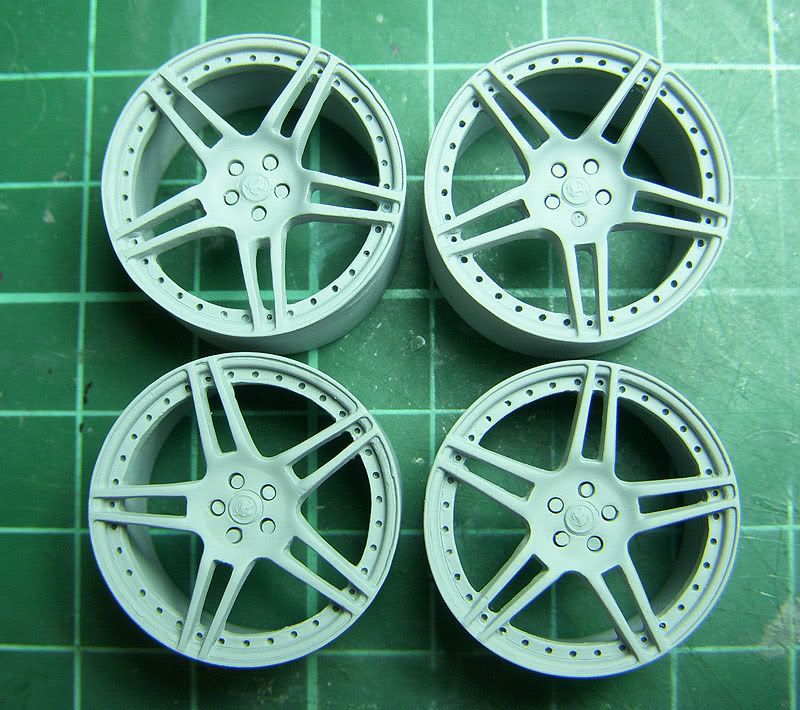
Novitec Rosso's rear wheel was 21", mine was 20", so it looks a bit small at the rear
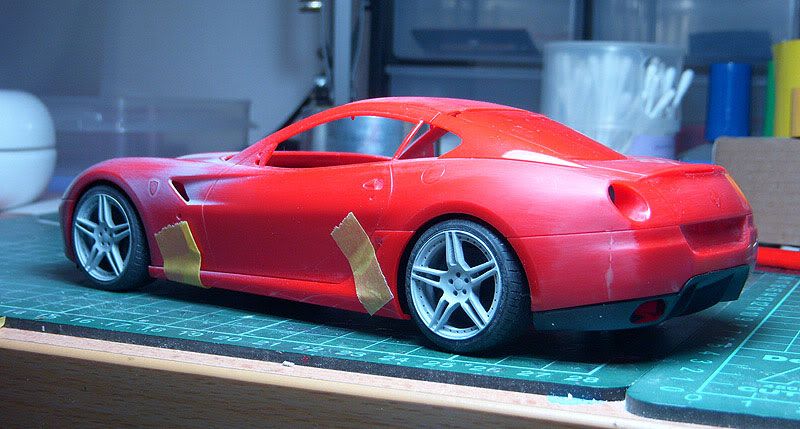
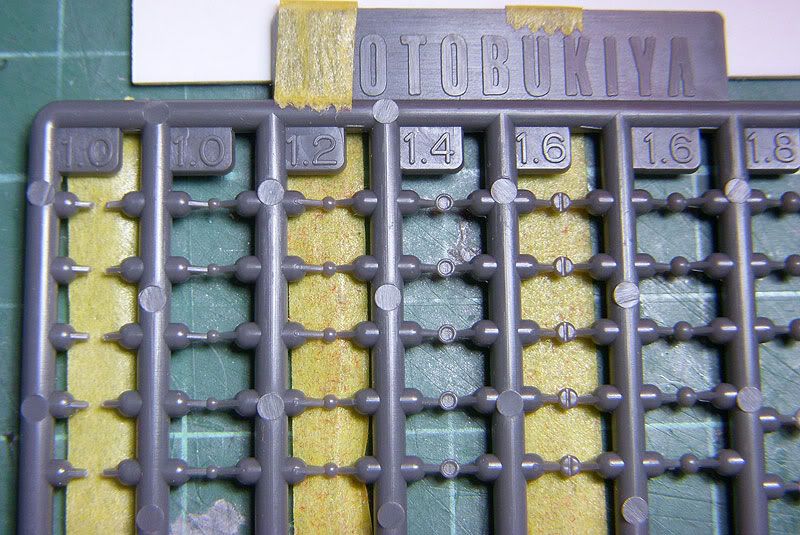
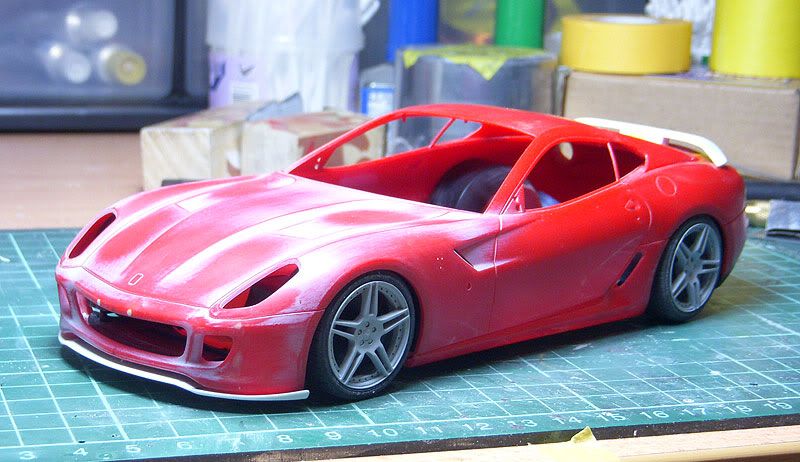
On the rear bumper, there should be 4 round reverse sensor
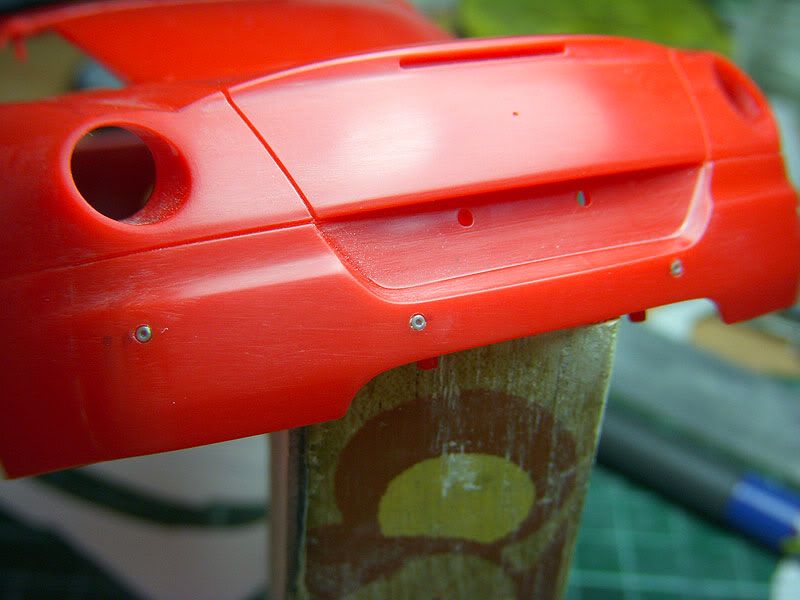
so i drill holes using 1.2mm drill bit and insert some kotobukiya's parts 1mm rivet
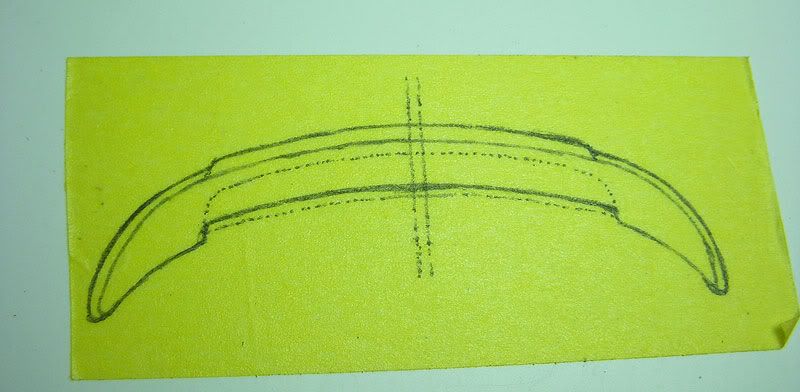
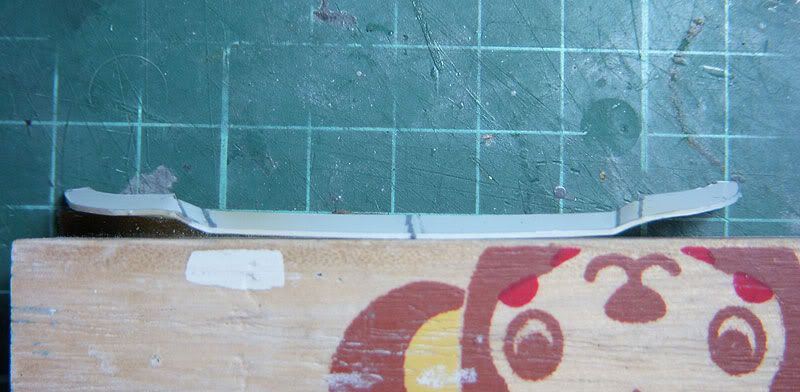
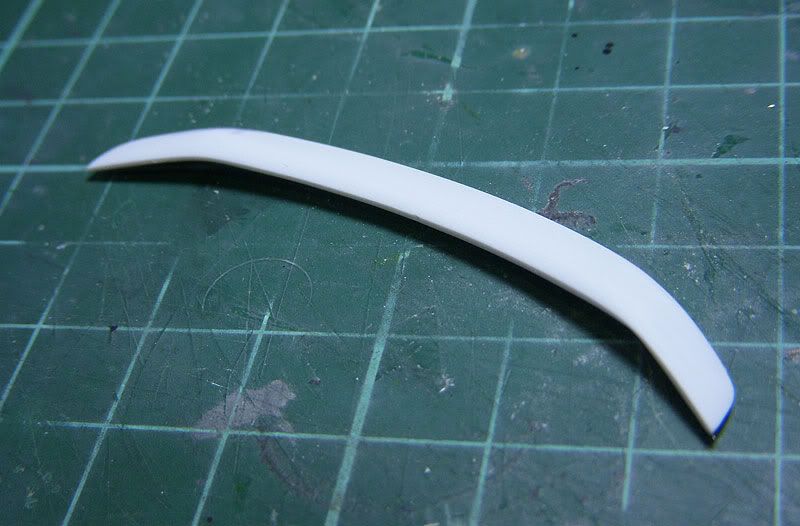
The Front Splitter
First i trace the 599 front bumper's shape using masking tape, then i transfer it to a piece of plastic card and design the shape of the splitter.
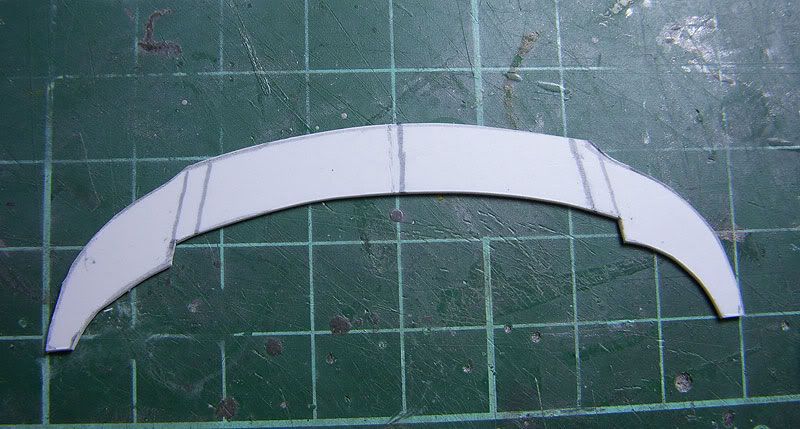
After that i trace the shape again using another piece of masking tape and make few template on 0.5mm plastic card.
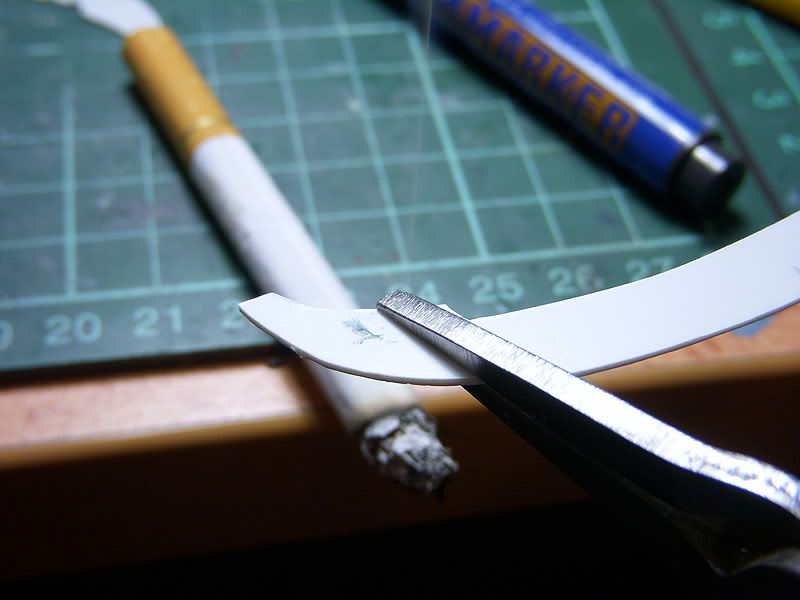
I draw line where the bend will be and by holding it using a plyer, i heat it up using cigarette's smoke's, after few seconds i bend it. I try lighter before but the flame is to much and warp the thin plastic (by bending it without heat will weaken the plastic, and please non-smoker don't buy a pack of cigarette because of this

)
here's a rough shape (actually this is the 5th attempt)
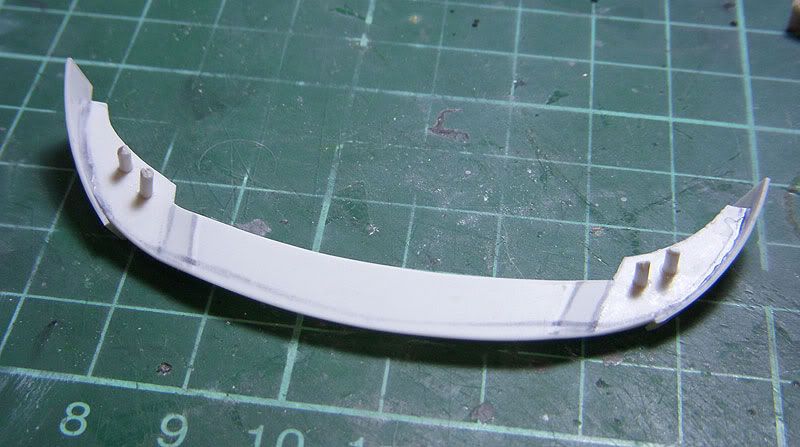
after i confirm the position, i drill holes from bottom and insert some plastic rod
After some sanding, i glue some 0.5mm bended plastic card at the side
TOP VIEW:
BOTTOM VIEW:
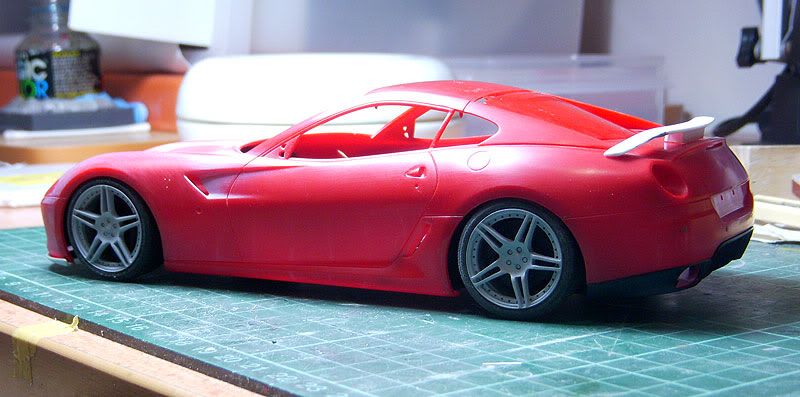
Also my first attempt on the rear spoiler

not exactly what i want, but i'll leave it for now
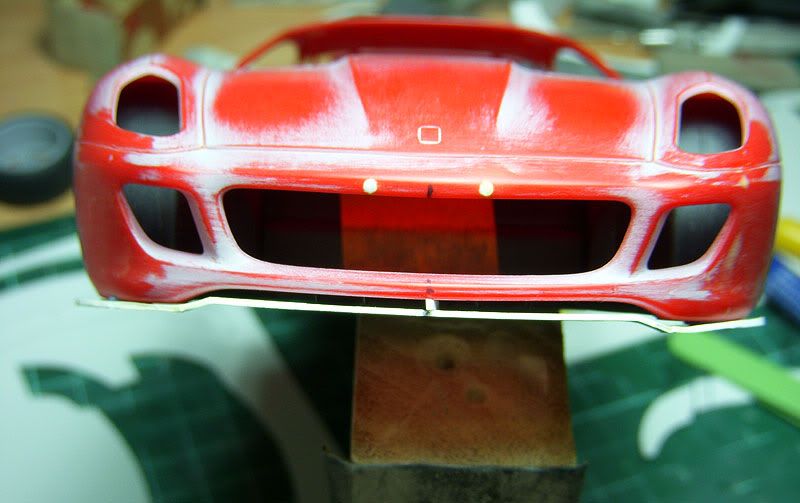
Here's the overal look with the front splitter & 'rough' rear spoiler
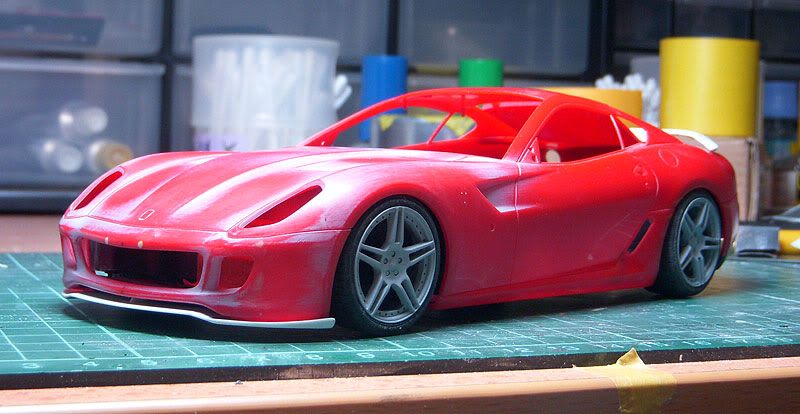
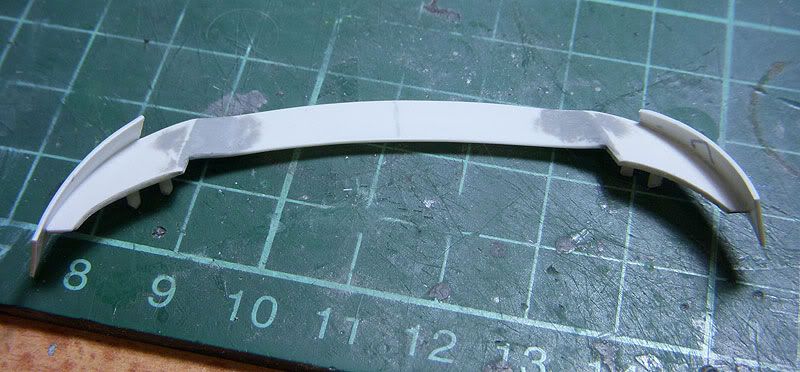
Close up on the sanded & shaped front splitter

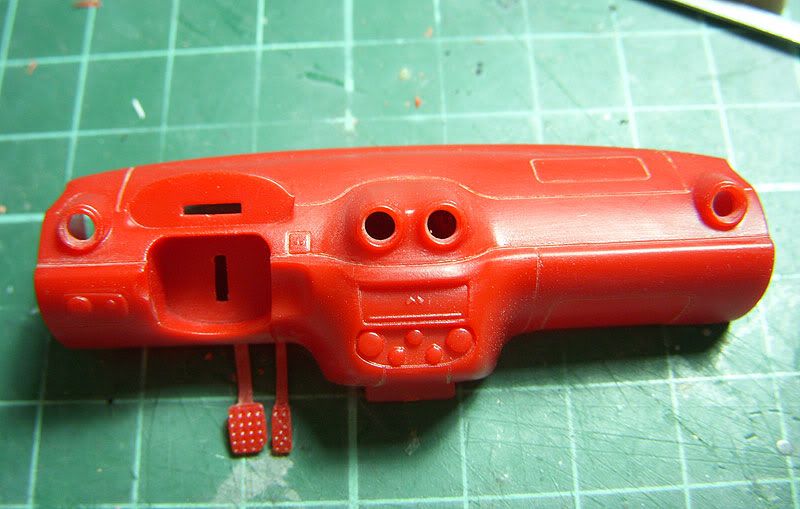
Interior will be like below:
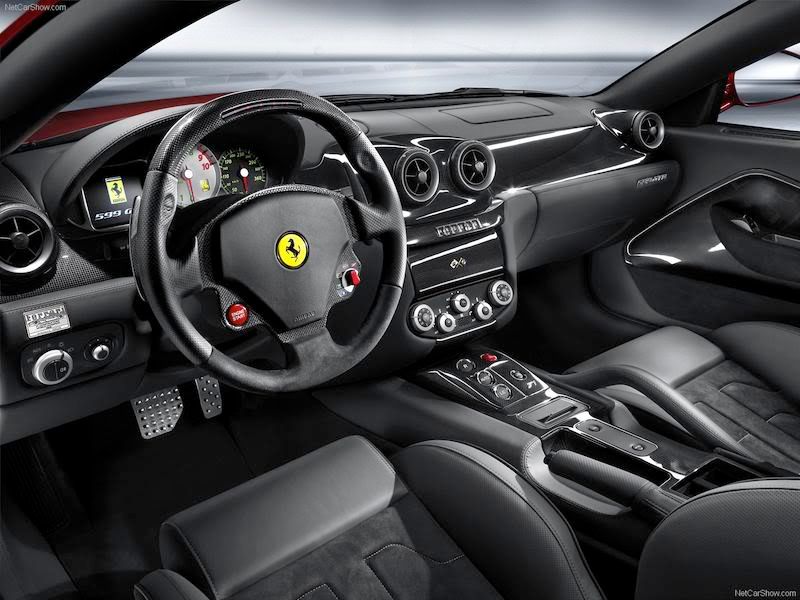
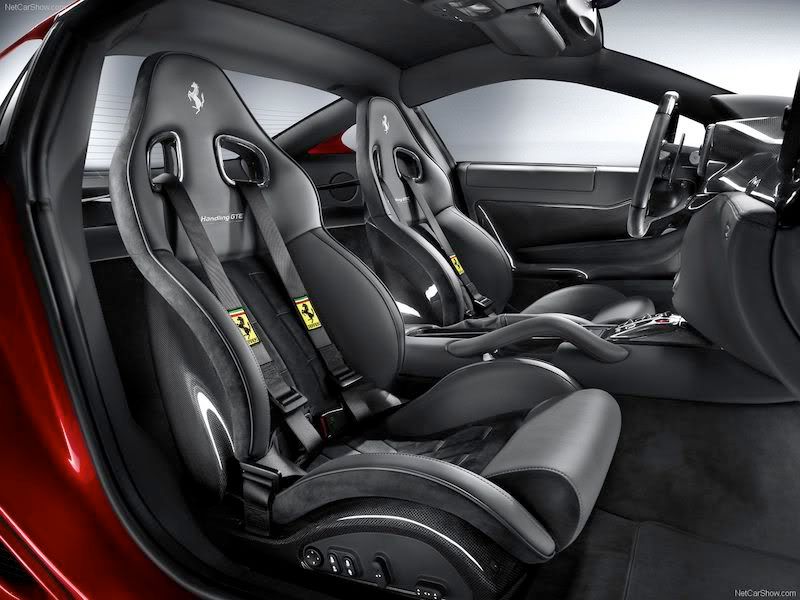
it will be combination of very dark grey, almost black in semigloss + carbon fiber or gloss steel + flat black + black flocking
i havent decided whether to use carbon fiber like below which is a 1/48 scale very small pattern, almost black if not look up very close
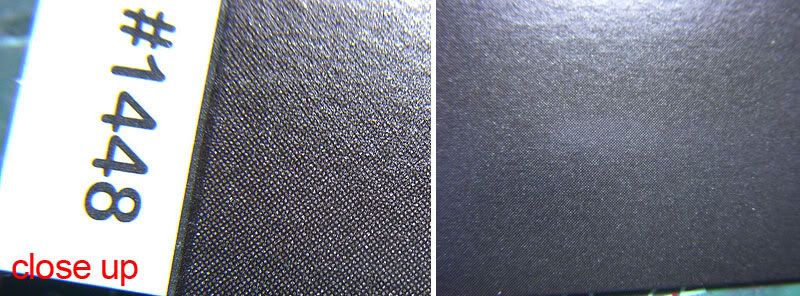
or gloss mr color steel no28 (new one, the old mr color steel look brownish) which is much easier
(top is clear gloss, bottom is pure mr color no28)
cut out the aircond vent, it will be replace with pe later, also re-scribe the shallow panel line
remove the buttons with 0.8mm drill bits
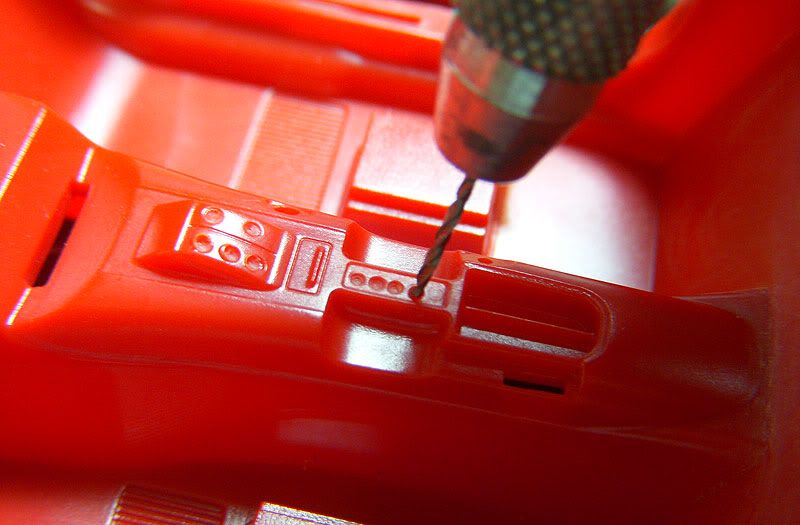
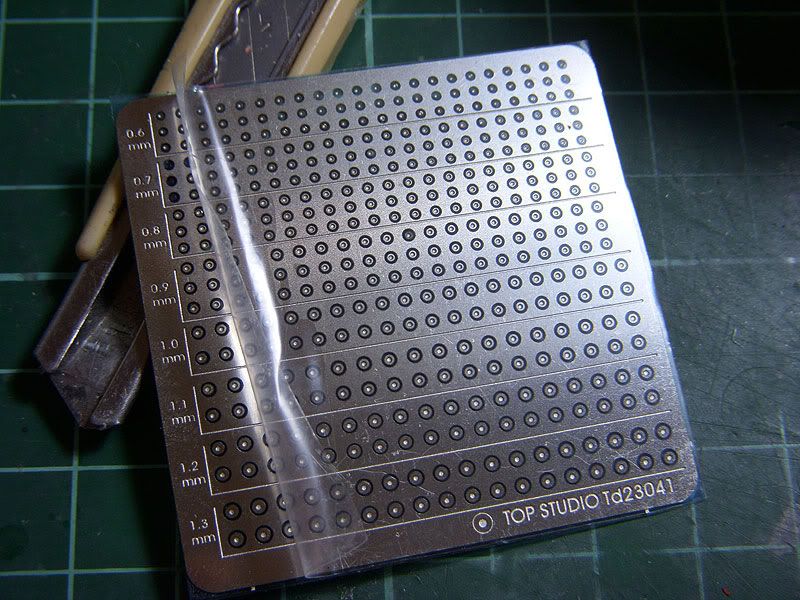
use some 0.7mm round hex from top studio, i use the bottom which is flat to replicate the buttons
not perfect but at least it look more like a button instead of a nipple

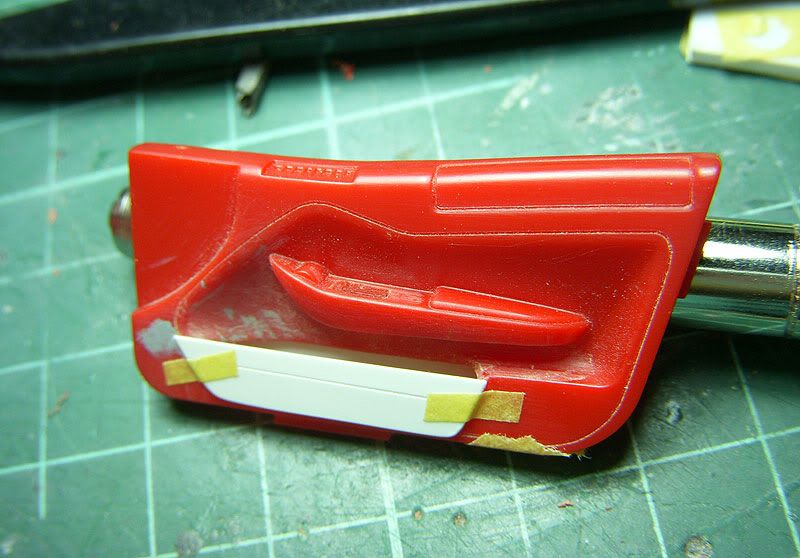
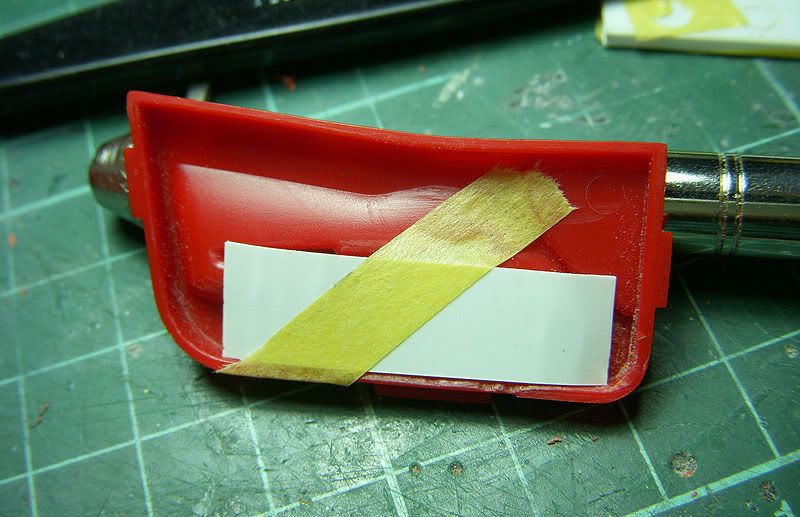
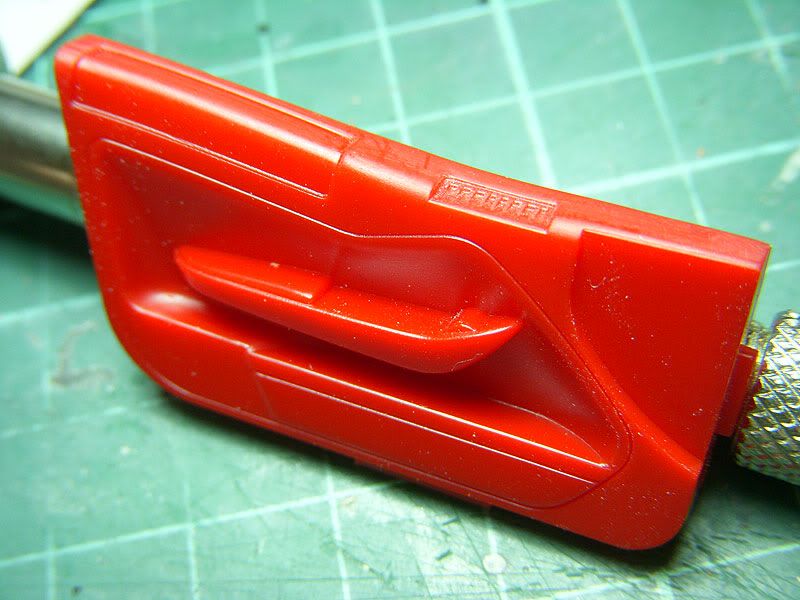
original door
cut out area where it suppose to be holes, initially i just cut where the holes should be, but the confined space make it extremely hard to sand, no choice but to remove everything
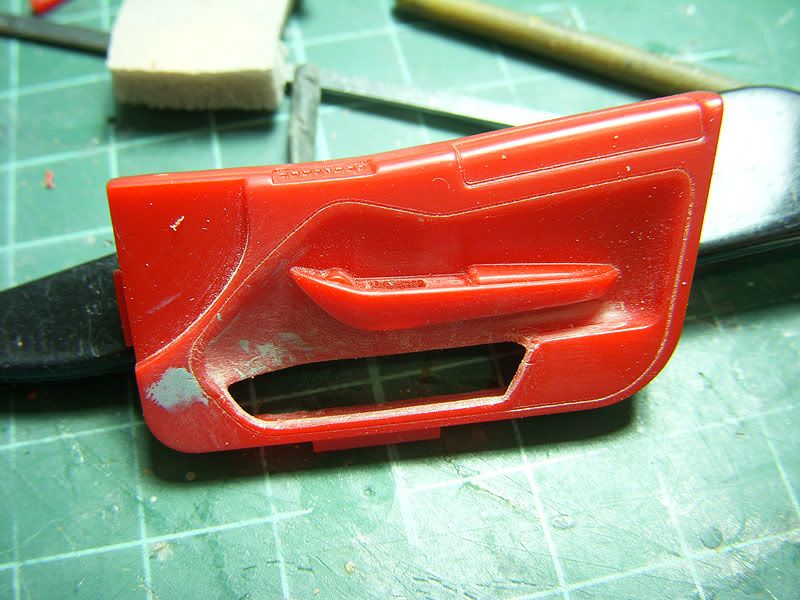
then just add some 0.3mm pla-plate