Thanks for comments guys!

@ MidMazar: yeah solder is 1.5mm which is a bit too thick for a sway bar, unless you want a really stiff one. Unfortunately it was the closest I could find from what I needed for this, and as it's not too much eye-catching I think I'm gonna stick with this one.

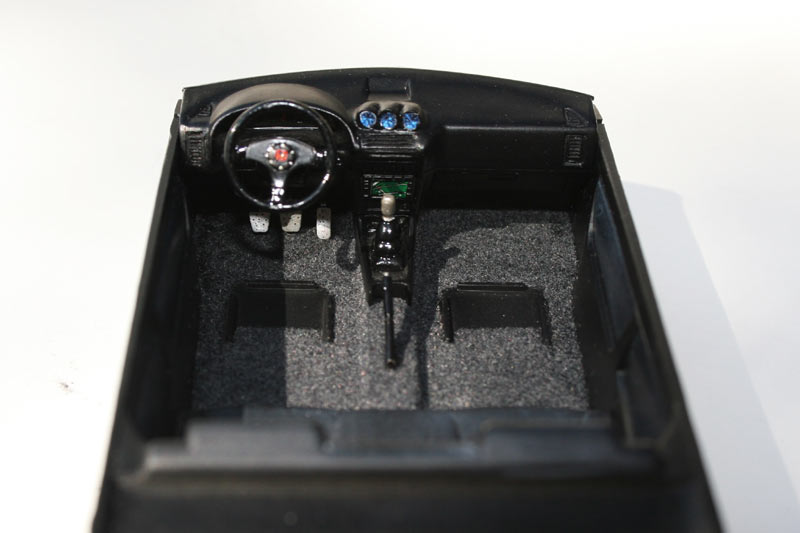
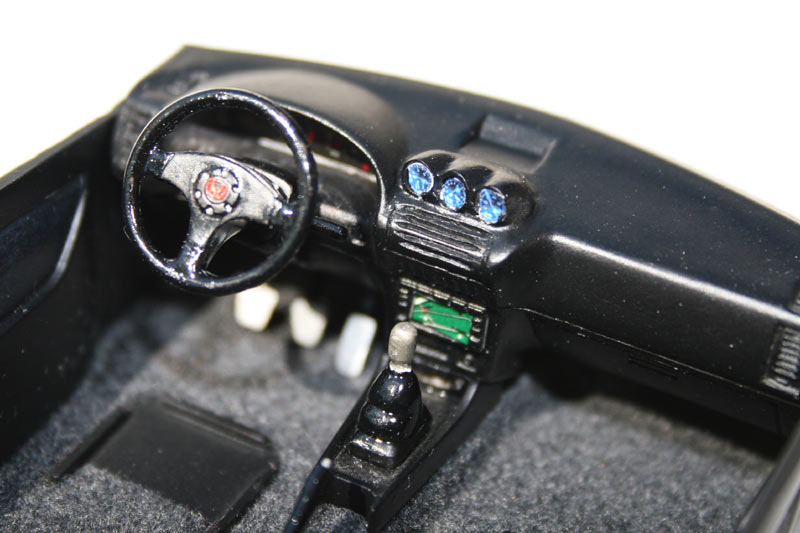
Small update for all the followers around, interior is now nearly finished.
Pedal set is painted airframe aluminium and glued, interior floor is flocked with Dark Grey flocking using 3M photomount spray glue.
I also add Blitz ice blue gauges in the gauge pod. I just scaled down a picture I found on the internet and printed it at max resolution on glossy photo paper, then cut and glue. Result looks rather convincing to me. Tell me what you think about it.
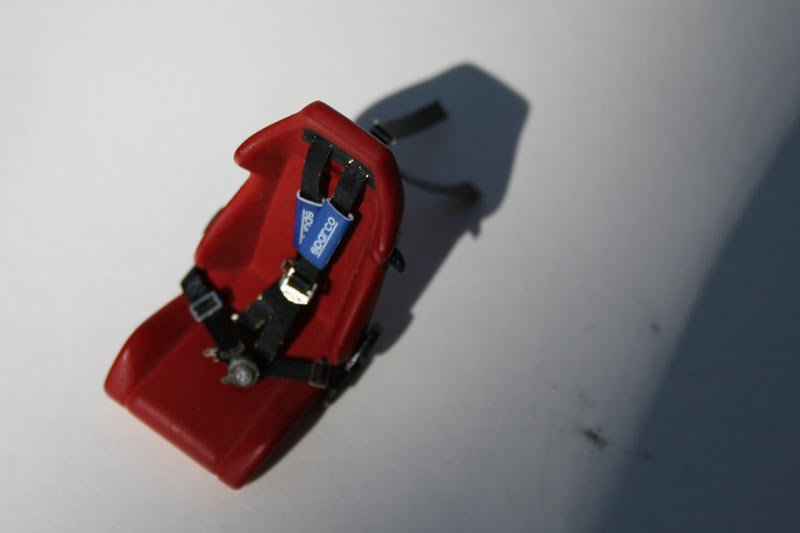
Another point that was quite time consuming was the assembly of the 4pt harness. If you have shaky hands and no patience, don't ever think of doing this...

More seriously, half of the nervous breakdown I got when building this came from the fact I'm not that used of building photo-etched details. The kit is from HobbyDesign and I found it quite nice and accurate, only mistake to be noticed, the end buckles (the ones that come either in the harness lock or on the chassis bolts) are not wide enough to let the "harness" pass through. I found this really weird.
I made shoulder pads using the same photo paper than for the gauge after having print the sparco logo and a wide blue area (I also made black and red ones, but finally decided for the blue). The thickness of the paper gives a nice bulk impression. You can't see them in the pictures but underneath the shoulder pads are sparco label directly glued on the harness. Same technique except I "peeled off" the photo paper to have a really thin support.
Enough of talking, here are the pictures.


Thanks for looking, more to come soon, and as always, comments and critics are welcome.