O.k. guys, as promised here's more progress, more cockpit.
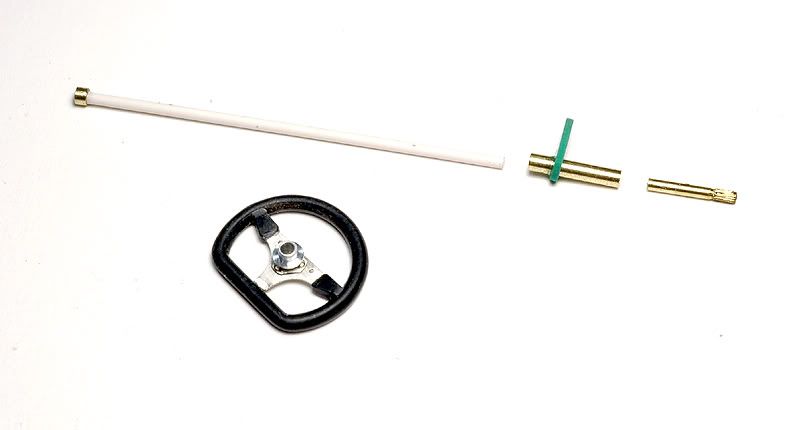
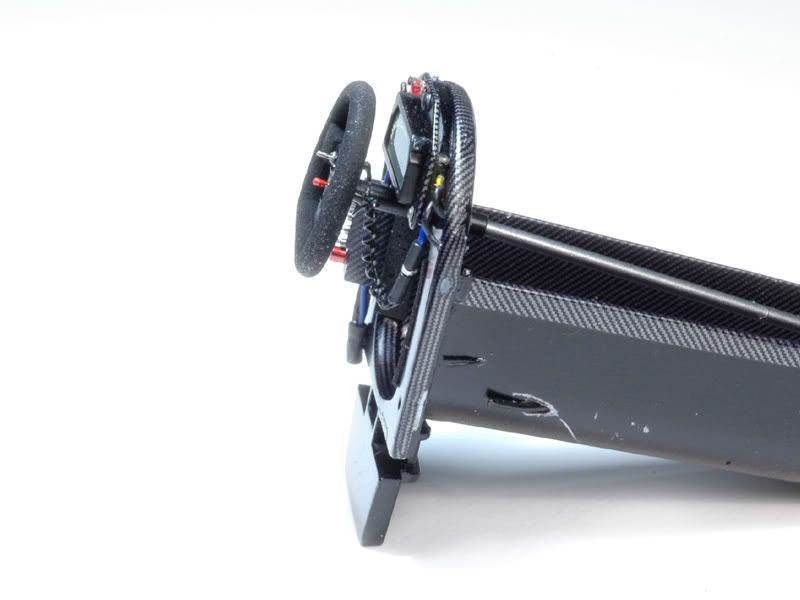
First of all the steering wheel. I kept the rim but replaced the centre with an etched part and some brass rivets. At the rear I also added a turned aluminium connector piece. Here are the unpainted parts, also for the steering column I showed you already last time:
I then painted it Jet Black and after masking the centre followed it with a misty layer of enamel matt black on the outside for the rough leather look.
For details I made the switches from etched washers and 0,3mm wire again. The logo decal is from the Tamiya kit.
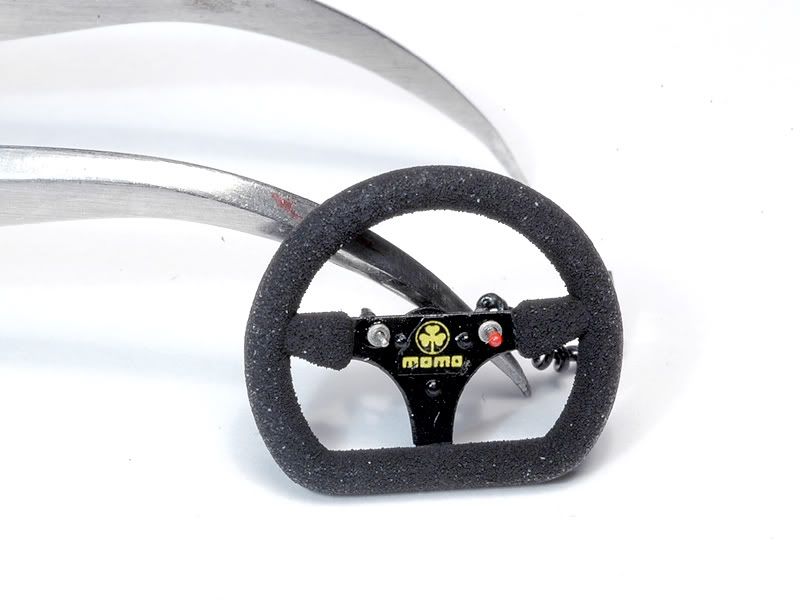
Finally I added wires at the back and a “plug” to connect it to the dashboard ( which is probably a bit oversized now that I look at it, but it works :-)
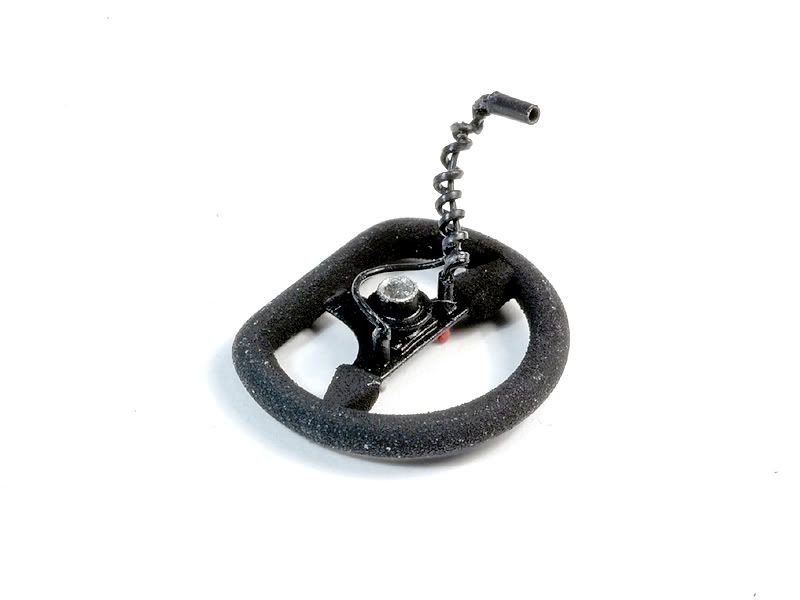
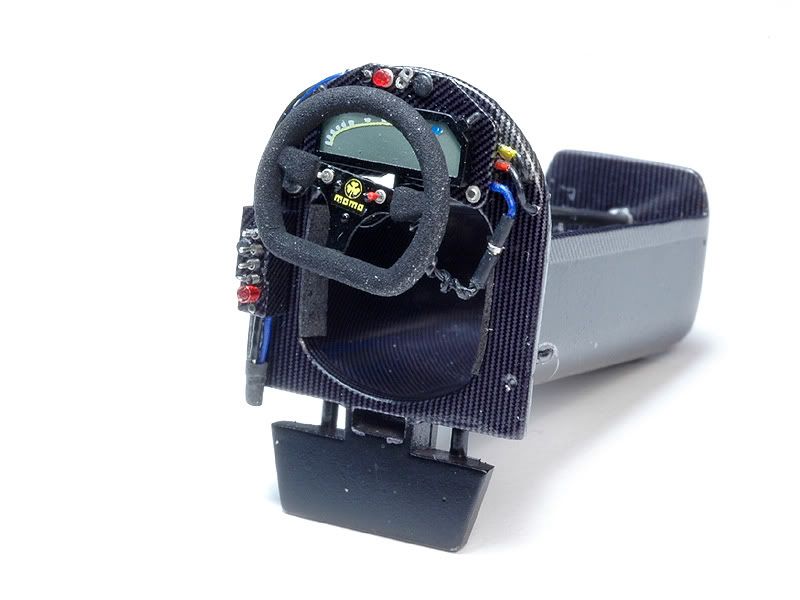
And just to “prove”…the steering wheel mounted to the dash :-)
The next step were the seat belts. I started with ( now OOP ) F1Specialties belts which are a perfect match in terms of the hardware. The blue belt material that comes in the set however was way too dark. I ended up using some ribbon I got at the local “girls” hobby store that had the perfect colour and an acceptable texture. I bought a 3mm and a wide version. When comparing it with a Hiro set from one of my kits I realized that they supply exactly the same ribbon material.
I decided though to not use the ( correctly sized ) 3mm ribbon because at the sides it has these “lines” that don’t look right for a seatbelt. Instead I cut 3mm wide strips from the wider ribbon. These needed “fixing” of the material at the cut edges though or they’d fall apart. After some experimentation I found a way to “seal” them using a lighter flame. With the ribbon strips prepared like that I built the belts up which took ages because I had to be very careful and could only use epoxy glue which needed “drying” time at every single step.
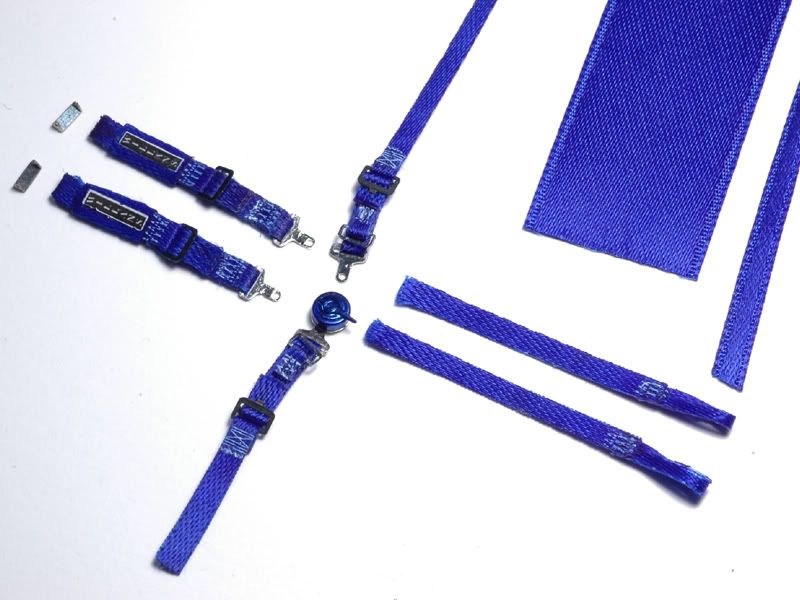
The F1Specialties kit came with some decals for the stitching of the belts which promised to be a nice touch. However it turned out soon that these decals didn’t react to any setting solution ( including the evil red Tameo stuff ). Ultimately I melted the carrier film away with chloroform! For my next project I’ll make some myself…
For the Willans decals I couldn’t go “chemical” so I fixed them with superglue ( they are nicely printed though…better than others I had ). To blend the damn decals in I sprayed the white stitching with some transparent blue and the whole belts ( not the buckles :-) with a bit of matt clear.
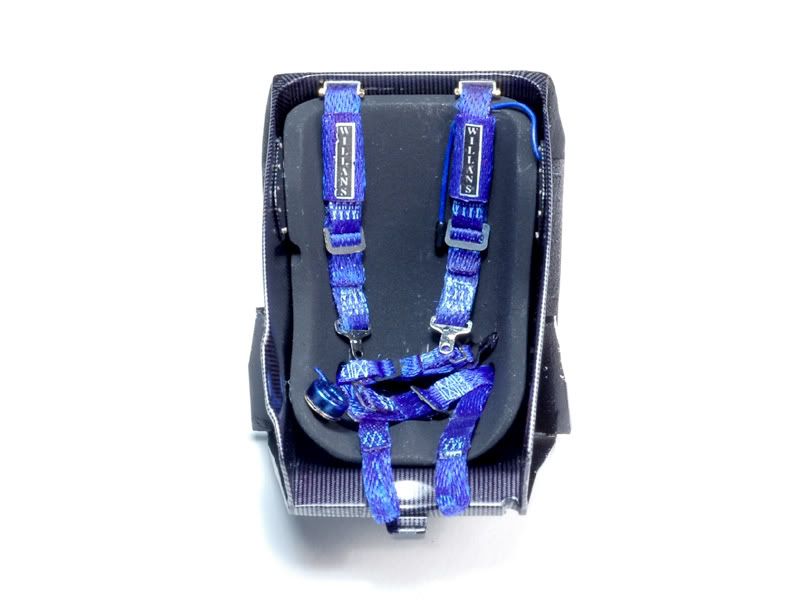
The result looks o.k. but not as clean as I’d have wished. The ribbon material works but I’ll keep my eyes open for something better.
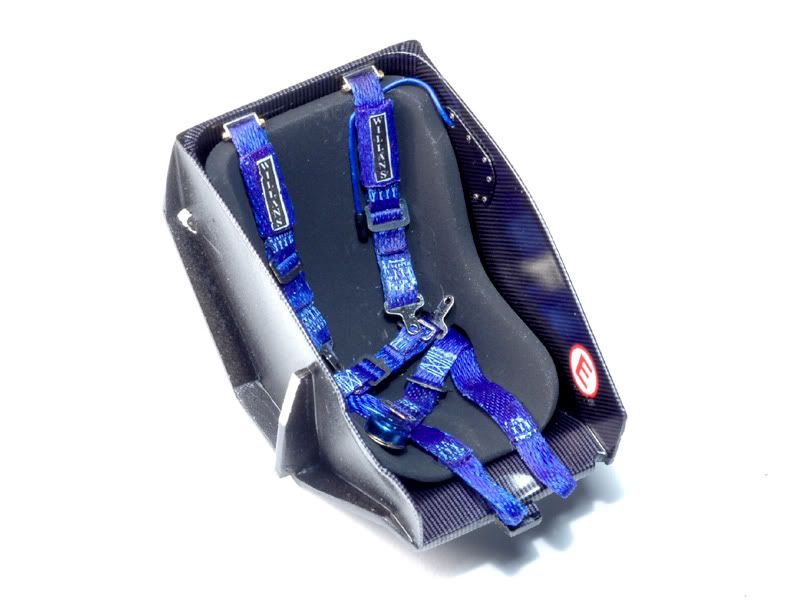
Up next I installed the belts to the seat. The seat was painted with a rough layer of matt black like the steering wheel prior to that. Seat and belts were then inserted to the rear half of the cockpit tub that has been CF’d and painted again and equipped with the little etched panels that you saw in the last update. On the left one I added a wire and plug for the driver’s radio connection.
The last missing part for the cockpit is a funny one. The gear stick looks like the Jordan design department had some fun one day and drew up something odd to see if the workshop would actually try to build it…. and when they came back the next day they had! ( …or alternatively it just got crushed by a truck and they didn’t have money for a replacement :-)
That odd one-piece slotted and bent stick needed to be done better than the Tamiya kit blob!
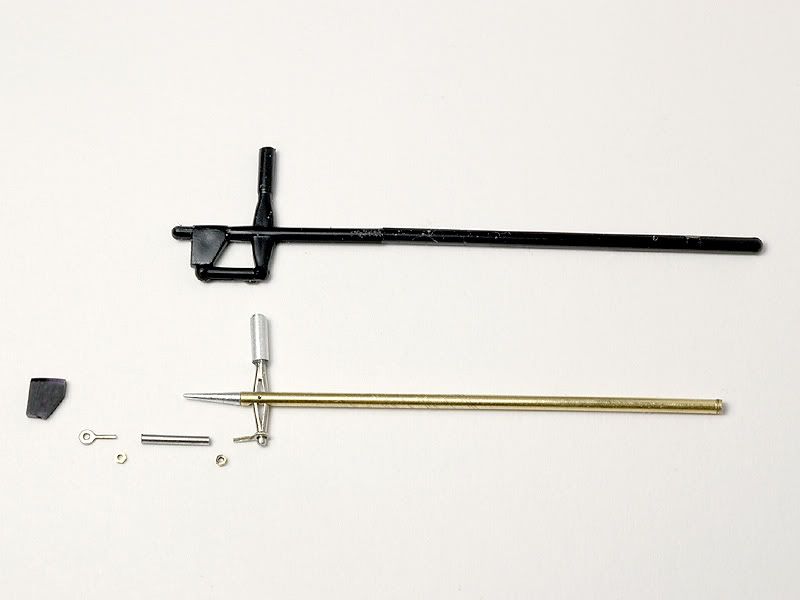
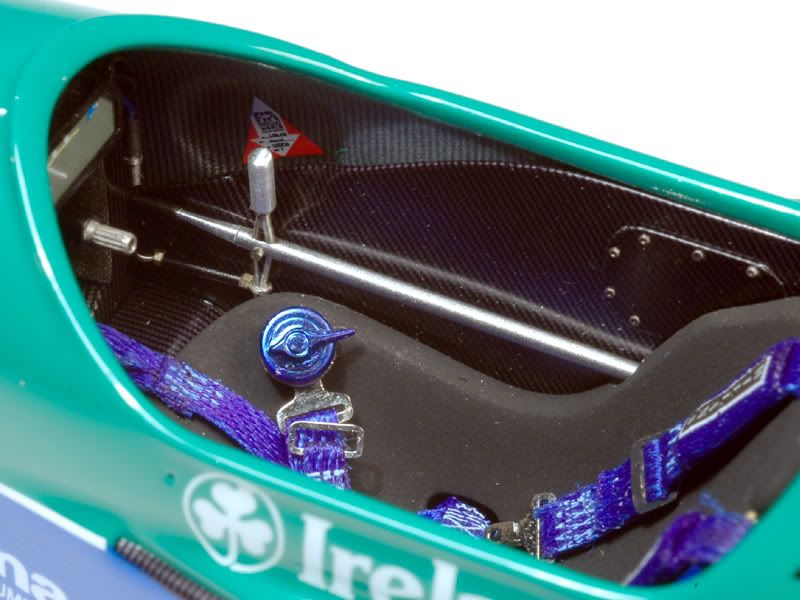
I used a 0,6mm nickel silver rod and sanded it to a half round section. Then I soldered two half round bits together at the ends chucked the part in my motor tool and sanded it back to a full round section. That done I could bend it open to look like the real one. The grip and the conical tip of the linkage are turned aluminium and the rest of the parts were made from metal tubes, etched bits and plastic. Here it is installed after painting:
Next up you see the headrest. I had to shorten it a bit at the bottom because it was covering up the driver’s name. It’s also painted matt black.
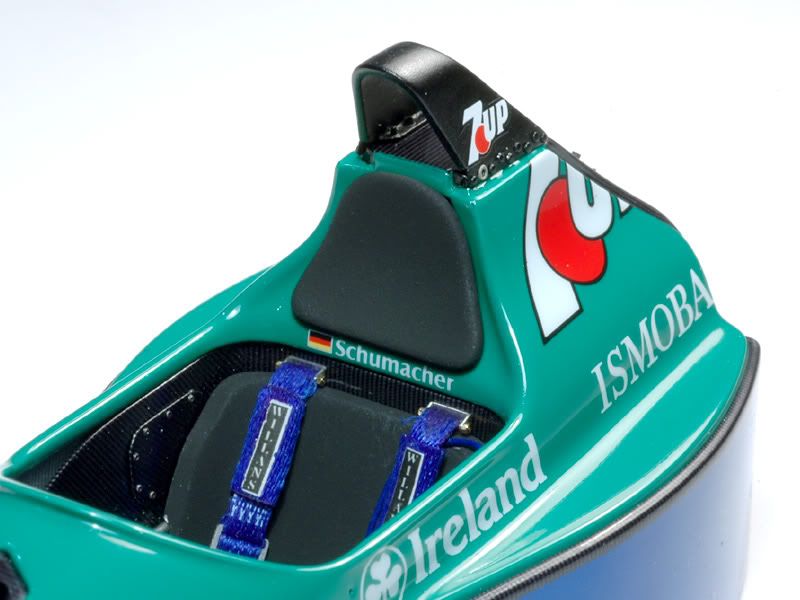
As you can see, the roll over hoop is already in its place too and I started to do the fuel tank details. From the inside I mounted the etched plate I showed earlier and the fuel filler itself. Both were painted with Jet Black and Gloss Black respectively.
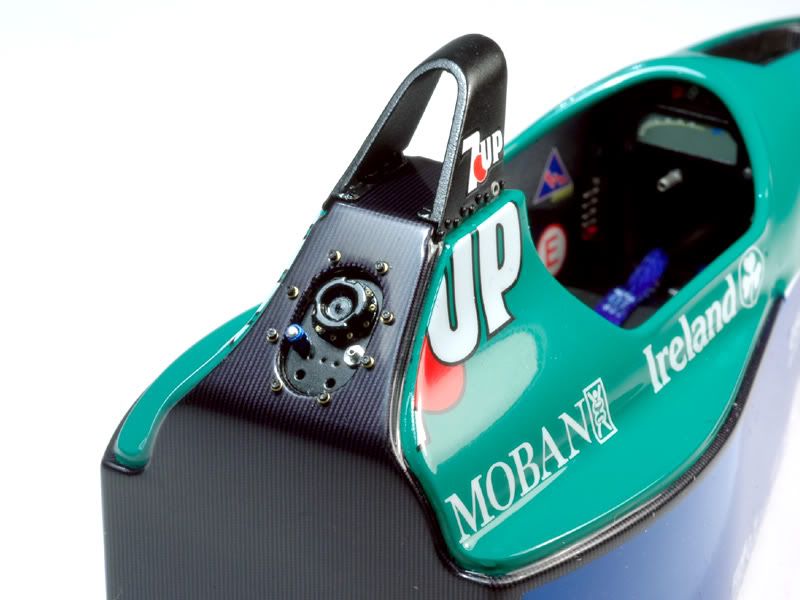
Around the hole in the monocoque I mounted 0,6mm allen screws by T2M ( also painted black ) over etched brass washers. The screws are a gimmick but to be honest the hexagon holes are hardly visible ( even unpainted ). The fuel filler itself also got a bit of brass “glitter”.
There are a bunch of hoses and wires to come still. I started with two connectors made from aluminium on the lathe lathe and mill. Those take time :-)
That’s it again for now. Thanks for looking and for your comments once more!