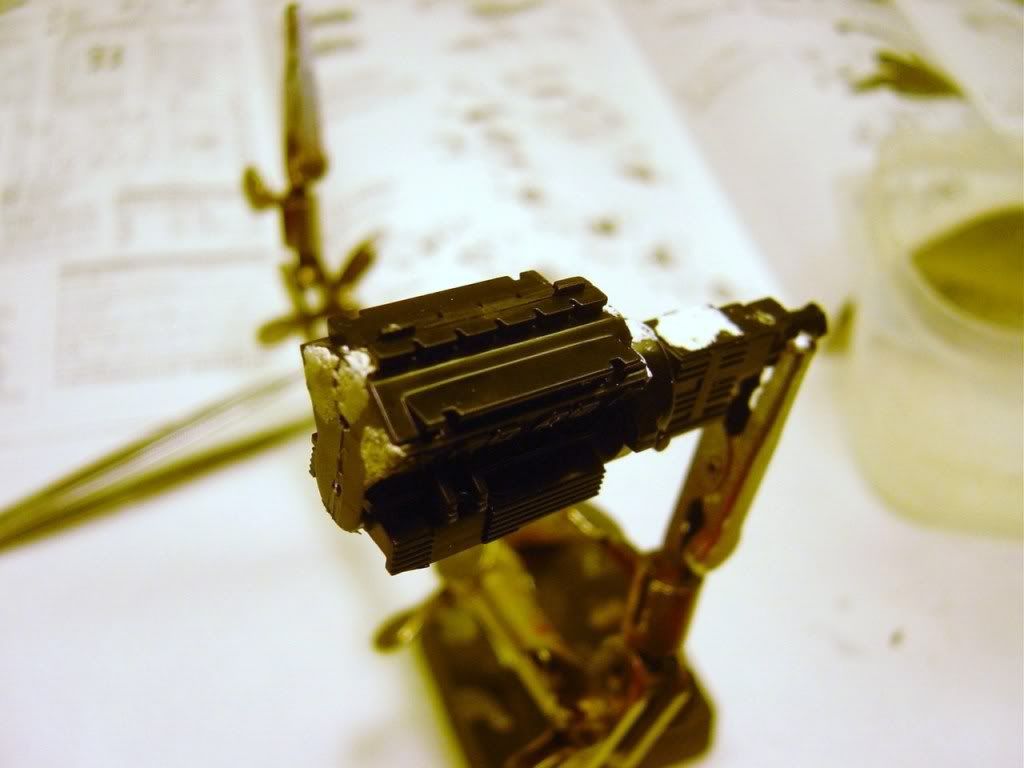
After sitting at my desk starring at pictures of the real car and the trees full of part, I was able to spot the things I need to change.
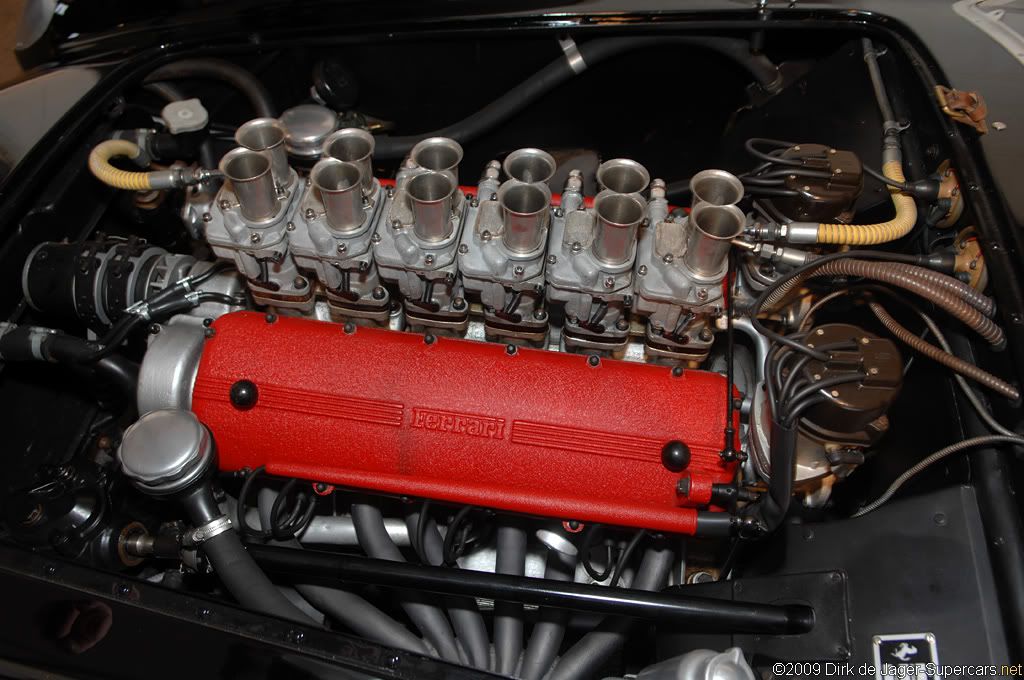
Here the engine form the 1:1 car
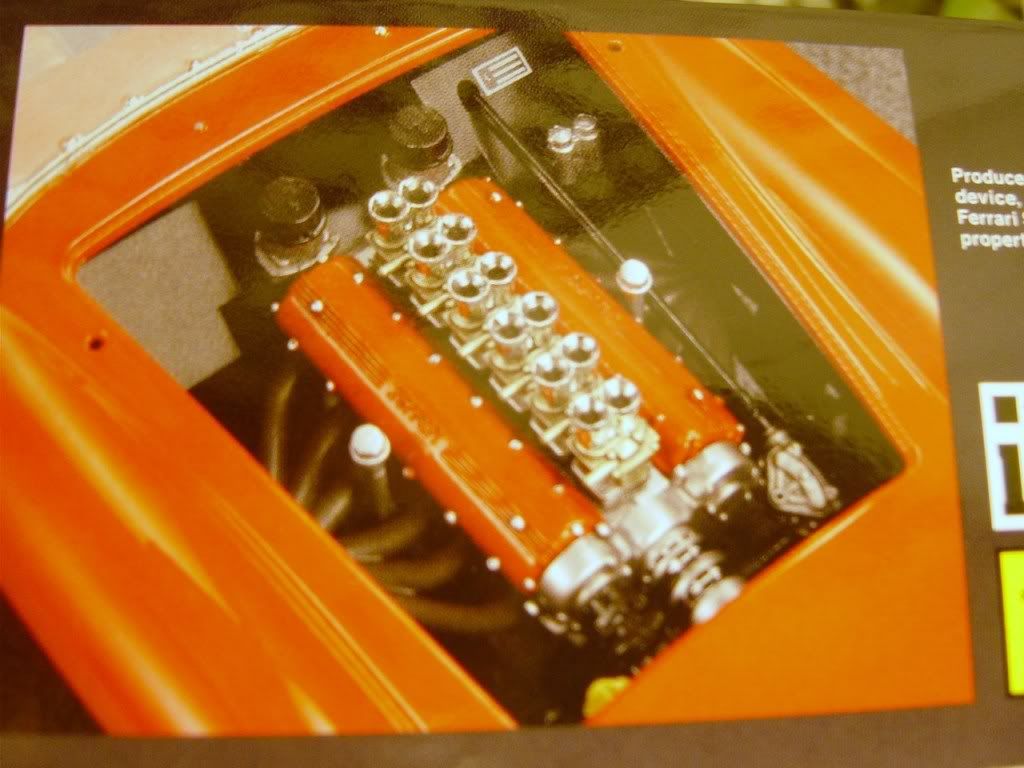
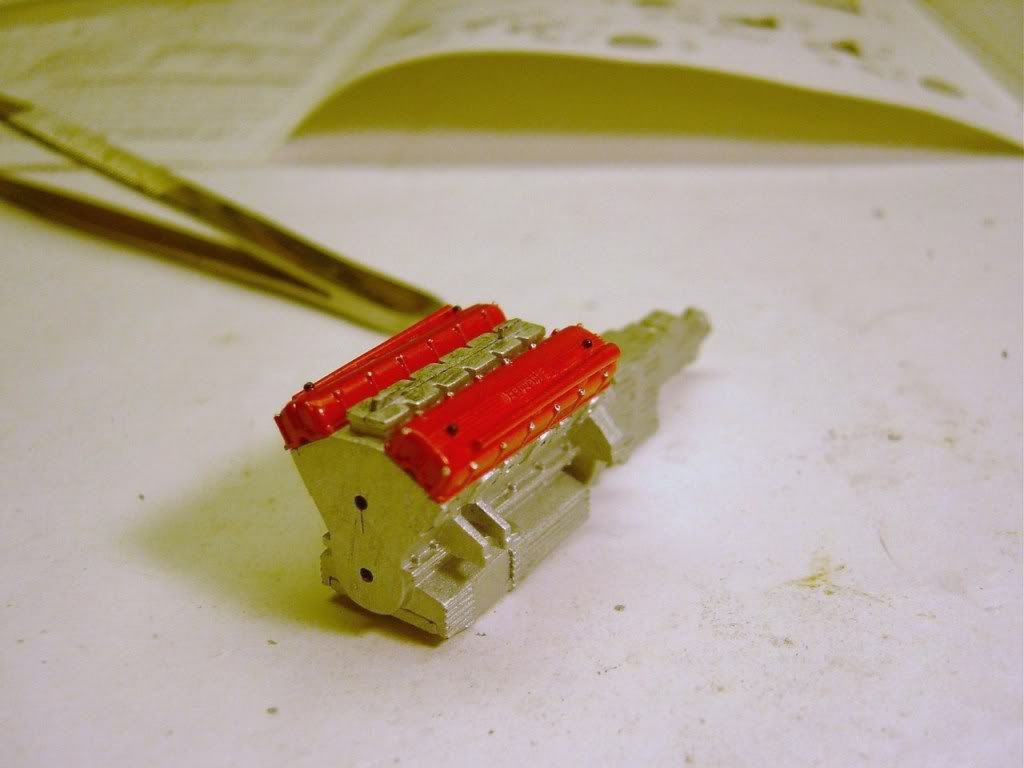
And the image from the box.
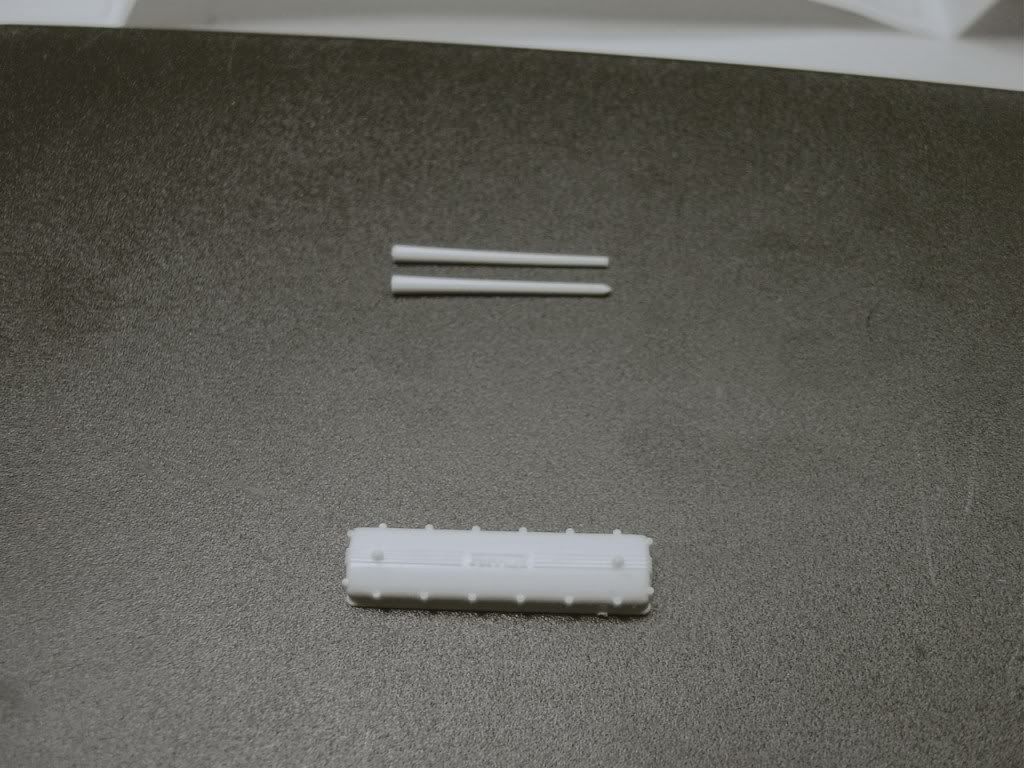
The First thing I noticed was on the 1:1 engine their are two caps at the front on either side of the engine, where these are in the center of each exhaust. So these will need to be moved forward.
Next was the hard tubing that the plug wires were traveling through. since this was tapered down as it goes I figured I would use styrene rod, heat it, and pull it apart slowly. After several failed attempts of burning right through with a candle I decided to use the stove with a low flame to heat a larger area. Slowly and surely the styrene pulled to just I needed it.
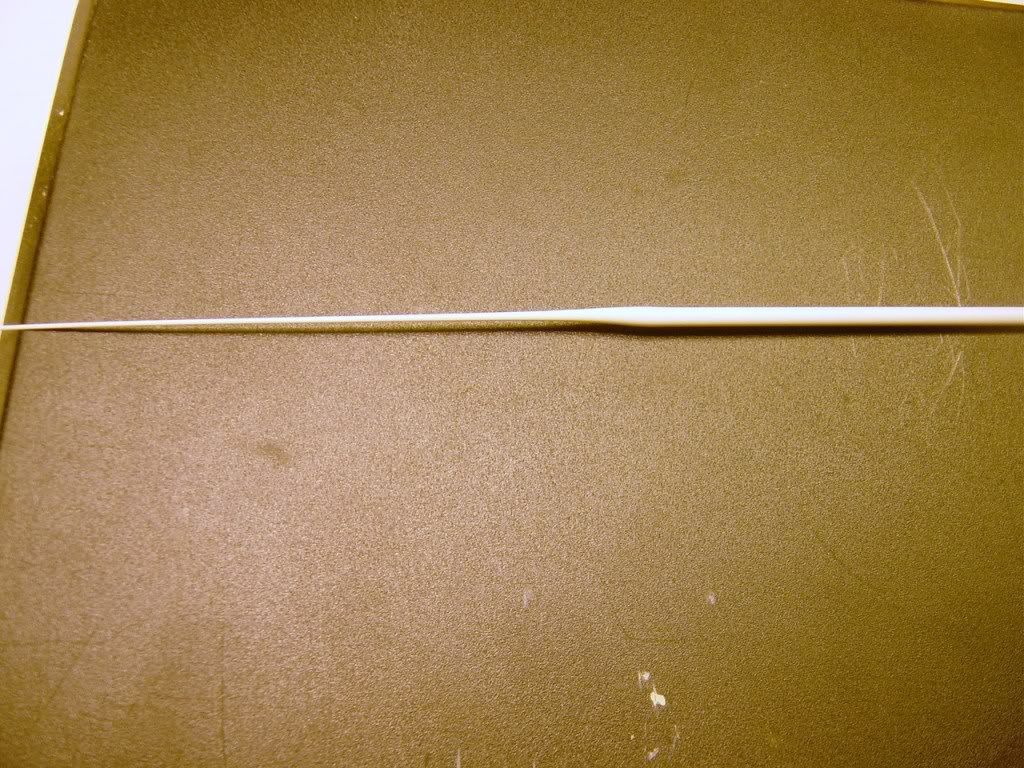
The next problem was I had to make another one exactly the same size. And after a few more failed attempts

.
With paint and detail...After another quick look at the 1:1 engine I realized that the bolts on the cam covers were black instead of the silver I made them.
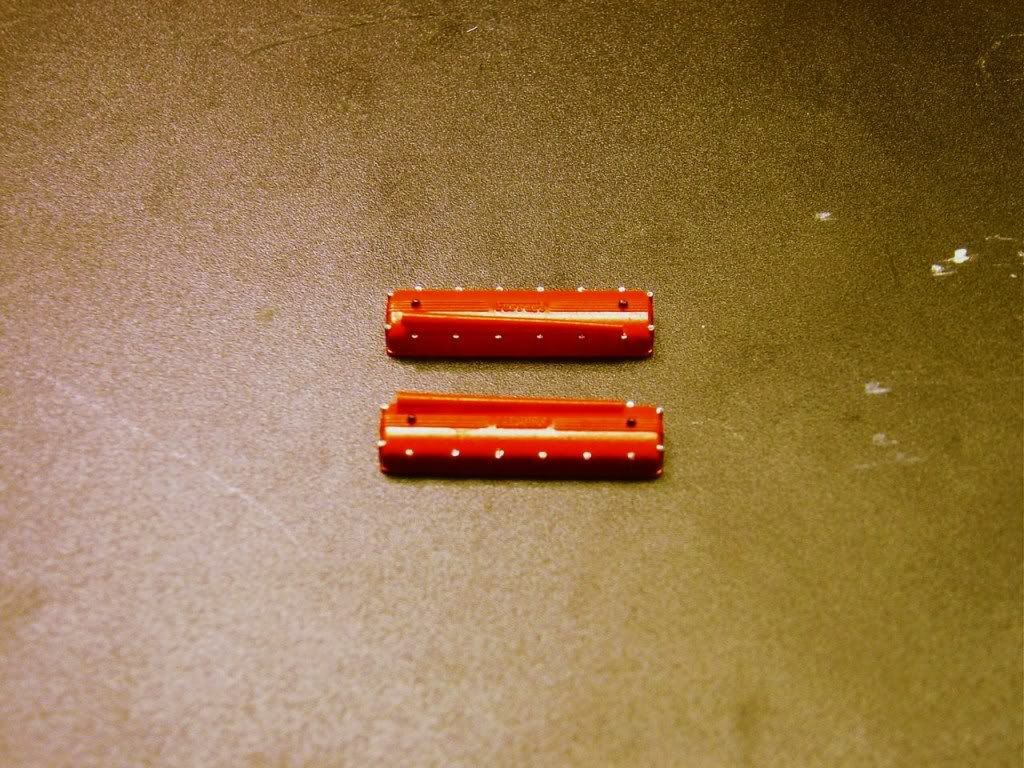
After filling and sanding of seams on the engine block a coat of Tamiya flat aluminum and a a fitting of the cam covers. She looks good as a red head

.
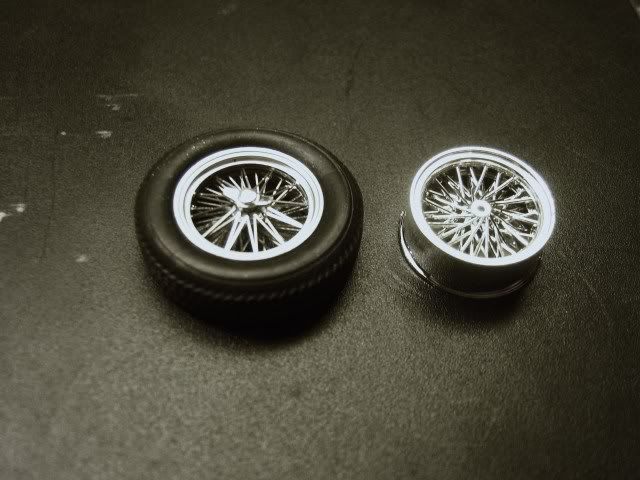
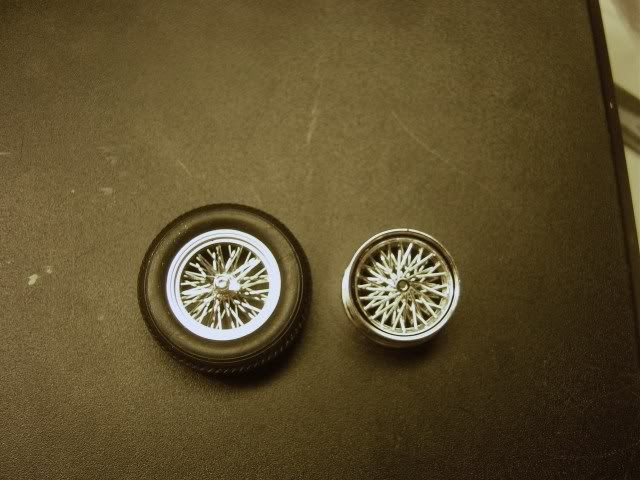
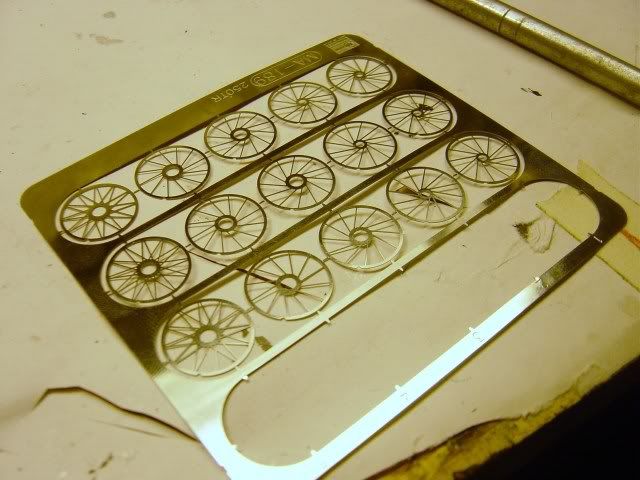
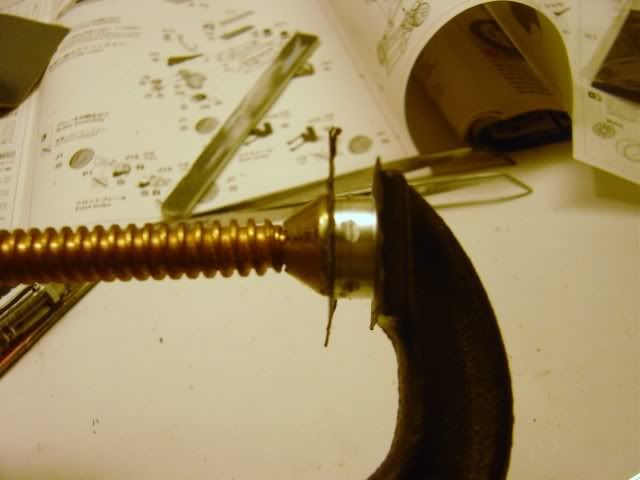
Wanting to work on something other than the engine I switched to building the PE wheels. These came together quick and easy. The only problem i had was the two wheel halves did not want to stay lined up while the glue was drying, and I didn't want to hold it while it was drying. Simple solution was a C-clamp
And the finished product
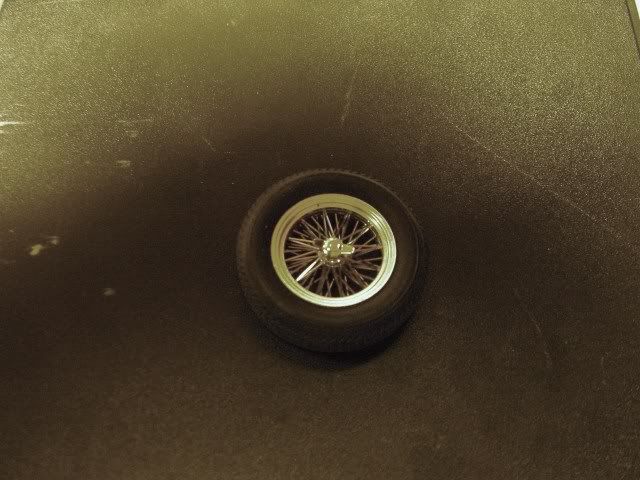
A major improvement over the stock wheels that came with the kit...And its from the same company, why dont they just put these wheels in the kit to begin with.