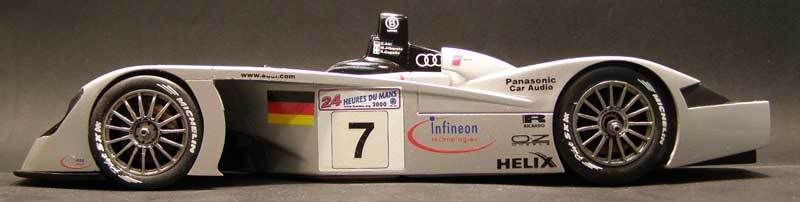
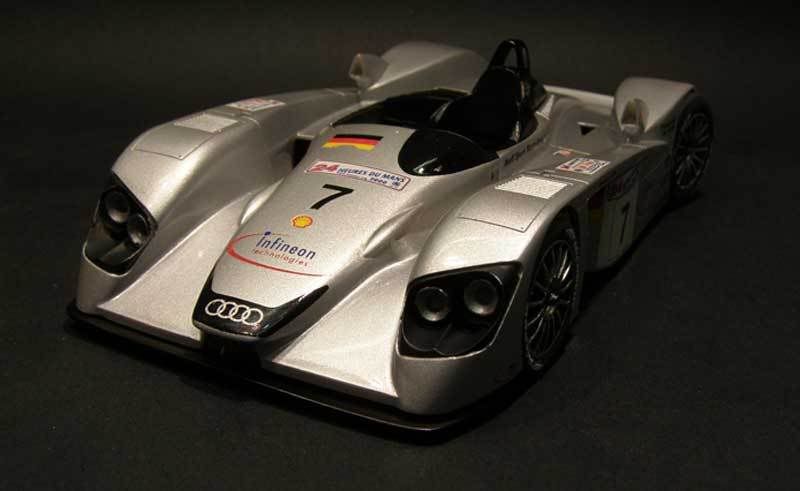
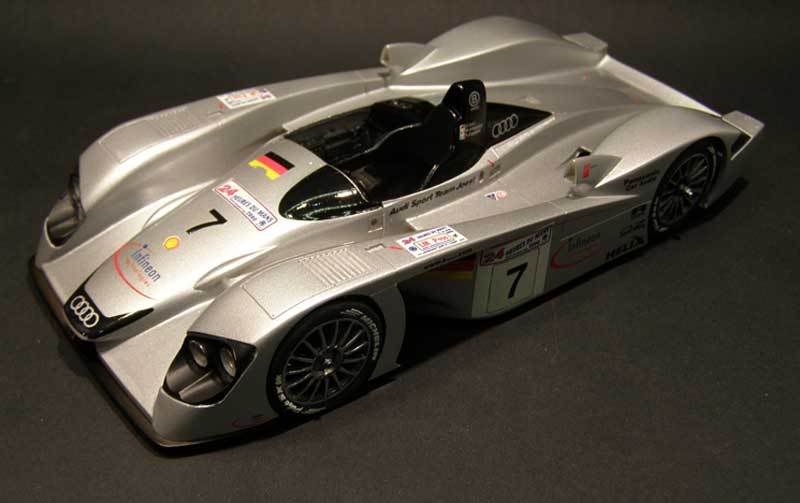
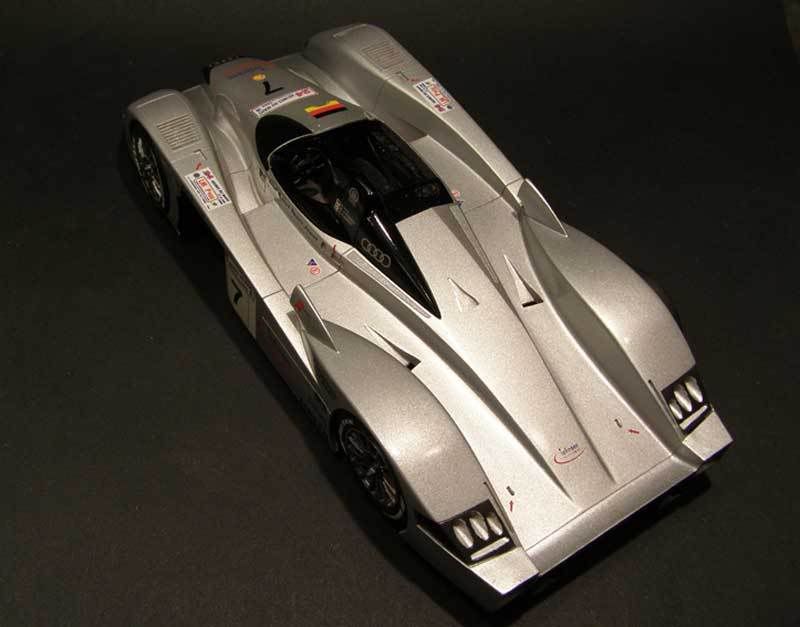
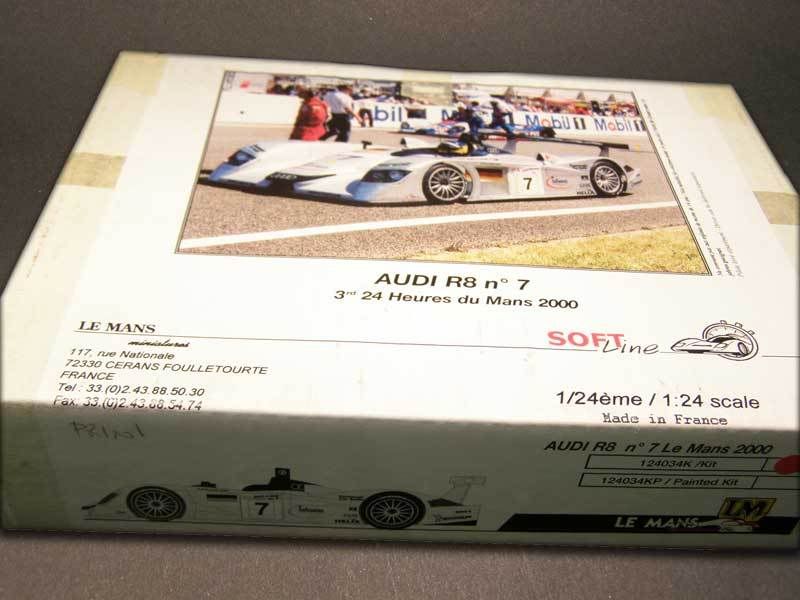
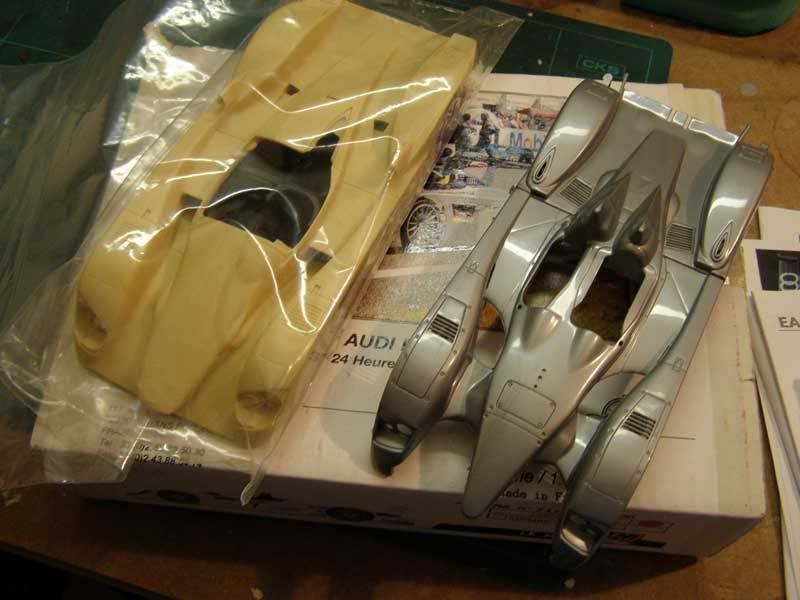
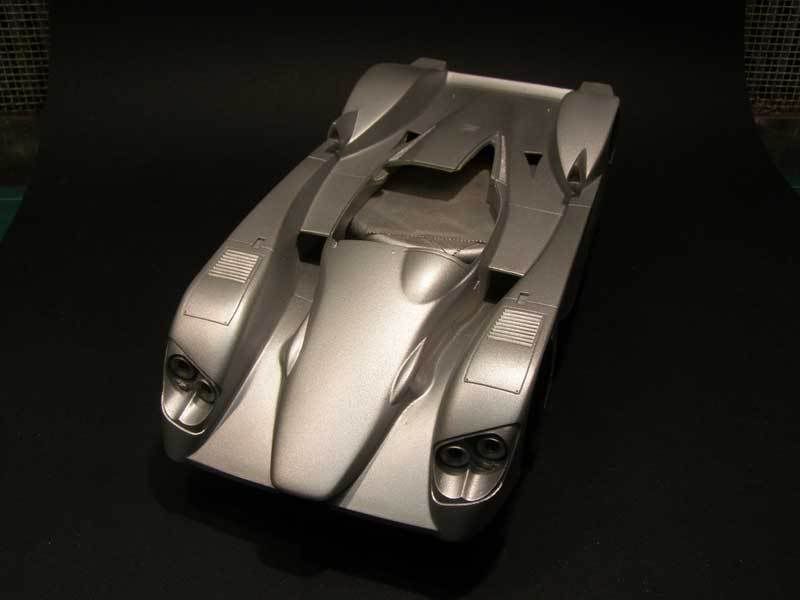
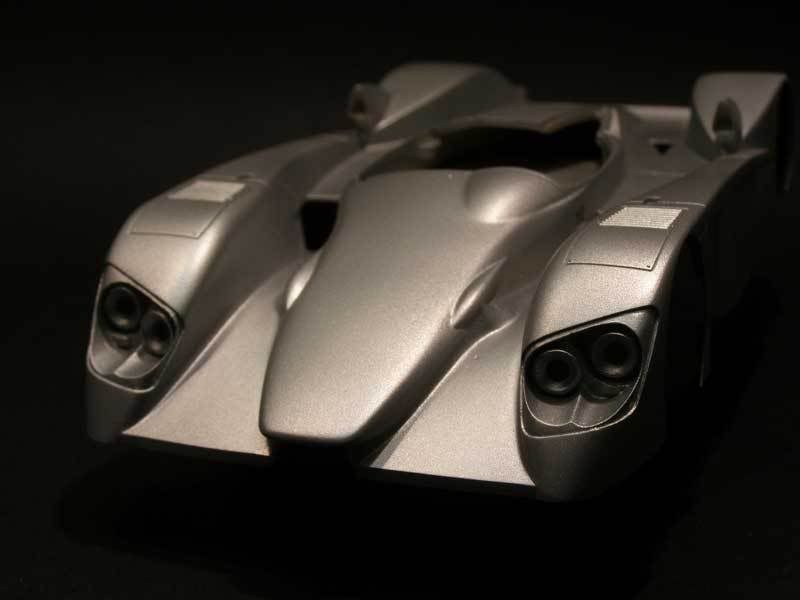
I tried a Speed build over the weekend of a Le Mans car to celebrate the race. I decided on the Le Mans Minatures kit of the 2000 Audi R8
I started at 06.00 on Saturday morning and my goal was to finish by Sunday evening. Unfortunately I was not able to devote 100% of my time to the build so it required juggling act and a plan to build in the right sequence.
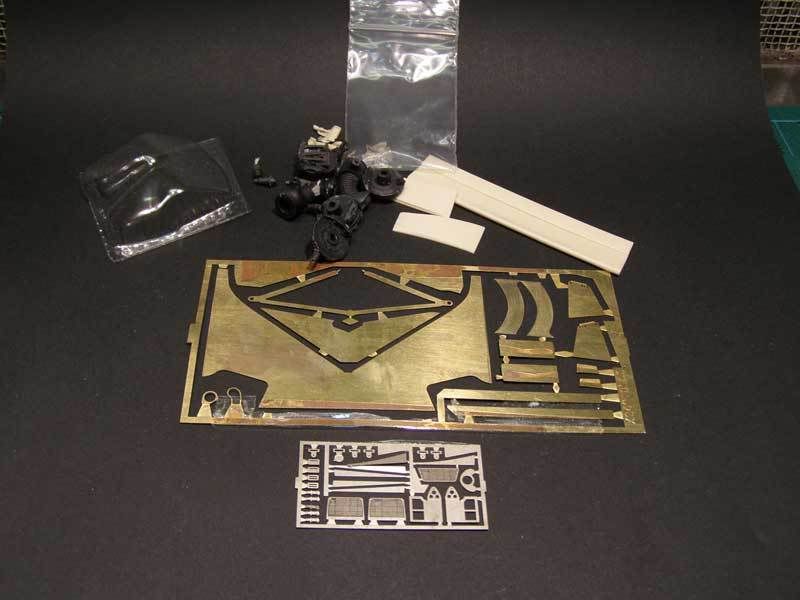
The kit played its part by being simple with a low parts count and being very well cast with very little flash or mold lines and only two tiiiiiny bubbles. It also has a great fit straight out of the box.
My original plan was to build the Revell R10 but a superficial inspection highlighted enough problems with fit, flash and mold lines to tell me that I would need a whole weekend just to prep this kit!!

 06.00 10.00 Saturday
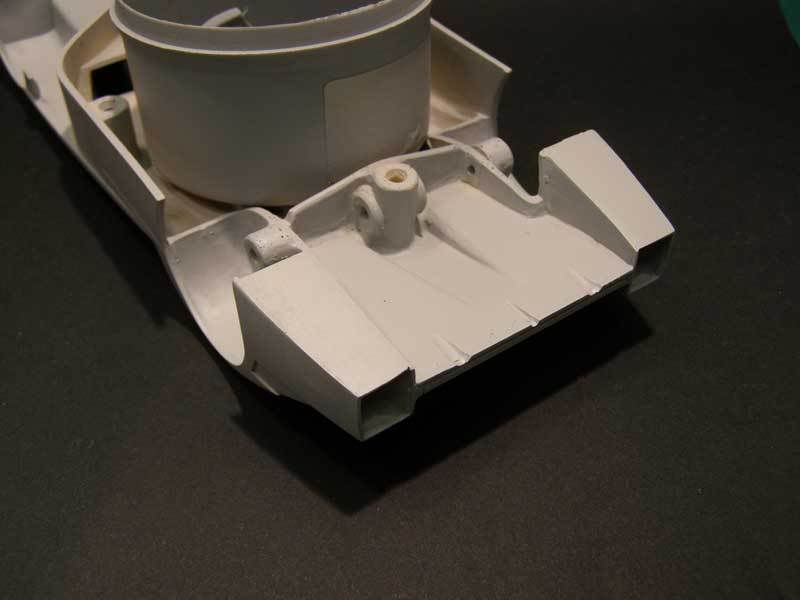
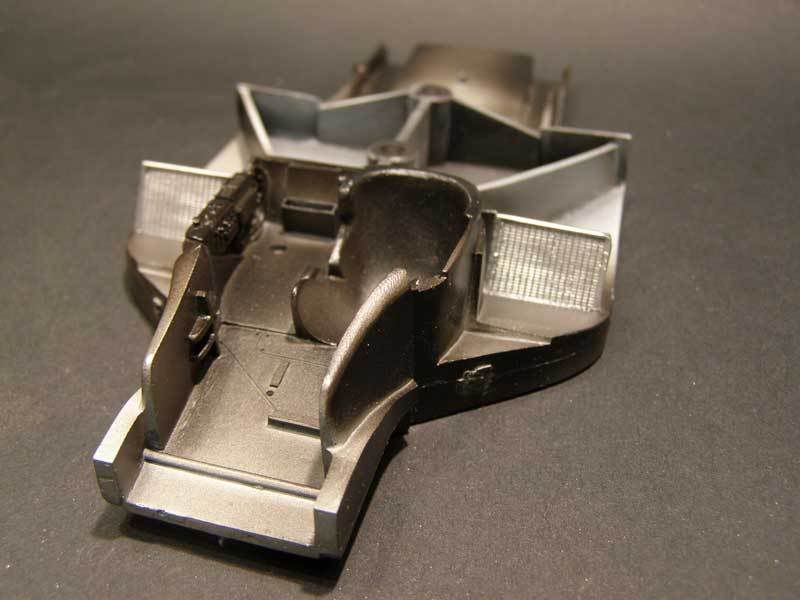
Cleaning, fitting, priming and putting down some black coats.
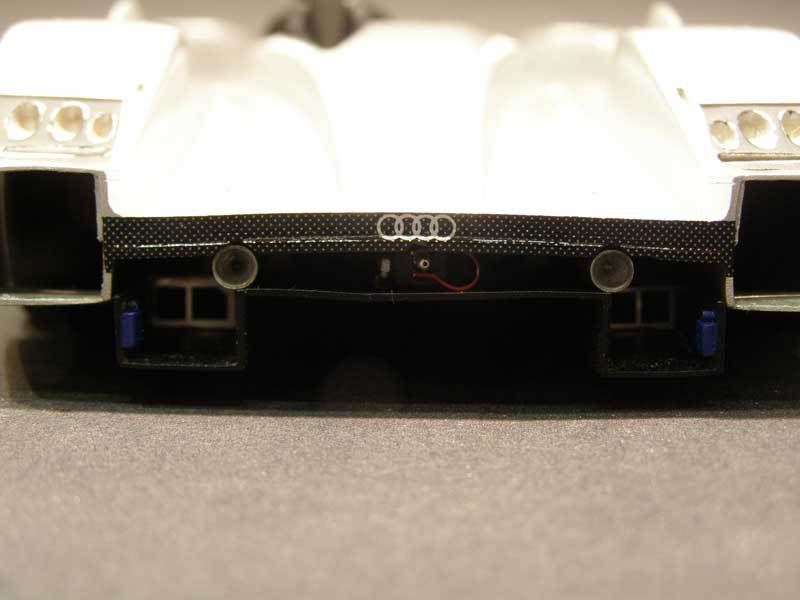
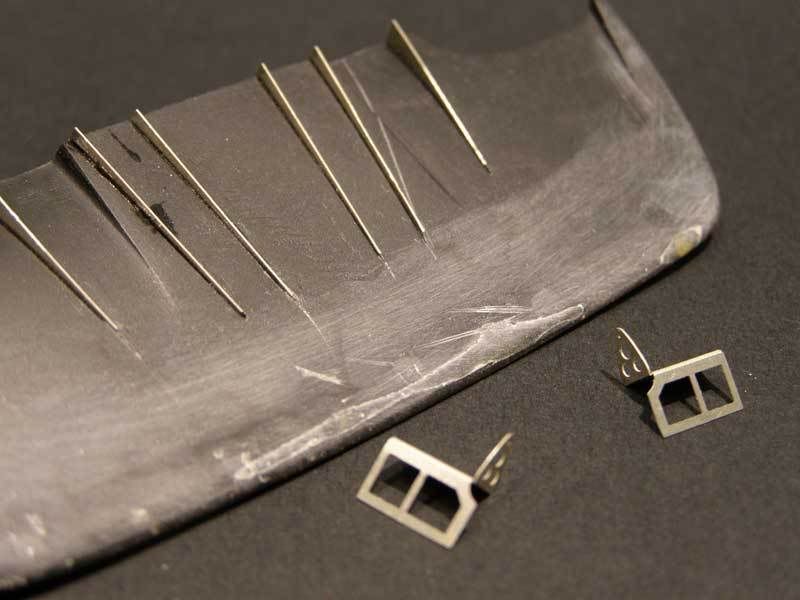
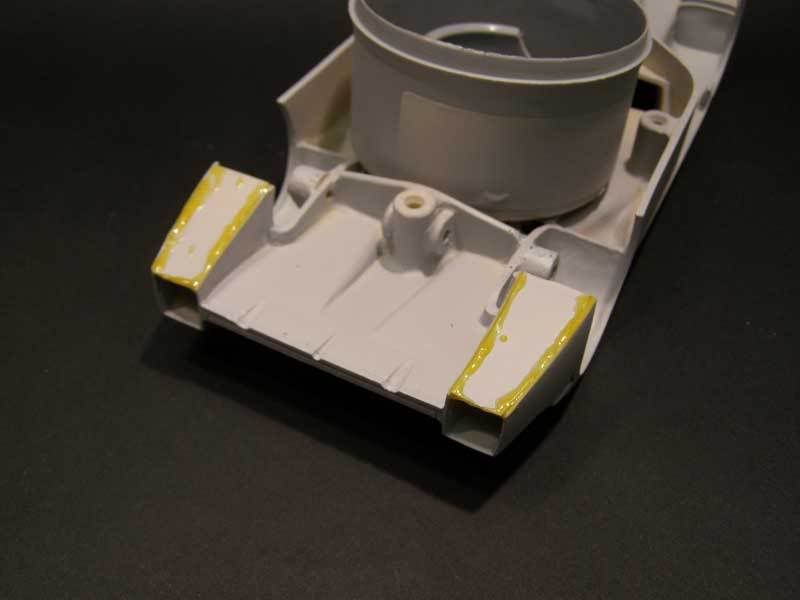
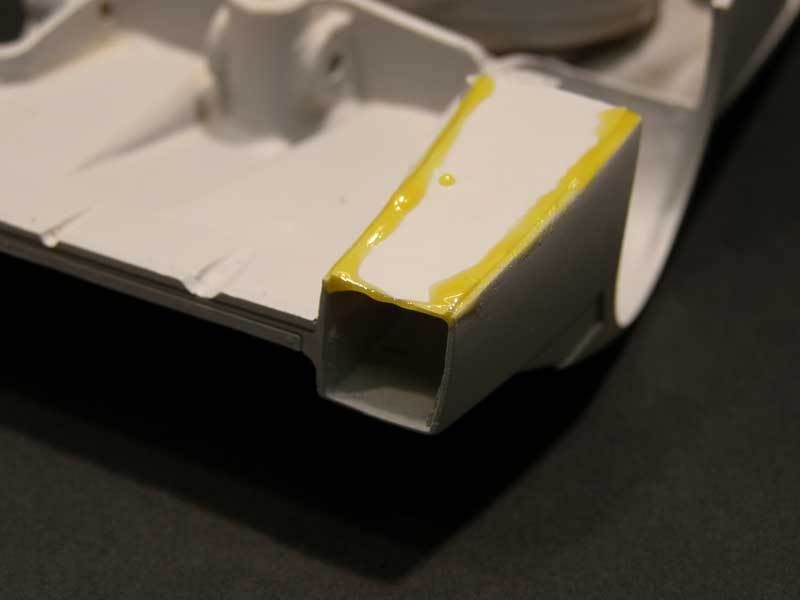
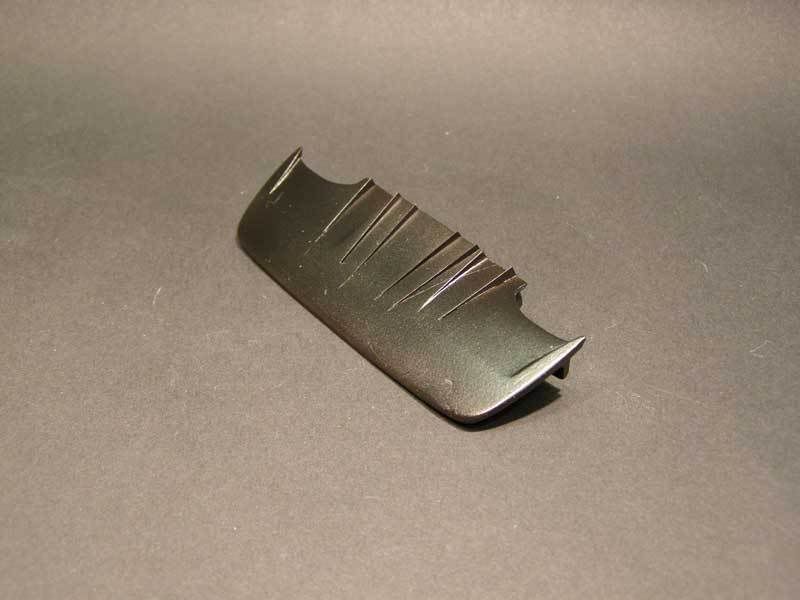
P/E fins added to the front diffuser. Excellent p/e parts in this kit BTW fantastic fit and easy to remove cleanly from the fret.
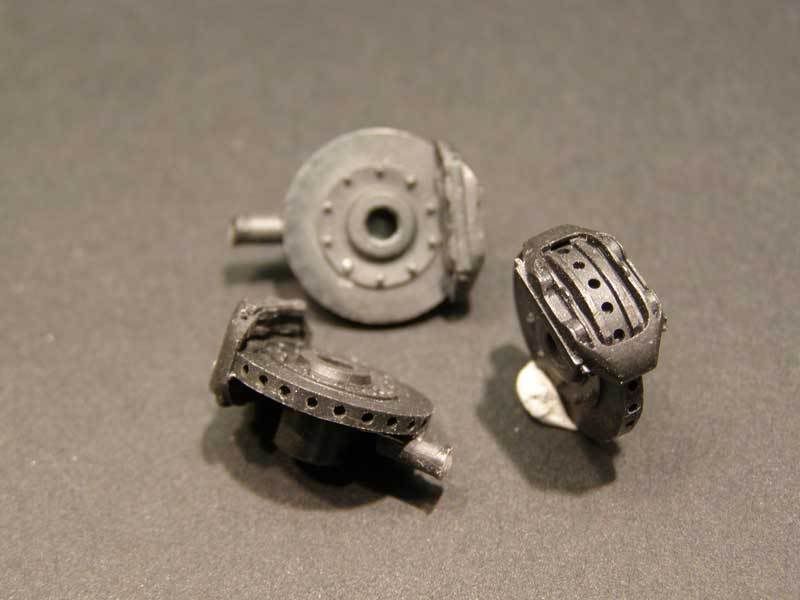
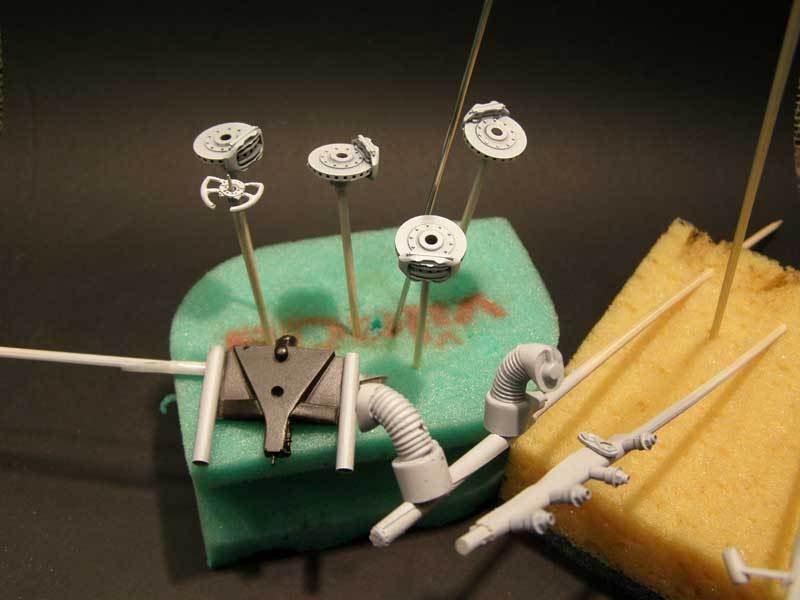
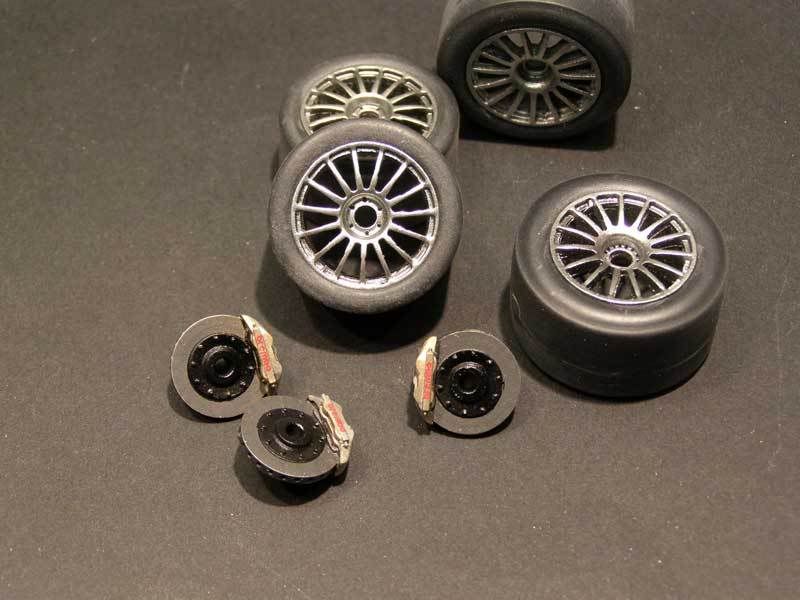
The rotor/caliper may be molded as one piece but they look outstanding IMHO and are very detailed. P/E on these would be a waste of time and money.
 11.00-14.00 Saturday
Some body work on the only bad fitting part of the kit that I can see. Separate panels to close off the bottom of the rear vents. I splopped some light curing putty on it and 5 minutes later job is done.
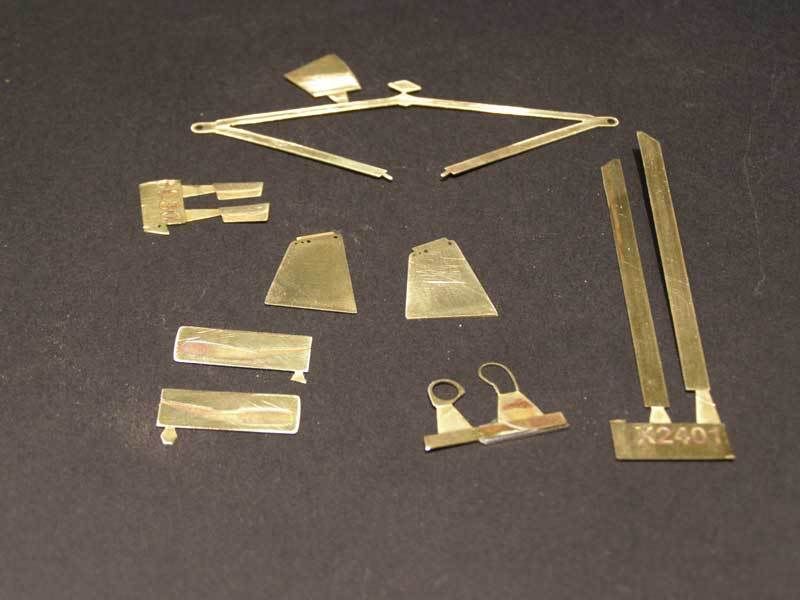
Cleaned and prepped the remainder of the brass etched parts.
(had to fit in a trip to the supermarket at this point

)
 14.00-19.00 Saturday
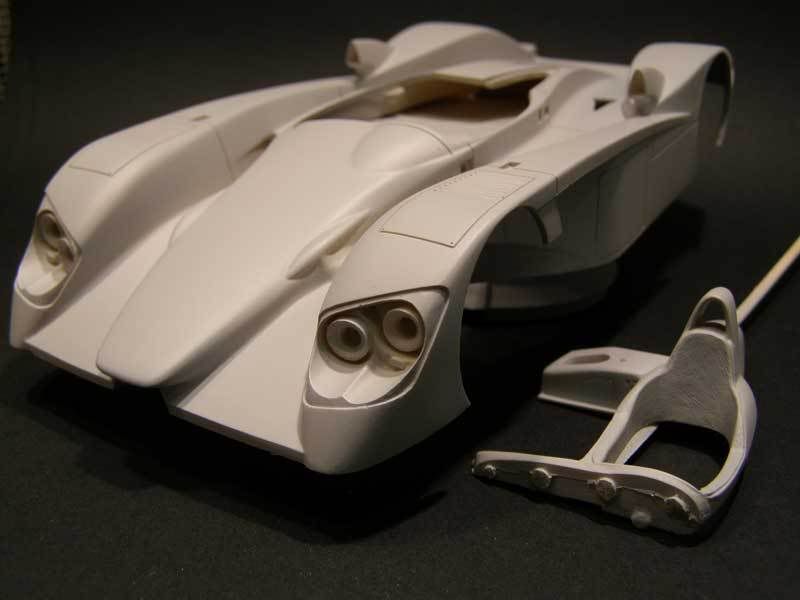
Base color is on the body and given a light coat of Mr. Topcoat. All the other parts are primed.
At this point I had to take my youngest daughter and dog for a walk in the forest or face a household mutiny

 19.00-23.00 Saturday
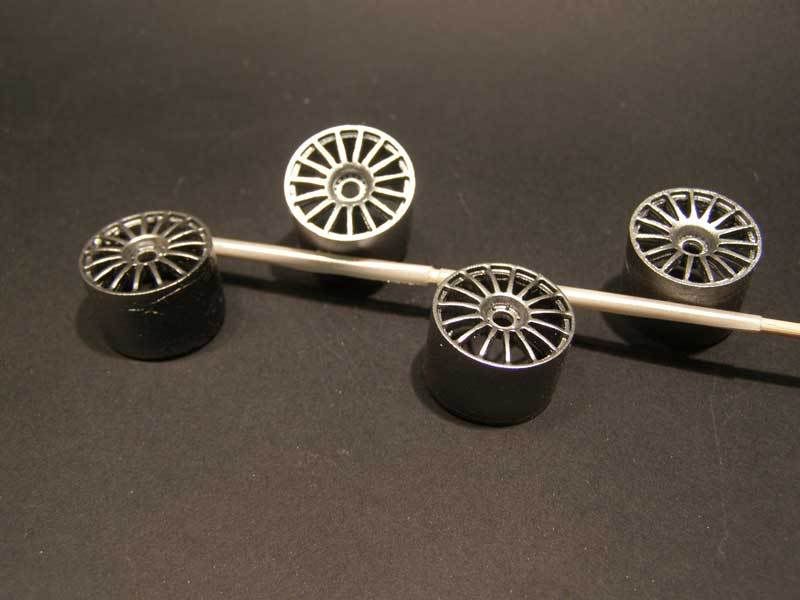
Put down some metallic colors on the radiator grilles (Alclad Alu), wheels (Alclad Pol. Alu) and calipers (Alclad Pale Gold).
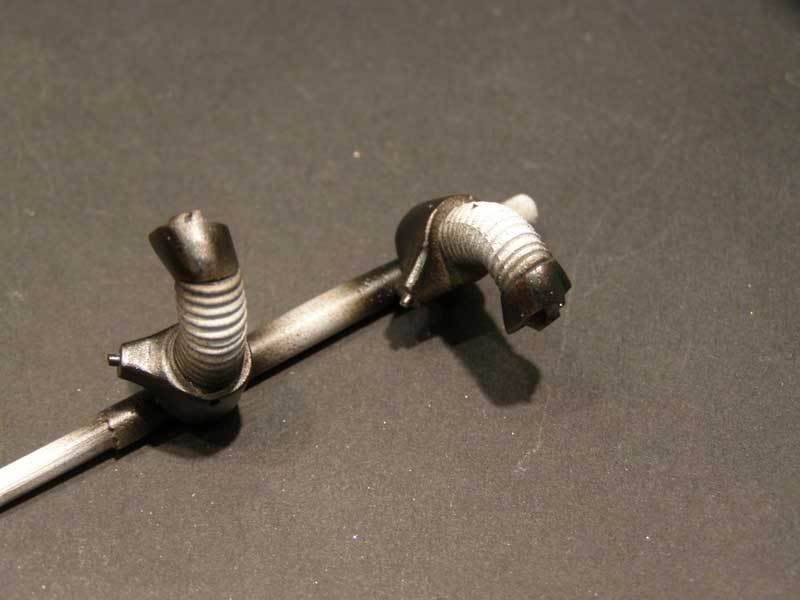
Front brake cooling ducts were partially painted ducting will be red.
I also discovered something strange about Alclad Pl Gold it curdles!!! :0 My jar was ruined and I had to throw it away although I managed to get enough through the airbrush to cover the calipers.

 23.00-06.00 Saturday
Pit stop zzzzzzzzzzz
06.00-14.00 Sunday
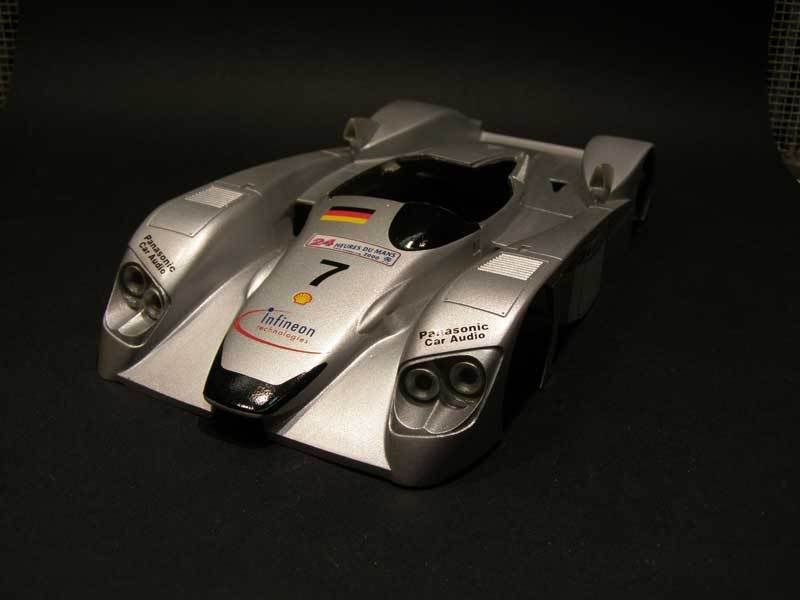
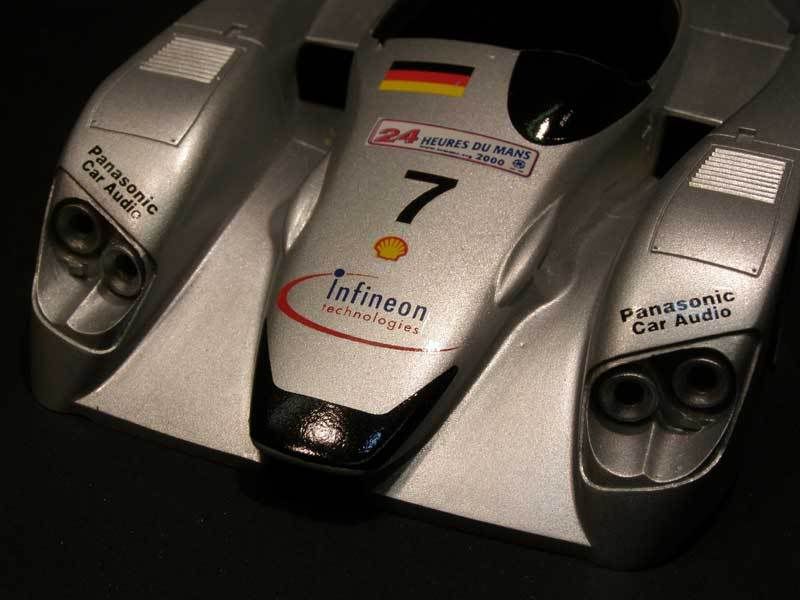
Ouch! I forgot that a Le Mans car will have decals

Luckily the LMM decals are well printed with only some minor issues with color registration on the odd decal. They respond well to MicroSOL.
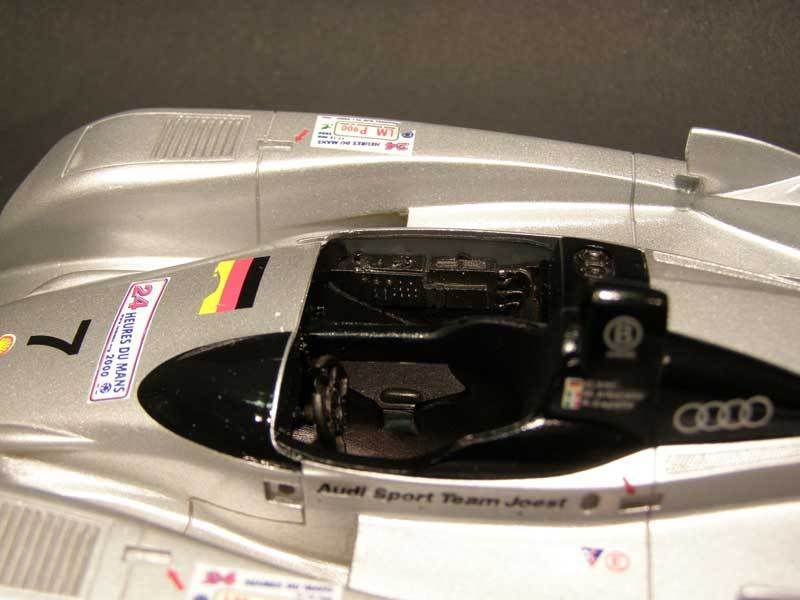
The black on the nose and around the cockpit fairing are decals but fit well and SOL gets them down nicely.
My only complaint so far about this kit are the instructions they are simplistic and poorly printed so hard to read but above all, decal placement instructions are next to non-existent.
 14.00-22.00 Sunday
Finished the decals and detail painting but things started to go wrong and I started making mistakes.
The Zero Gloss Black I used on the air intake/cockpit went down very badly and scratch-X smudged the paint rather than polish it
I sprayed Jet Black over it and then coated with clear much better.
I got some runs in the clear which fizzed
I masked off the light buckets for satin black but when I removed the masking tape, it pulled up lumps of some decals I removed completely the badly damaged decals and polished out the clear where they had been.


 22.30 Sunday
Officially classified as DNF
(In other words, this gets posted in the WIP section rather then the completed thread

)
.
I called it "game over" at this point so as not to completely FUBAR this nice kit. None the less, I had a blast trying.
It will take a few hours work to get the track and stance correct and to correct my mistakes.
But most of all the clear parts are vacu-formed acetate and I know from my experience with the Aston DBR9 that this should not be hurried.